DIY: Dreamy Office Window Seat
DIY
VIA LIZZY POWERS
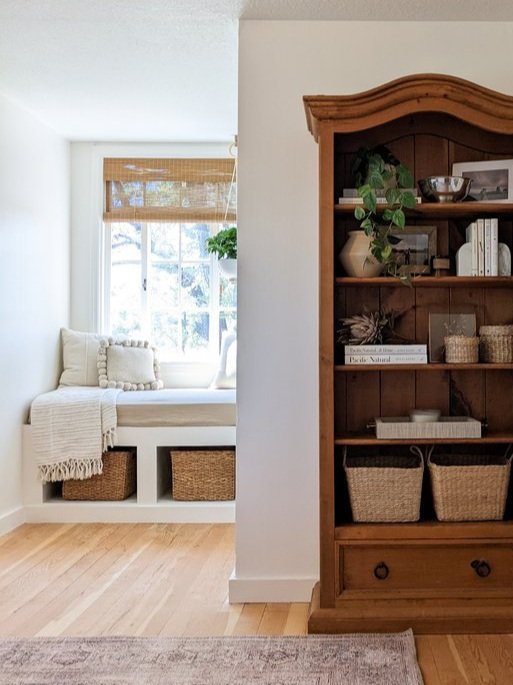
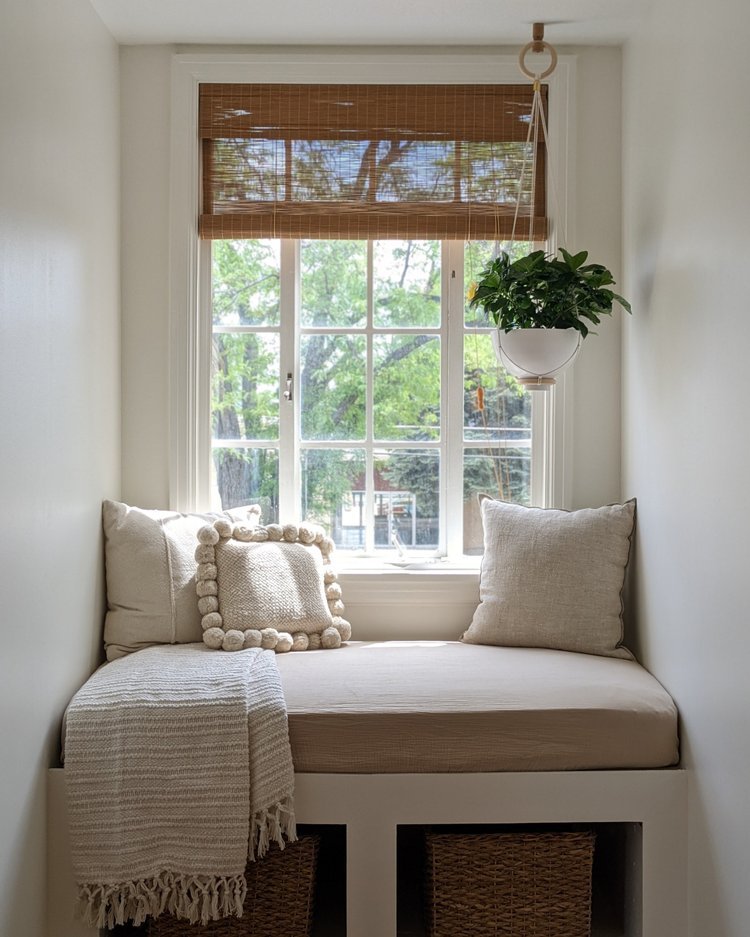
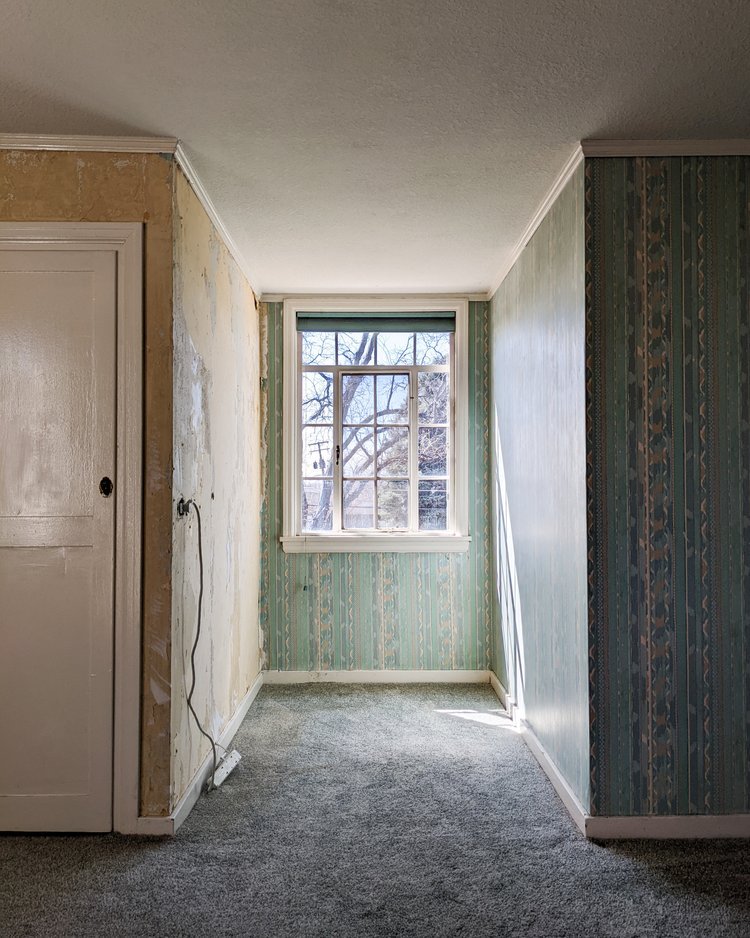
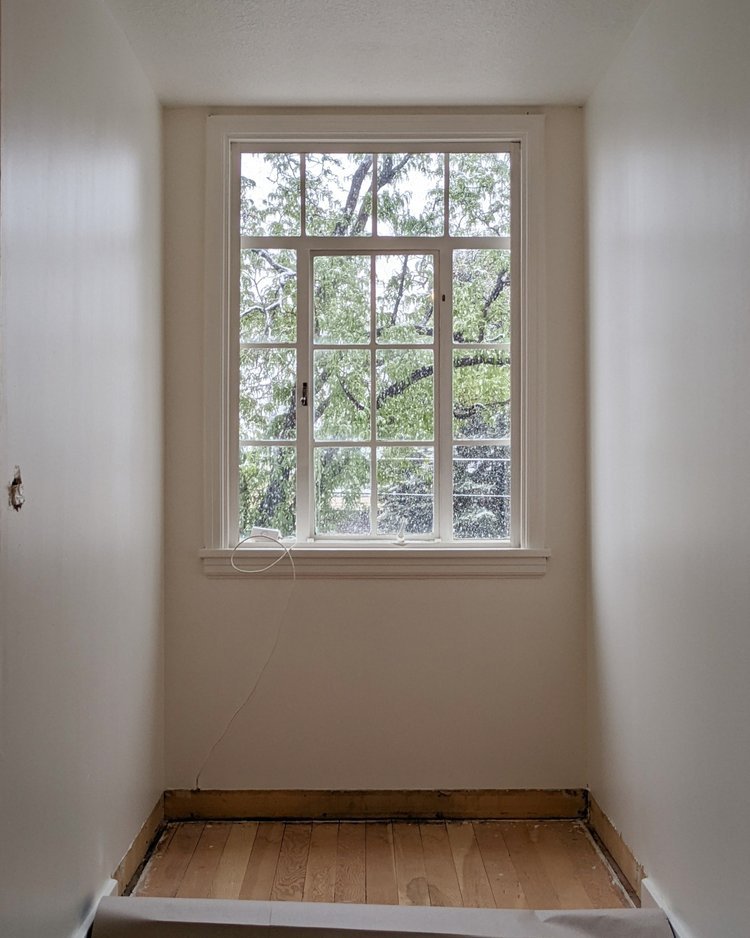
This absolutely dreamy window seat was a DIY Lizzy Powers and her husband Zach created during their ORC office transformation.
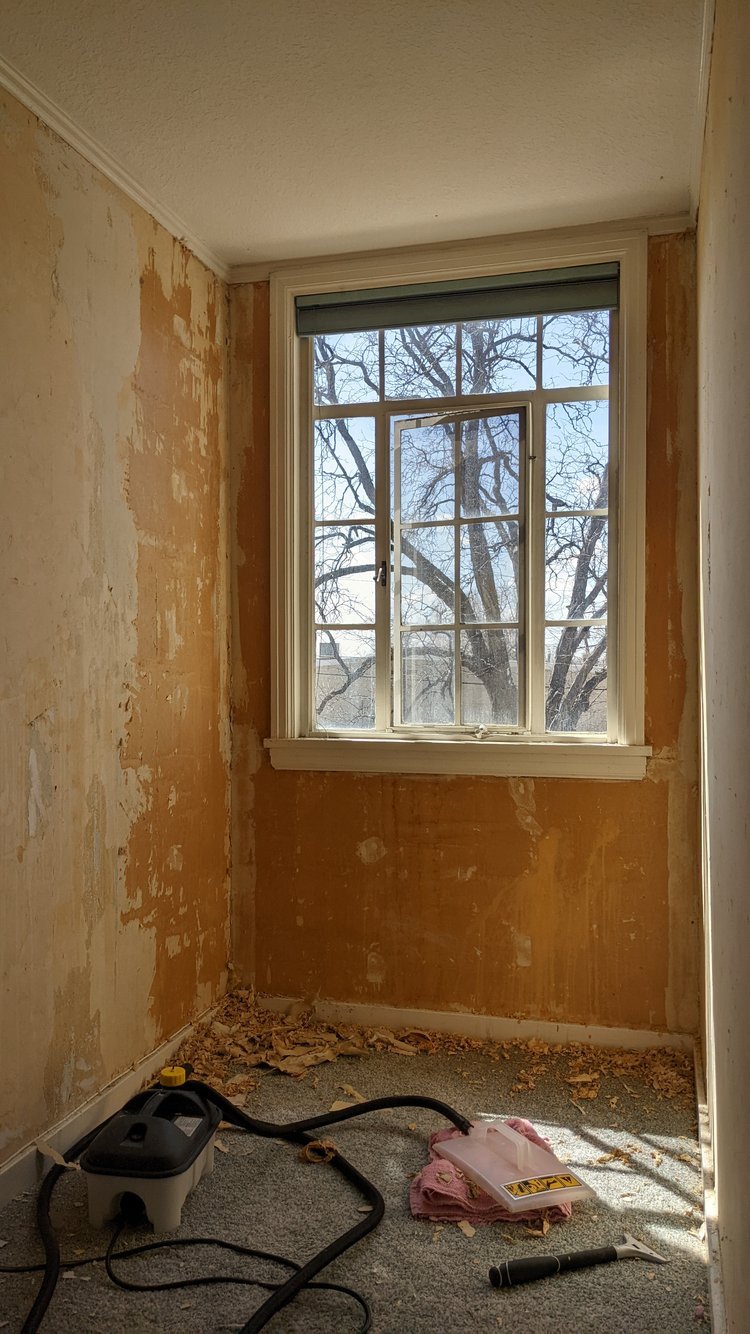
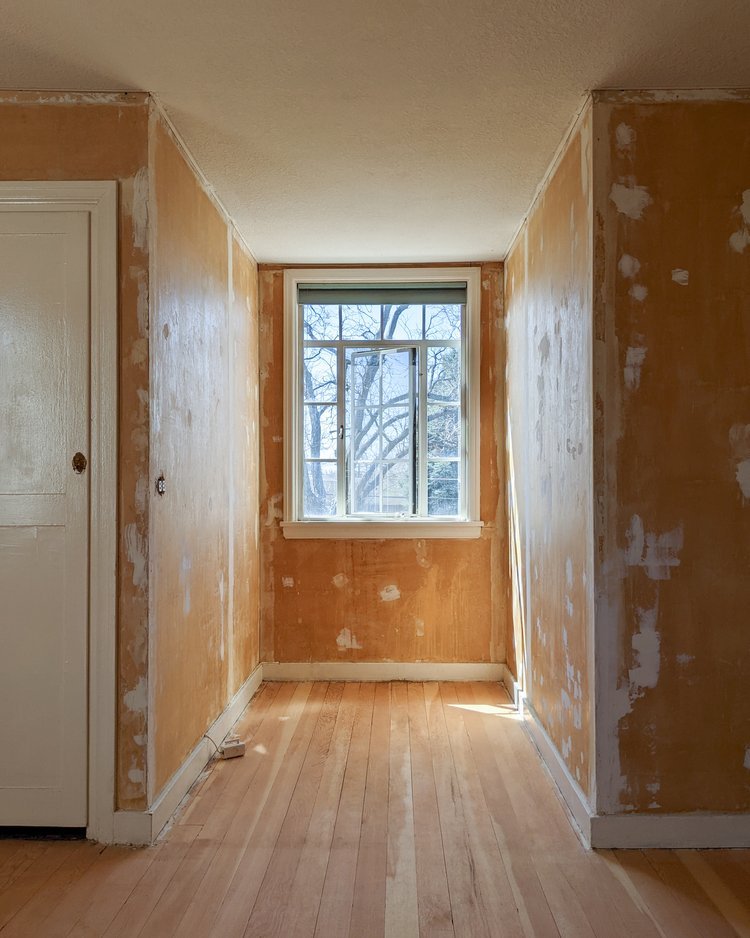
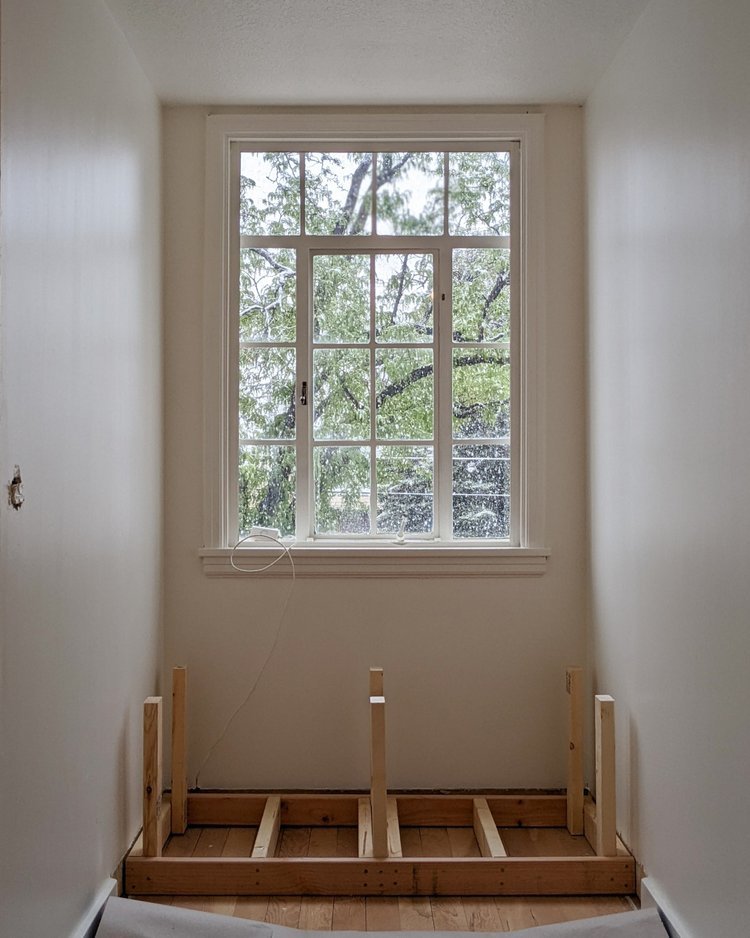
Before they could get started on building the window seat, they first had to spend a few weeks working on removing the wallpaper and ripping out the carpet. Amazingly, the carpet was hiding some beautiful hardwood flooring.
VIA LIZZY POWERS
A quick aside unrelated to the window seat — although most of the hardwood was in great condition, there was one area of the flooring that needed to be replaced due to water damage. Their (brilliant) fix was to very carefully pull flooring from the closet and cut it to fit exactly in the space.
VIA LIZZY POWERS
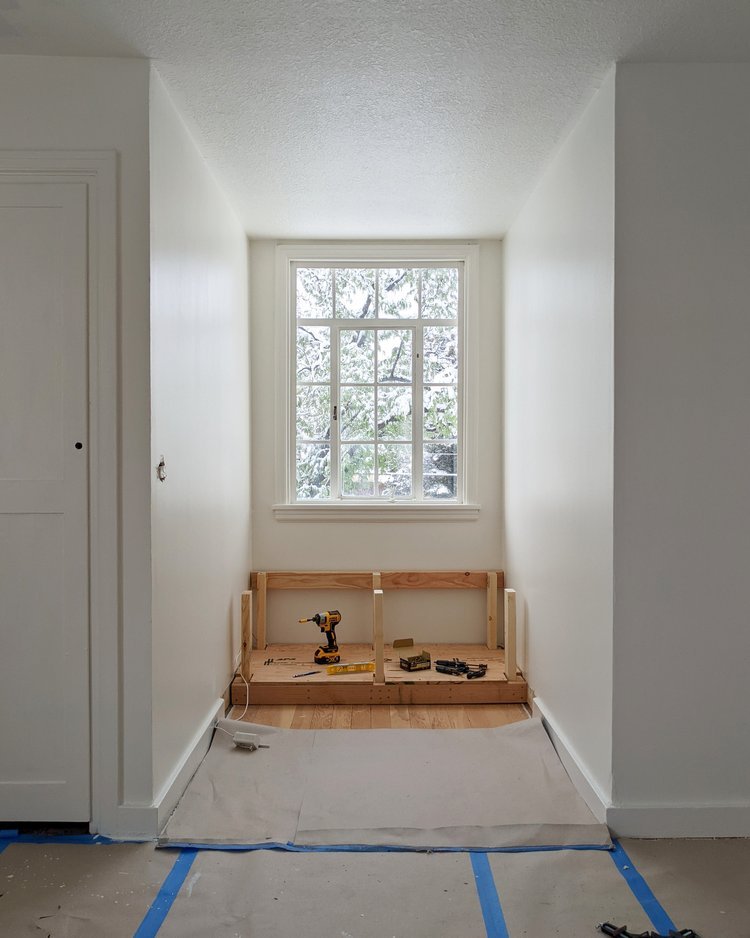
This was Zach’s first time building something cabinet-like from scratch.
To start off, he cut the baseboards where the window seat would be so the frame could be snug with the wall.
Then, he built the frame using 2x4s— two longer beams in the front and back, six laying on their sides perpendicular to the front and back beams, and six support posts. He kept things simple with 90 degree angles and used corner and bar clamps to keep the frame pieces in place. He used a box of #9x2 1/2 screws (plus glue), and he recommends using an impact driver rather than a drill, as well as using at least two screws from two different (usually perpendicular) angles for maximum stability. Once all the support posts were secured, he added the upper beam that runs the width of the seat.
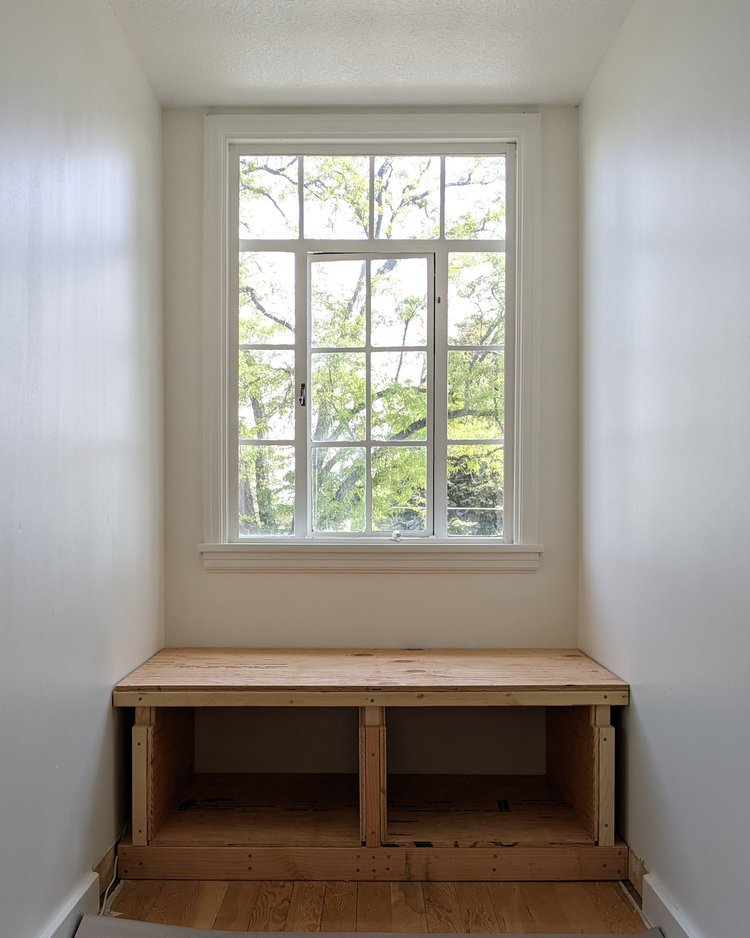
Next, he cut and attached four plywood panels creating the walls of each cubby using glue and #8x1 3/4 screws. The last panel he added was the top piece. If you want to read a bit more about Zach’s process, he wrote about it here.
VIA LIZZY POWERS
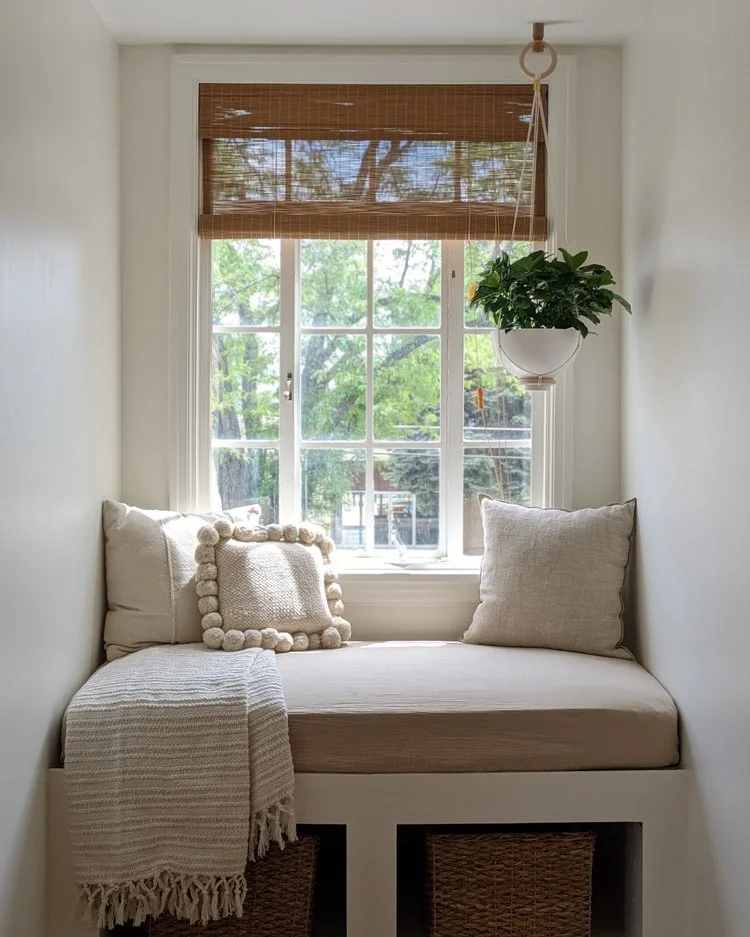
Zach finished the window seat built-in by attaching the finish face, which he made using 1/2 in Radiata Pine Plywood, priming and painting, and finally, replacing the baseboards to complete the built-in look.
Once the built-in part was done, all that was left was adding cushions!
They already had a toddler mattress from when their niece visited a few months prior, and the length of the mattress happened to fit perfectly in the window nook. Lizzy used a cotton muslin fitted crib sheet as the cushion cover and added some pillows and a blanket. It looks absolutely perfect, was definitely cheaper and easier than a custom cushion, and will make it incredibly easy to wash it or even swap it out in the future.
We want to feature your amazing DIY projects! Send us photos or videos from your One Room Challenge® project via this form.