DIY: How to Get the Most Bang for Your Buck in a Kitchen Reno
DIY

STORY BY VIRGINIA BESHEARS
When it comes to maximizing the impact of your kitchen renovation without breaking the bank, few materials offer as much bang for your buck as paint. Especially in kitchens with good bones, paint has a remarkable ability to breathe new life into a tired space, or transform a generic kitchen into one that reflects your style and personality.
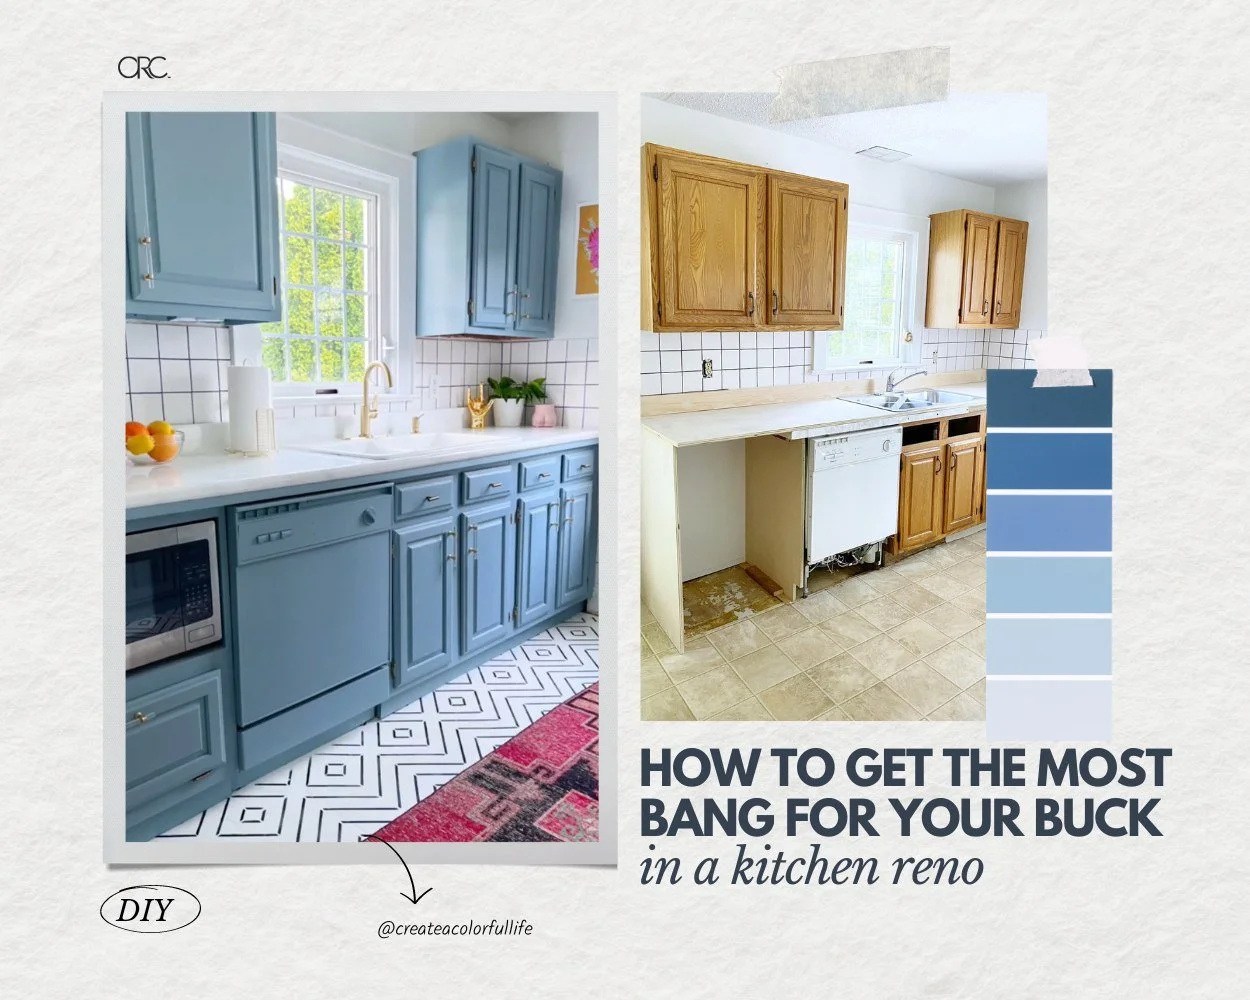
The kitchen pictured above by Kathleen of Create a Colorful Life from the spring ‘22 ORC is the perfect example of how much you can do with paint and DIY elbow grease. Kathleen’s finished kitchen is absolutely incredible, and it’s mind-blowing how much she was able to do with paint alone.
Obviously you can personalize any basic kitchen by giving the cabinets a coat of paint in the color of your choice, but there are plenty of other ways to use paint to transform a kitchen, including painting your floor or your appliances. So, before you rip out your brown linoleum floors or splurge on a custom dishwasher panel, read on to find out if using paint (or one of our bonus suggestions) could be right for your kitchen project.

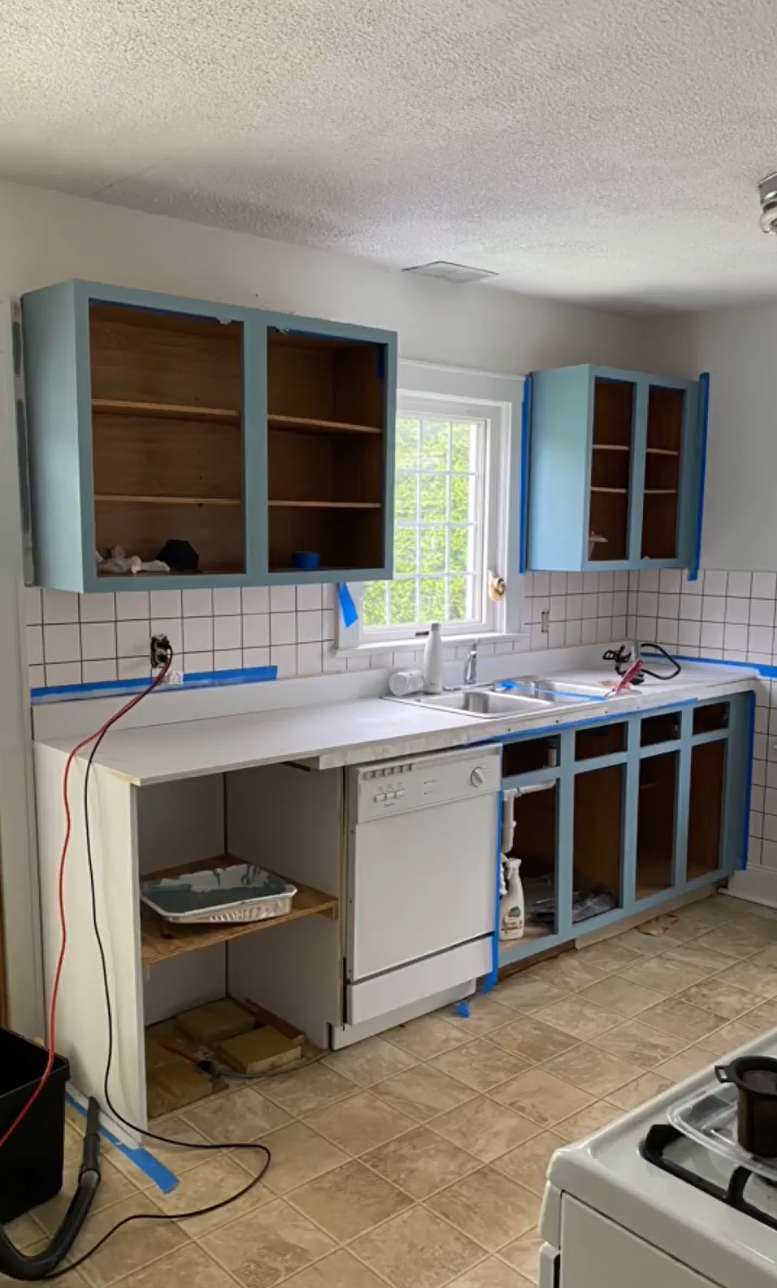
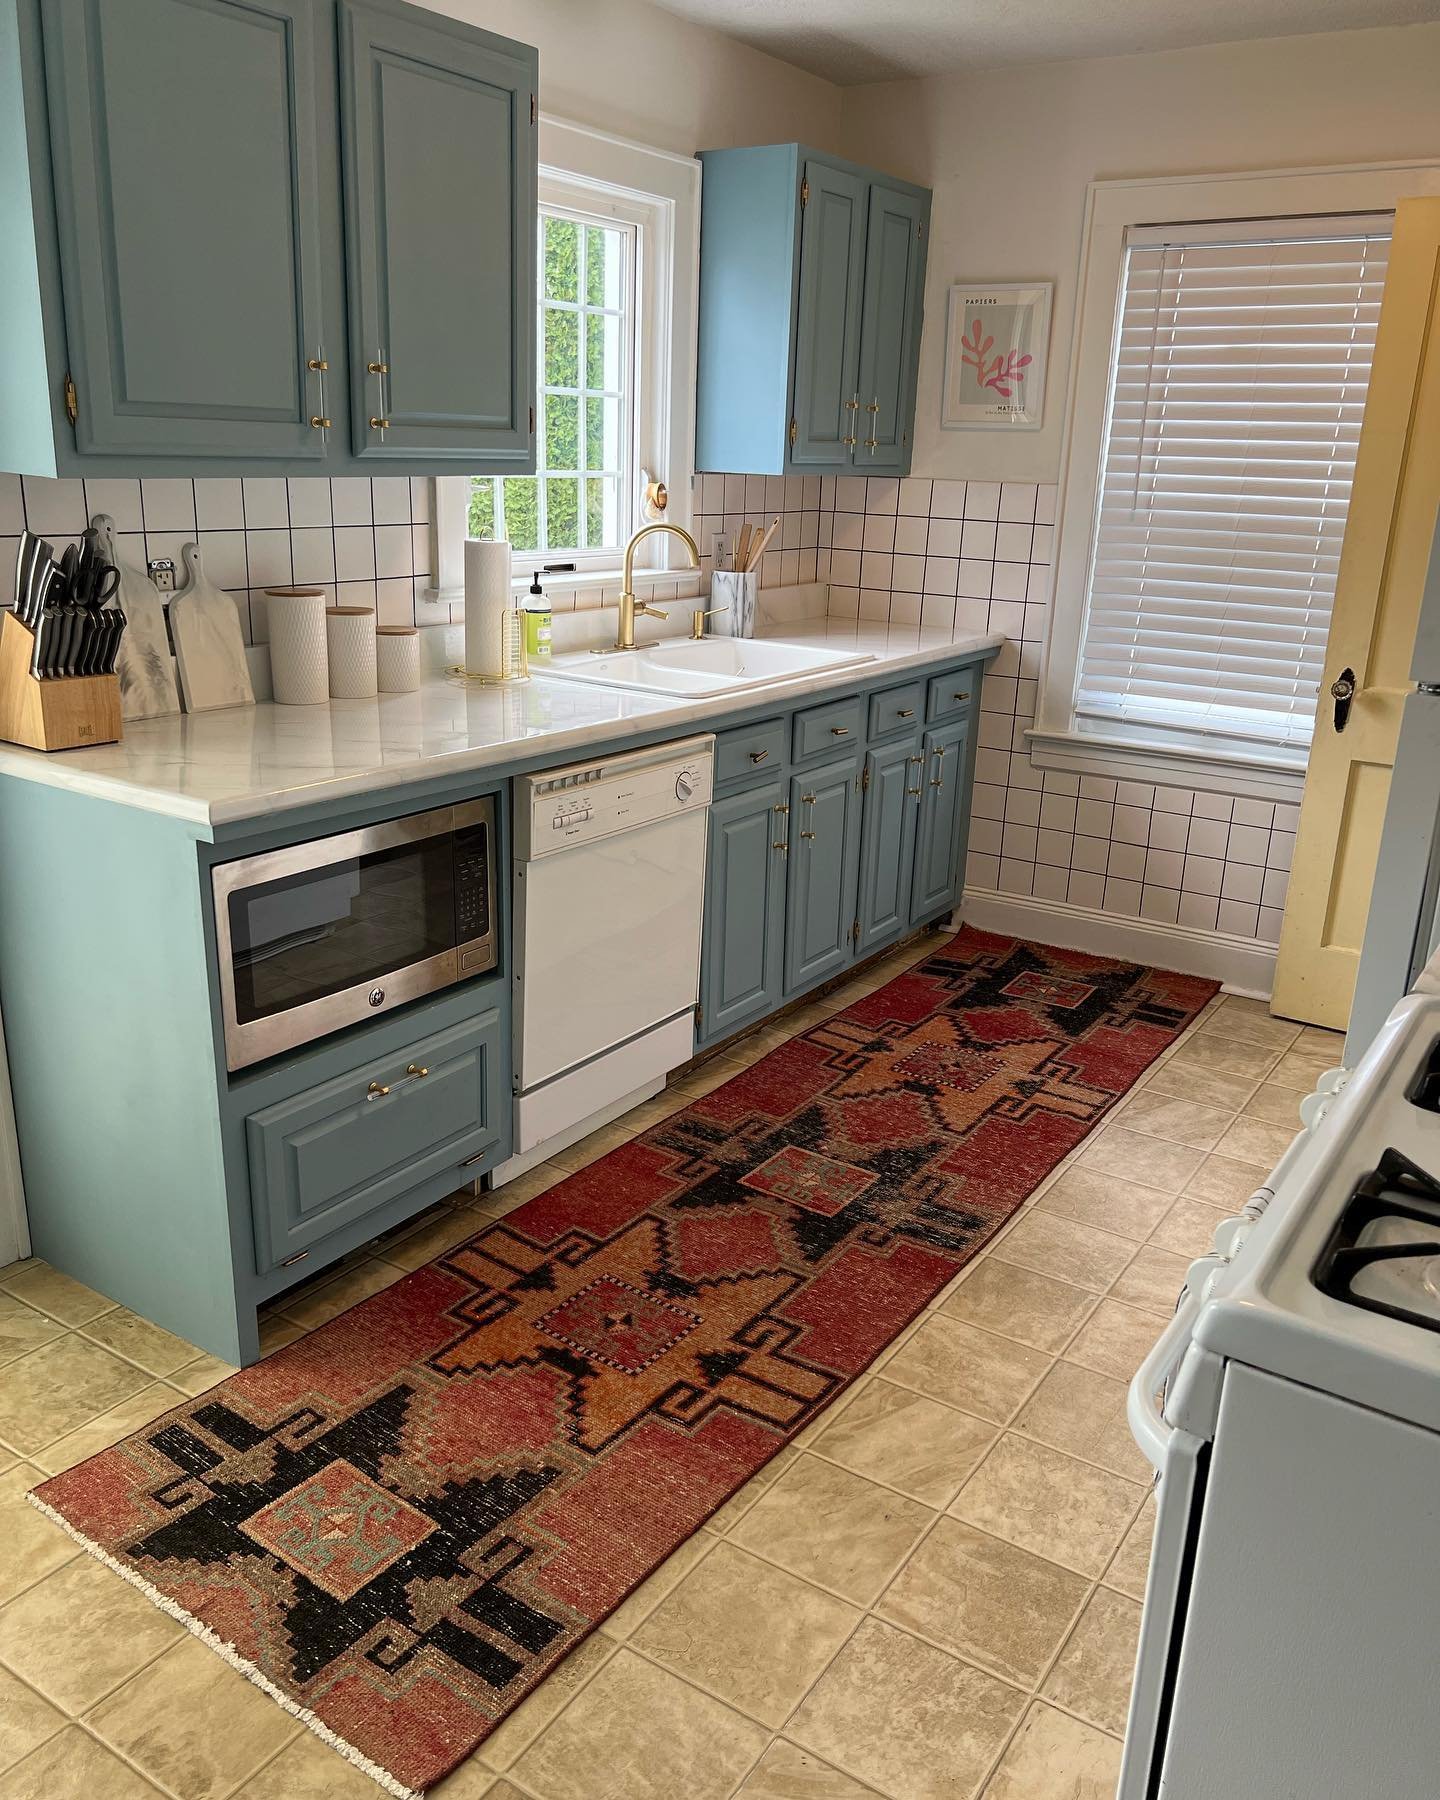
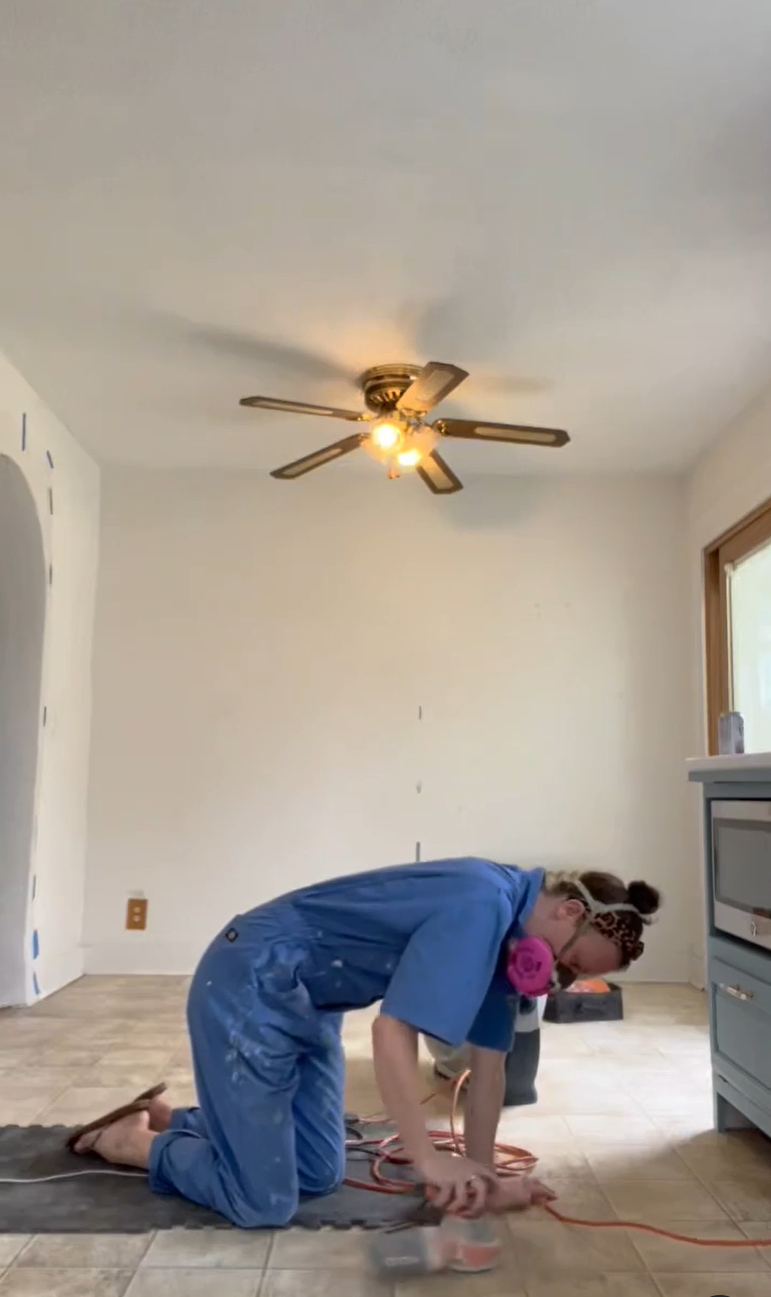
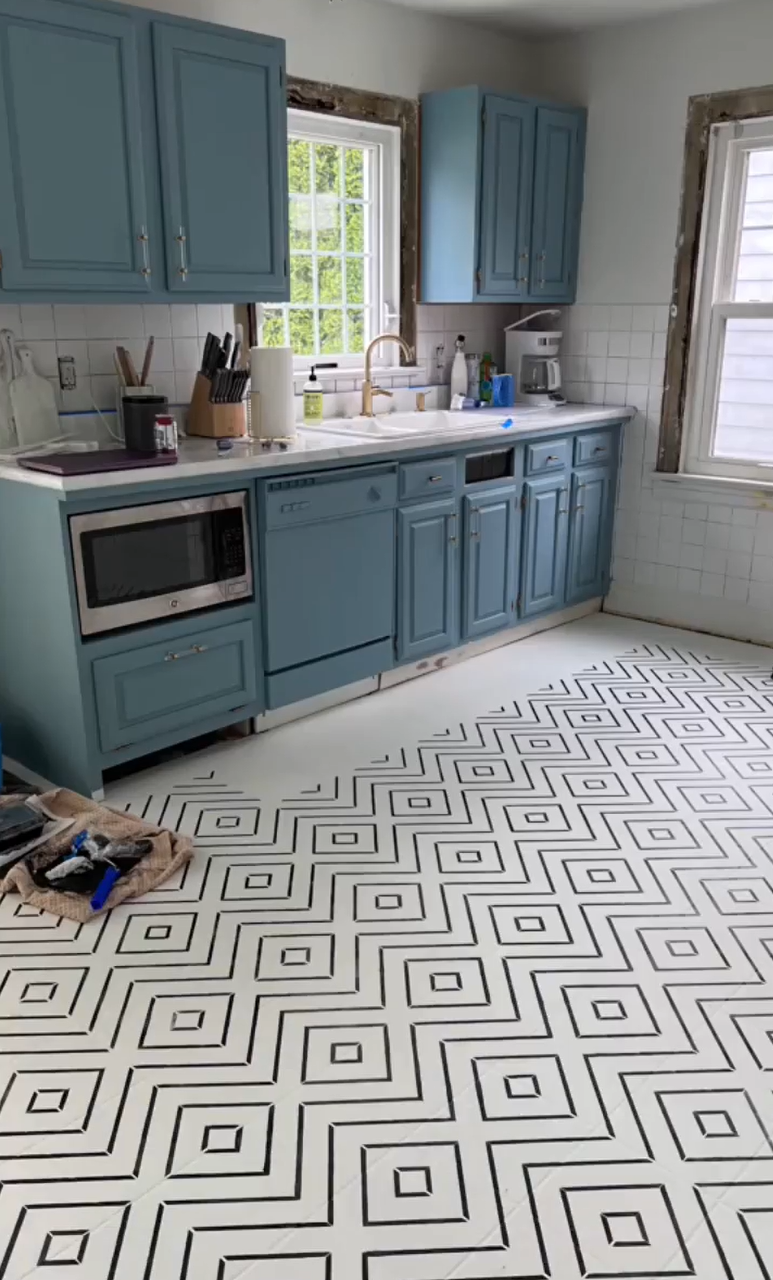
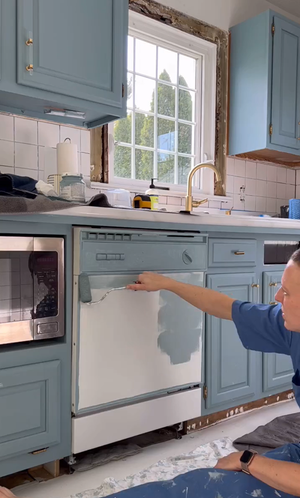
The photos above show the progress Kathleen and her husband had already made in their kitchen before starting the ORC. They kept all of the original cabinets, which were in great shape, but reconfigured them so that the dishwasher wouldn’t be on the end right next to the door. After painting all the cabinets a lovely shade of blue (which is no small task), they were well on their way to the final product.
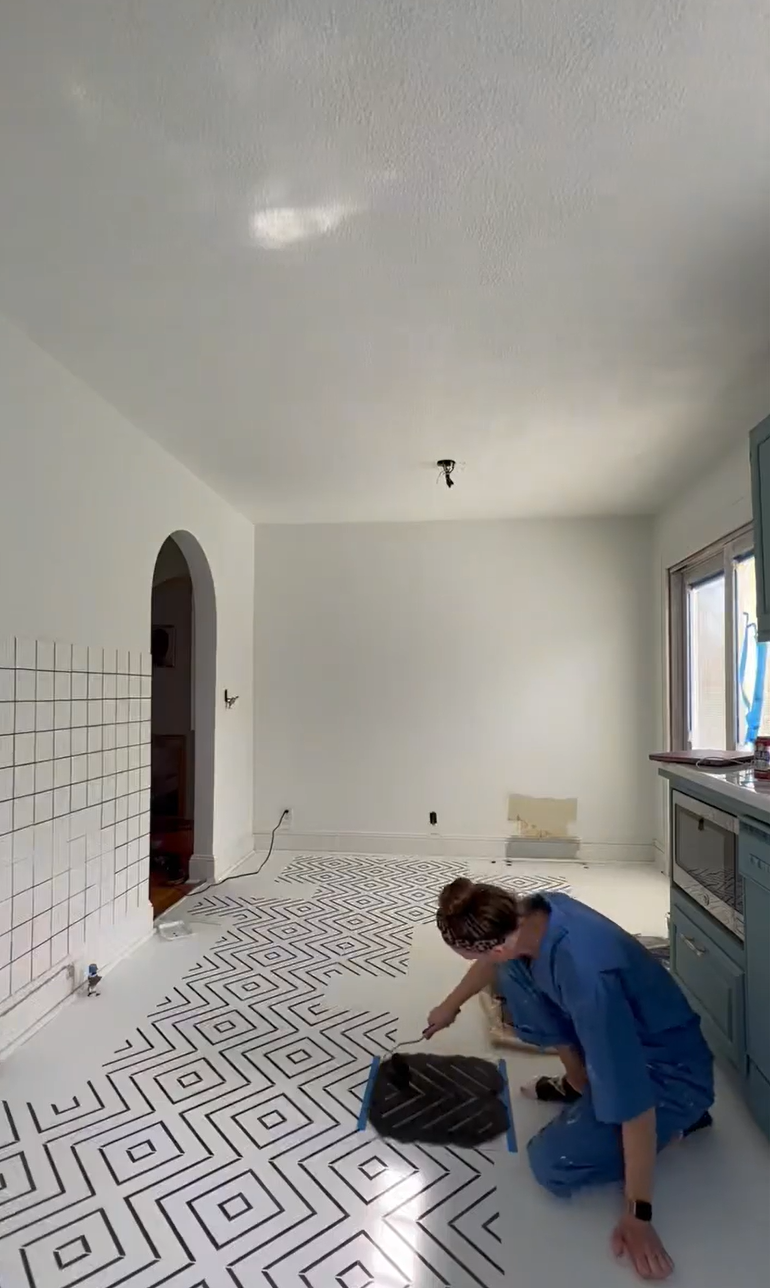
From here, Kathleen used paint to customize the flooring, appliances, and tile backsplash. All were in great condition, like the cabinets, which made it hard to justify spending money to replace them. So, they were all perfect candidates for getting painted.
Painting an unconventional surface
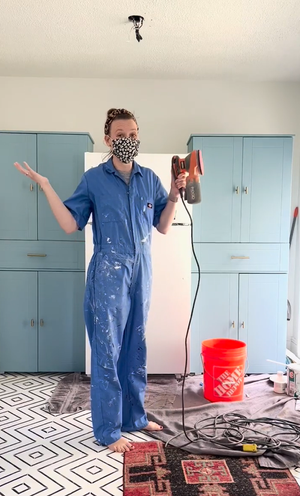
You can paint just about anything with the right prep work and materials.
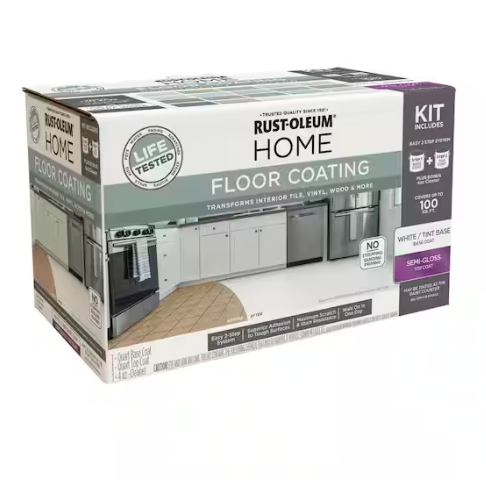
When you’re painting something that’s both an unconventional material and that gets frequently used, like a tile floor, there are a handful of things you need to do to achieve a highly durable and professional-looking finish. This is a project that can turn out disastrously without lots of pre-planning and research.
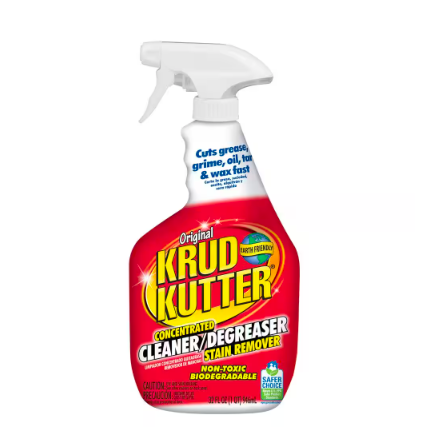
First, you need to thoroughly clean the surface you’ll be painting. TSP used to be the old standard for pre-paint cleaning, but since it’s highly toxic and has a tendency to leave residue, we prefer TSP substitutes like Krud Kutter.
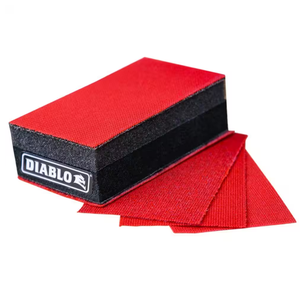
Second, lightly scuff any material that’s smooth or shiny/glossy with 150ish grit sandpaper.
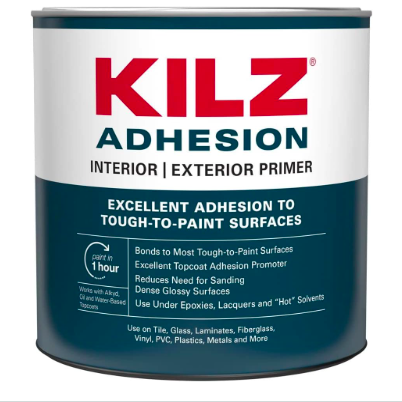
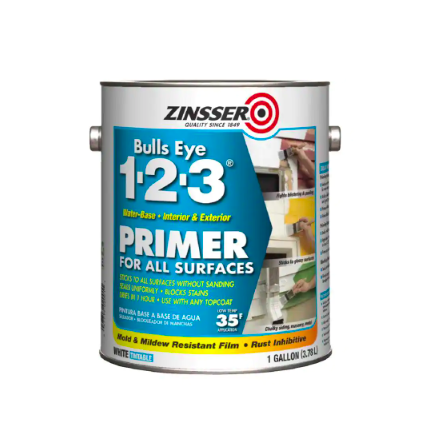
Lastly, and possibly most importantly, use the right primer for the material you’re painting, and always opt for one formulated for extra adhesion or bonding. You’ll likely need to do two or three coats of primer before your surface is paint-ready.
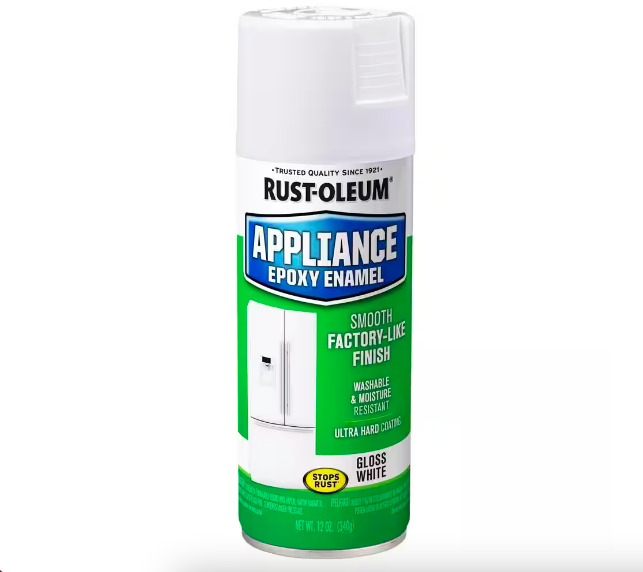
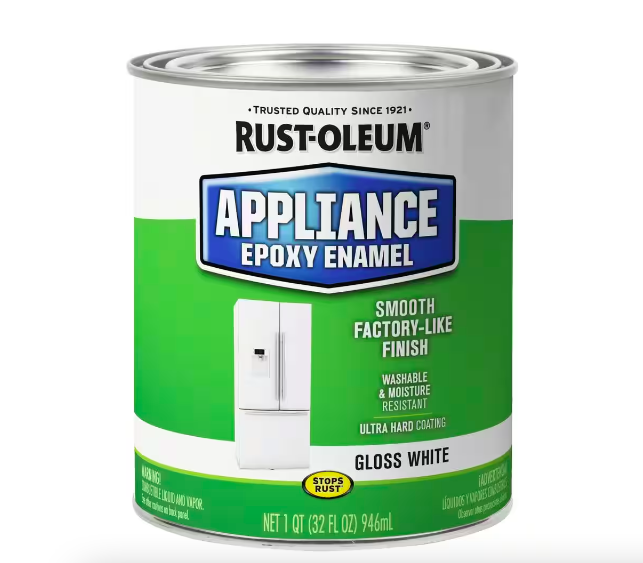
There are also plenty of excellent specialty products out there for painting things like floors and appliances that are great options for extra durability or simplifying the process. Additionally, you should never use latex, oil, or spray paint on appliances with surfaces that get hot to the touch (hotter than 200 degrees Fahrenheit), like ovens, toasters, toaster ovens, and stovetops.
Kathleen painted her floor with three coats of bonding primer, three coats of regular wall paint, and three coats of satin polyurethane, to ensure it would hold up to high traffic for years to come.
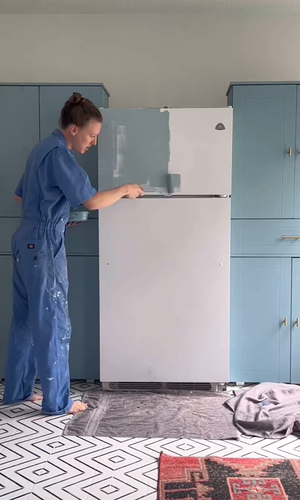
For the dishwasher and fridge, Kathleen used the same Fusion Mineral Paint she had used on the cabinets, but first put down a coat of their bonding agent primer as a base. This paint was developed specifically for DIYers and by all accounts is extremely durable once it’s cured. This project was completed in 2022, and in all the videos she’s shared since, her blue dishwasher is still going strong.
Other options
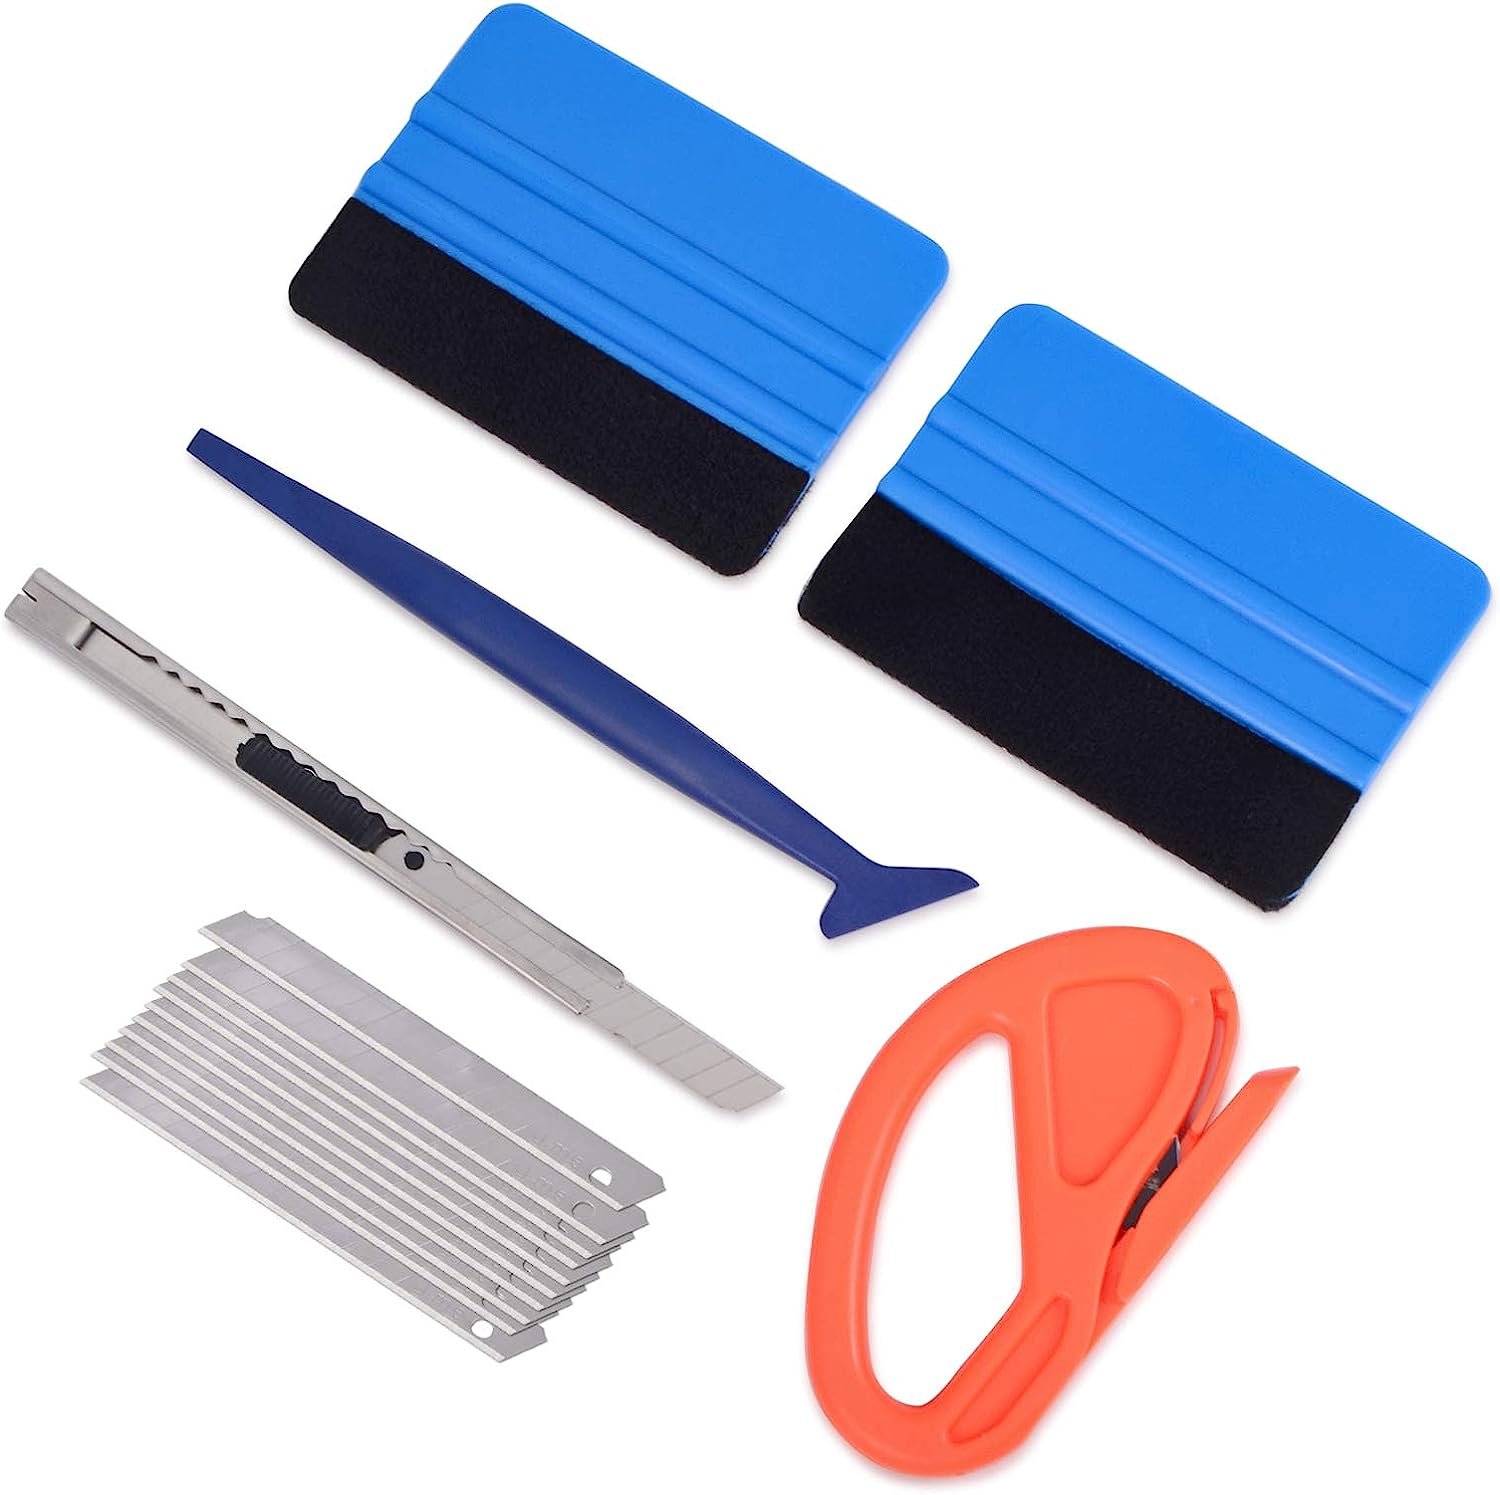
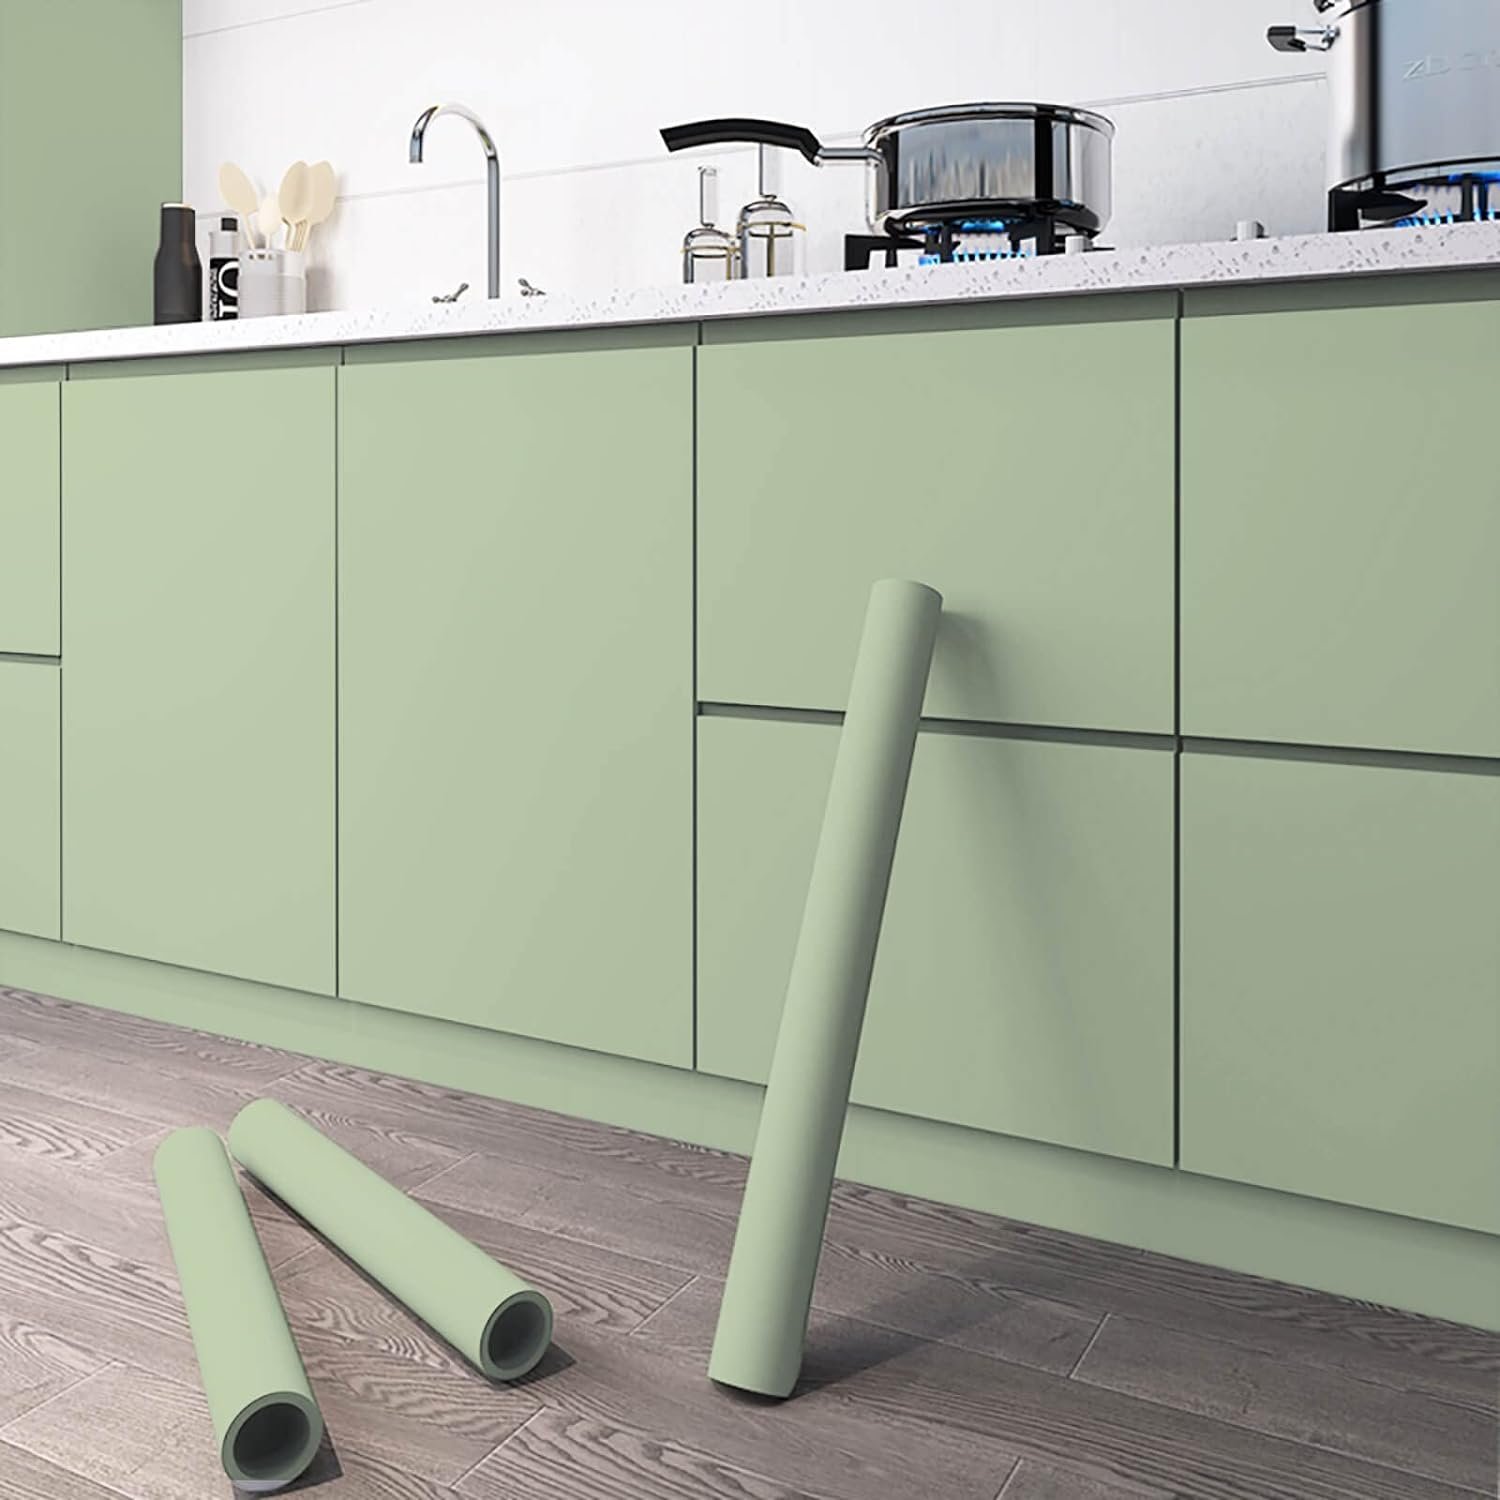
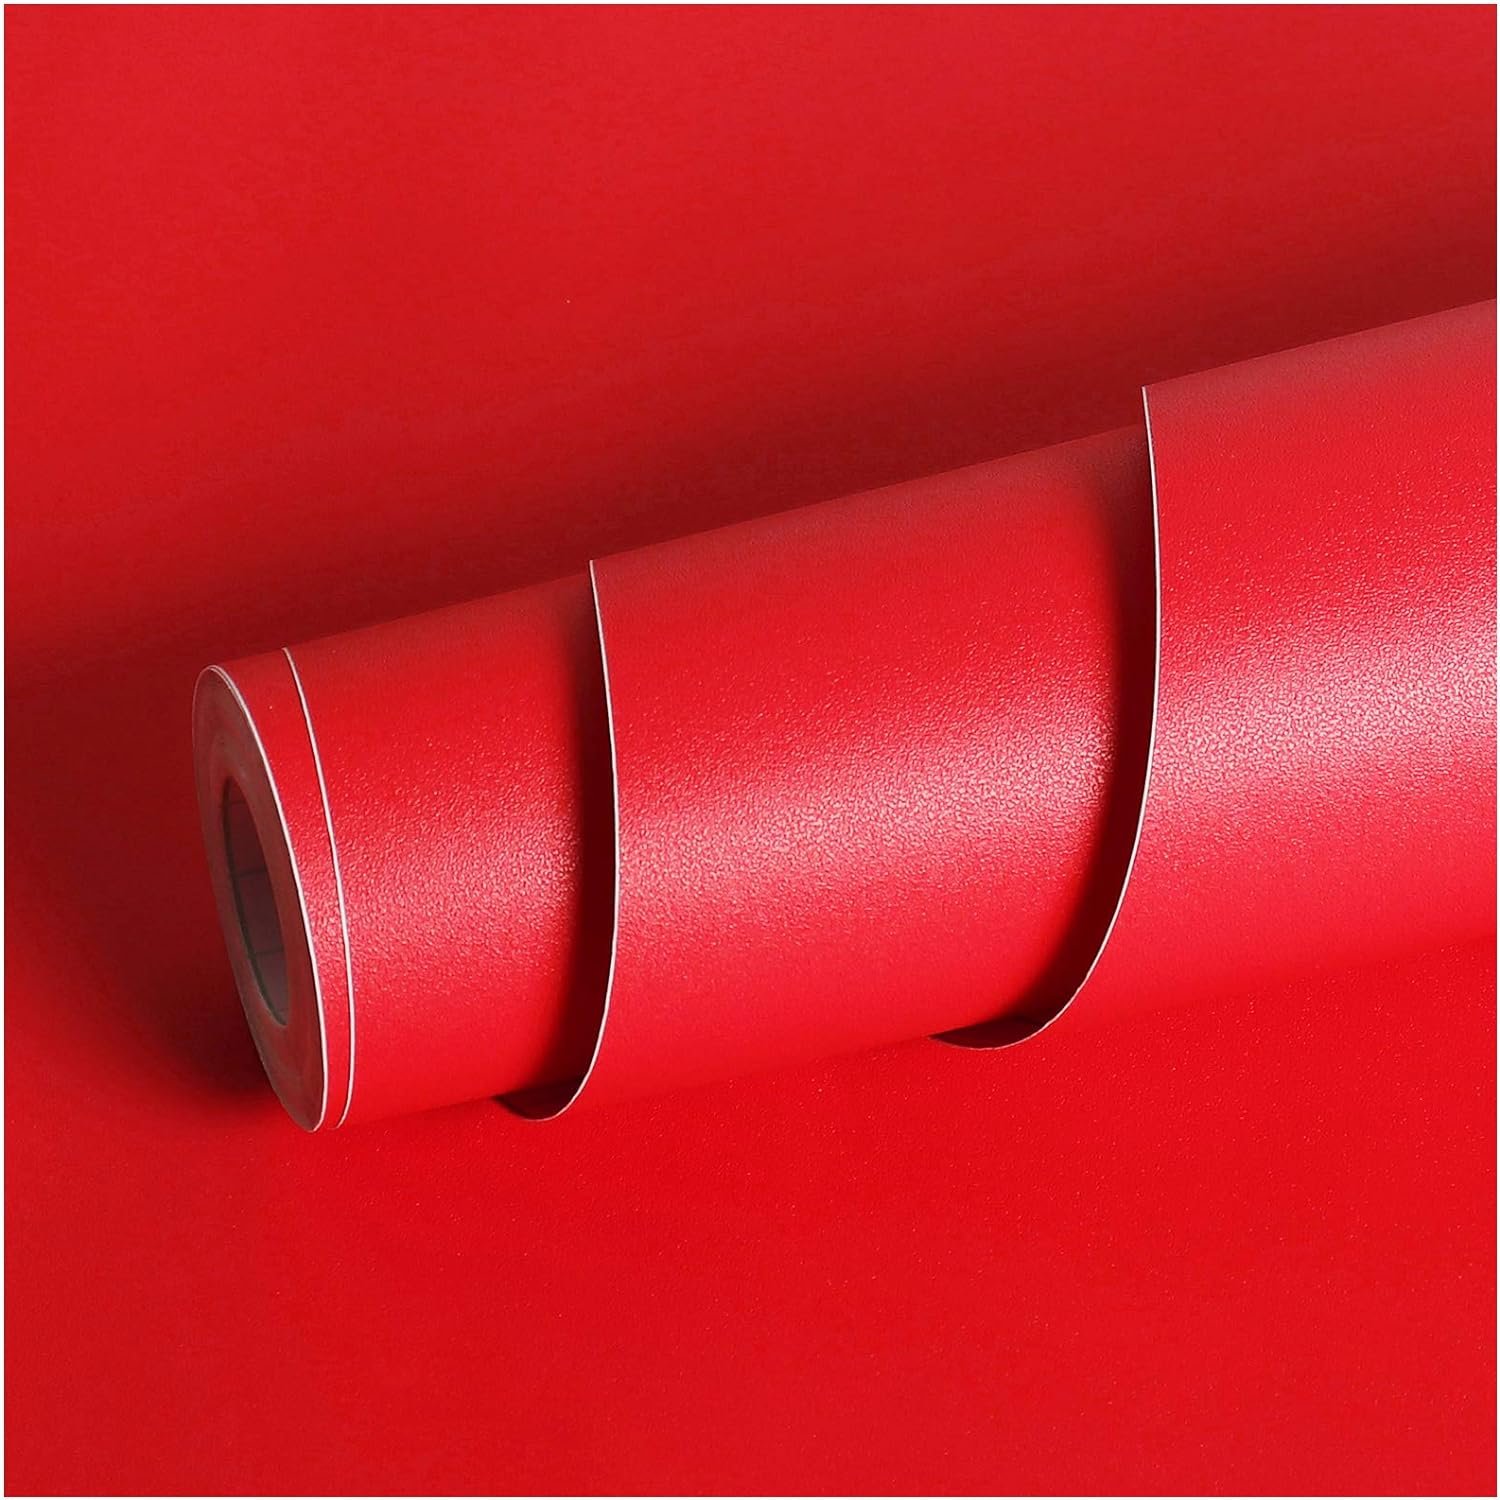
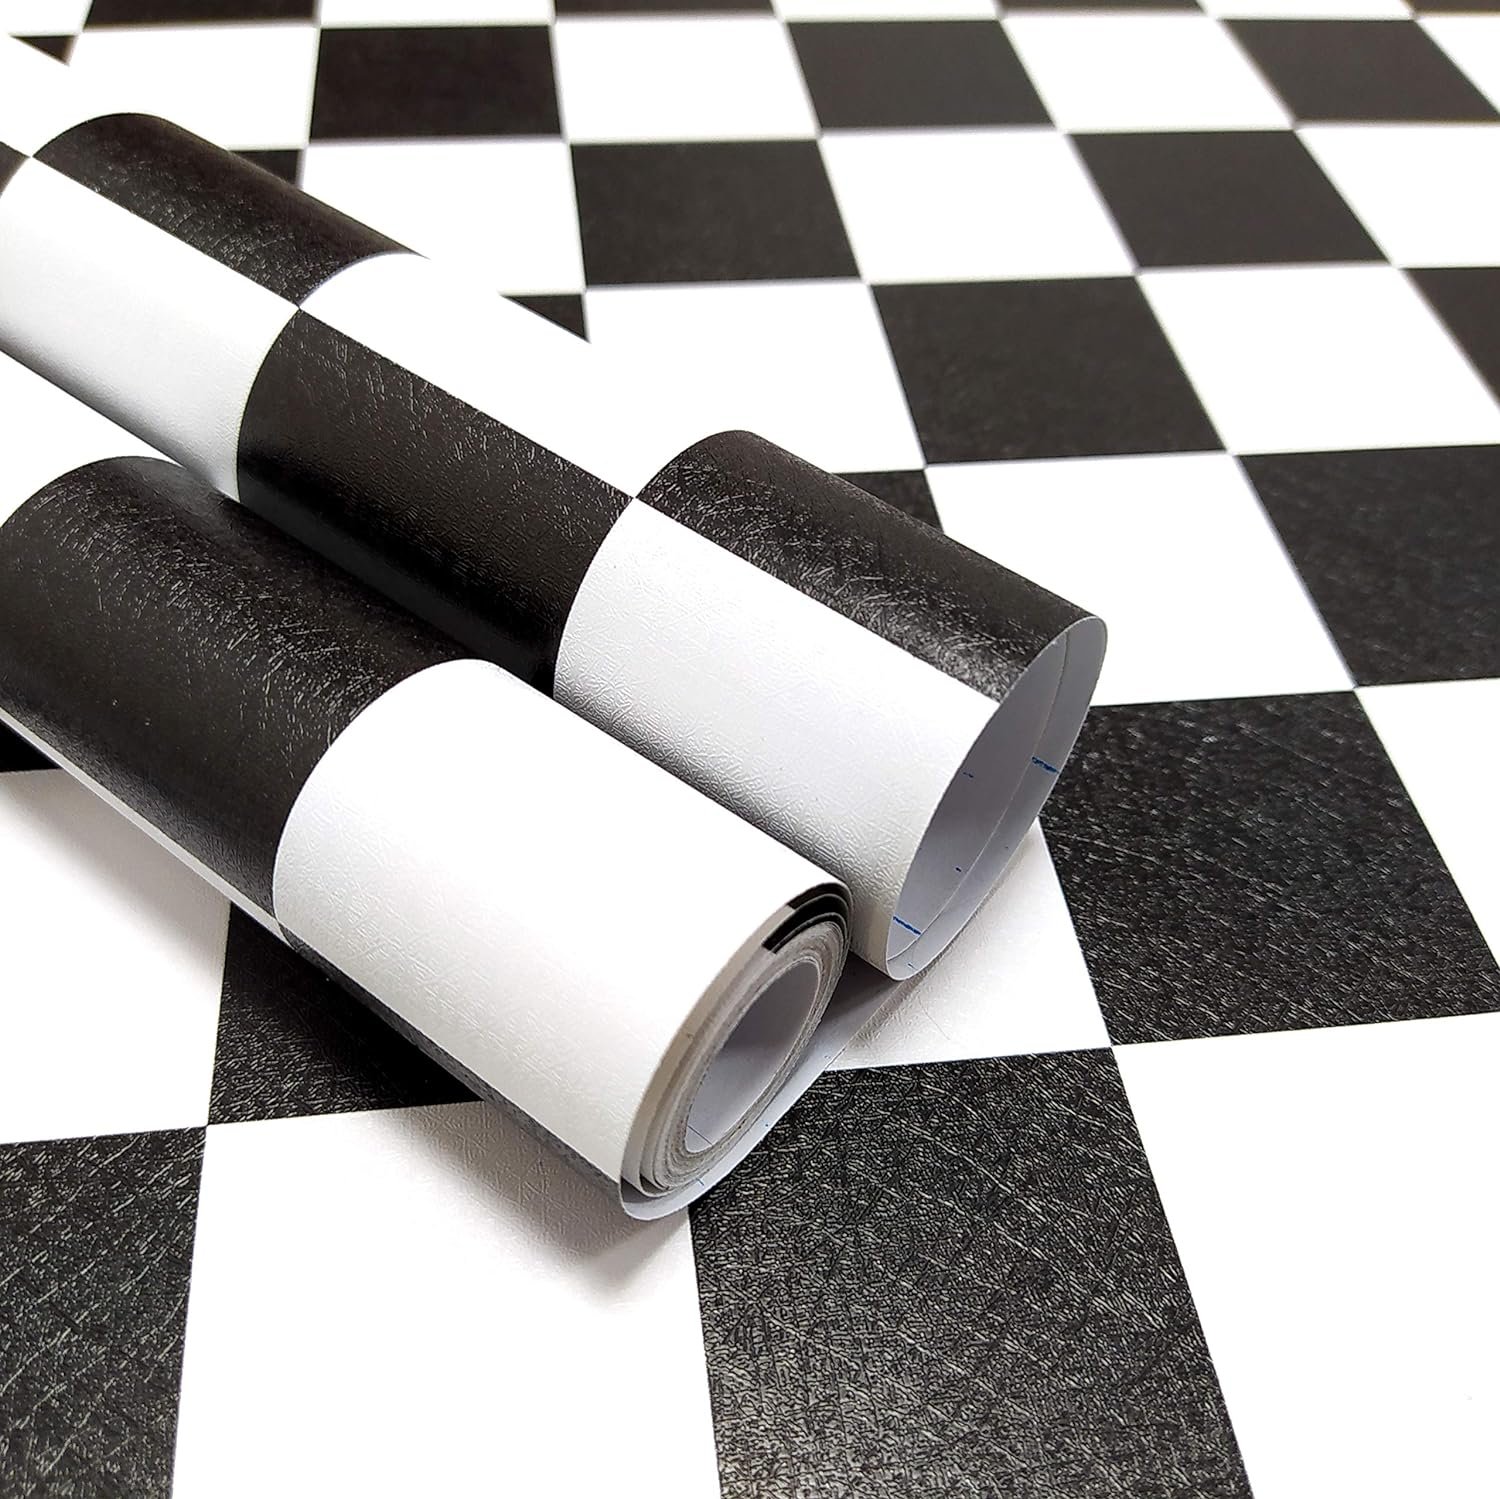
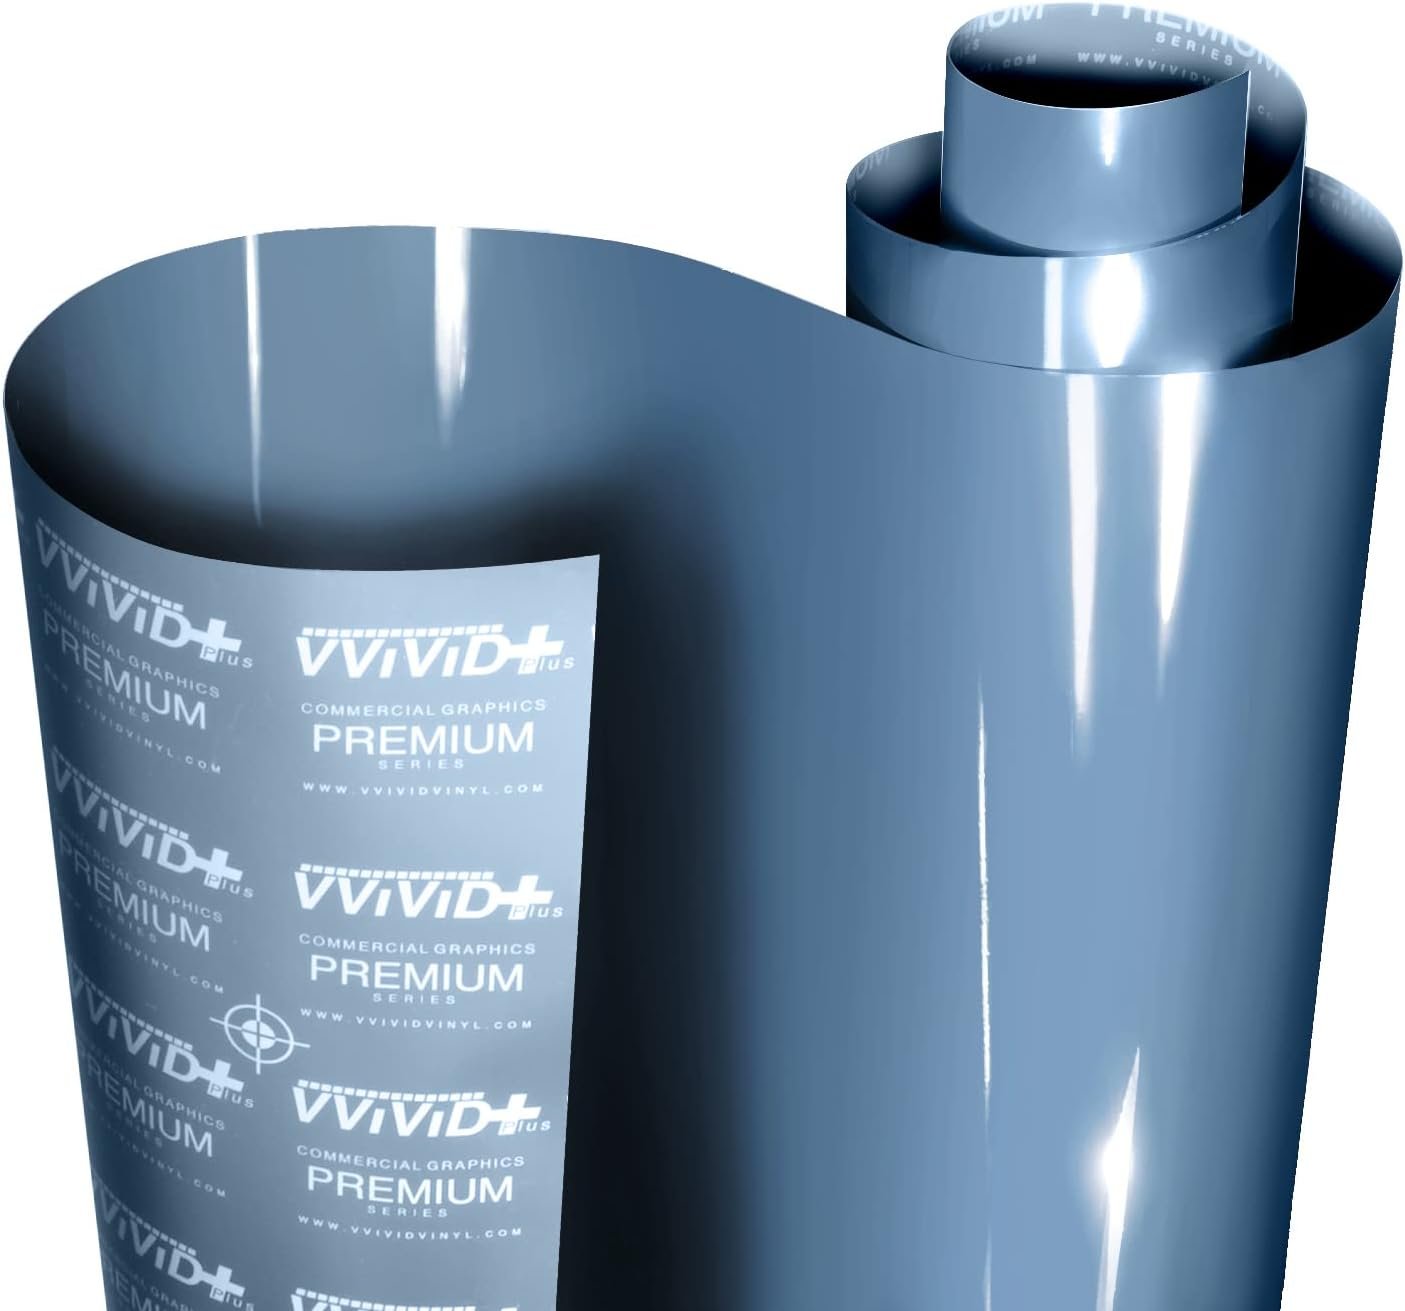
If you want to add color to your kitchen but don’t want to do anything quite so permanent, contact paper or heat wrap vinyl might be good options for you.
Contact paper is definitely the lower maintenance of the two, since it works essentially like peel-and-stick wallpaper. There are about a million options on pattern and color out there, so you can truly make your fridge, backsplash, etc. look like anything. And, since it peels right off, you can go a bit wild with zero risk.
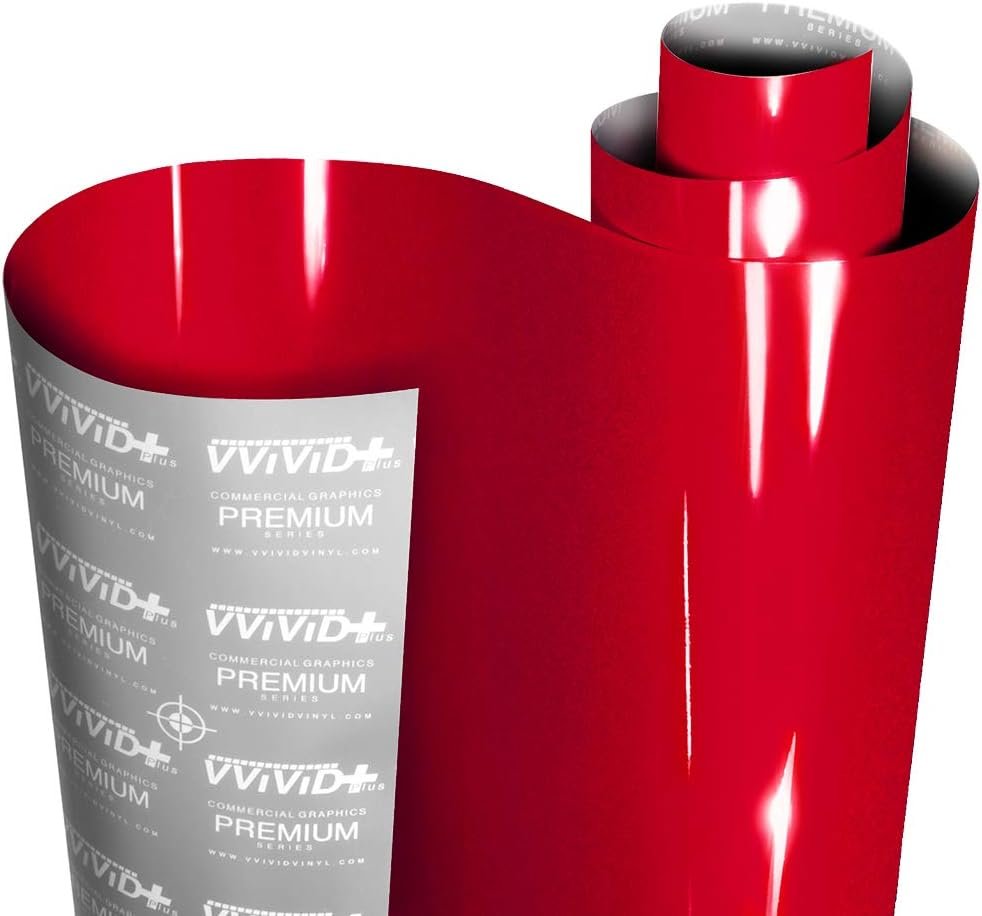
On an appliance like an oven that gets hot to the touch, or one that’s not quite flat enough for contact paper to go on nicely, heat wrap vinyl is the better choice. Heat wrap vinyl is the material used to wrap sports cars, so it’s extremely durable and can mold easily to different surfaces. It’s a bit more challenging to apply, though, and comes in far fewer colors and patterns than contact paper.
Other supplies you need if you go either of these routes would be a squeegee to smooth it down, plus a good craft knife.
The ORC editors recently put together a guide of their favorite DIY products. You can check out all their recommendations here.
We want to feature your amazing DIY projects! Send us photos or videos from your One Room Challenge® project via this form.