DIY: A Mudroom Transformation That Brings the Charm
DIY

VIA ERIN ZUBOT
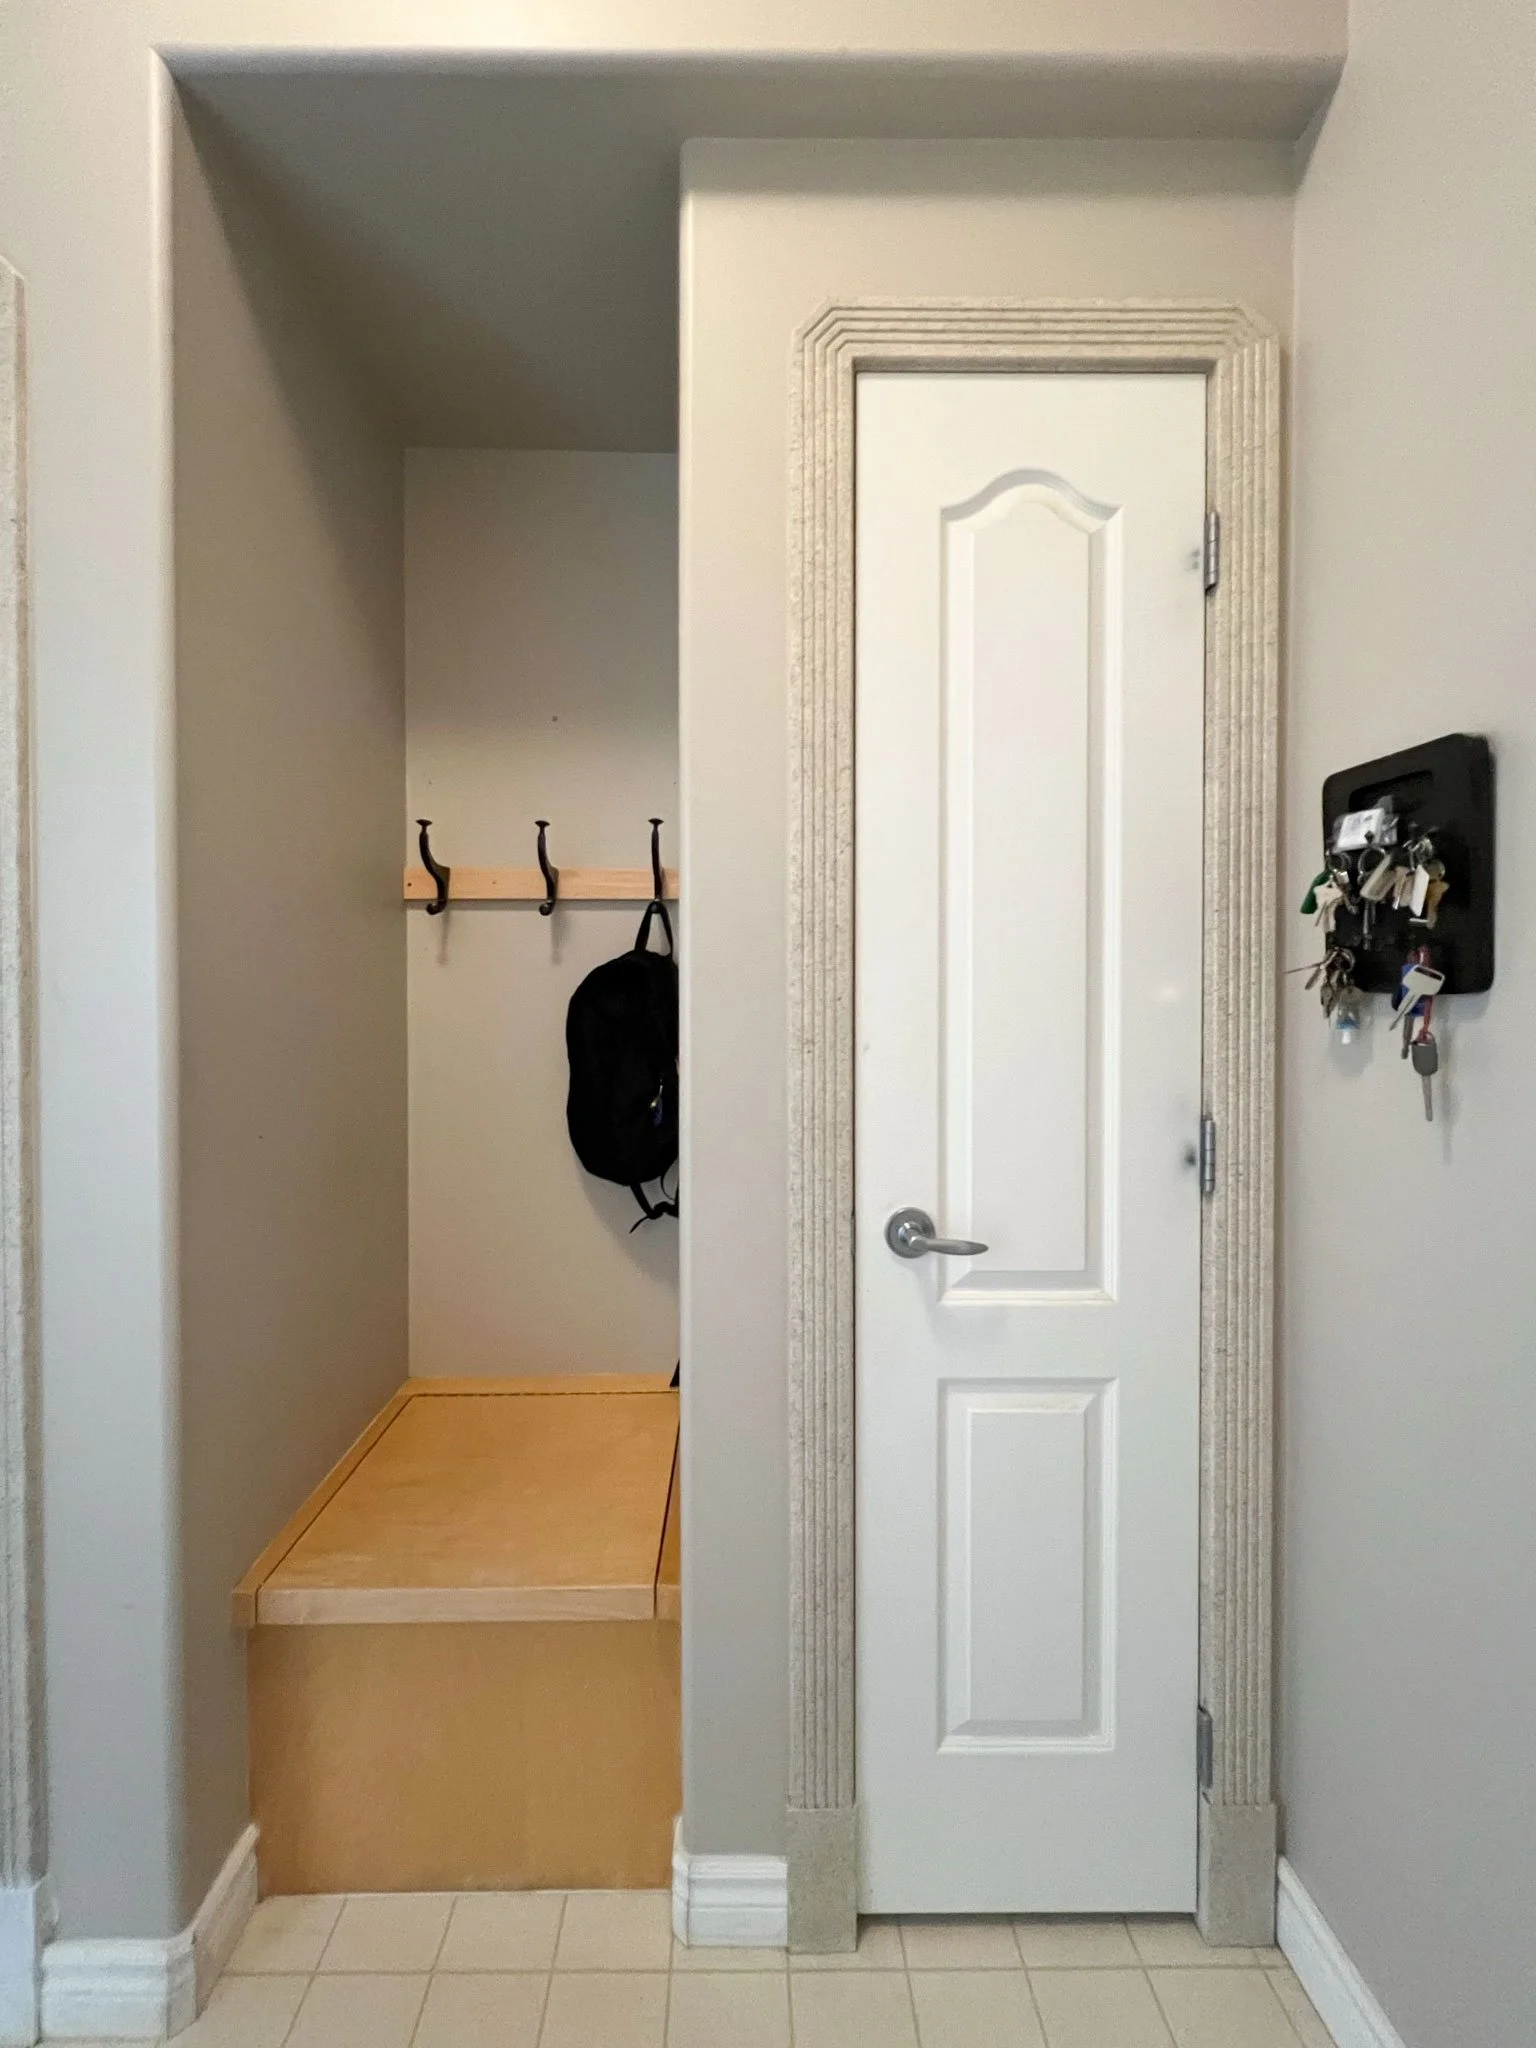
Seasoned ORC vet Erin Zubot tackled a major mudroom overhaul during the Fall ‘22 event, during which she DIYed the most charming mudroom storage bench.
The original layout of her the original layout of her mudroom consisted of one narrow closet and one narrow bench, neither of which were particularly functional.

VIA ERIN ZUBOT
Step one of her project involved demolishing the narrow closet and narrow bench so she could start from scratch. She also tore out all of the linoleum flooring, which had seen better days.

VIA ERIN ZUBOT
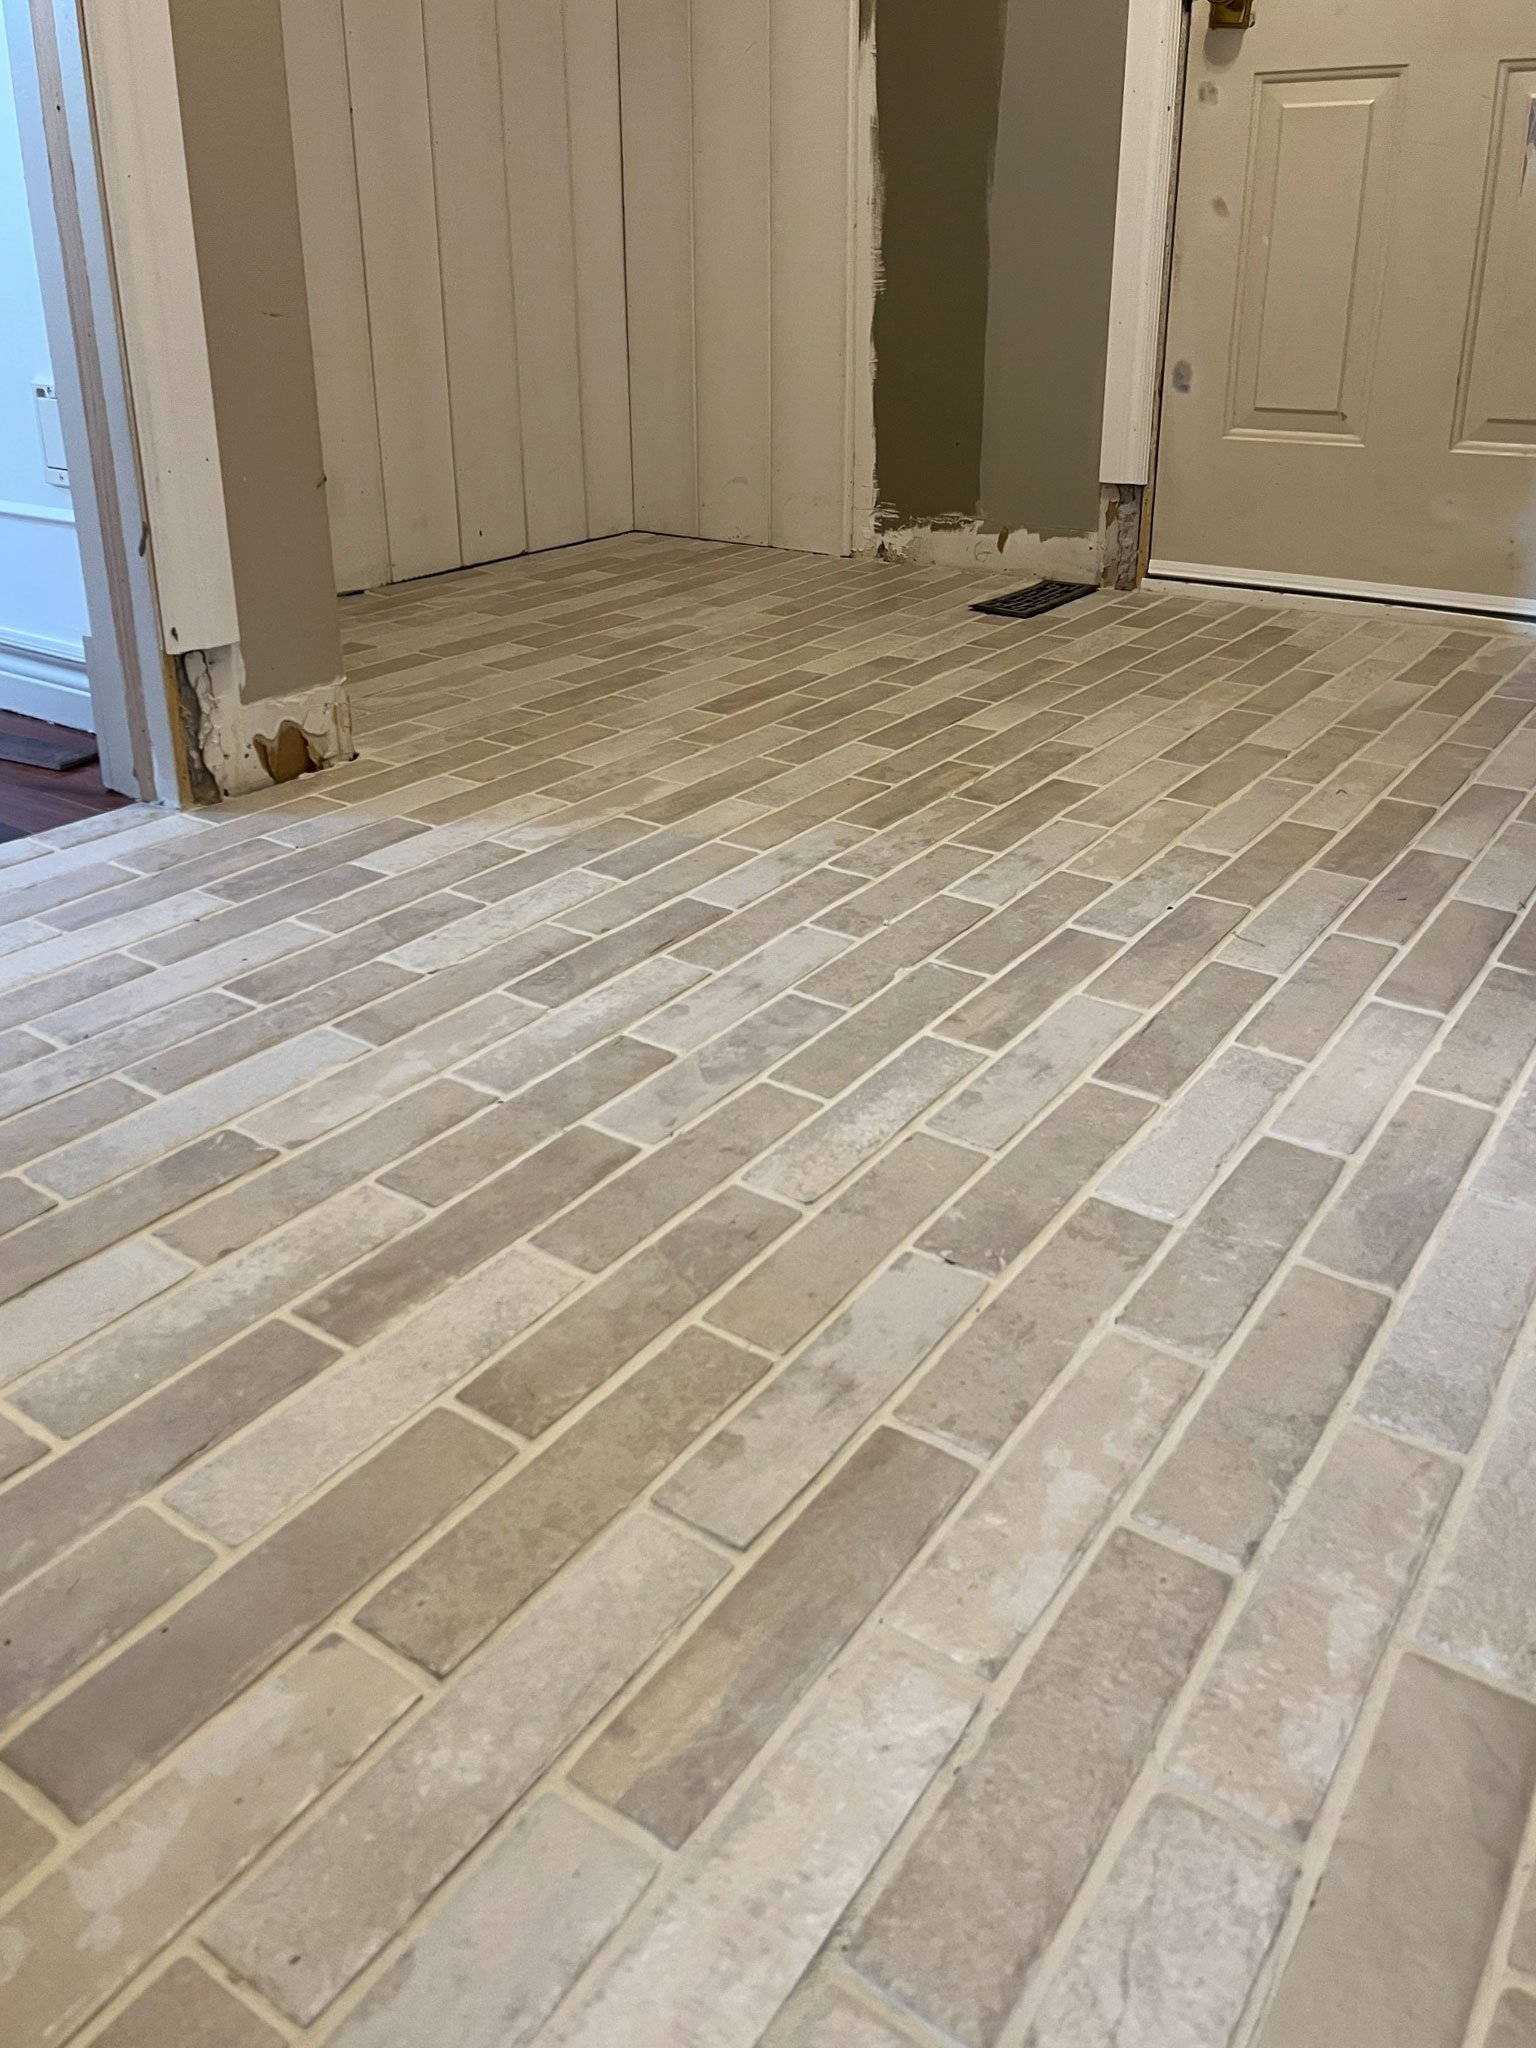
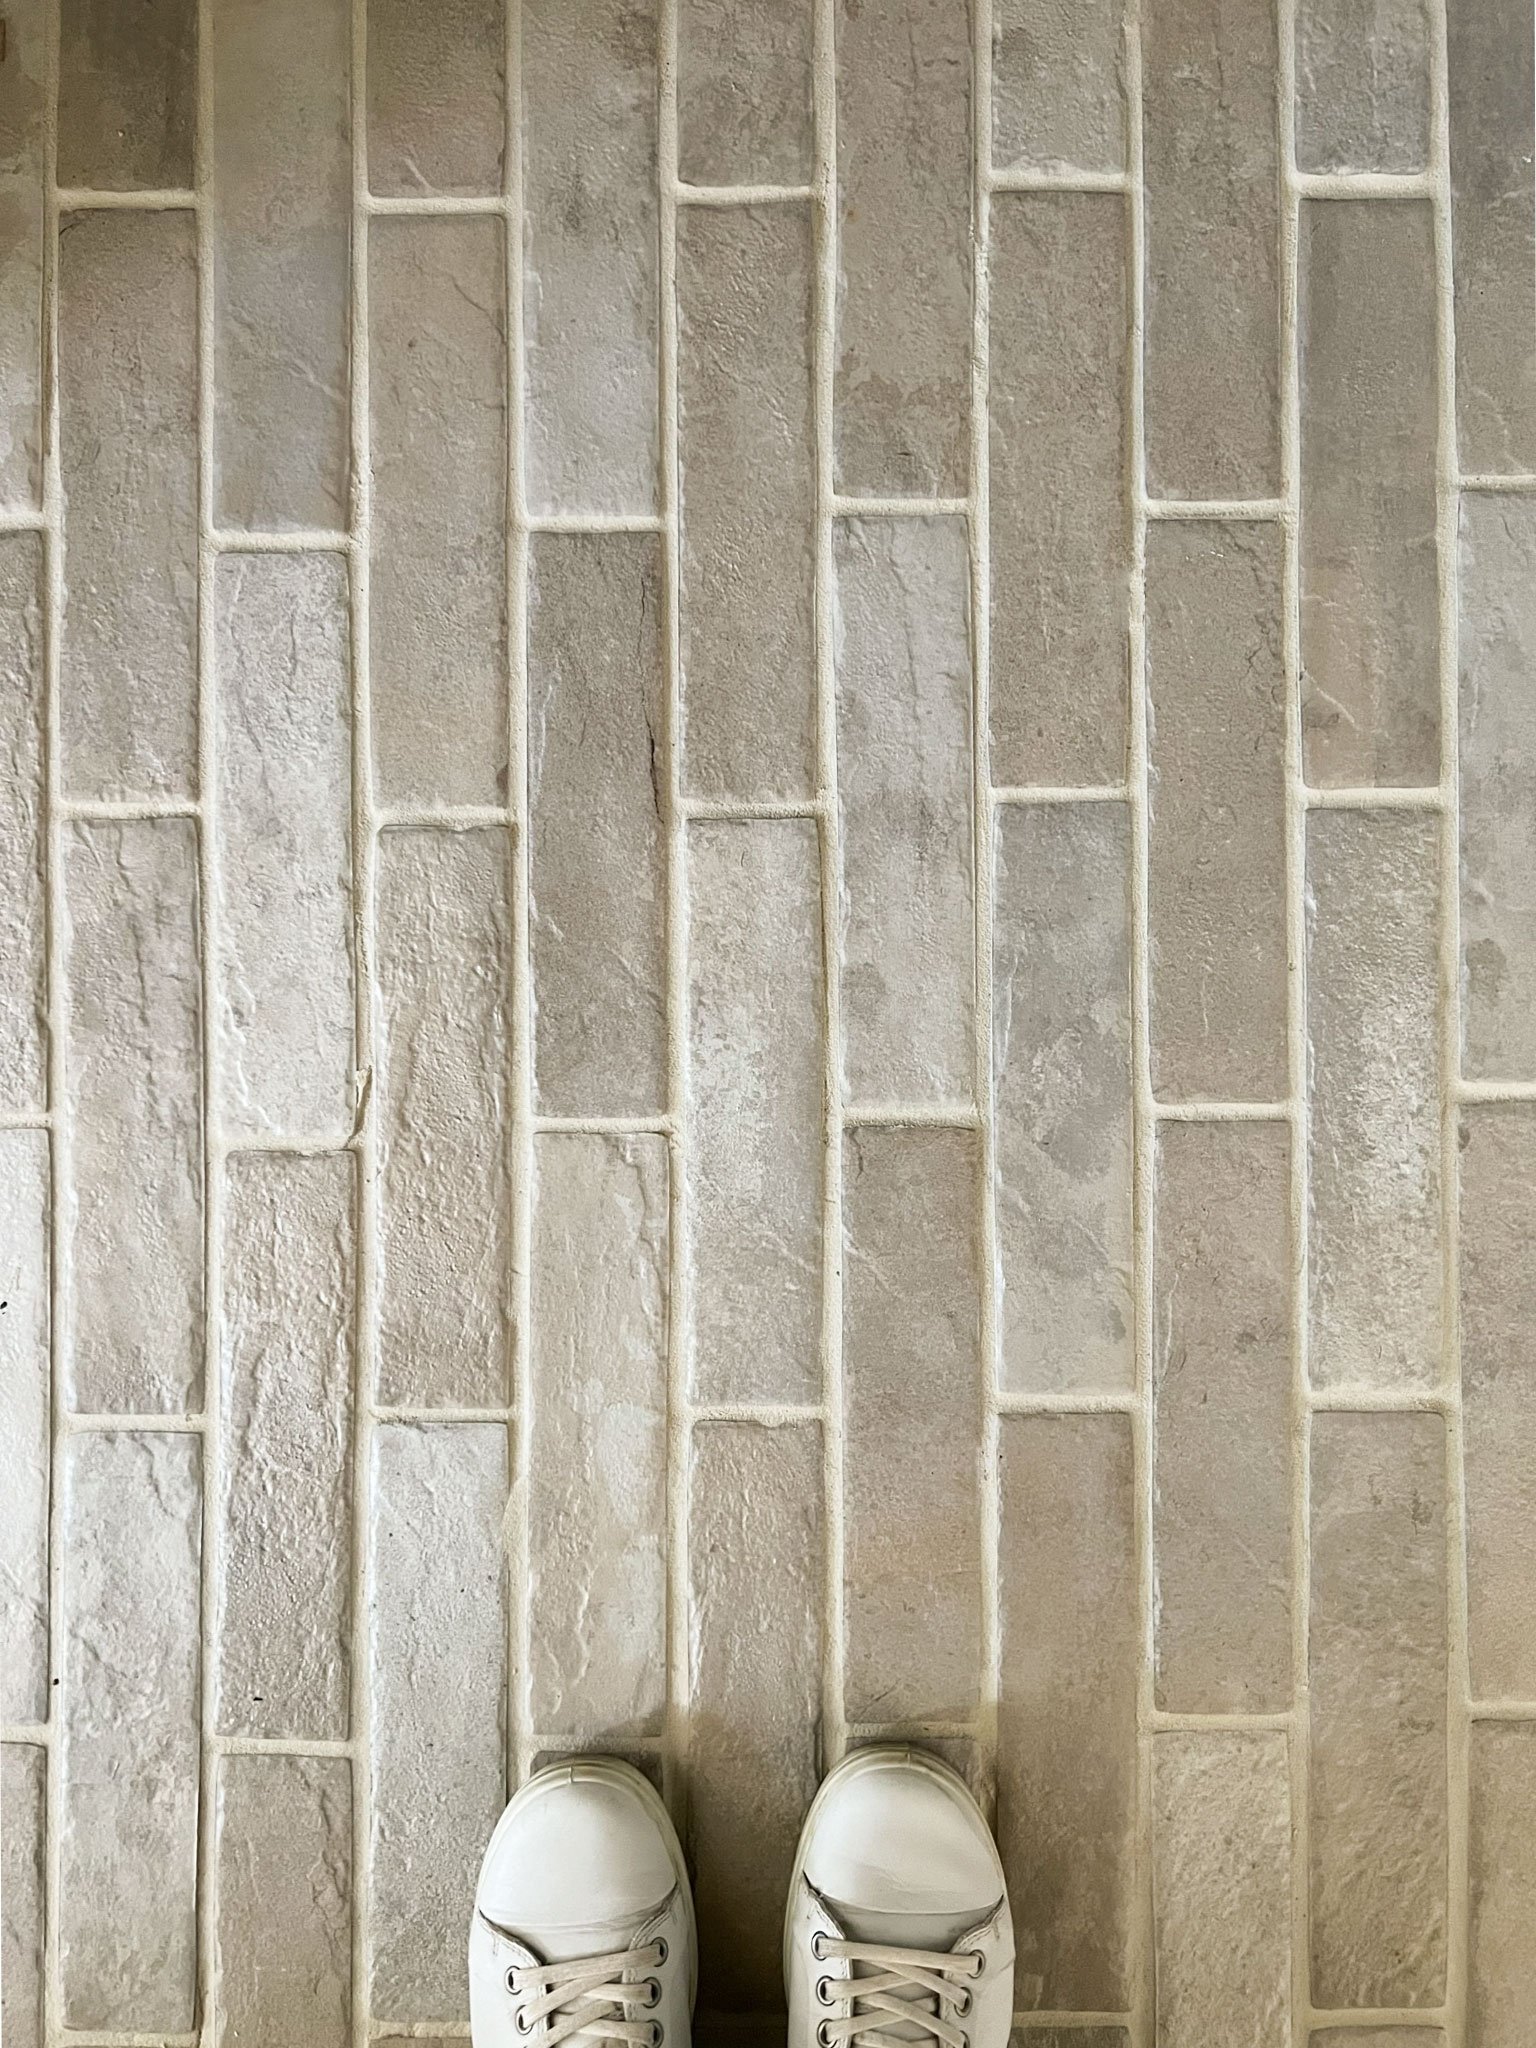
Before we get into the bench, take a gander at these beautiful brick-look porcelain tiles she installed.
According to Erin, DIYing tile installation is totally doable as long as you take the time to make sure the subfloor is as level as possible. She recommends doing every bit of prep work and research you can, which will make the installation process a breeze and prevent your tile or grout from cracking in the future.
She also highly recommends dry fitting your tile (laying out all your tile in your tile pattern before cracking out the mortar), because tile patterns can get complicated at the edges of rooms and you may have to change where your pattern starts.
If you’re considering DIYing a tile installation, you should definitely check out her tutorial.
VIA ERIN ZUBOT
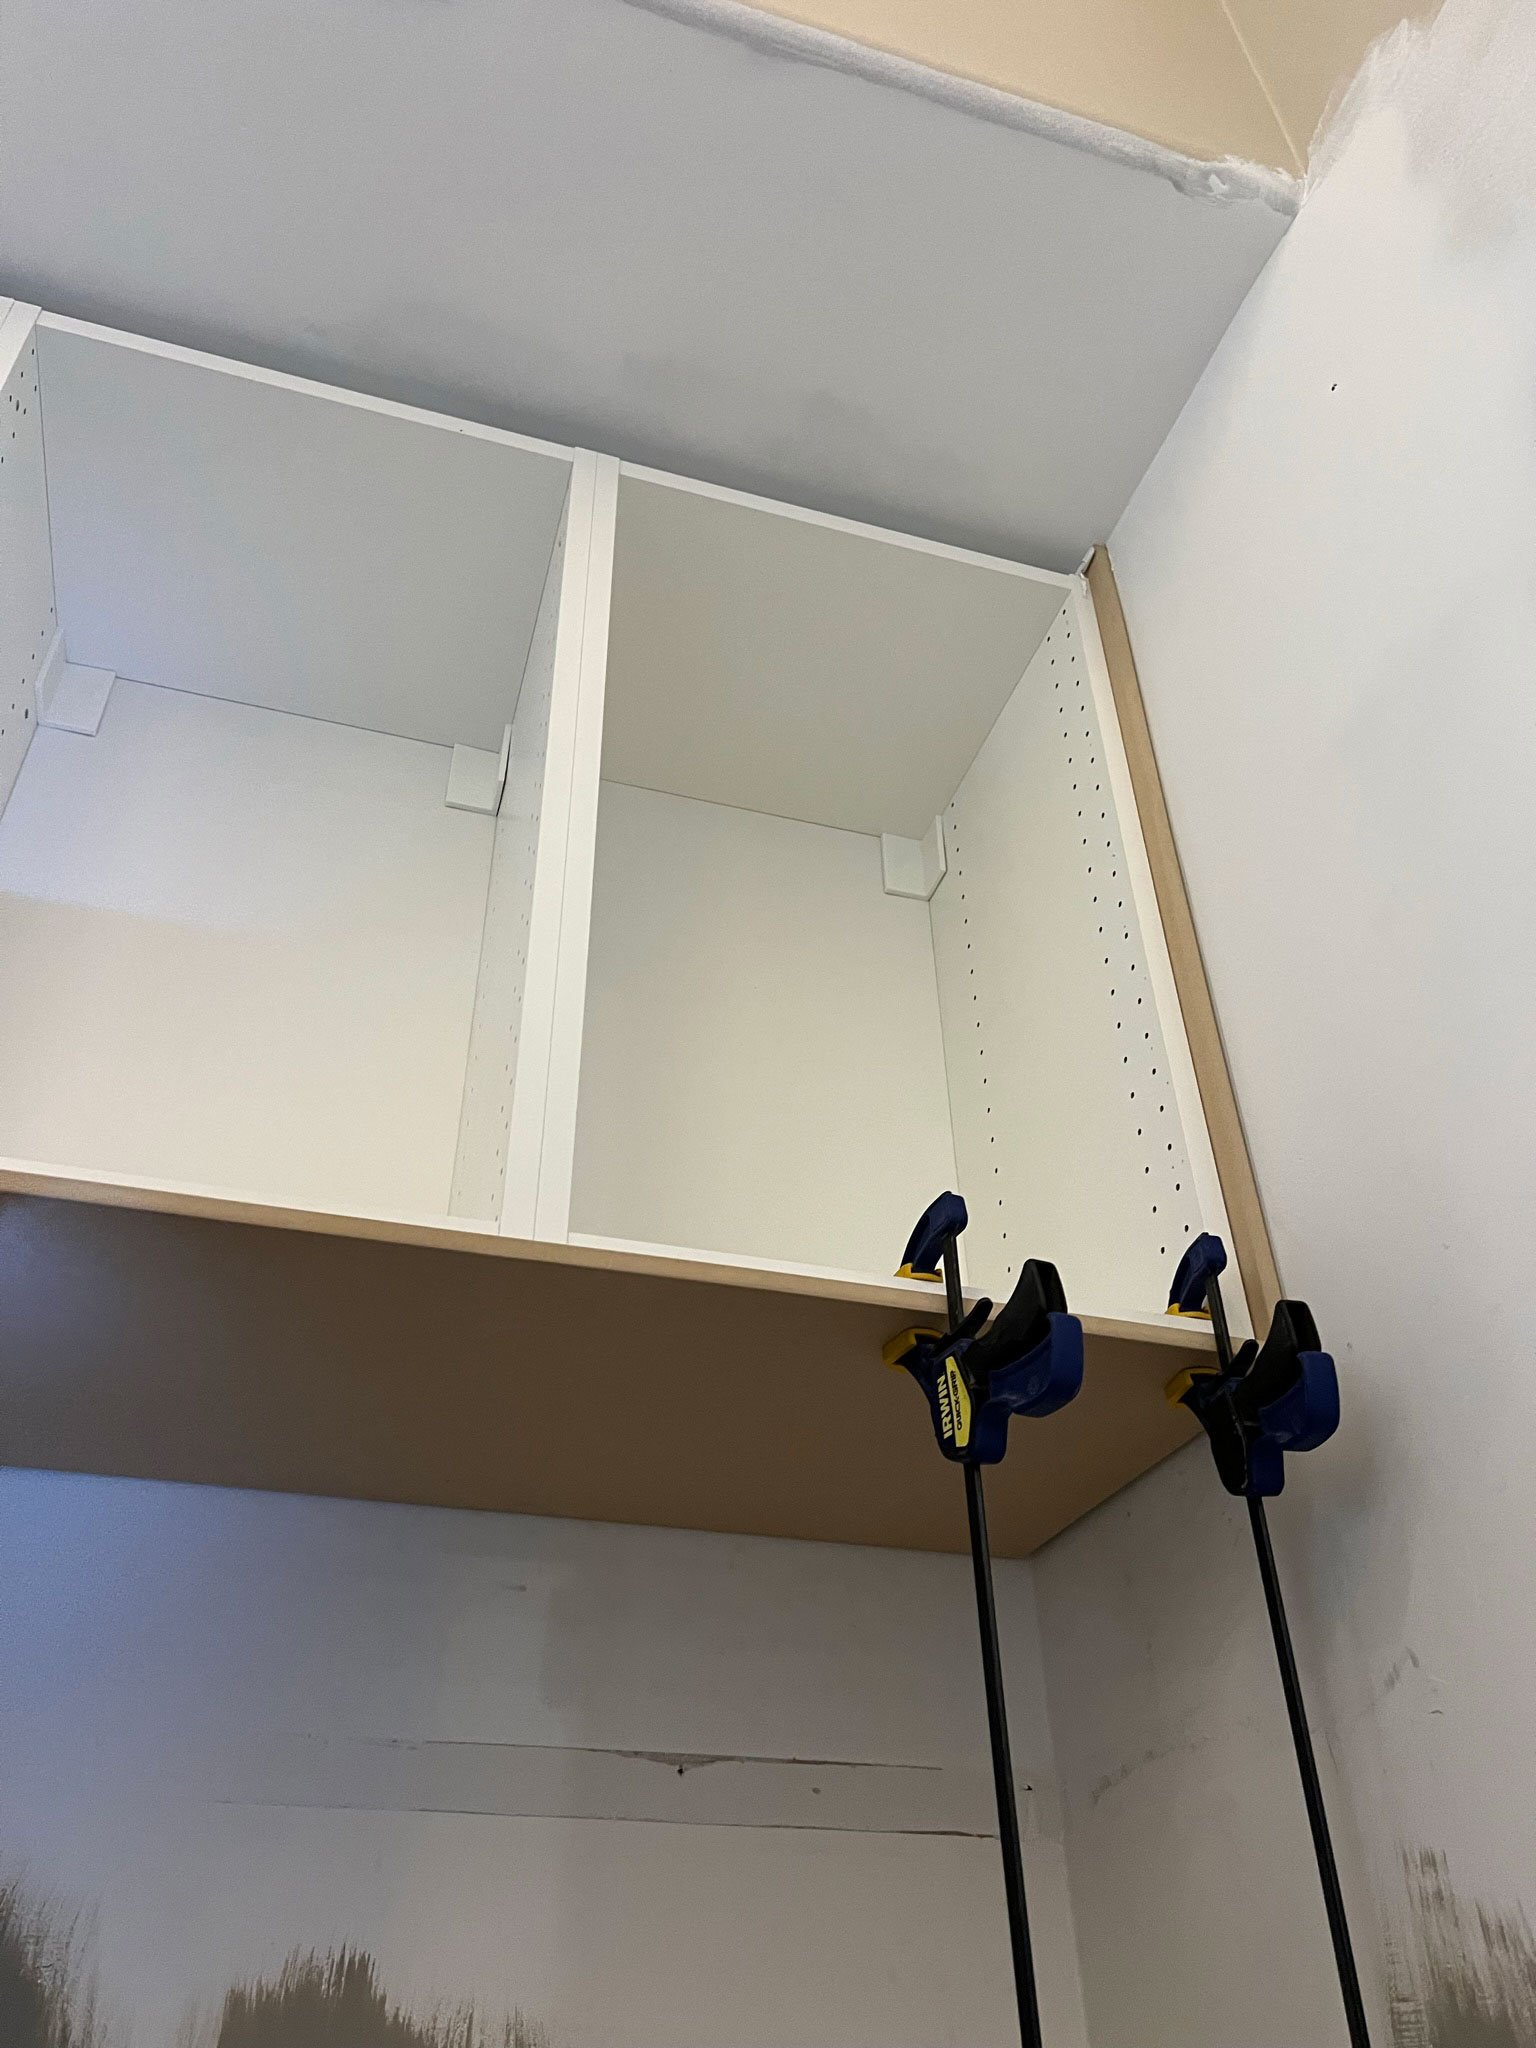
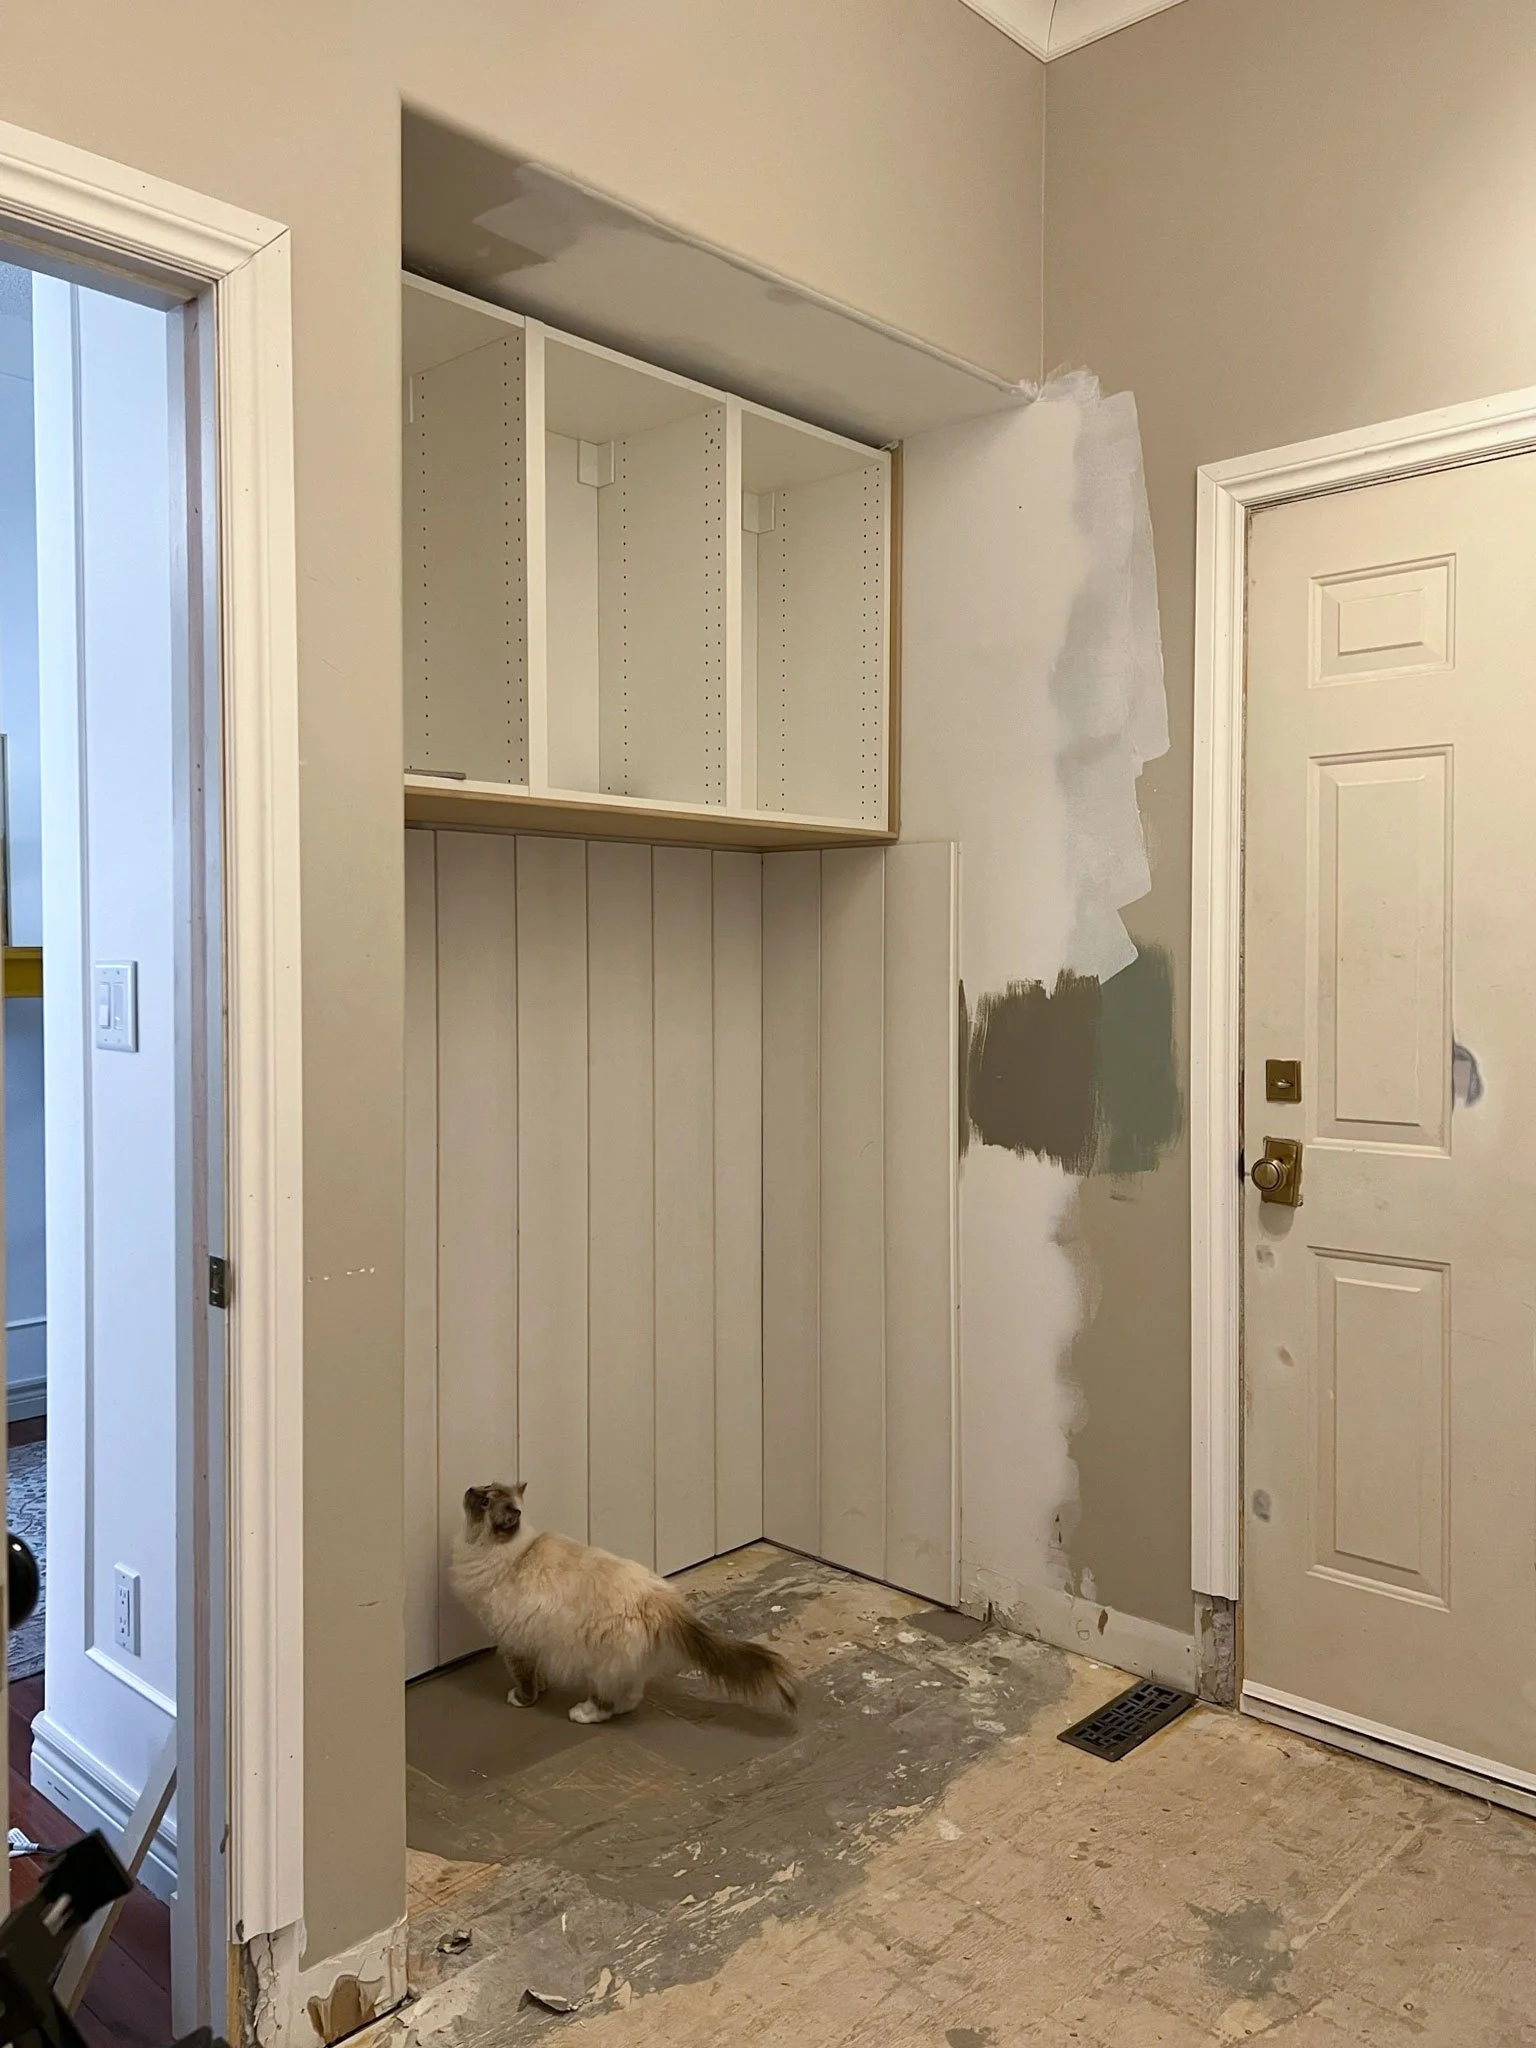
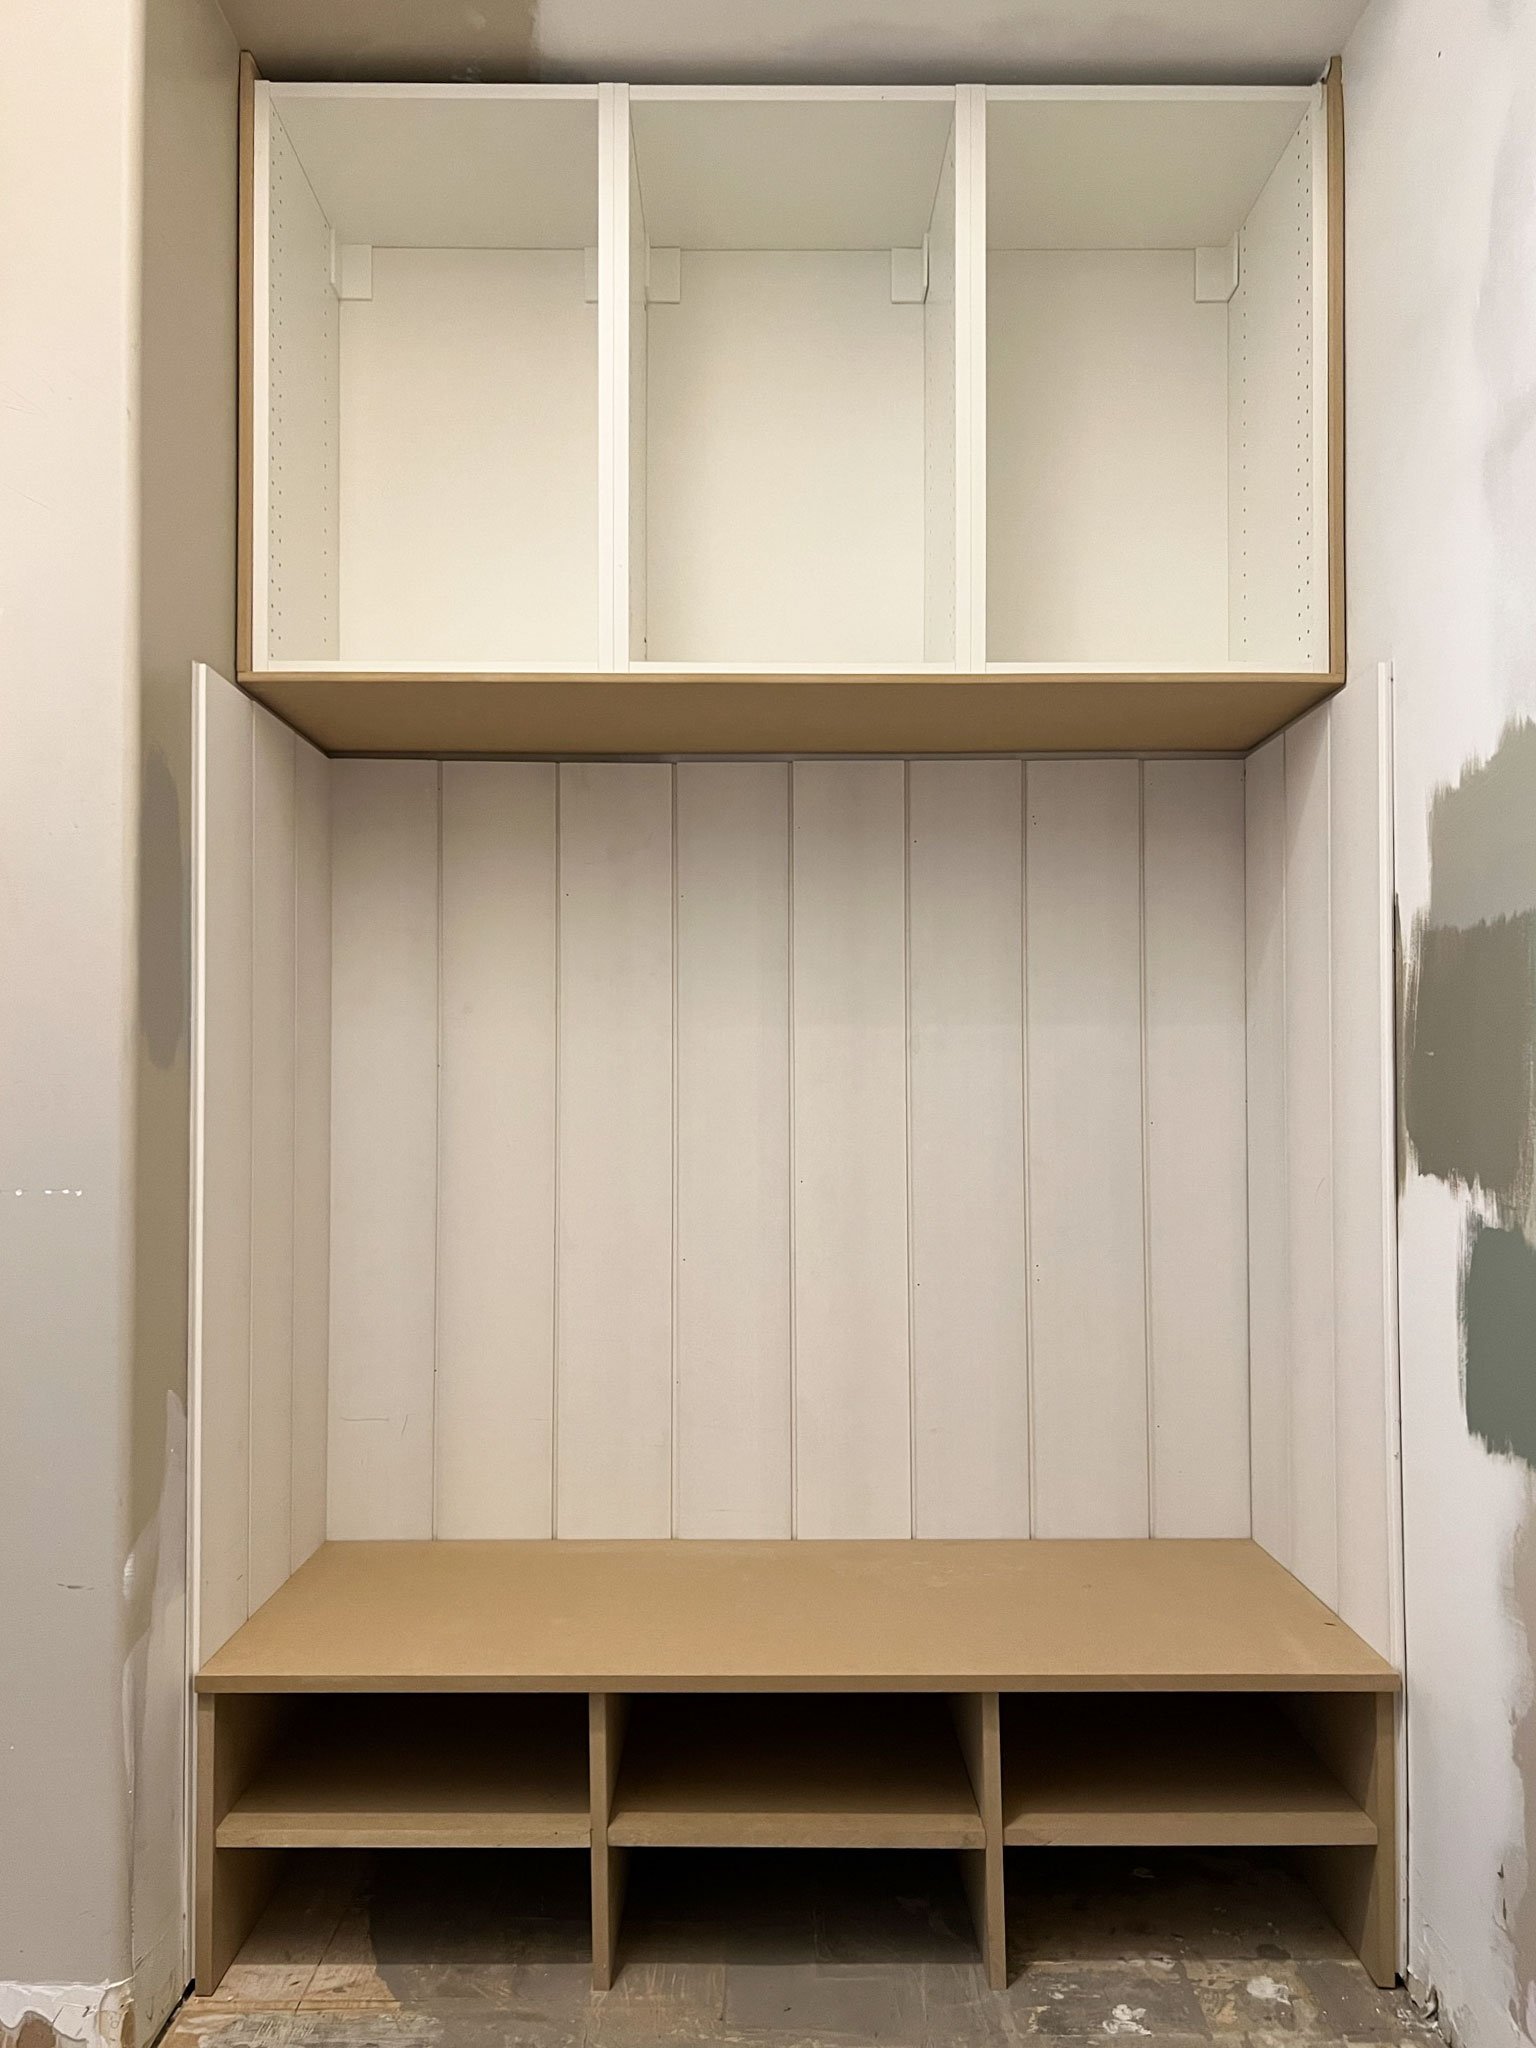
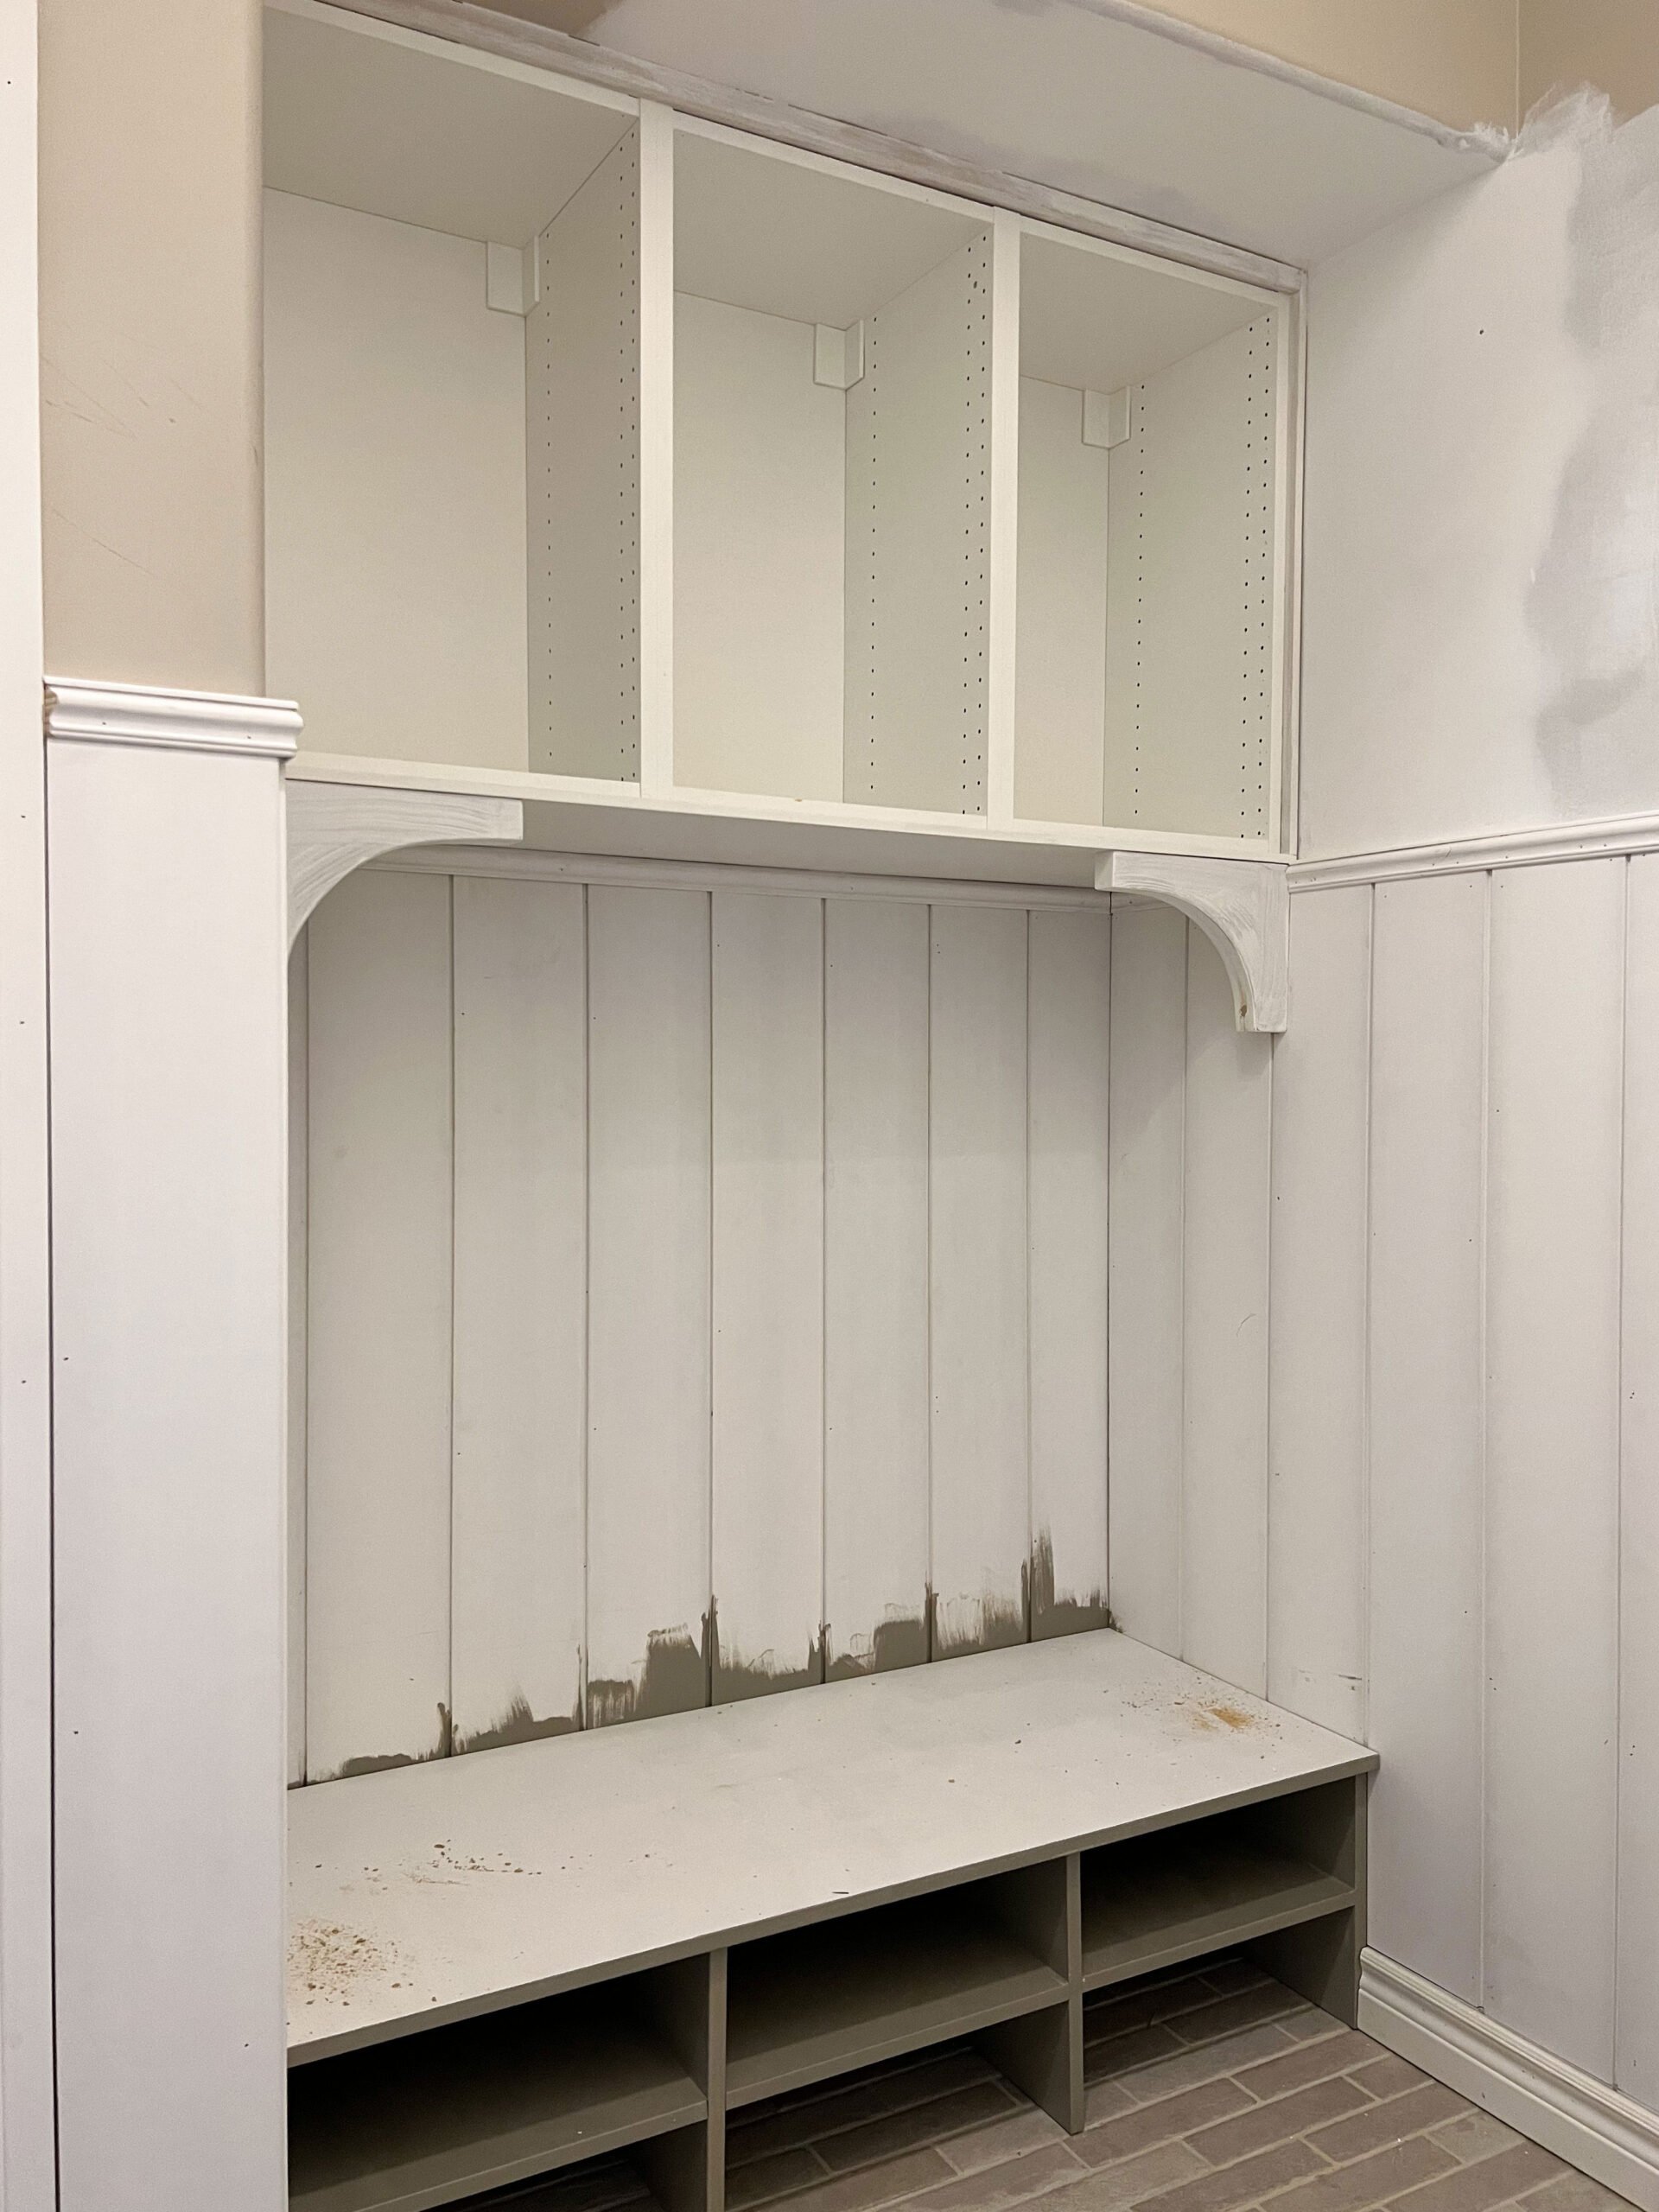
The plan for the new and improved mudroom storage bench was to hang cabinets above the bench, with shoe storage below. This reconfiguration would occupy the same amount of space as the narrow bench and narrow closet, but both would be wide enough to be usable.
To create this showstopper built-in, Erin started out with IKEA upper cabinets, which hang from rails that you nail into the studs. She left enough room at the top for a piece of trim, and she attached a thin piece of MDF to the bottom of the cabinets to make them seamless and easy to paint later on.
She put in the shiplap for the alcove before getting started on the bench, so that the shiplap would be perfectly continuous.
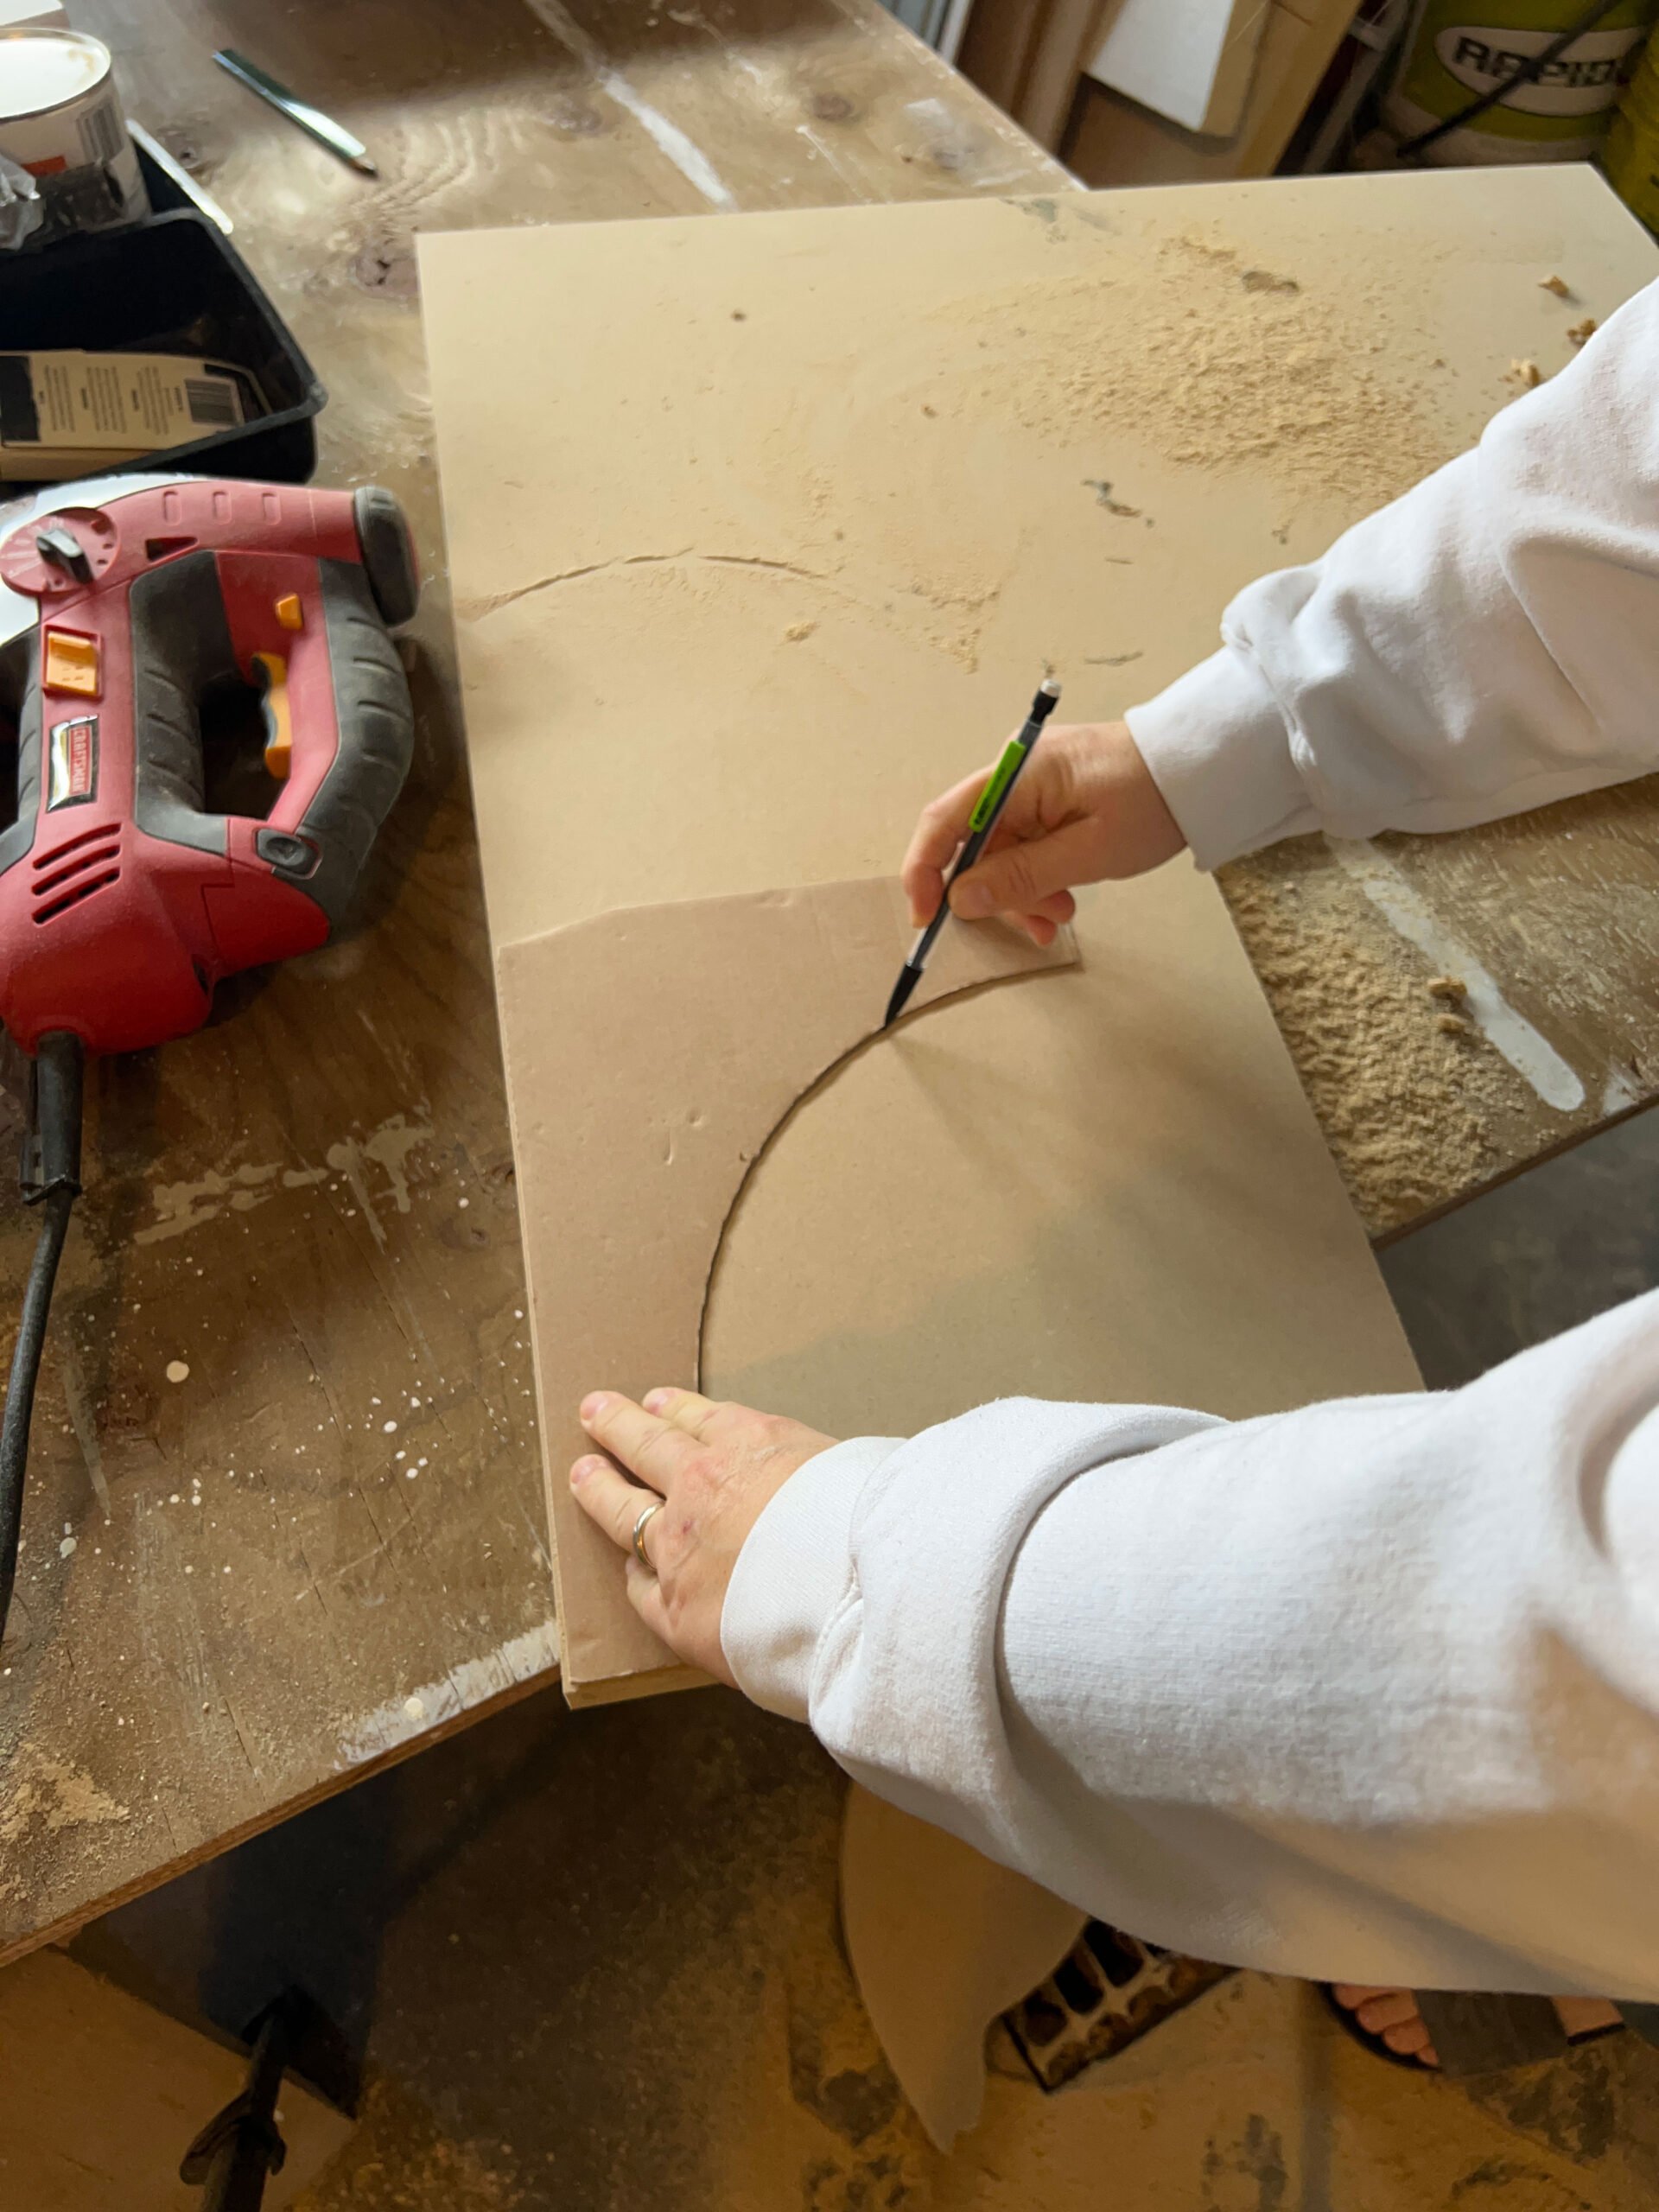
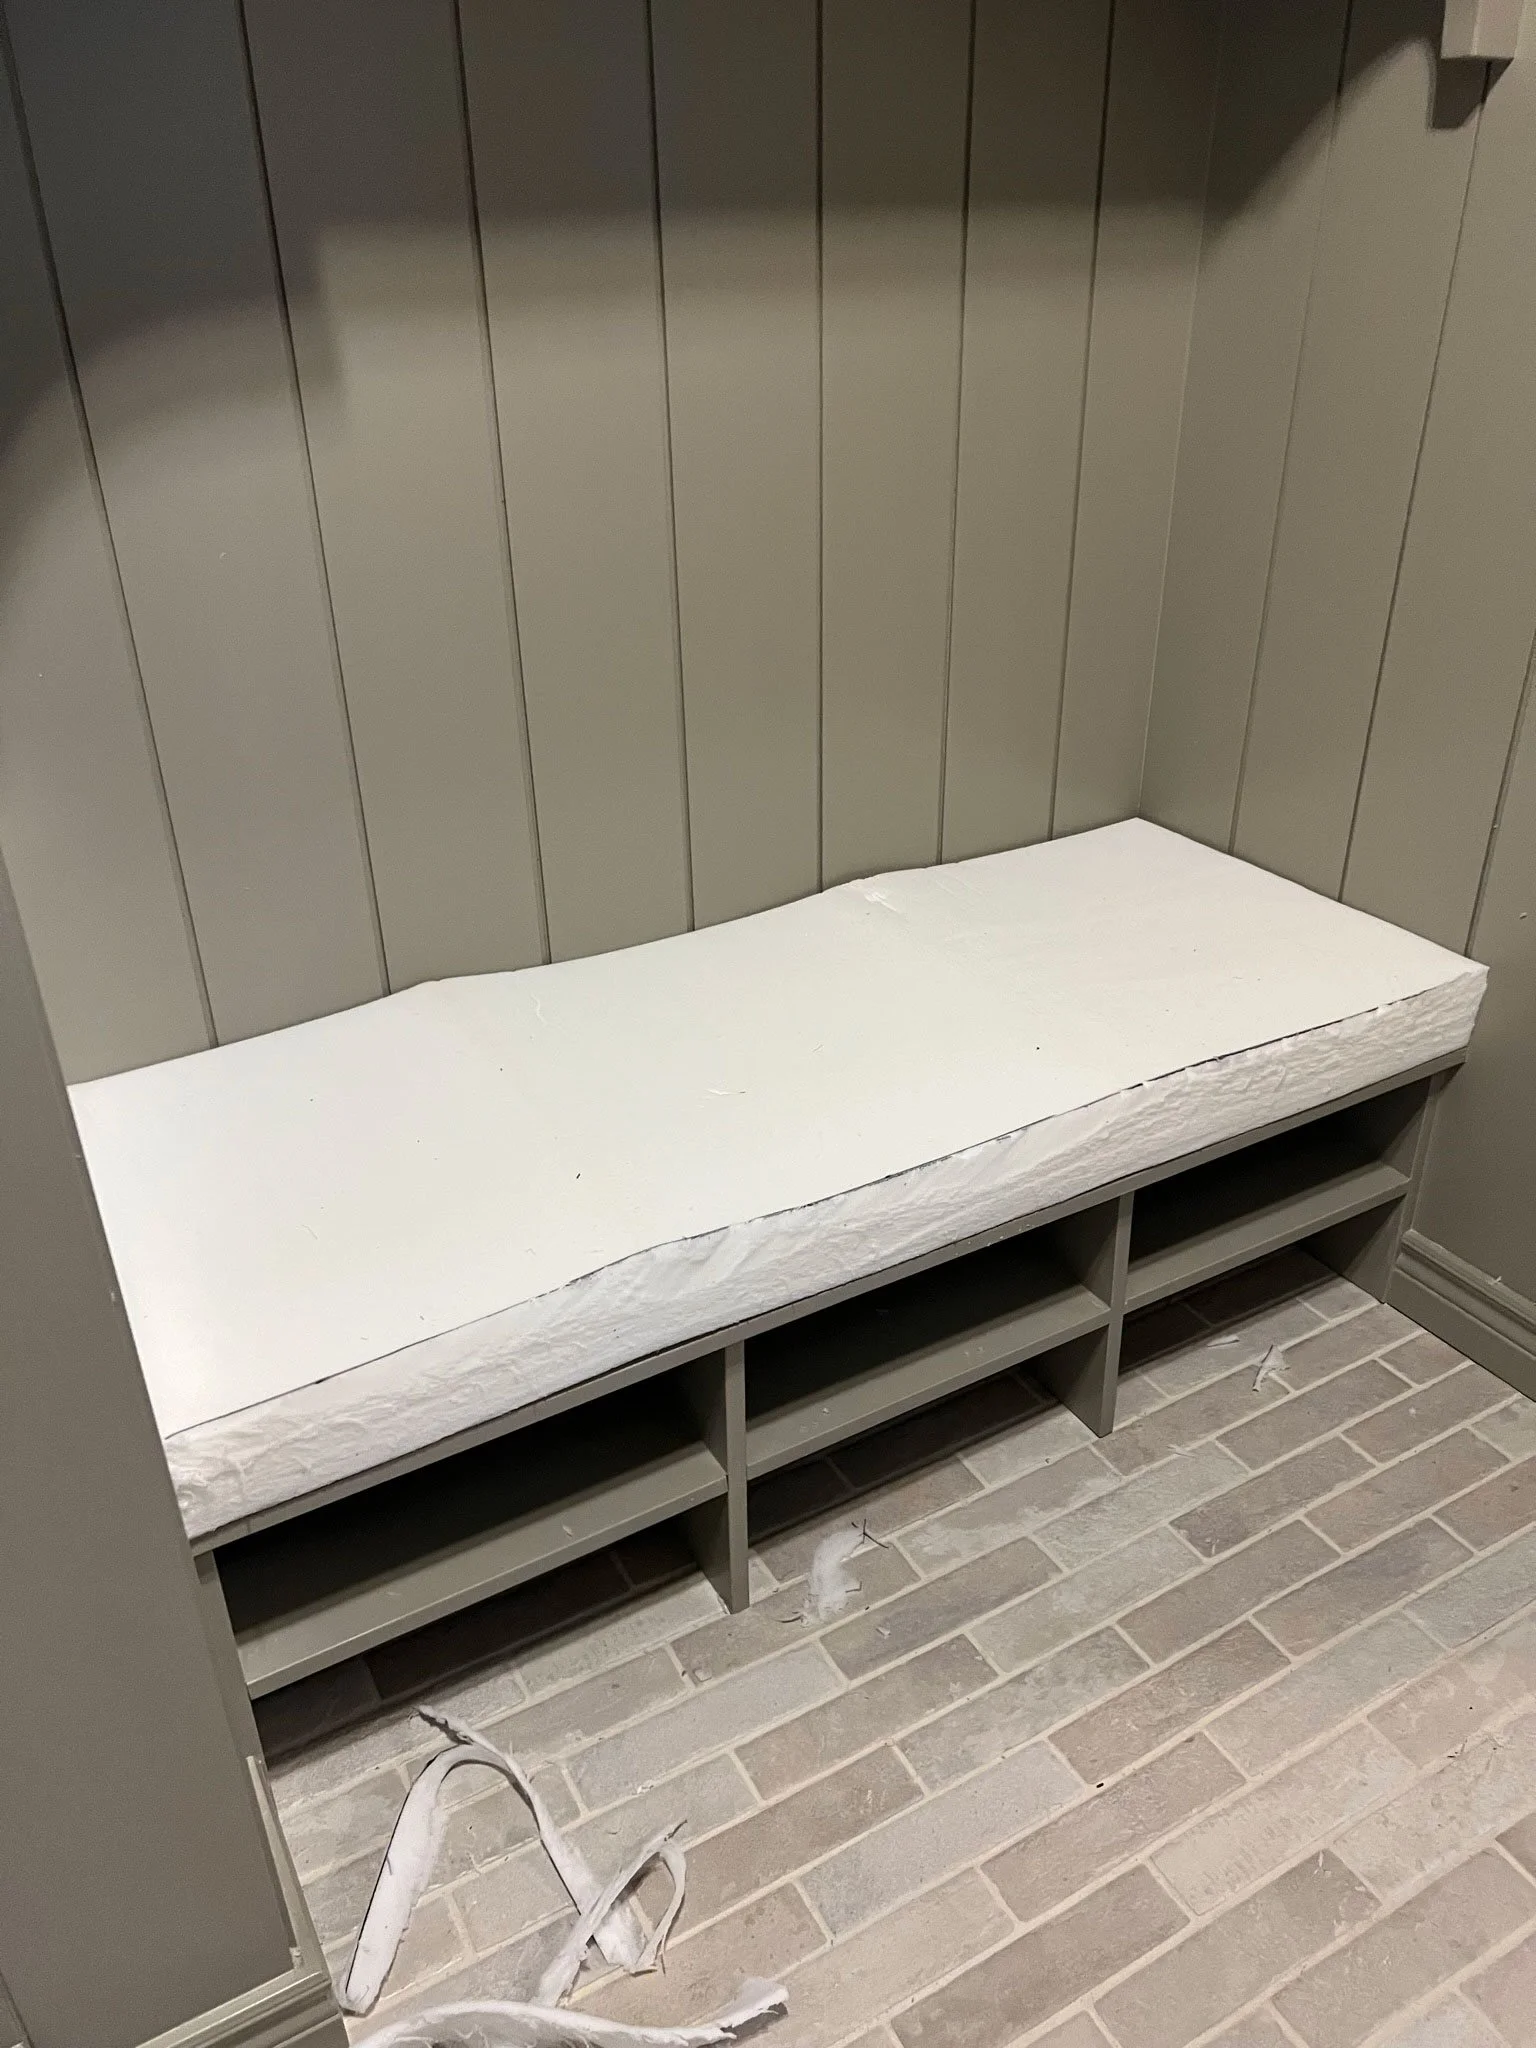
The first part of the bench she worked on was the seat. Since this piece would need to fit perfectly flush with the walls, Erin made a cardboard template with the box cabinets came in, and then measured and trimmed until the cardboard fit nicely. She traced the final cardboard template onto her MDF piece, and cut it out with her circular saw.
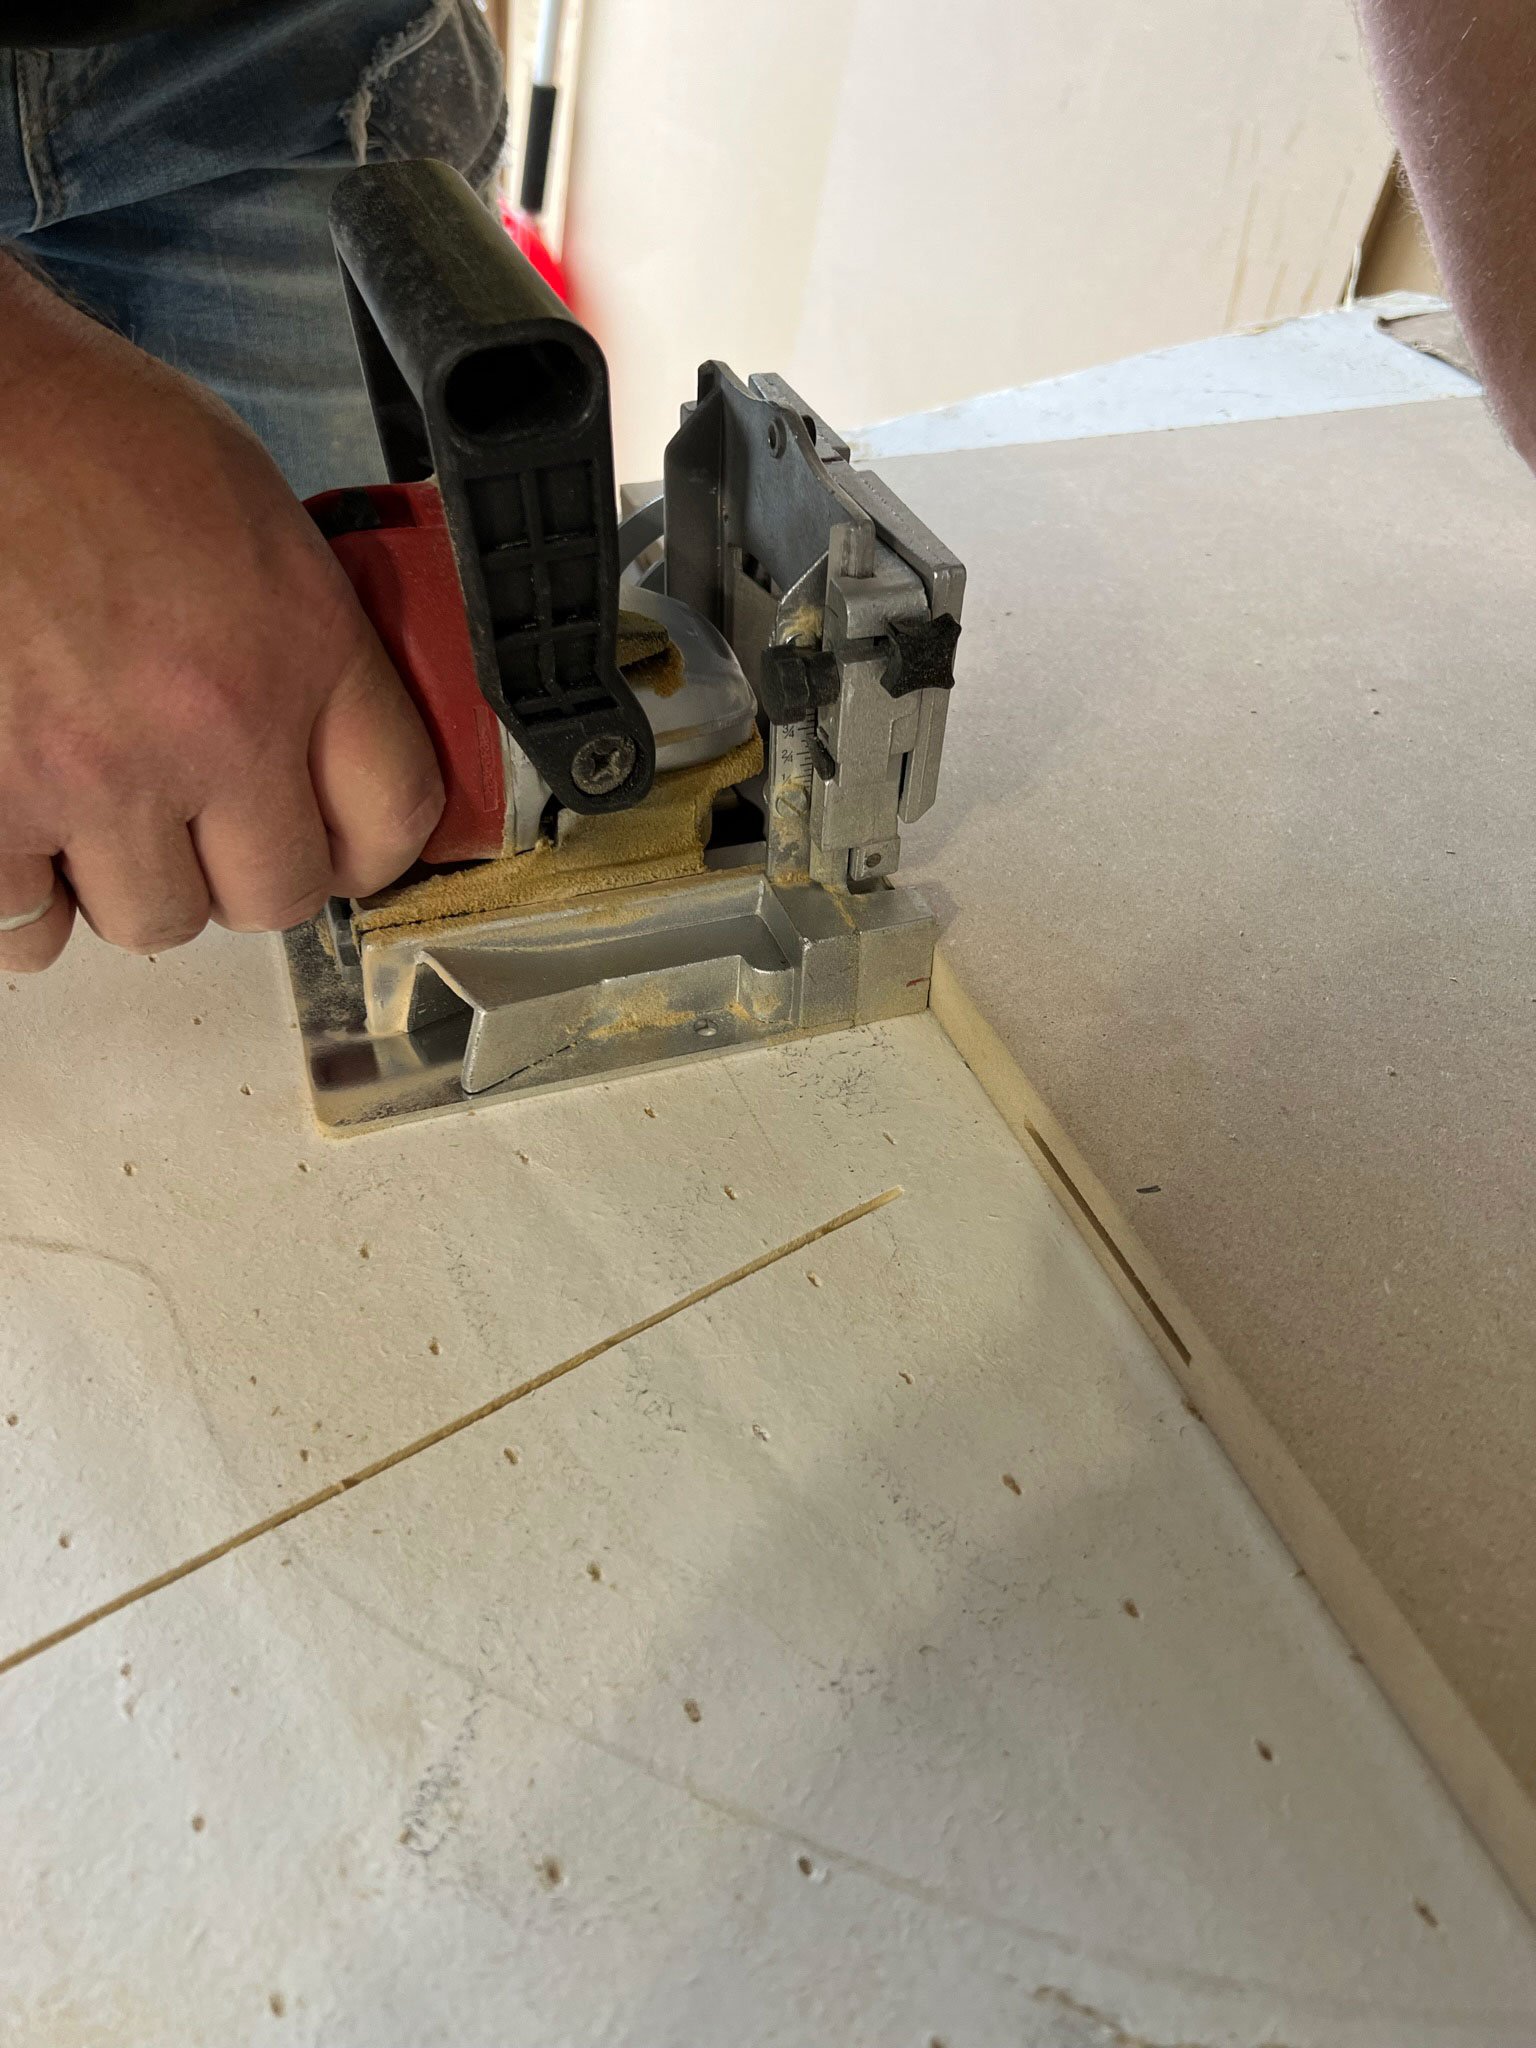
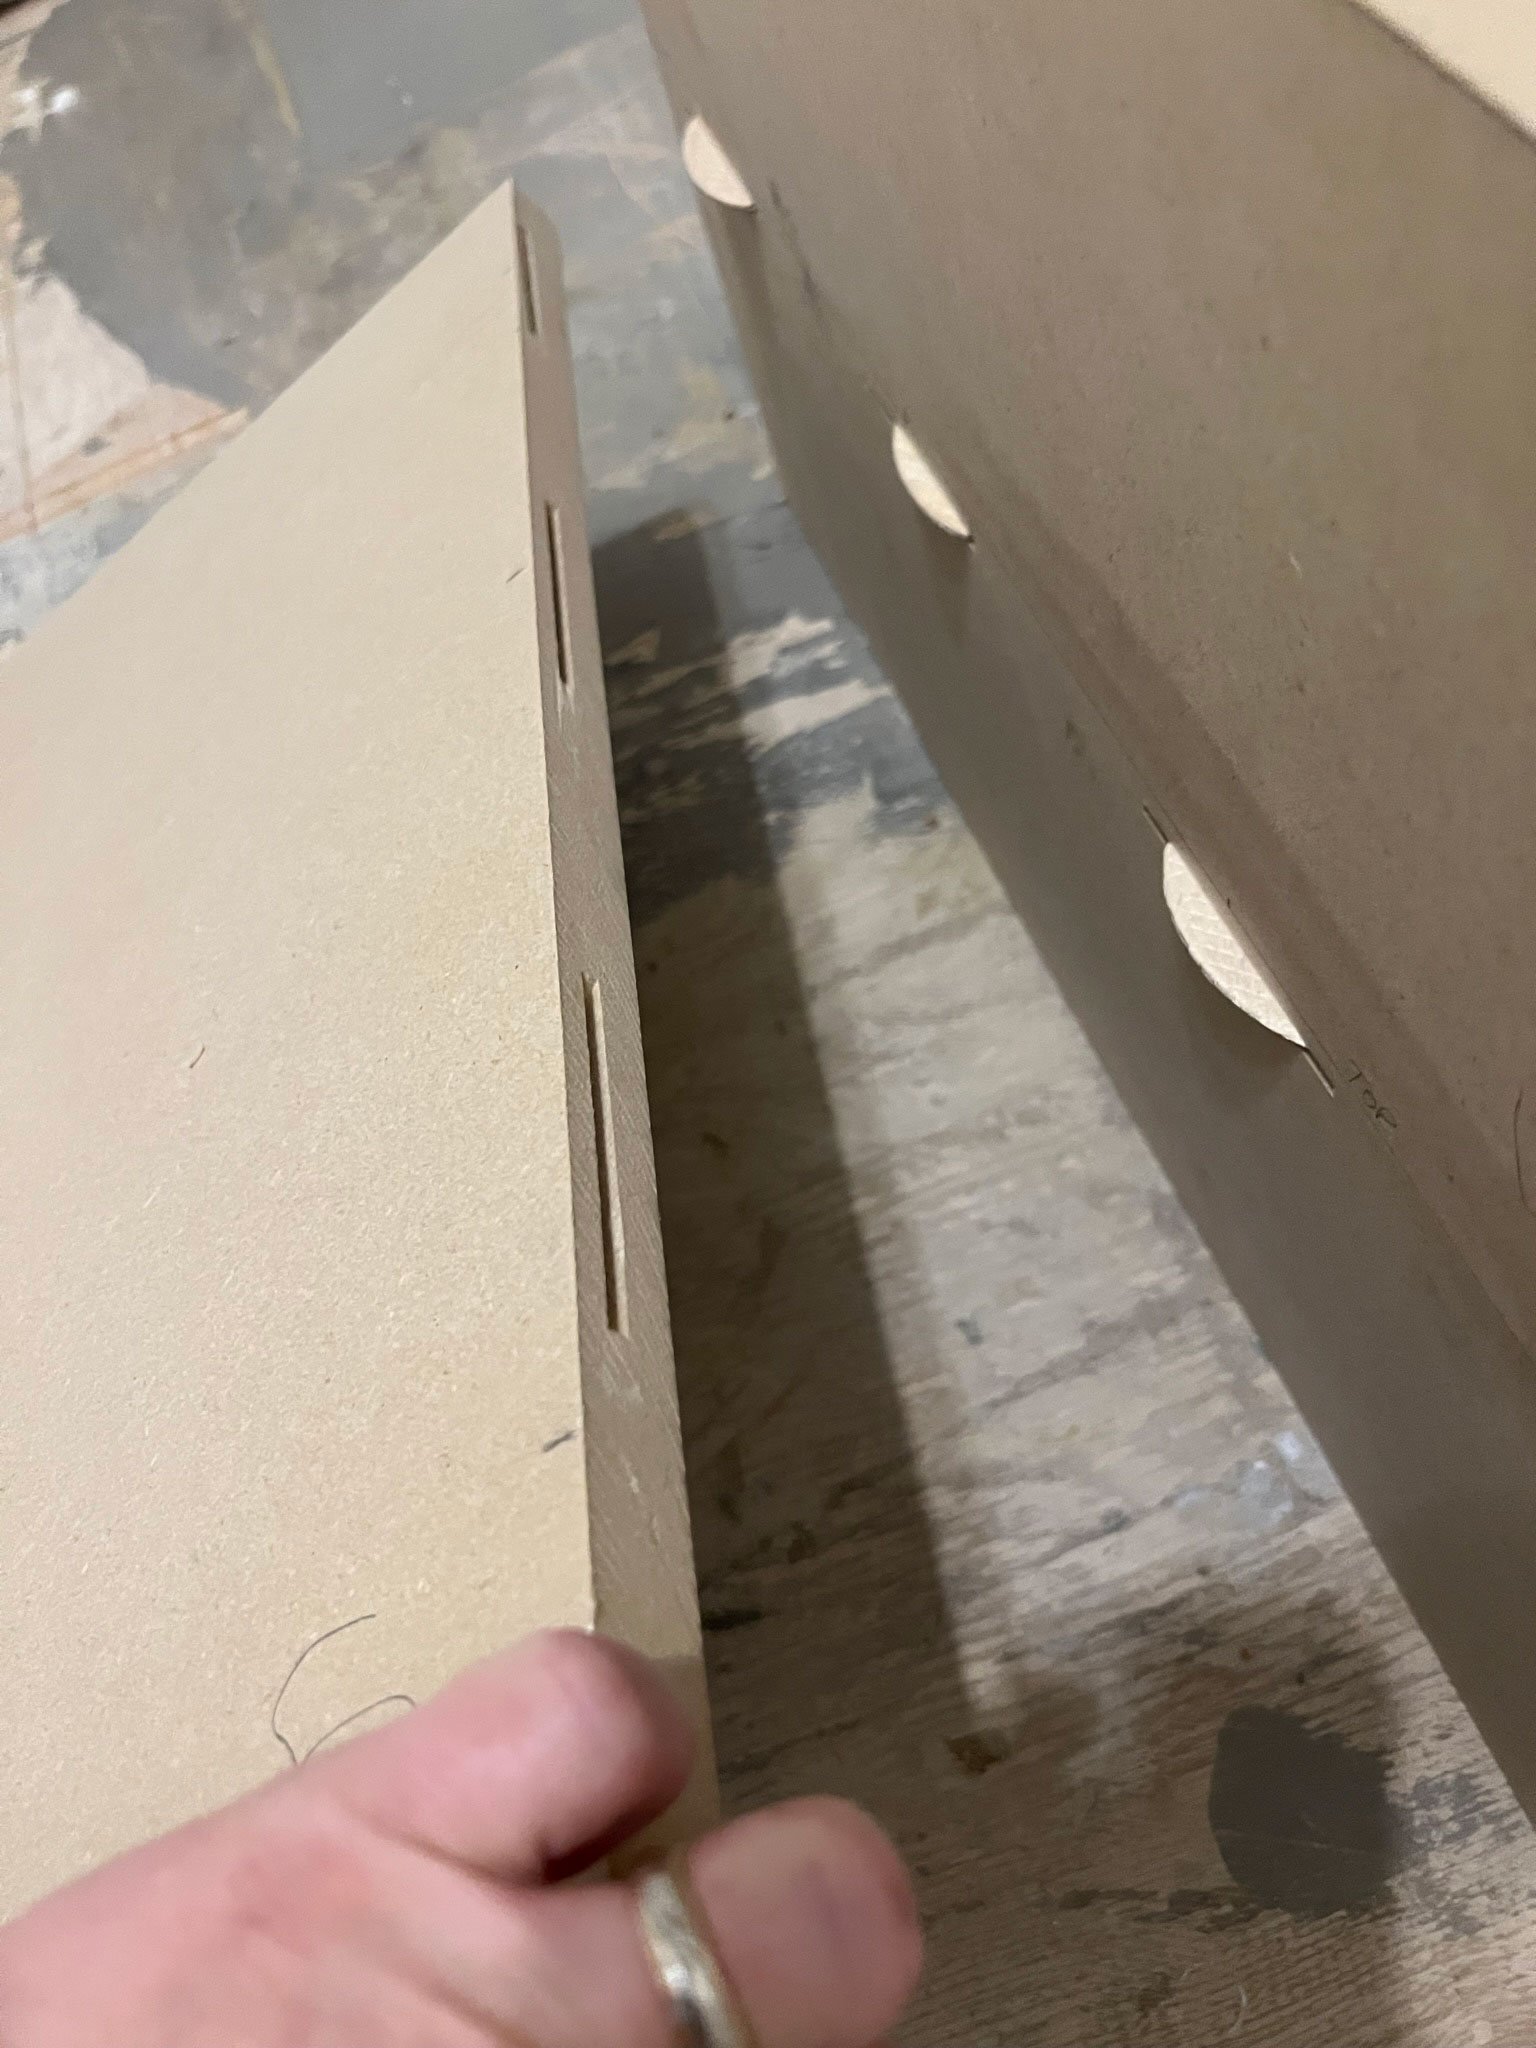
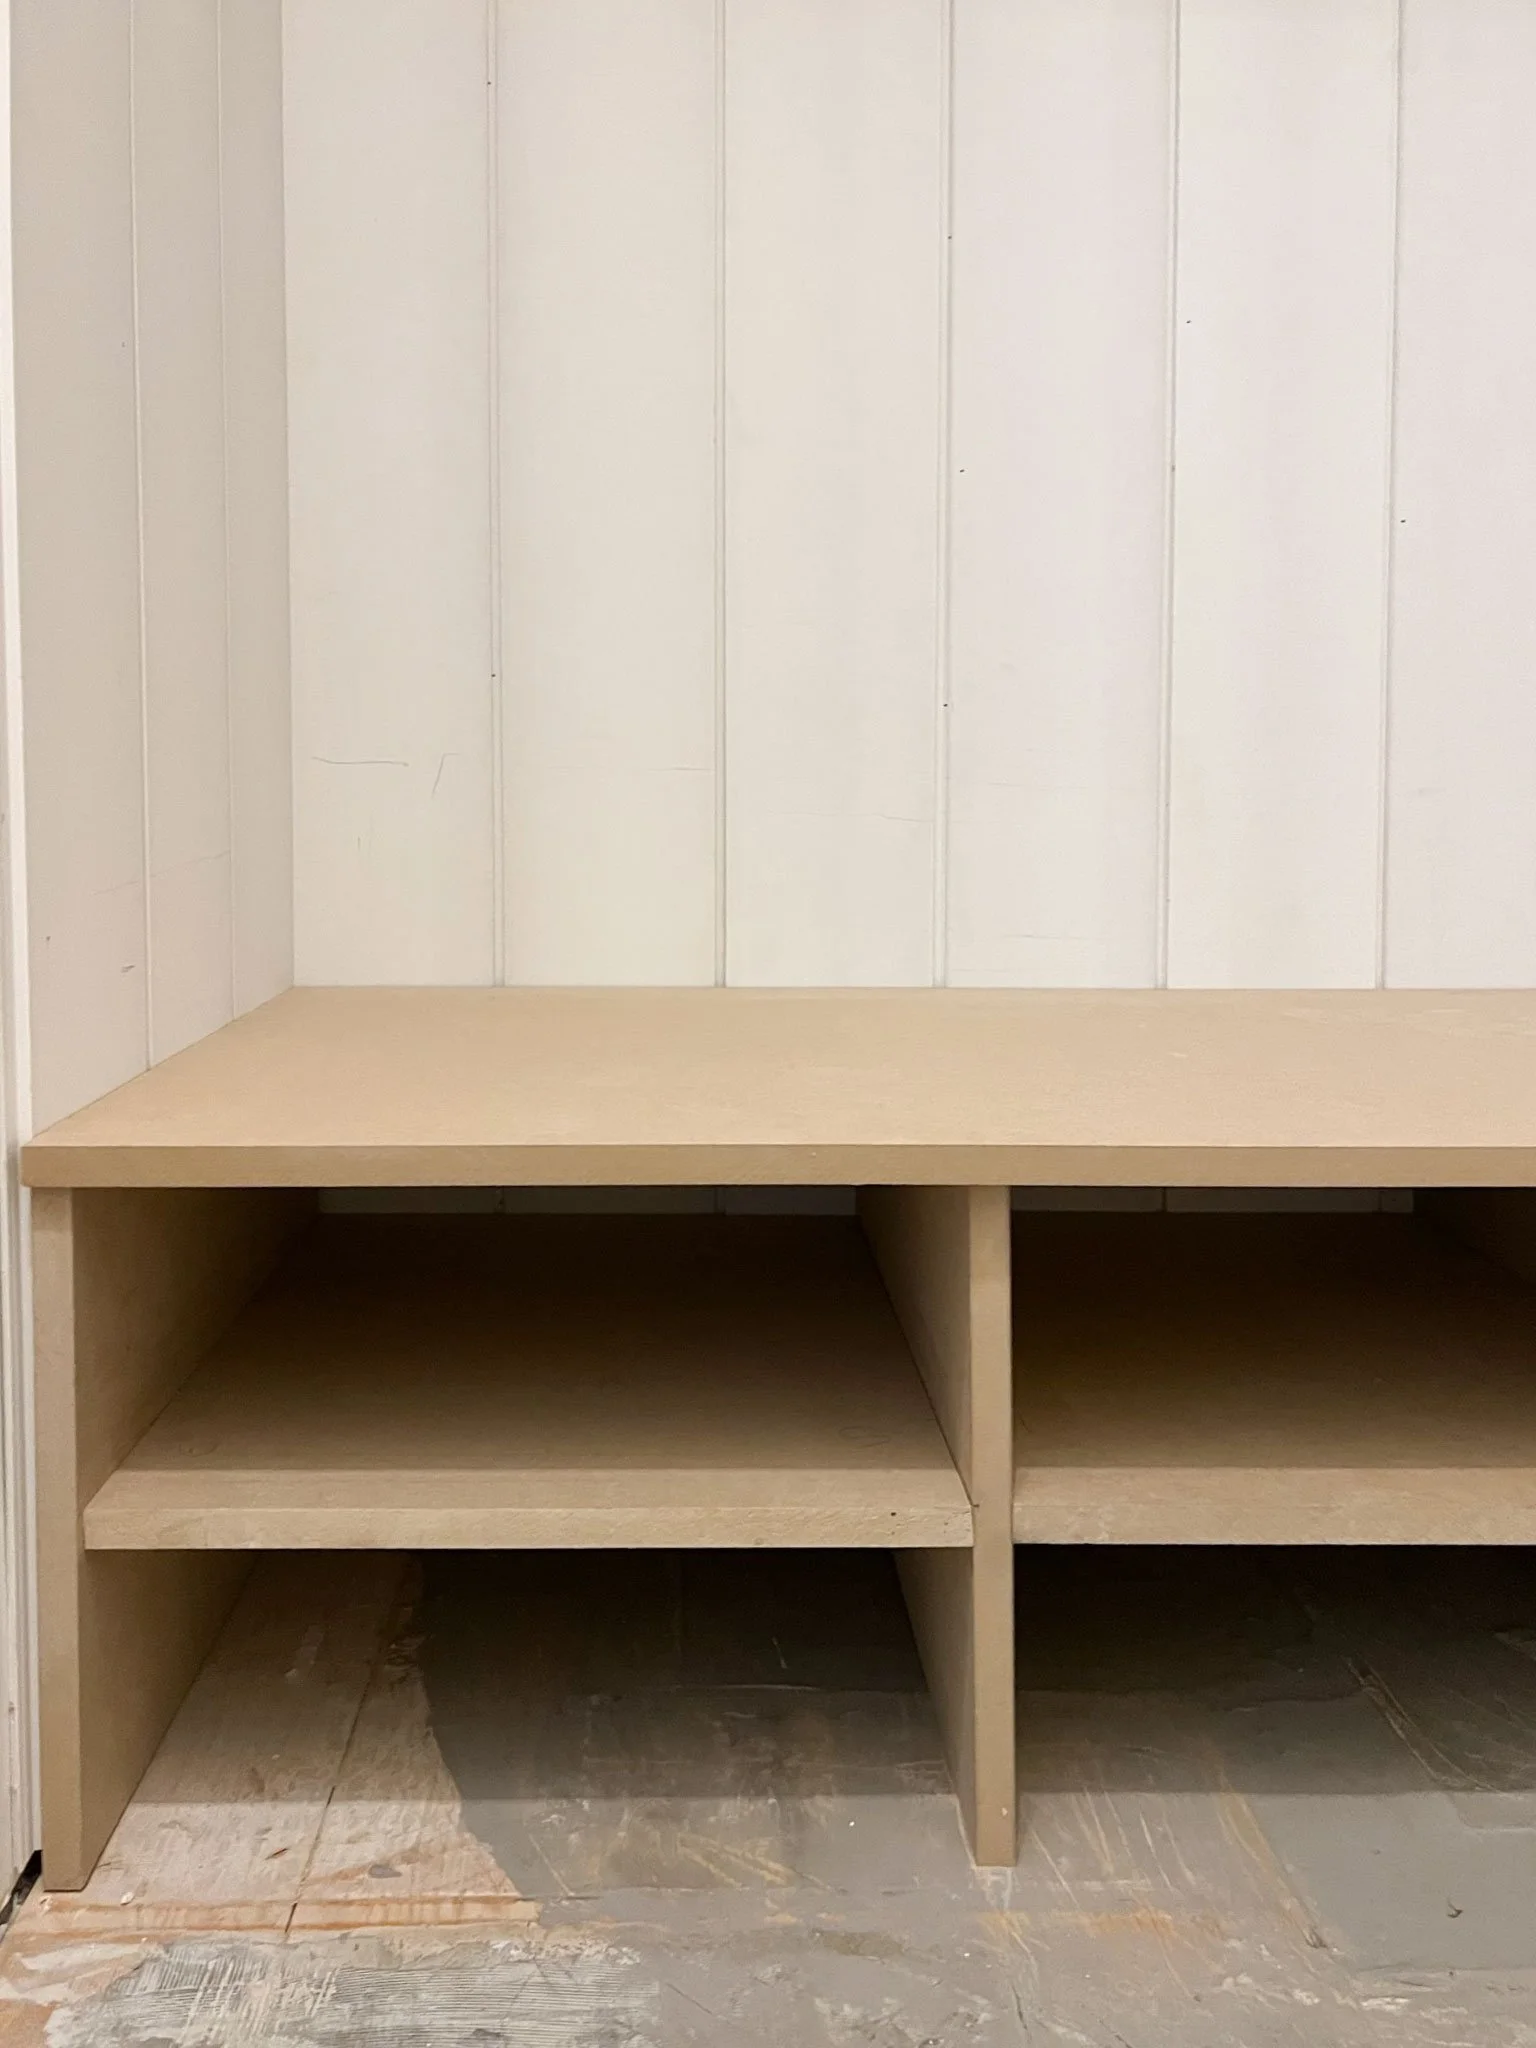
The vertical supports break the bench up into three sections to mirror the upper cabinets. Since the horizontal pieces that make the two rows of cubbies don’t need to support more weight than a pair of shoes each, Erin used a biscuit joiner and glue to attach those (I had never heard of a biscuit joiner, so this sent me down a fun Google rabbit hole).
She (very smartly) didn’t fully install the bench until after everything was painting, to make it significantly easier to paint the insides of all the cubbies. After painting, she finished by brad nailing it to the walls in a few places, but all her earlier effort to ensure it fit snugly meant it needed almost nothing to keep it in place.
VIA ERIN ZUBOT
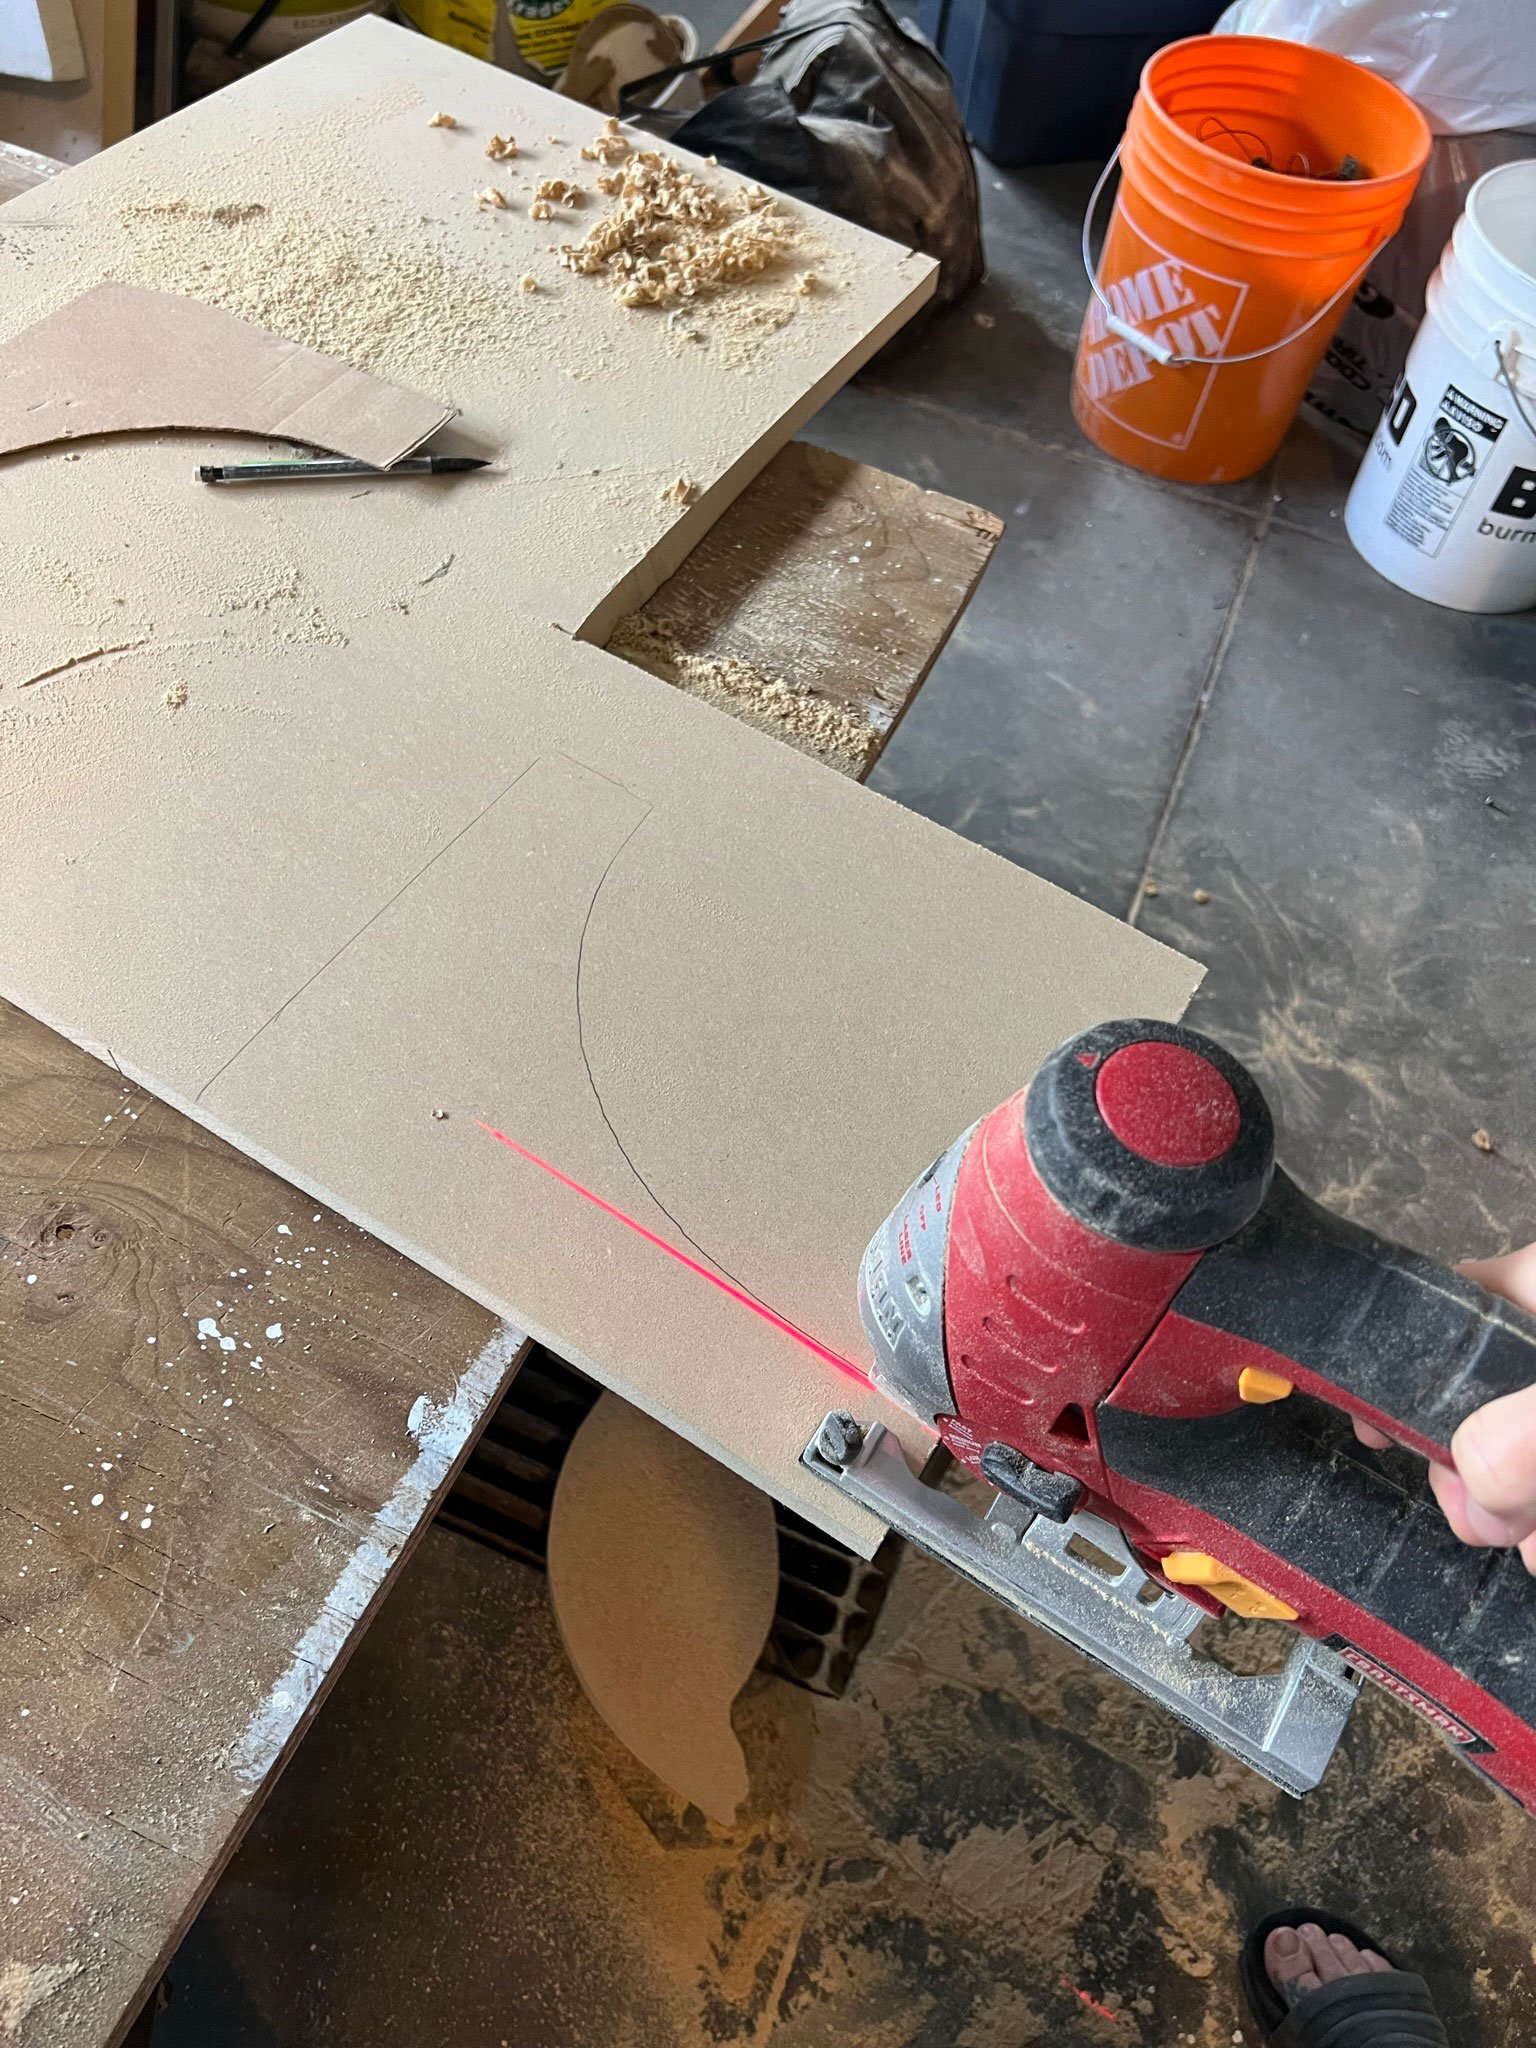
When Erin decided she wanted the built-in to have corbels, there wasn’t enough time left in the ORC for her to order some, so she decided to whip some up with leftover MDF.
As with the bench seat, she made a cardboard template that she could hold up where the corbels would eventually be and adjust as needed.
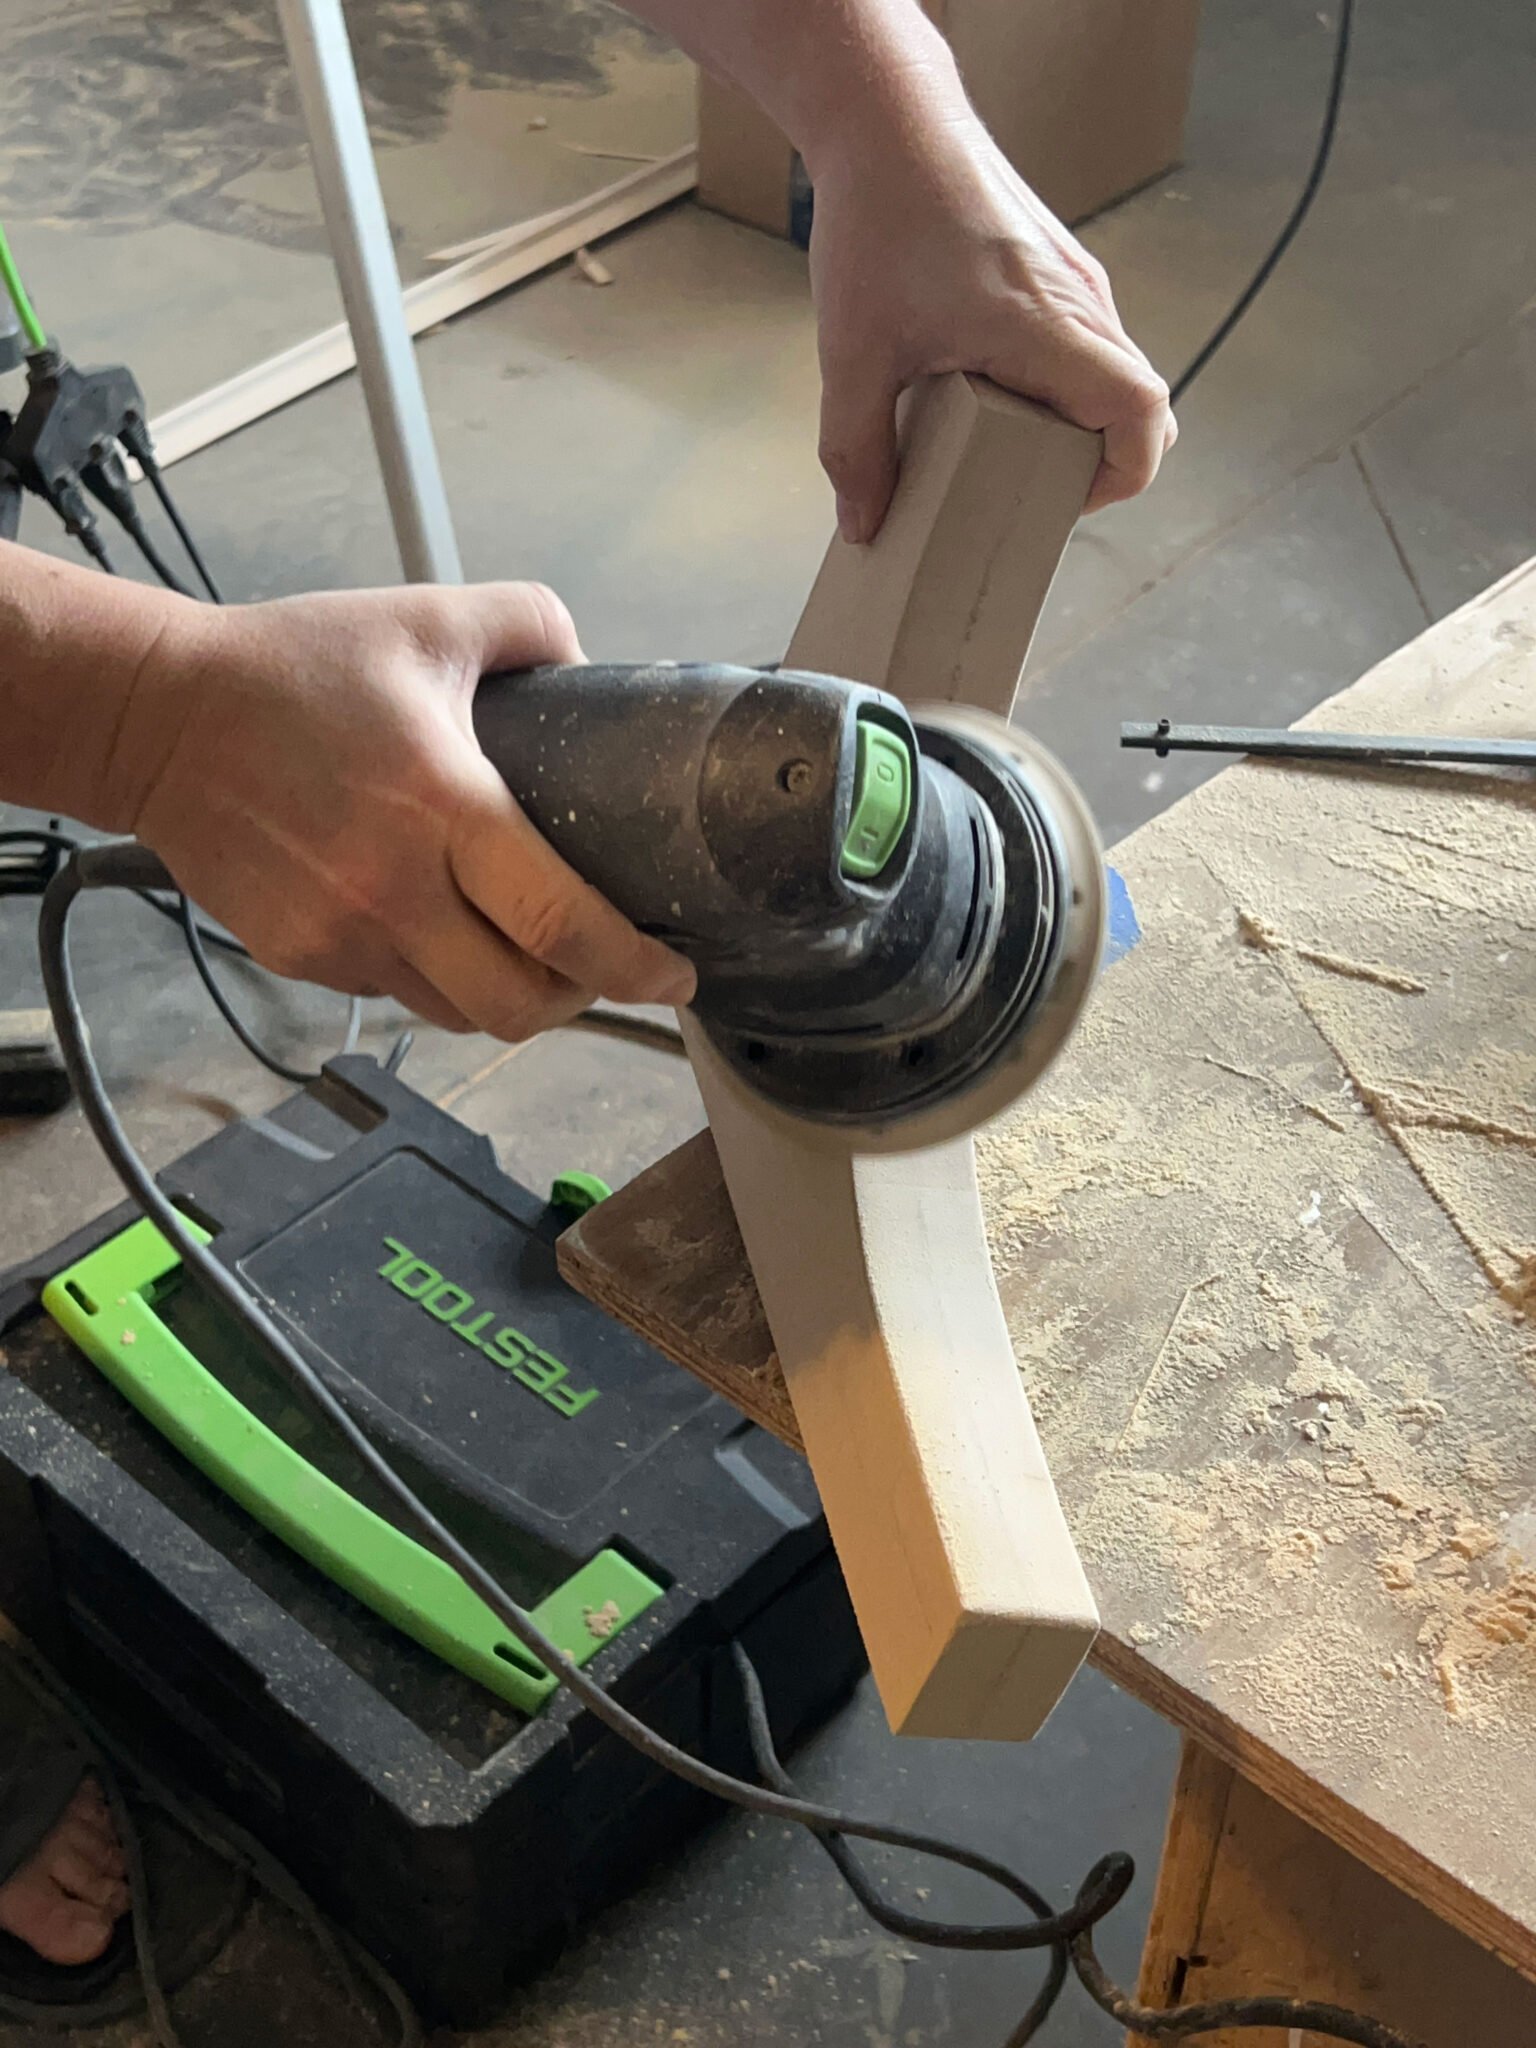
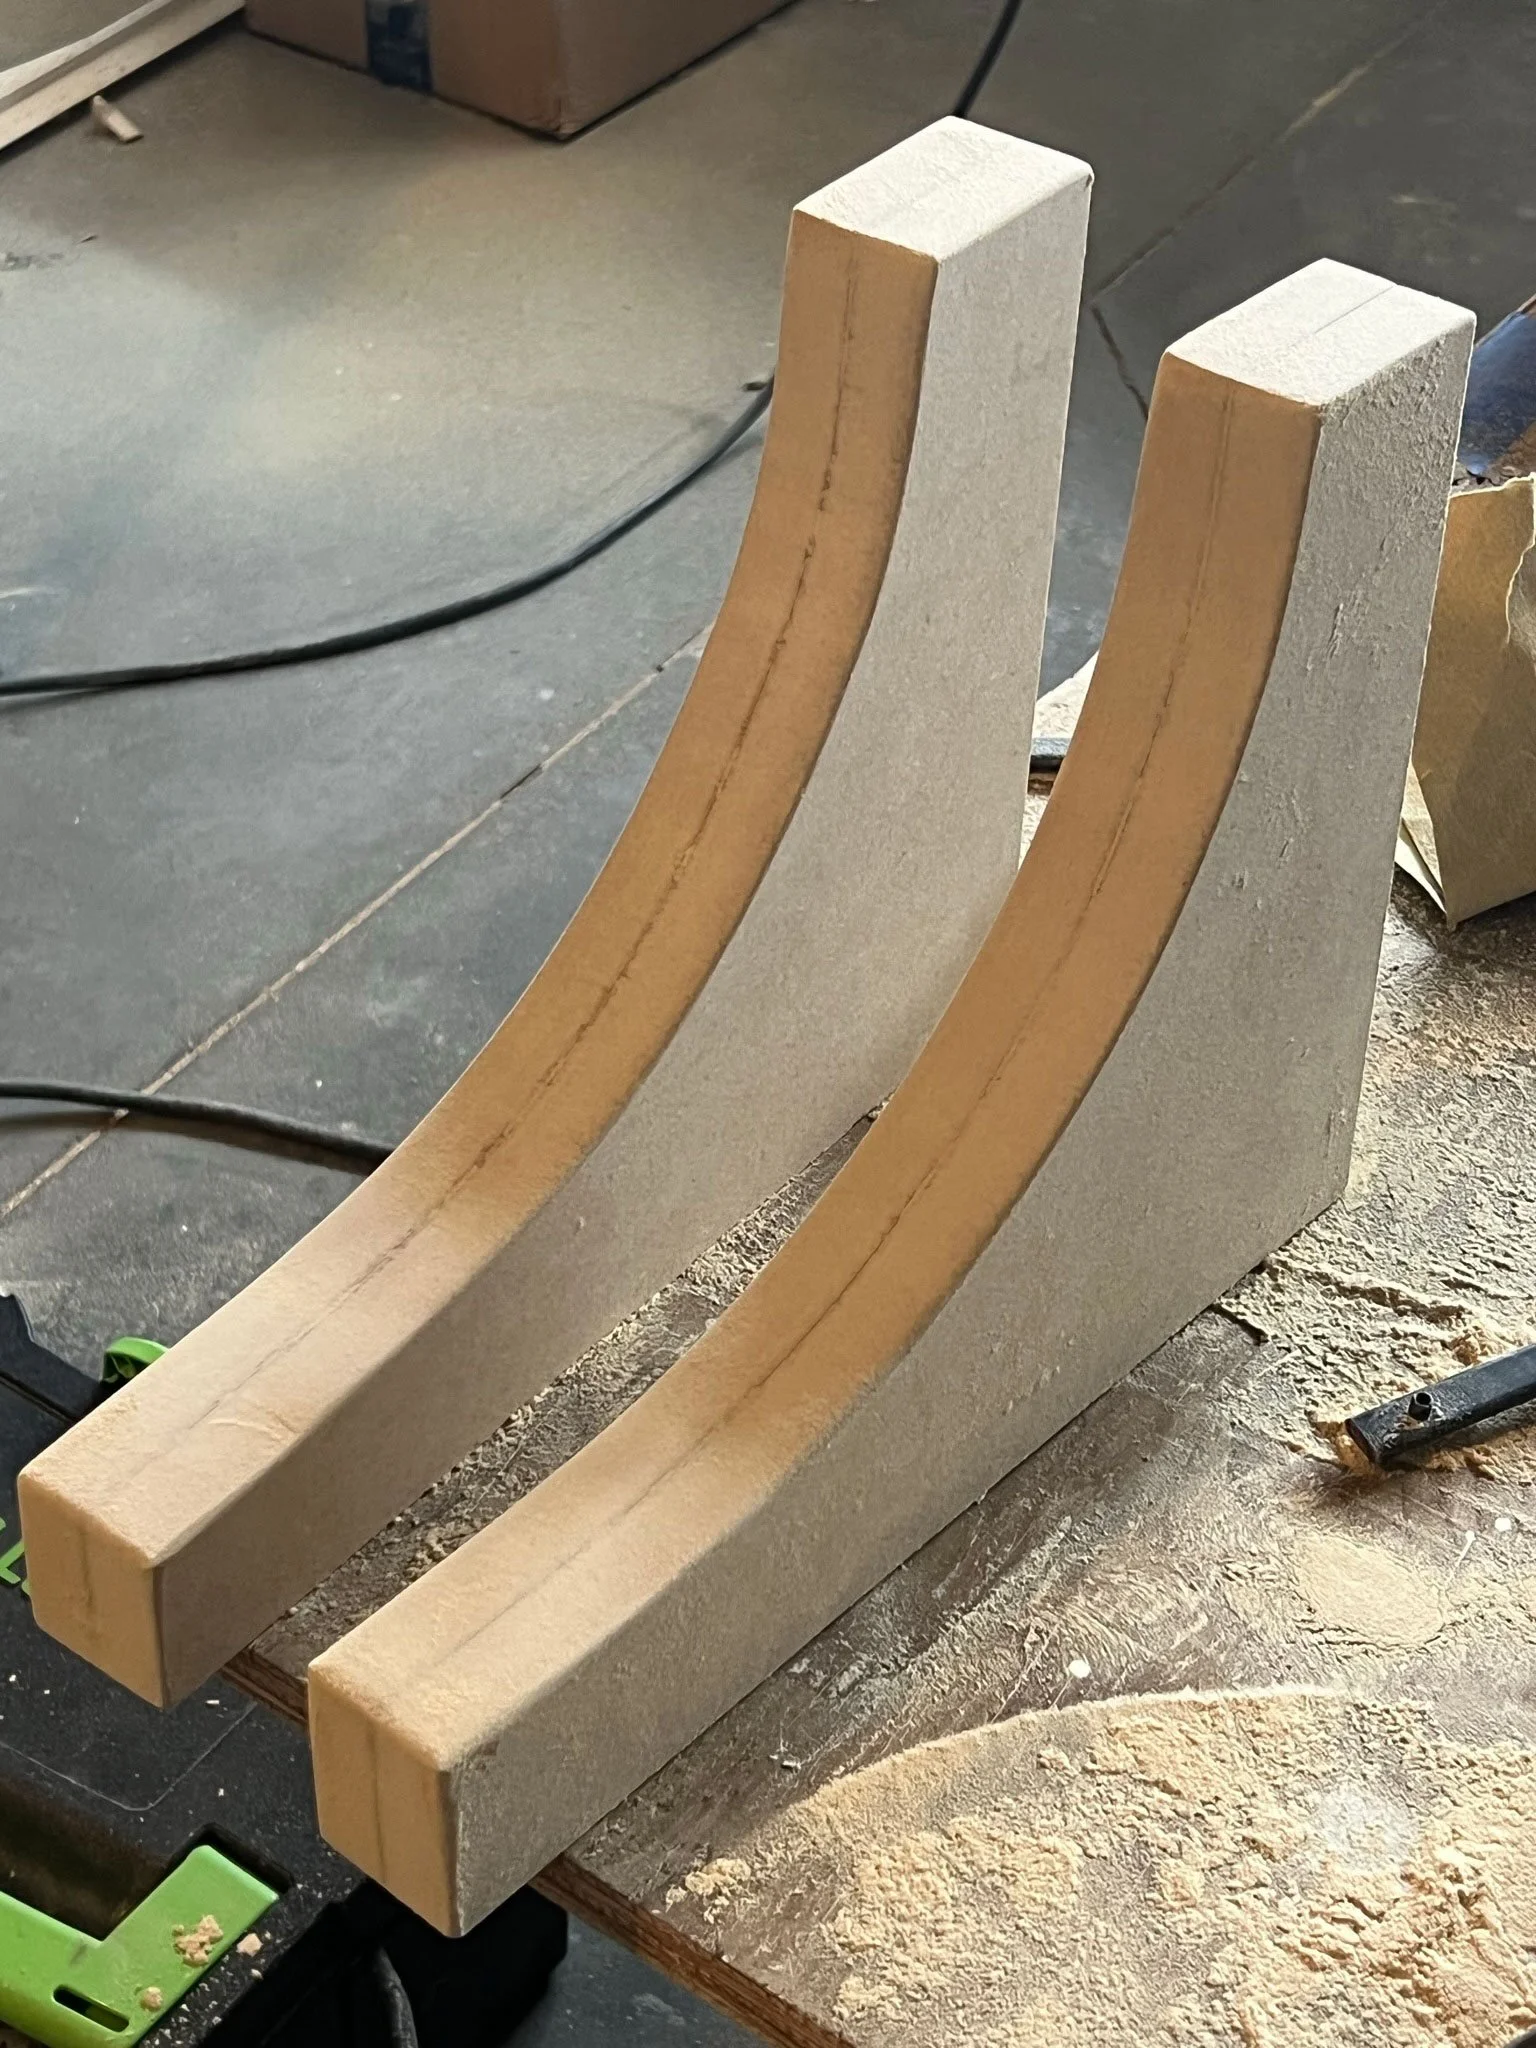
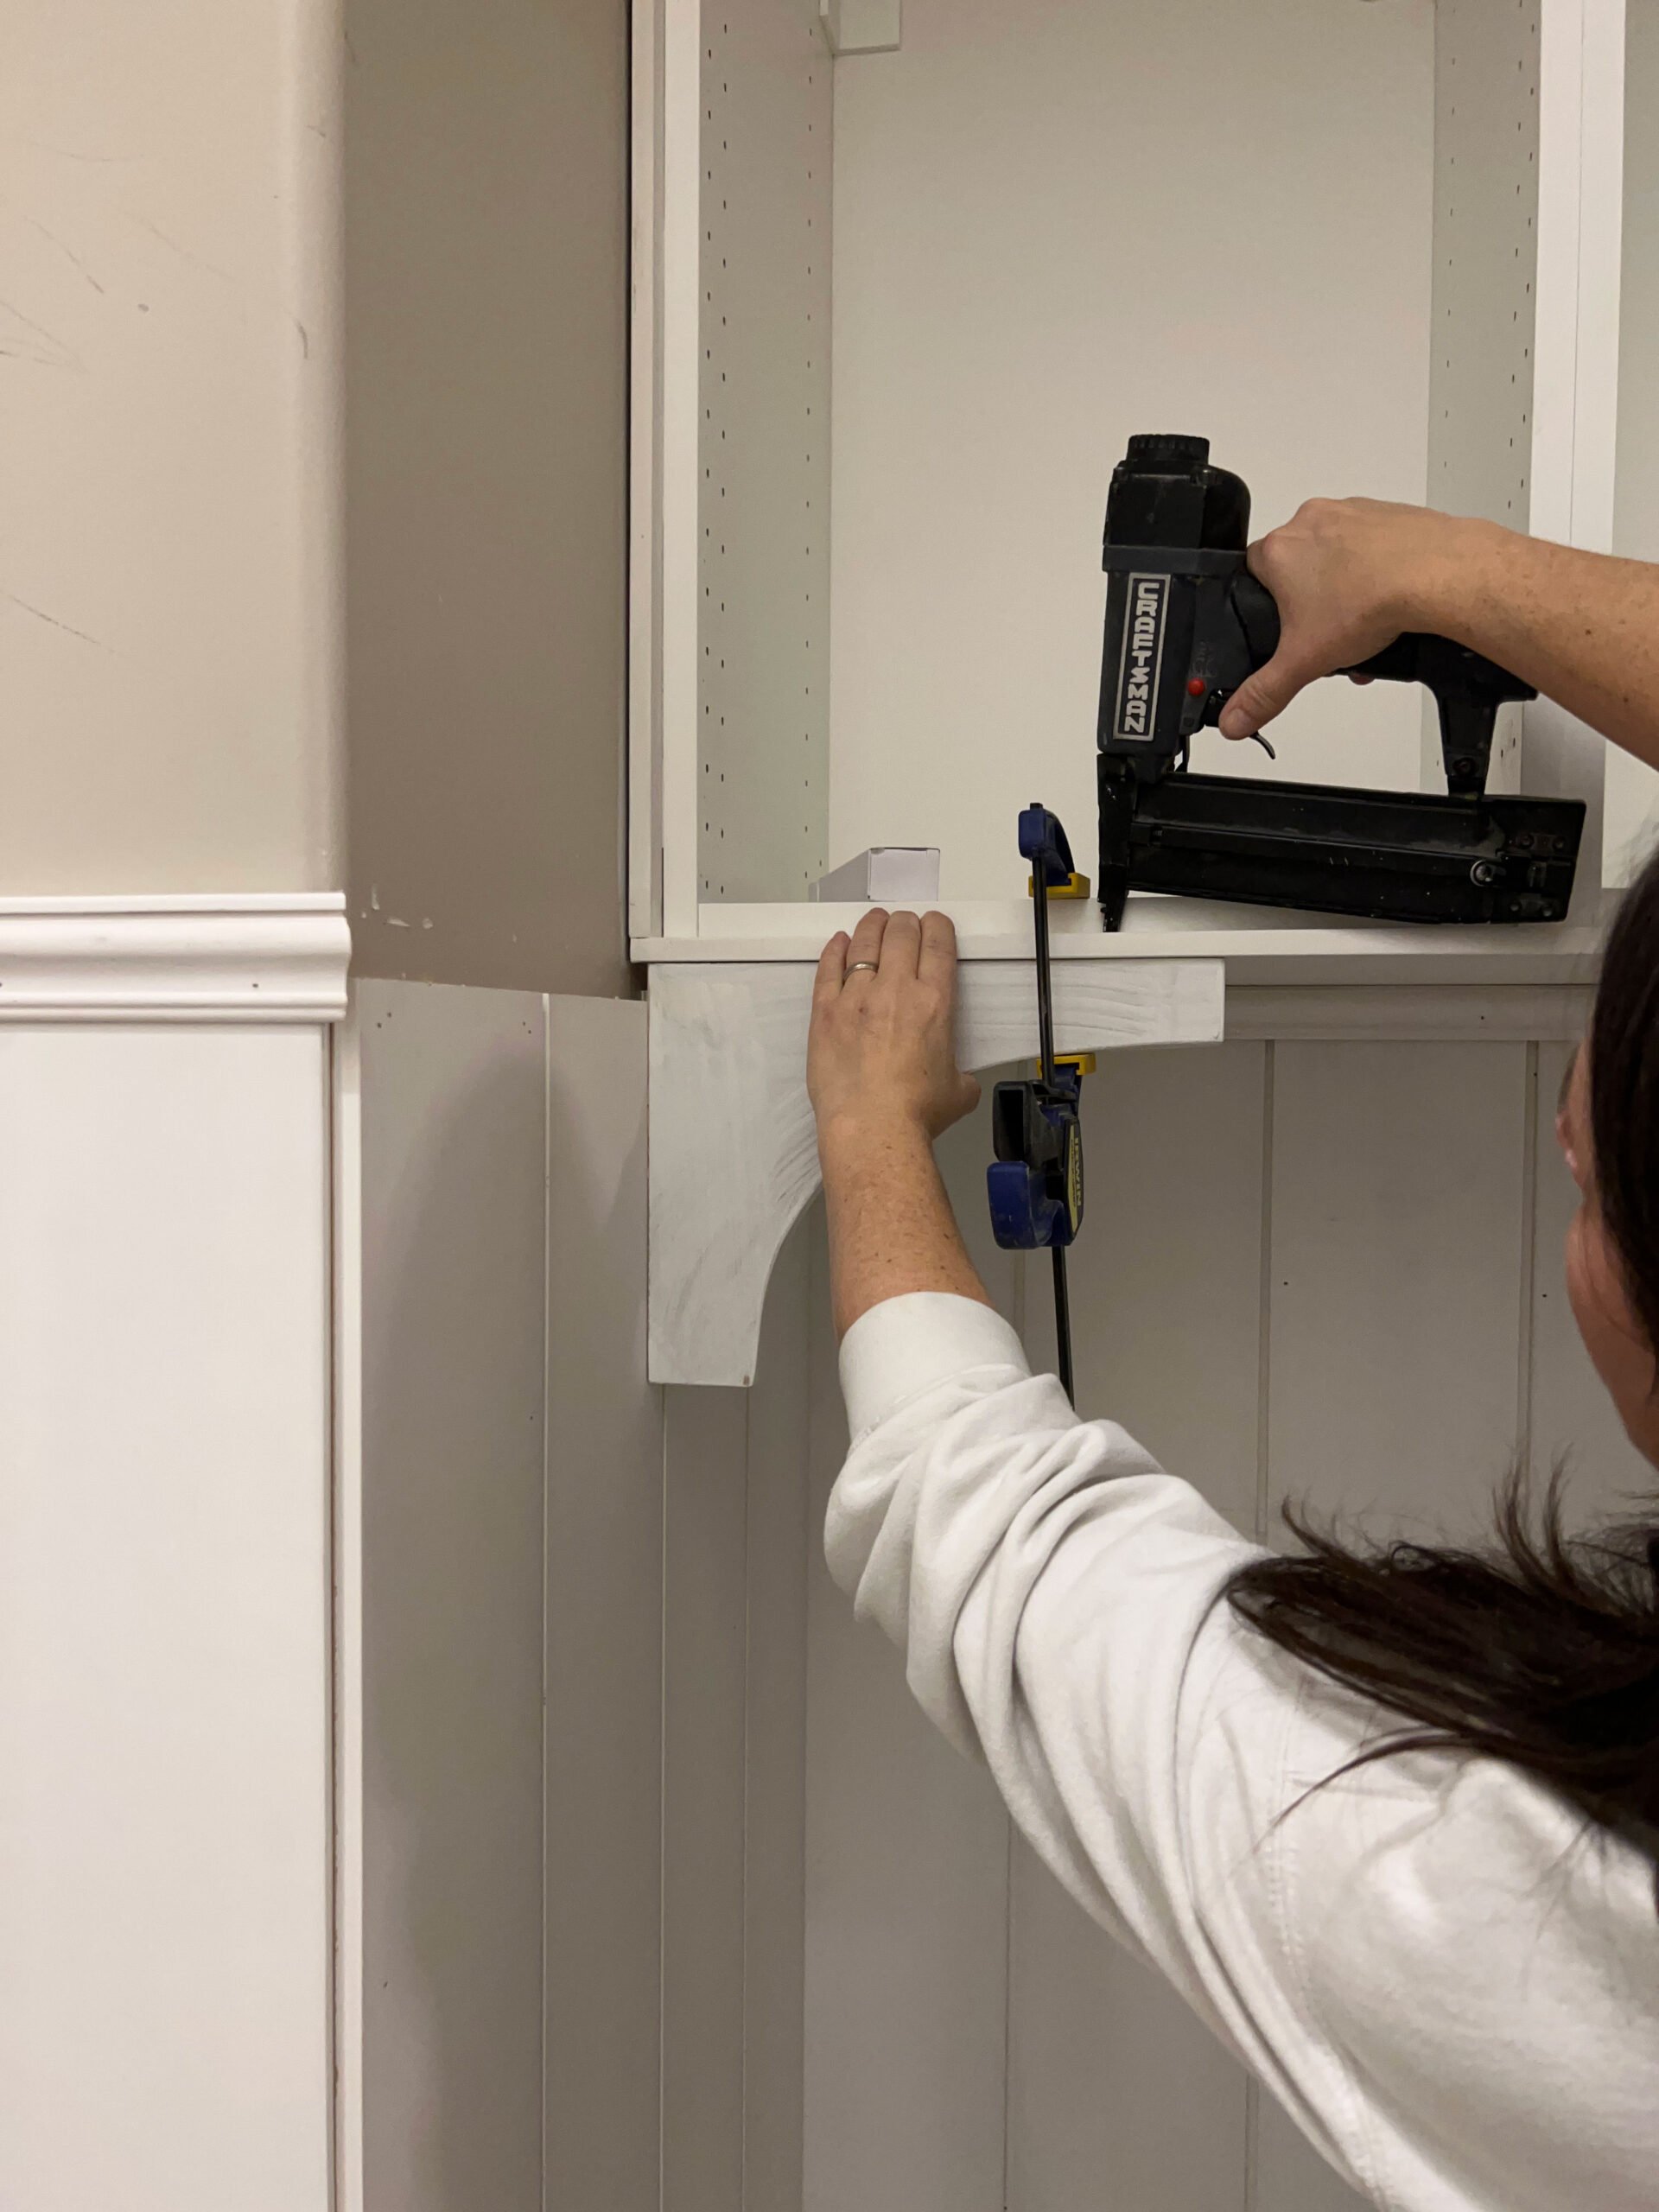
Next, she glued two pieces of 3/4” MDF together so that the finished corbels would be nice and substantial. Once that was dry, she traced out her cardboard template twice and cut. She sanded, primed, and hung them with glue and brad nails, and voila. It’s crazy how those two little pieces make such a huge impact on the overall look of the built-in—they add SO much charm.
VIA ERIN ZUBOT
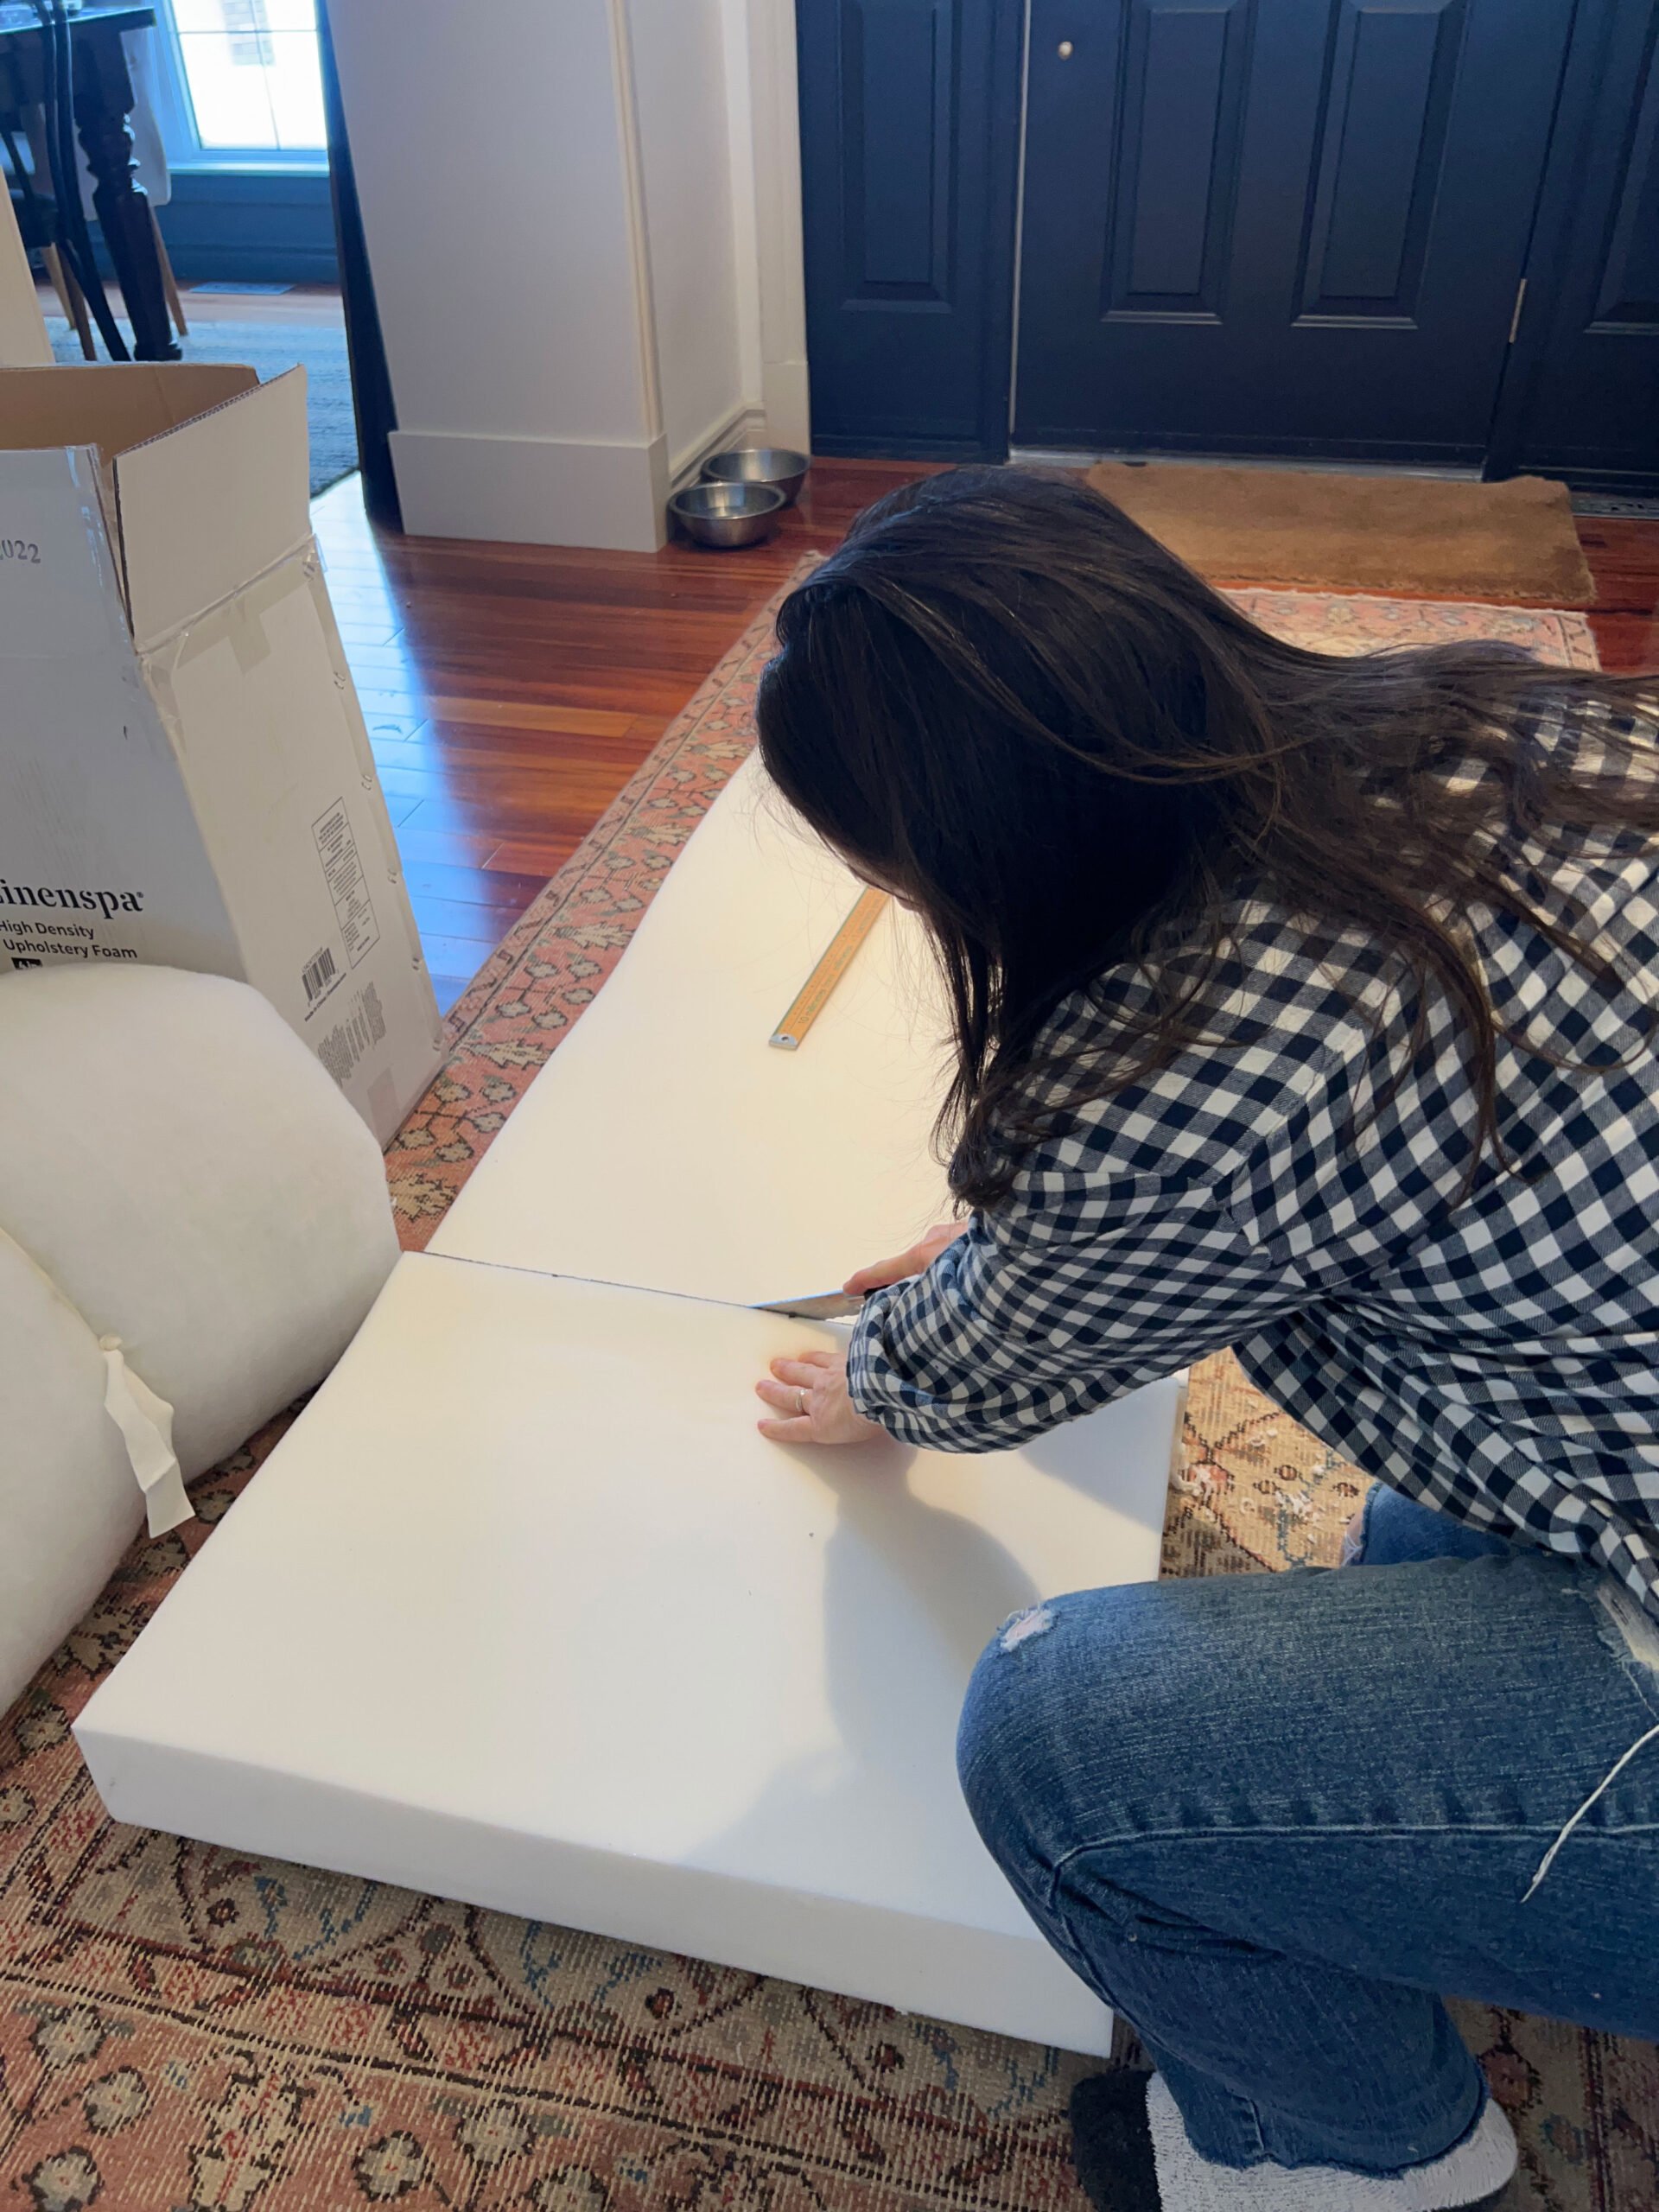
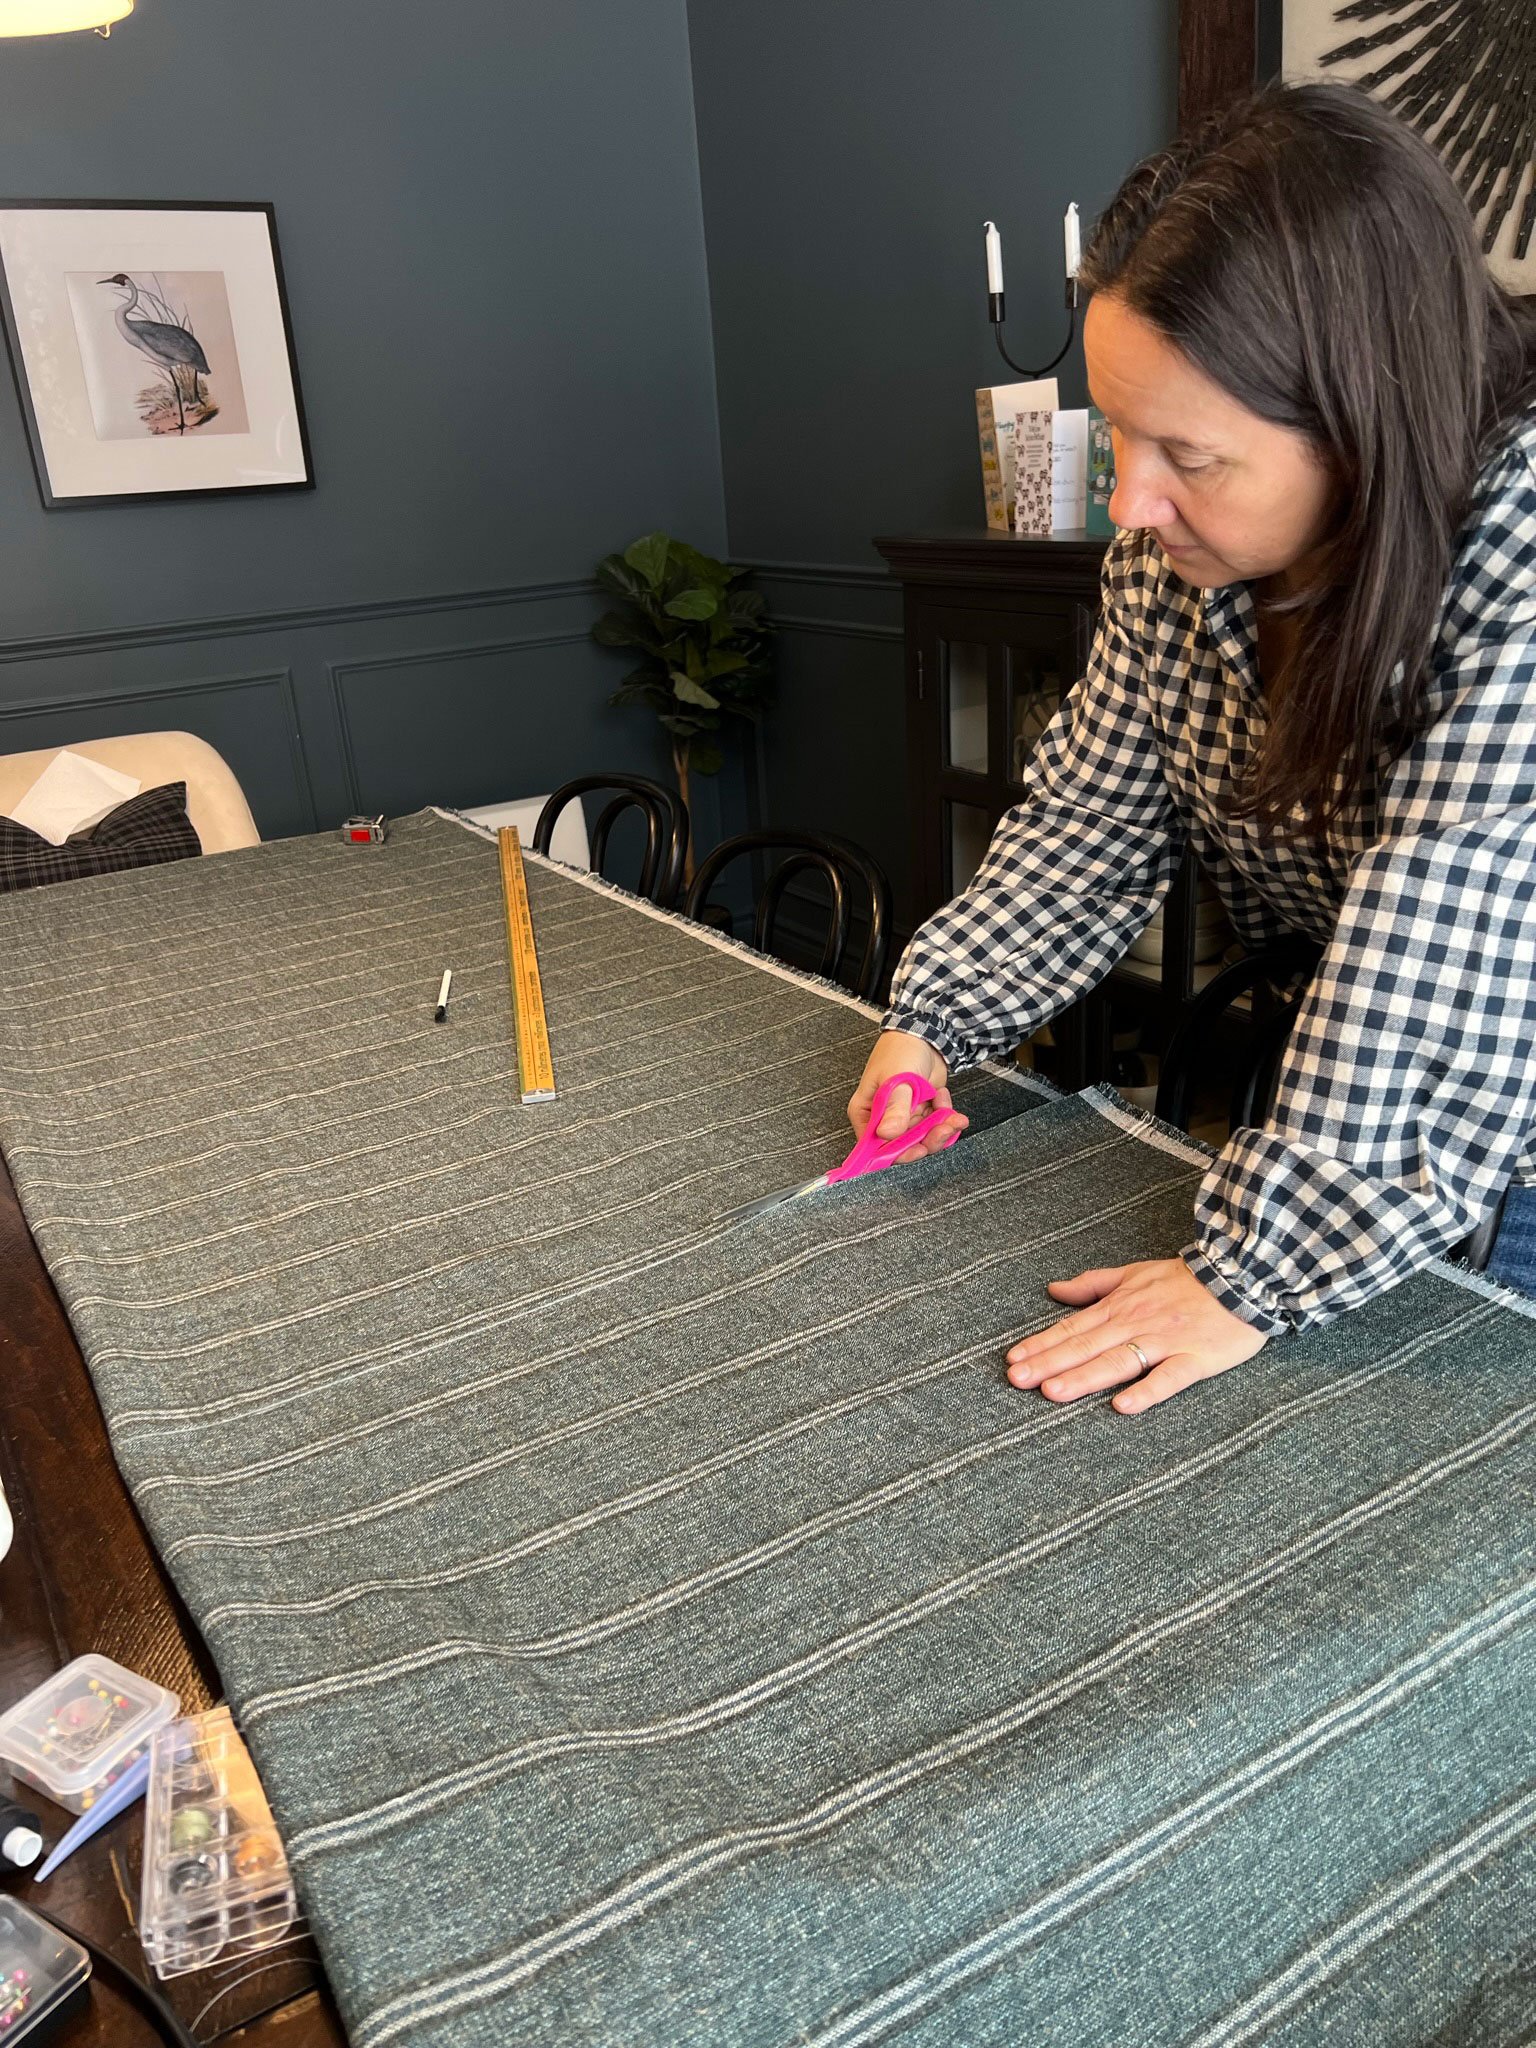
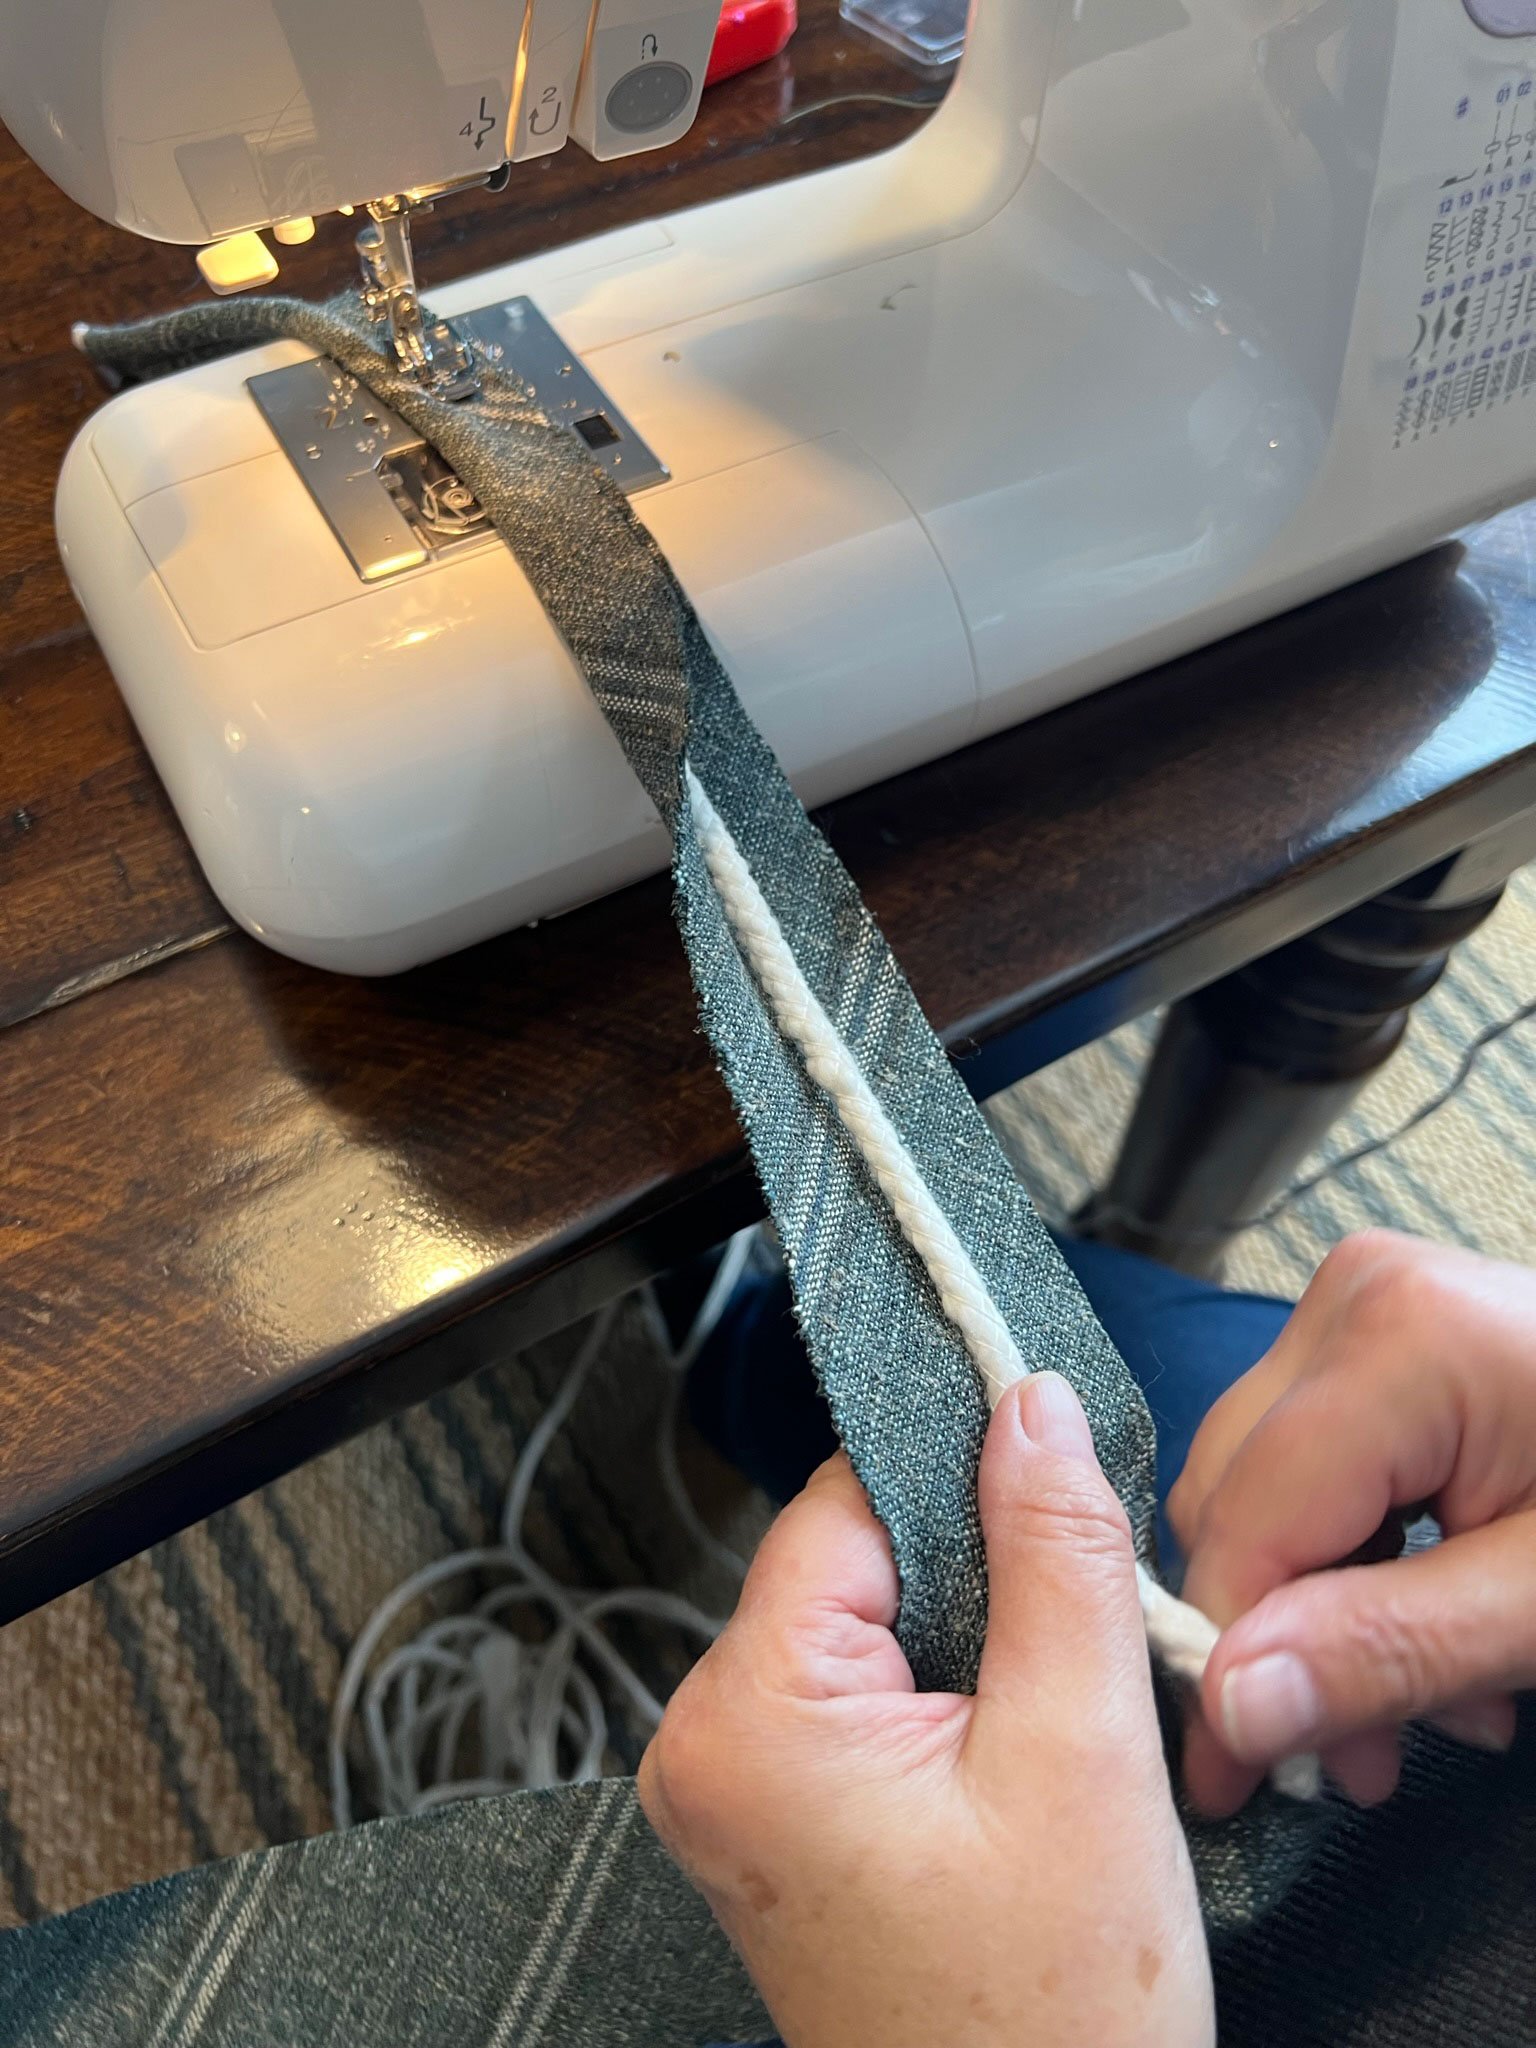
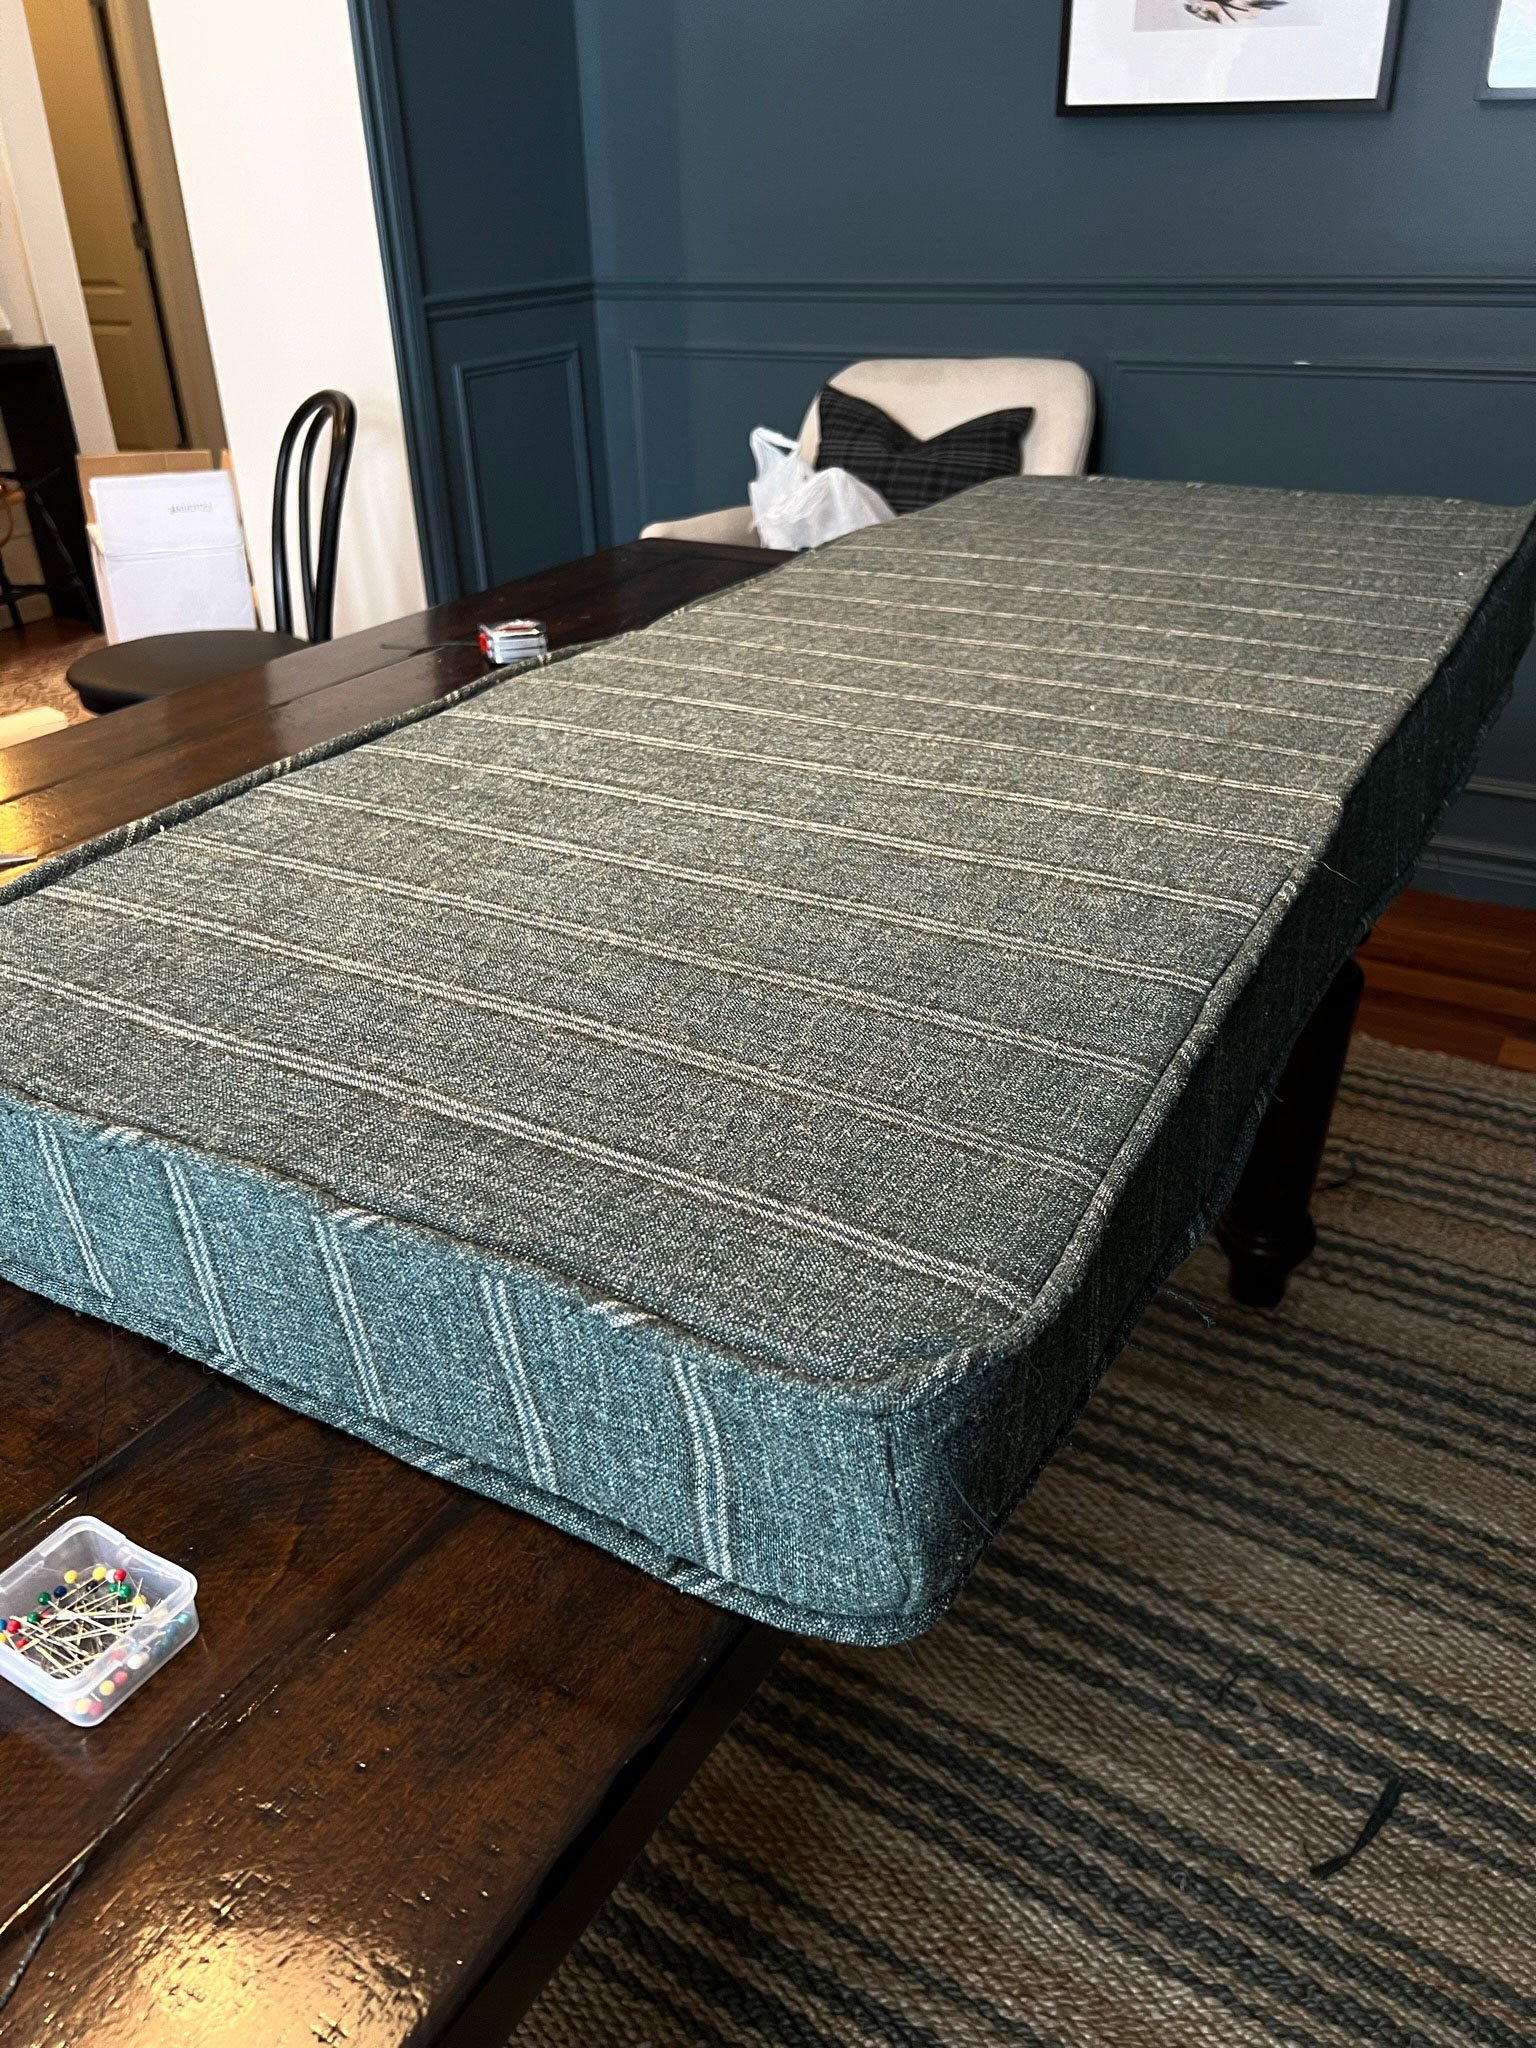
The last big step to creating this amazing built-in—the cherry on top, if you will—was the cushion. Erin’s mother, an experienced seamstress, knew all the tricks to making the cushion cover look extremely professional and beautifully made. She was even able to sew a hidden zipper so that the cover would be washable.
The body of the cushion is made from 4” thick high-density foam, which she cut using an electric carving knife.
She’s got a wonderfully detailed tutorial on her blog that covers how she and her mom sewed the cushion cover, and it’s a must-read for anyone interested in upping their home decor sewing game.

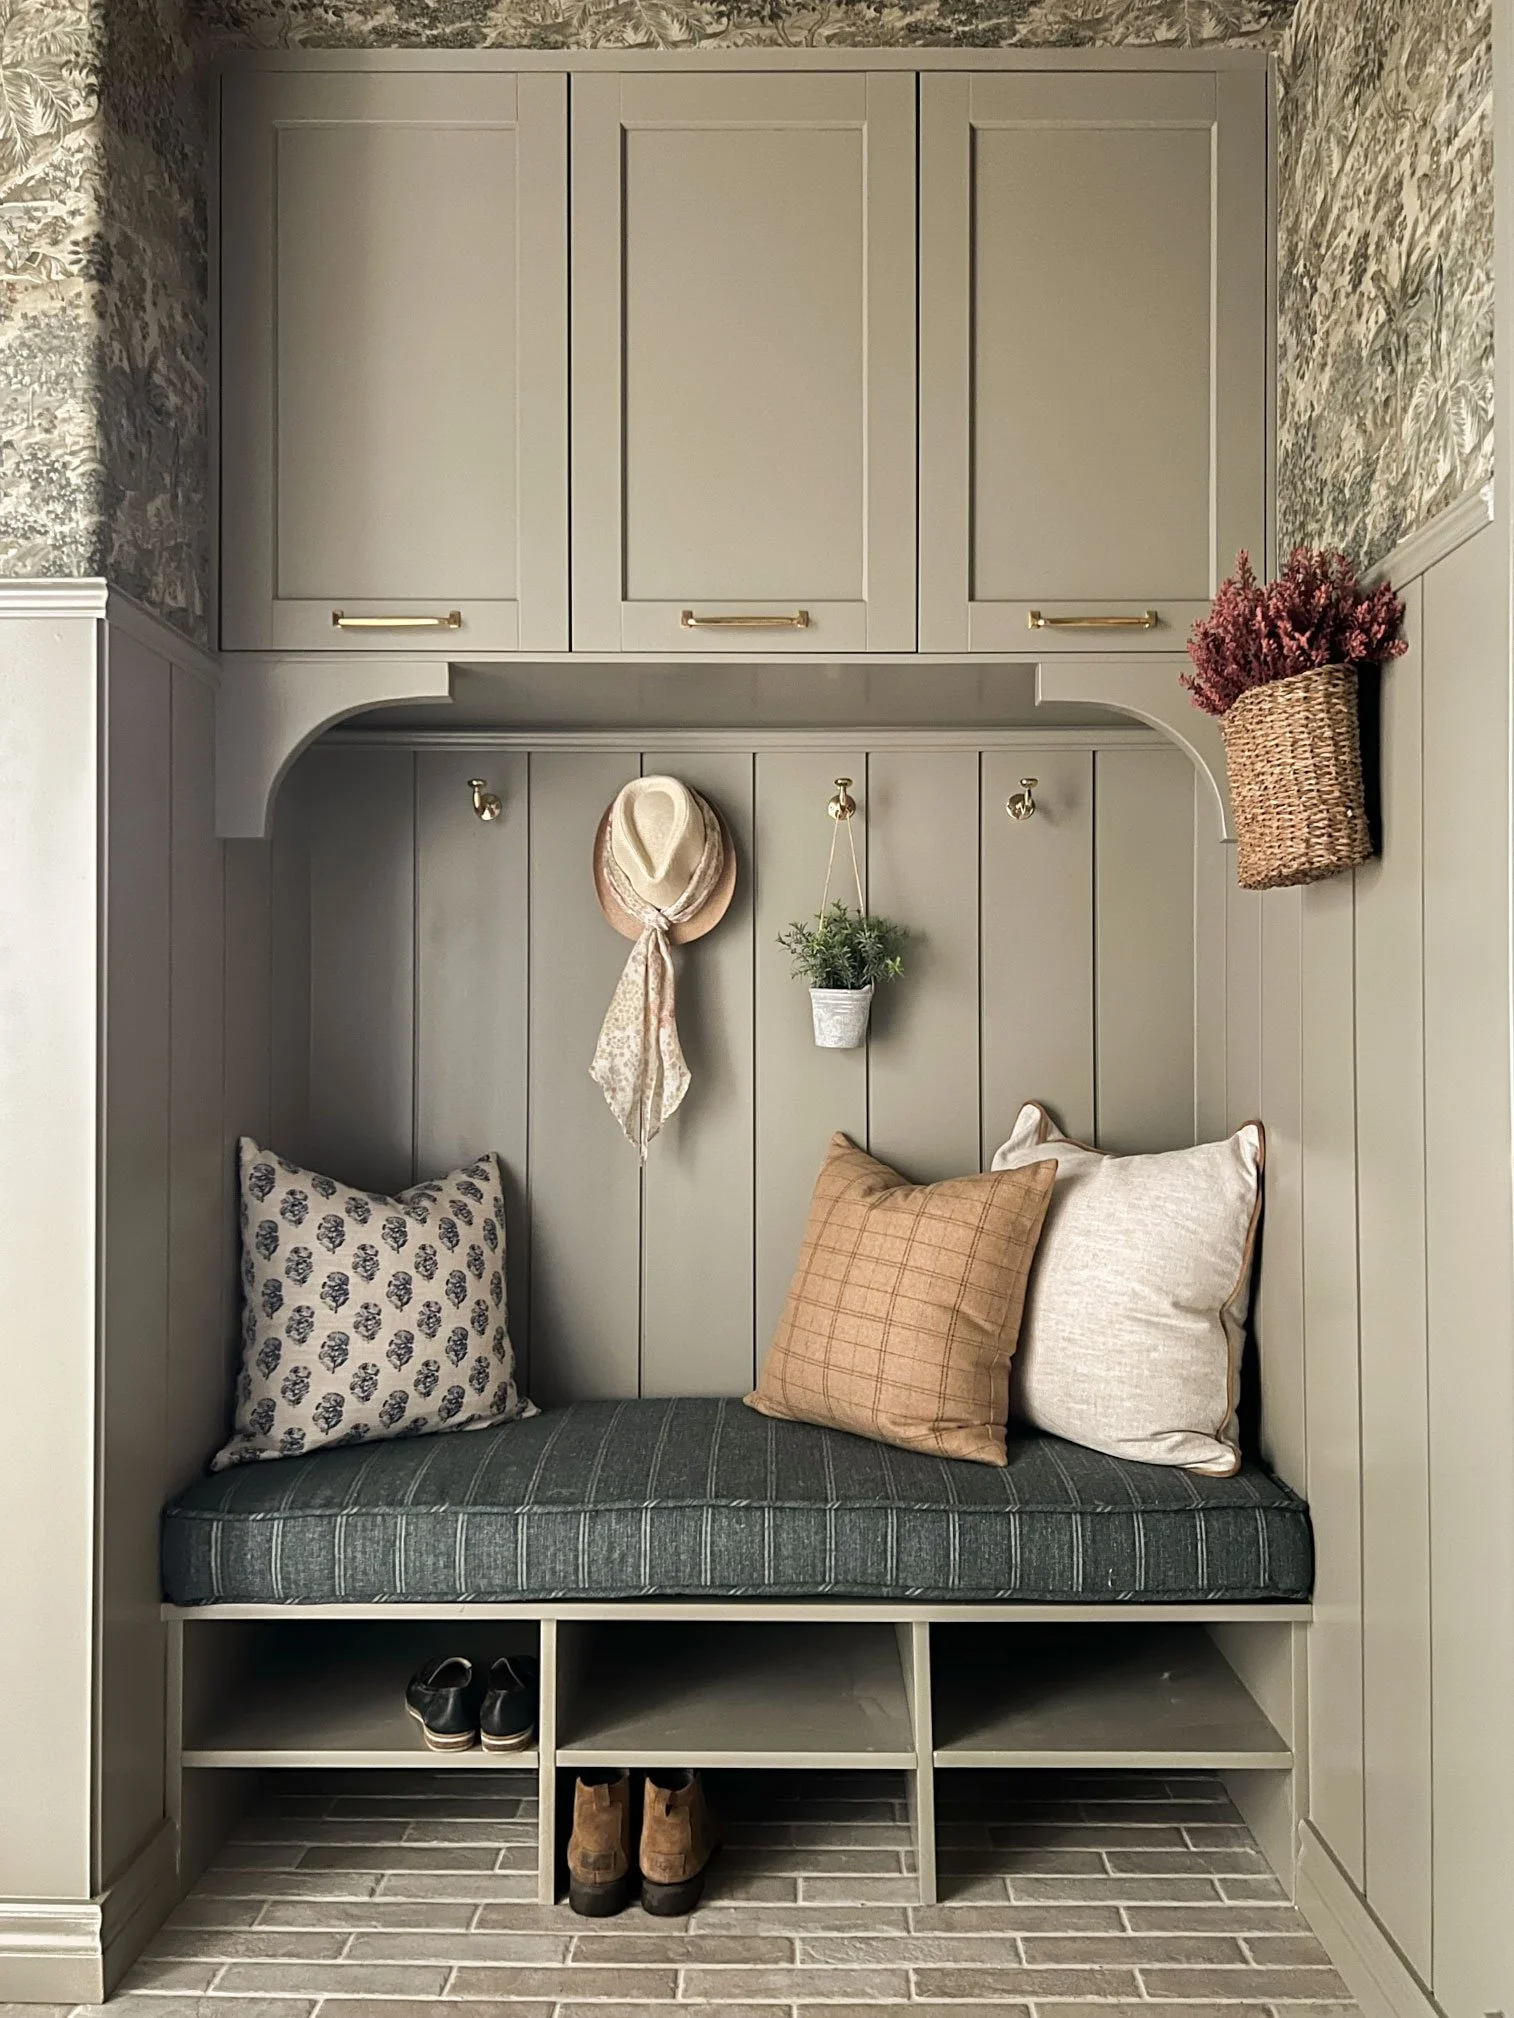
VIA ERIN ZUBOT
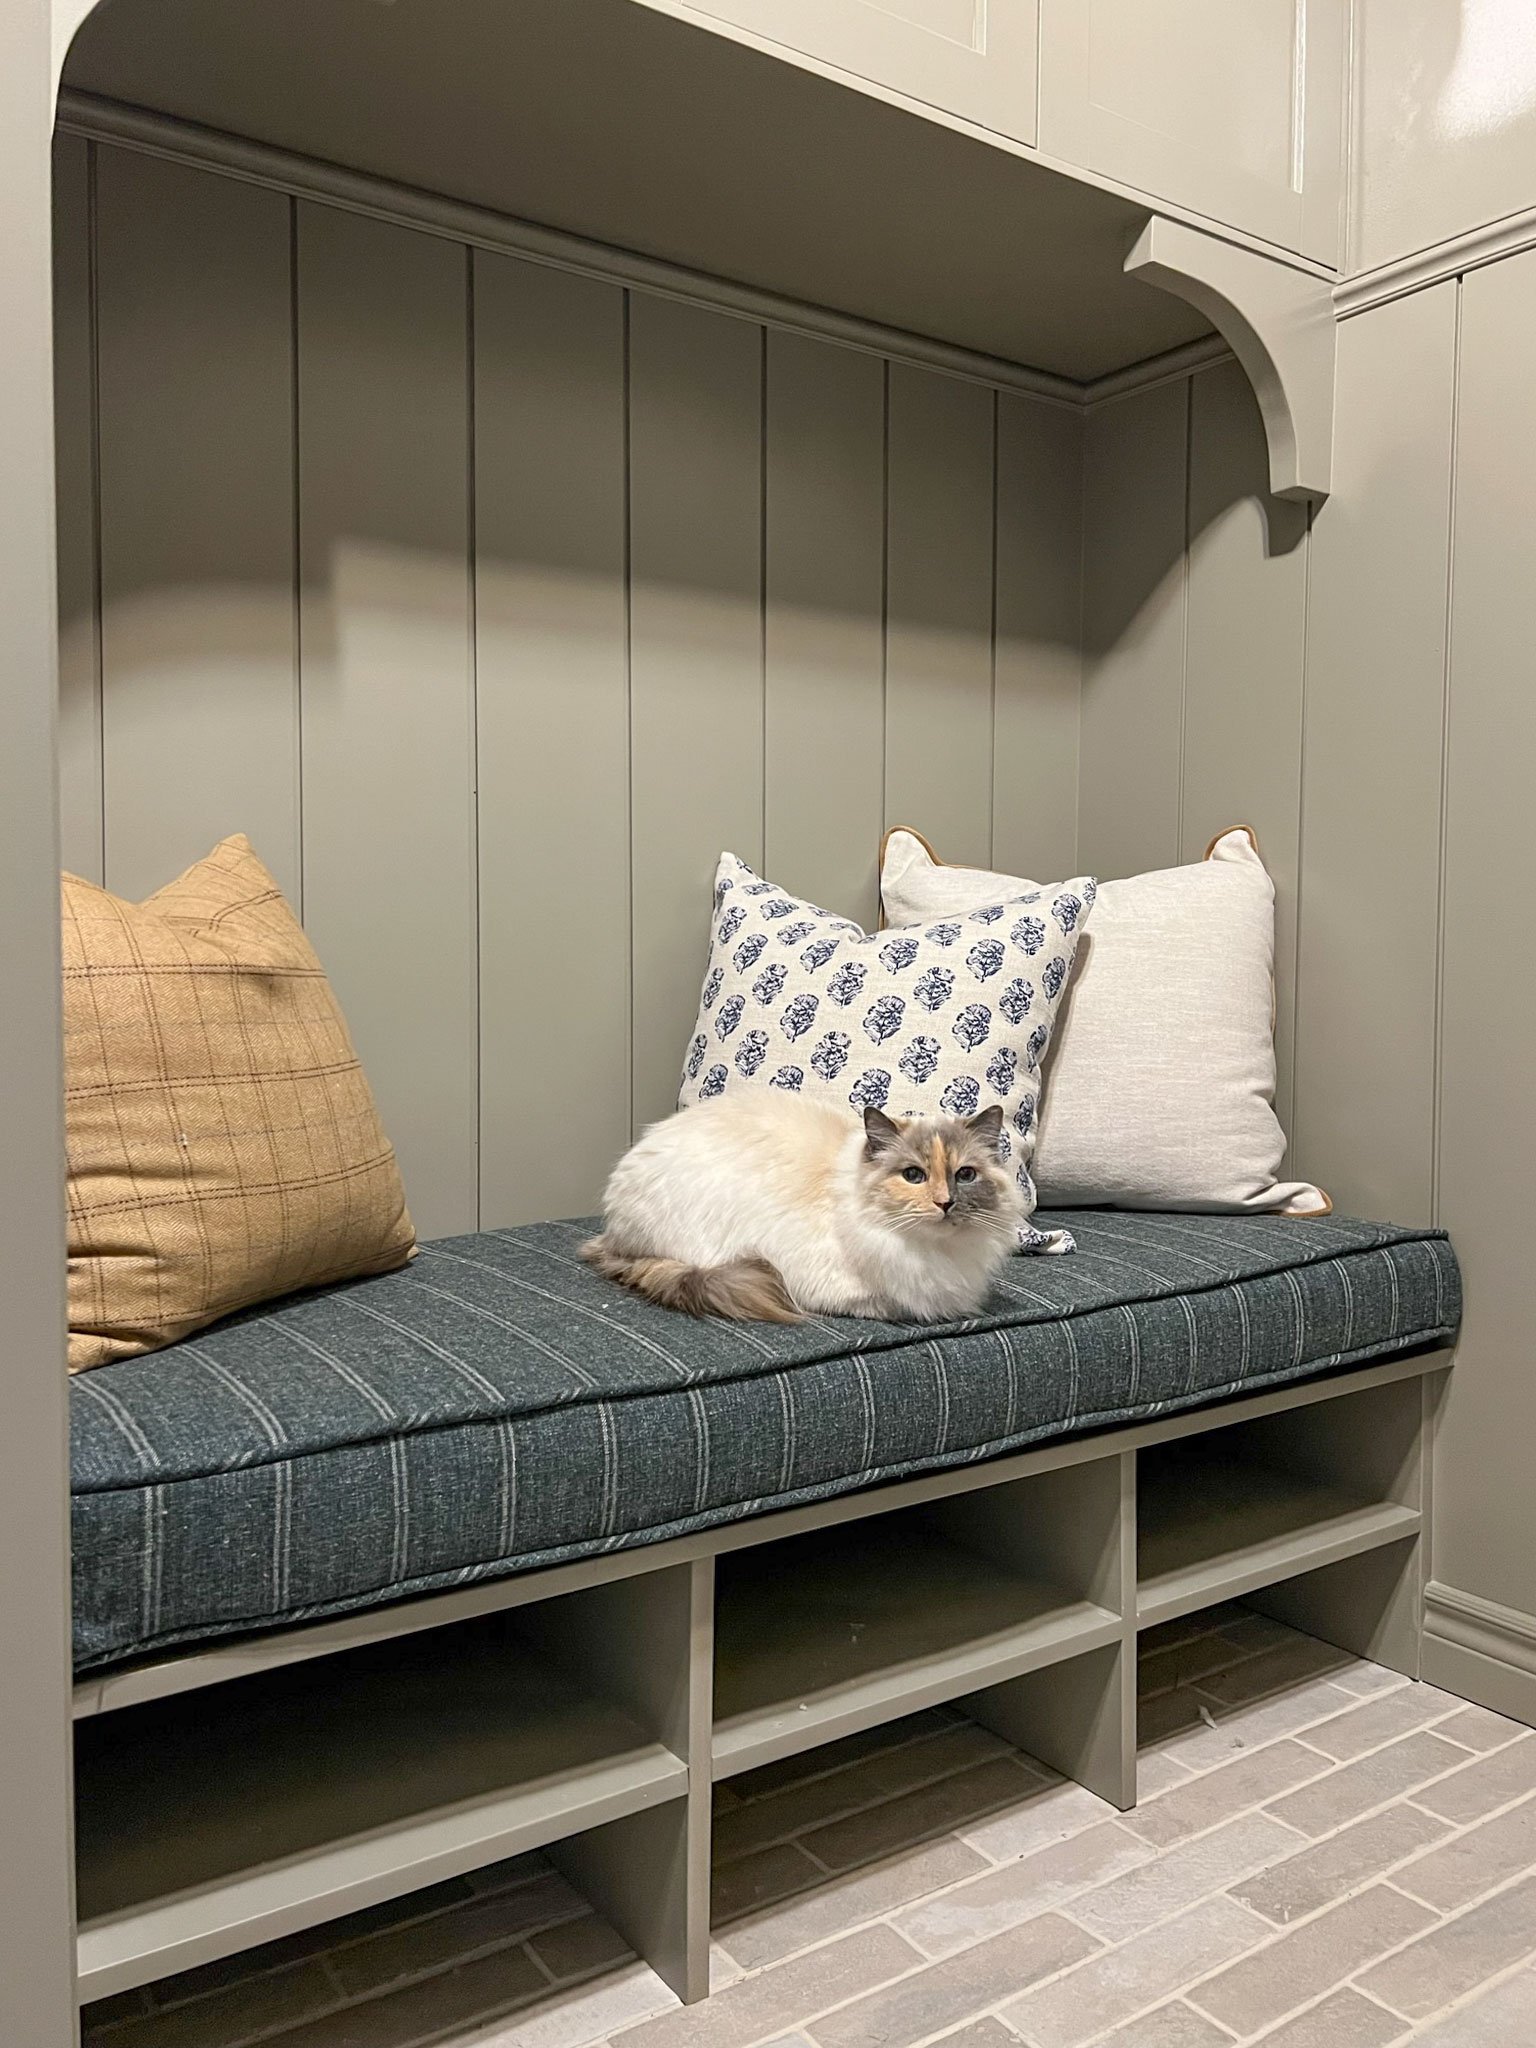
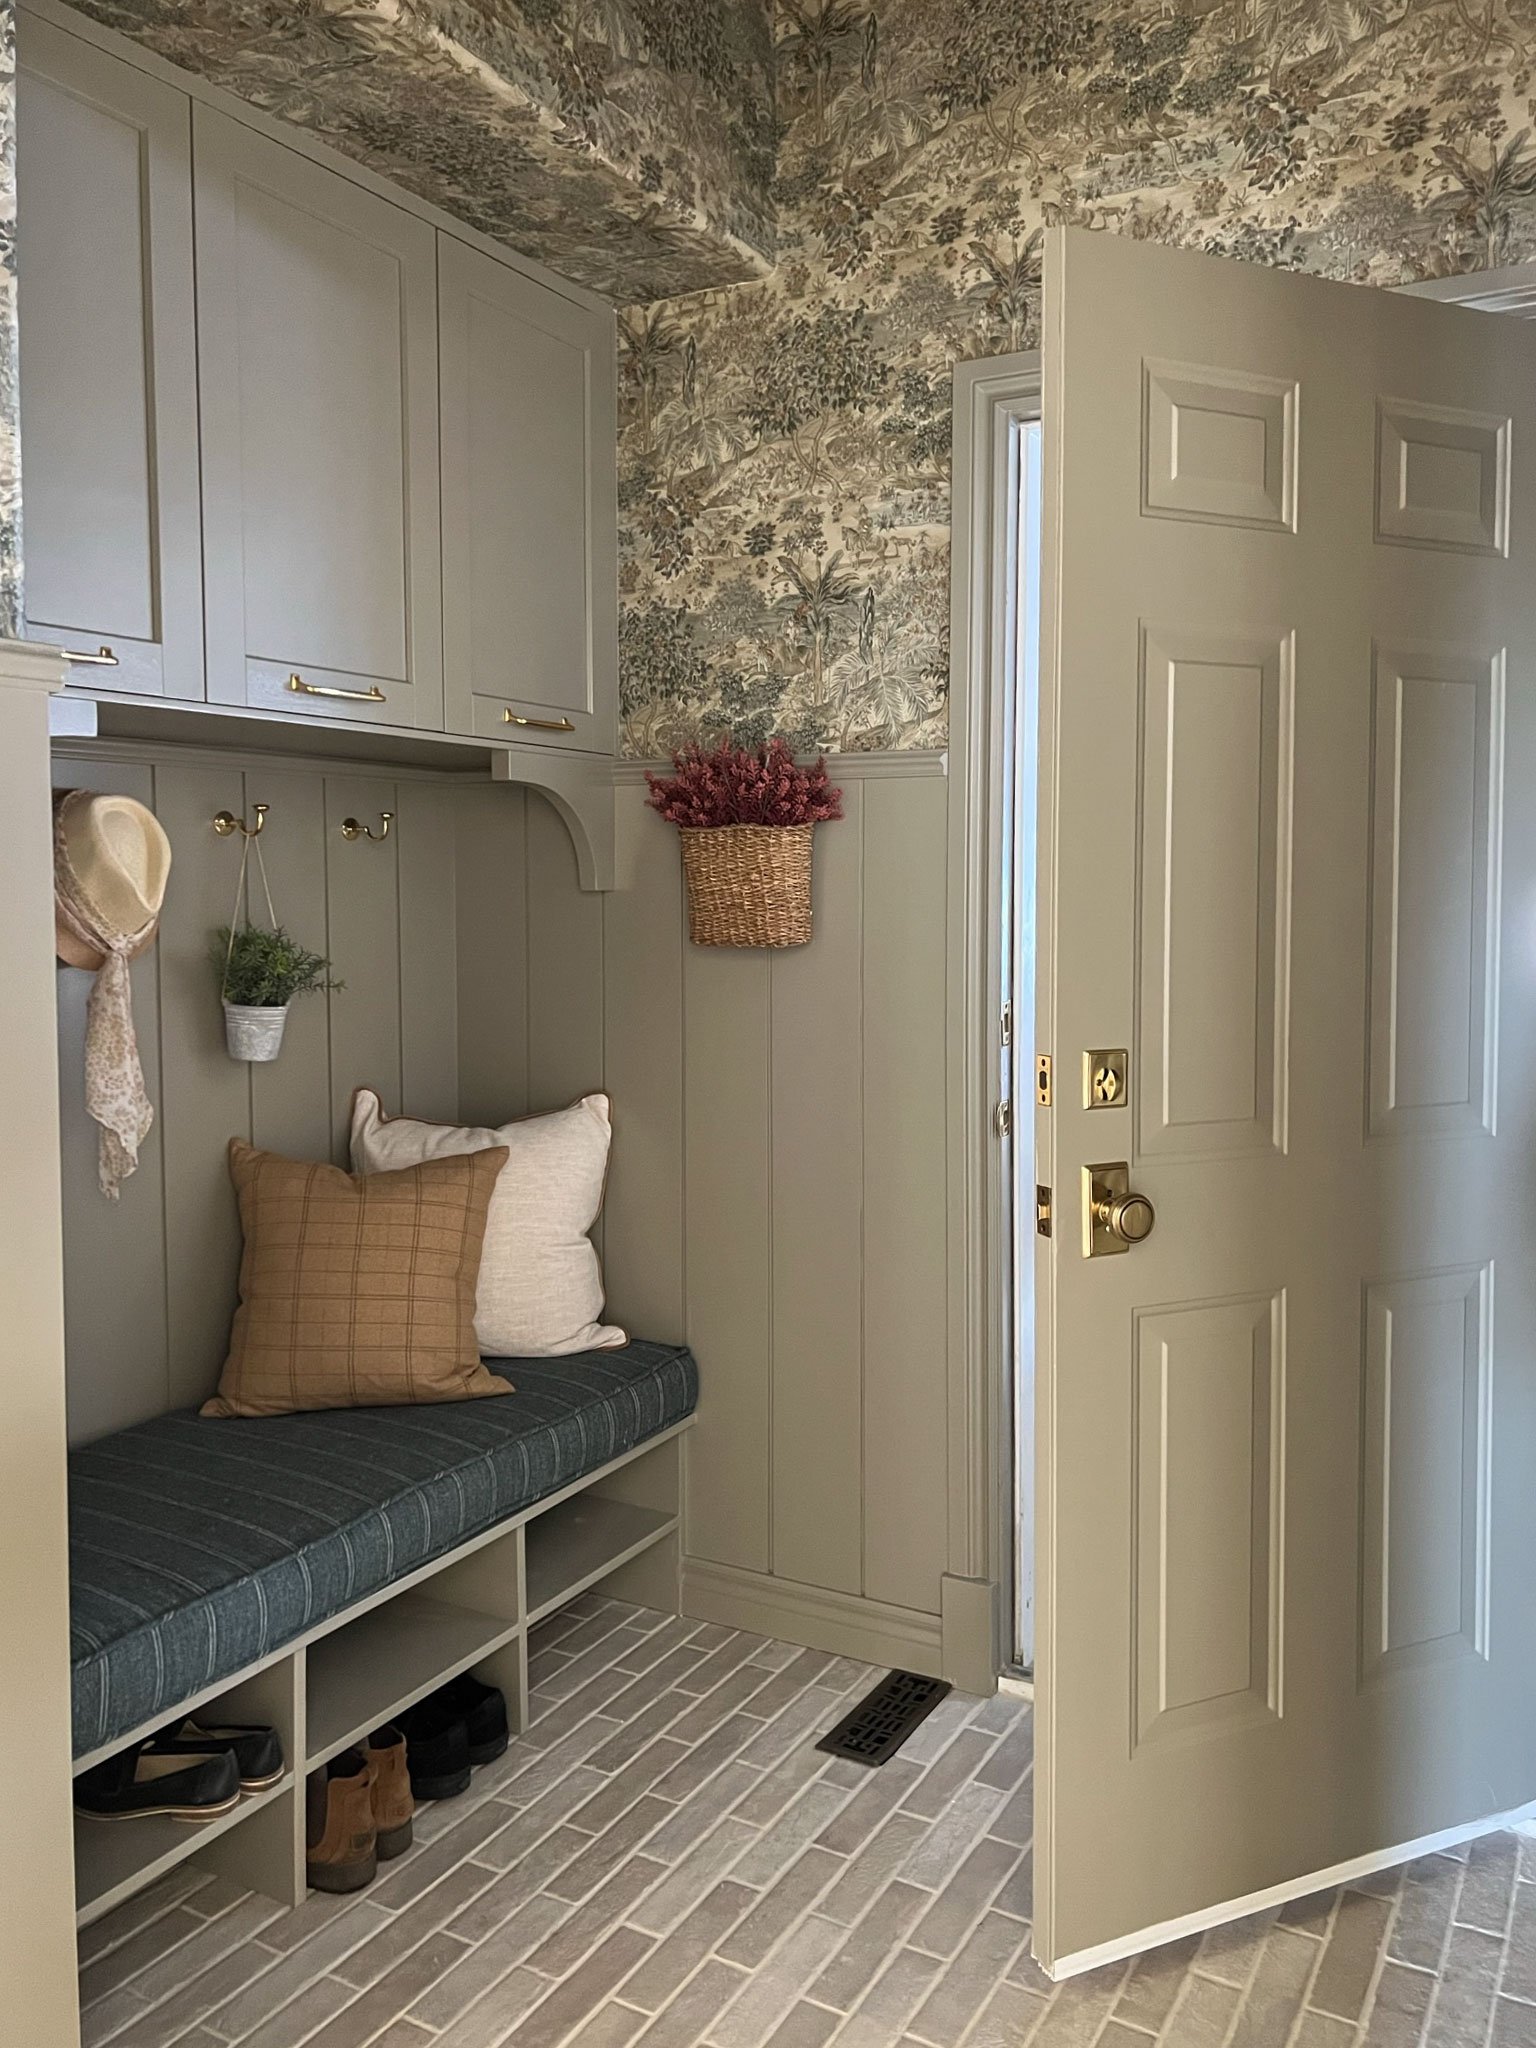
Some wallpaper, shiplap, paint, and finishing details later (all of which were DIY as well), and Erin’s mudroom project was complete. This room is absolutely beautiful, and you can tell how much care and consideration went into every bit of it!
The ORC editors recently put together a guide of their favorite DIY products. You can check out all their recommendations here.
We want to feature your amazing DIY projects! Send us photos or videos from your One Room Challenge® project via this form.