DIY: A Cat-Proof Window Treatment
DIY
Hi friends! Virginia from Team ORC here. I tackled my own (very small) mini project during the fall event. The solution I employed was not on my radar, so I documented the process for anyone looking to solve a similar problem.
The catalyst for this project is named Clancy. I found Clancy trying to live on my back porch when he was around 3 months old. It took me almost a week to catch him, but once he was inside it took about 24 hours for him to decide he's an indoor guy. He's almost 3 now and for the most part, you'd never guess he's a former feral.
He does, however, maintain some unique hobbies, one of which was tearing down every single window treatment I hung in my laundry room window. I tried several styles and they were all apparently unacceptable to him.
Every time he “redecorated,” neighbors and people driving by had a clear view through the laundry room window into the kitchen of me cooking dinner, so I was very motivated to find something he couldn't rip down. After a bit of research I landed on window film.

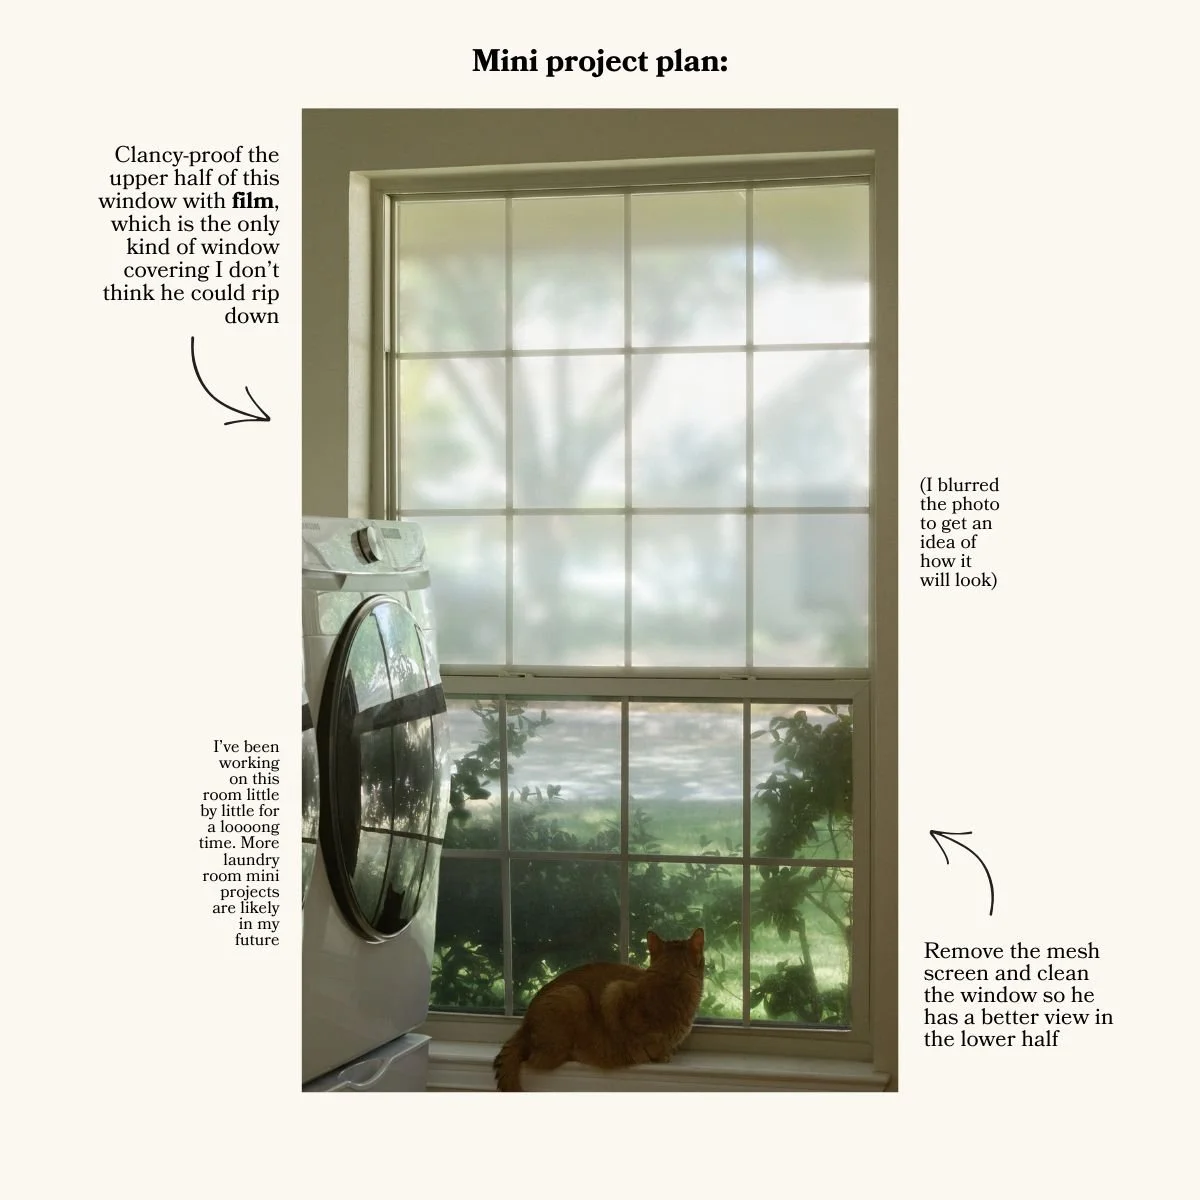
The complete mini-project agenda was:
1. Remove the outside mesh screen and clean the window to enhance Clancy's view from the lower half
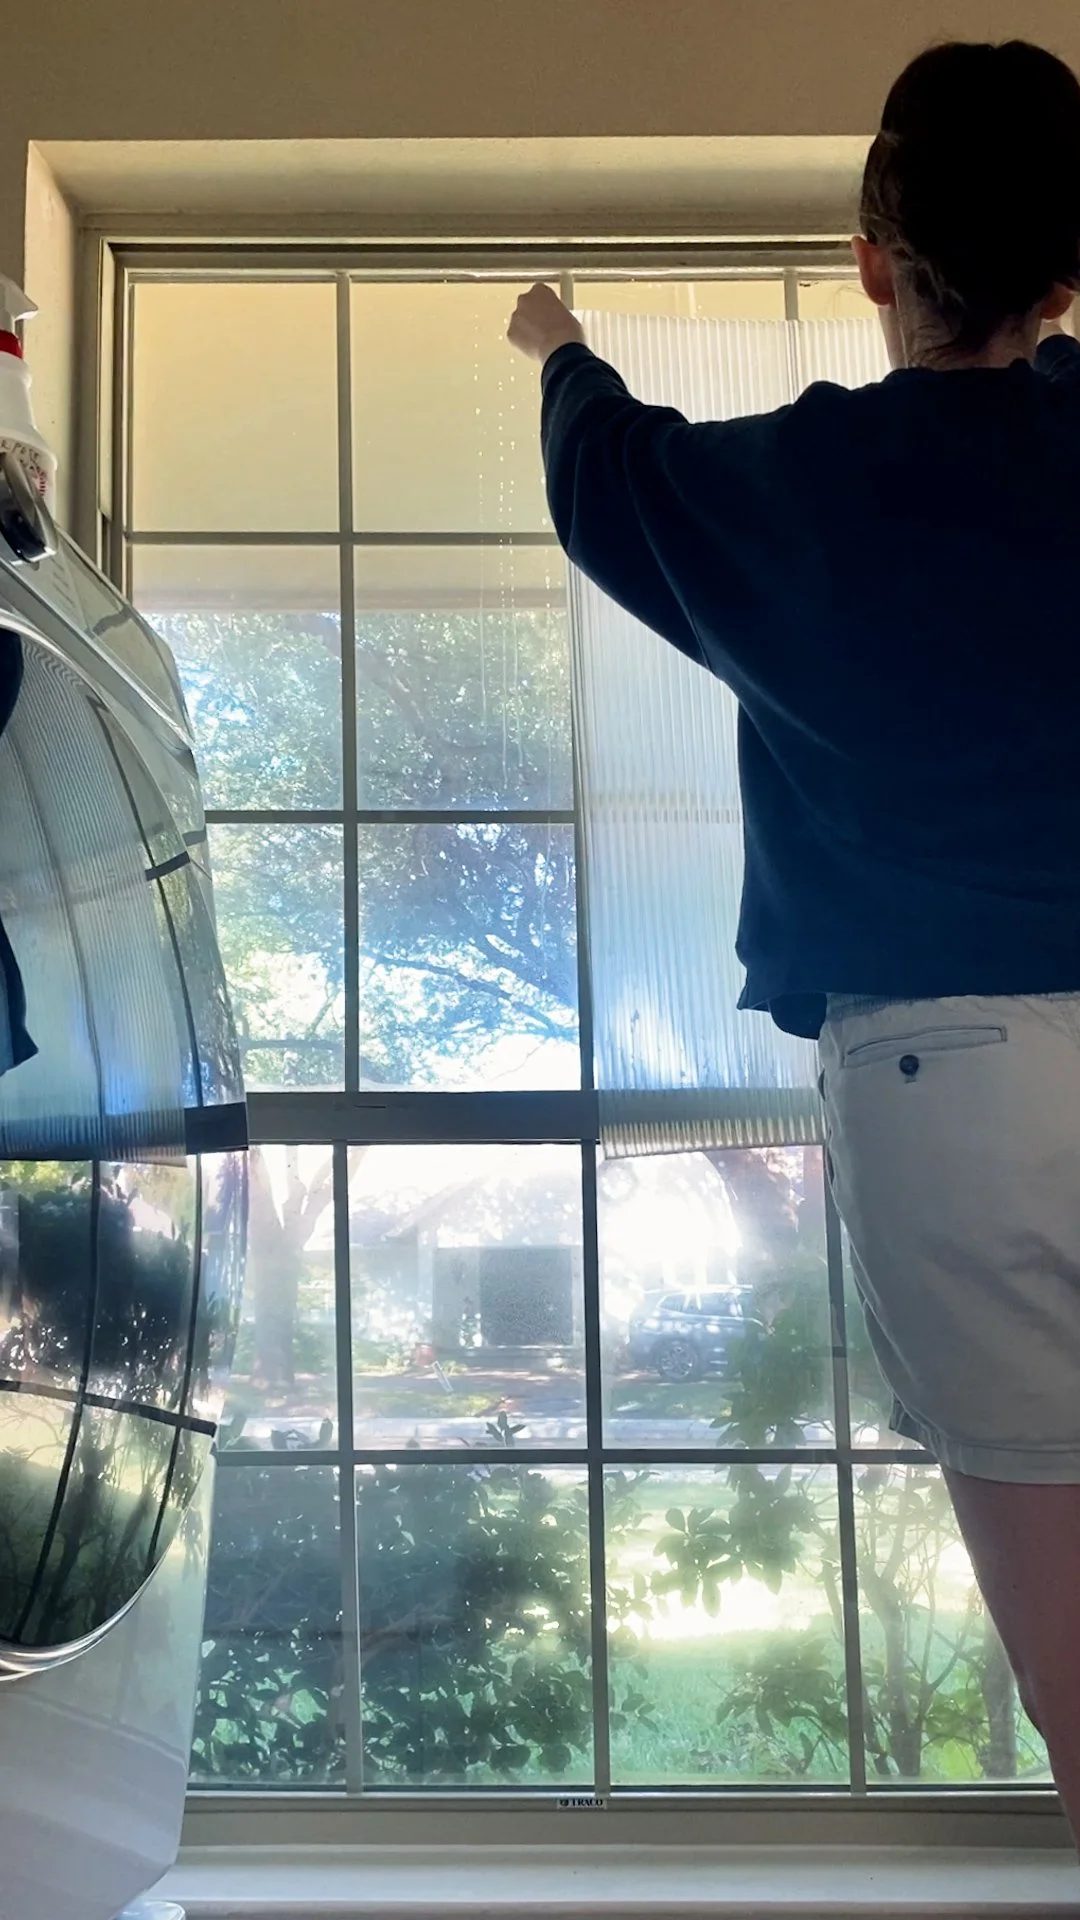
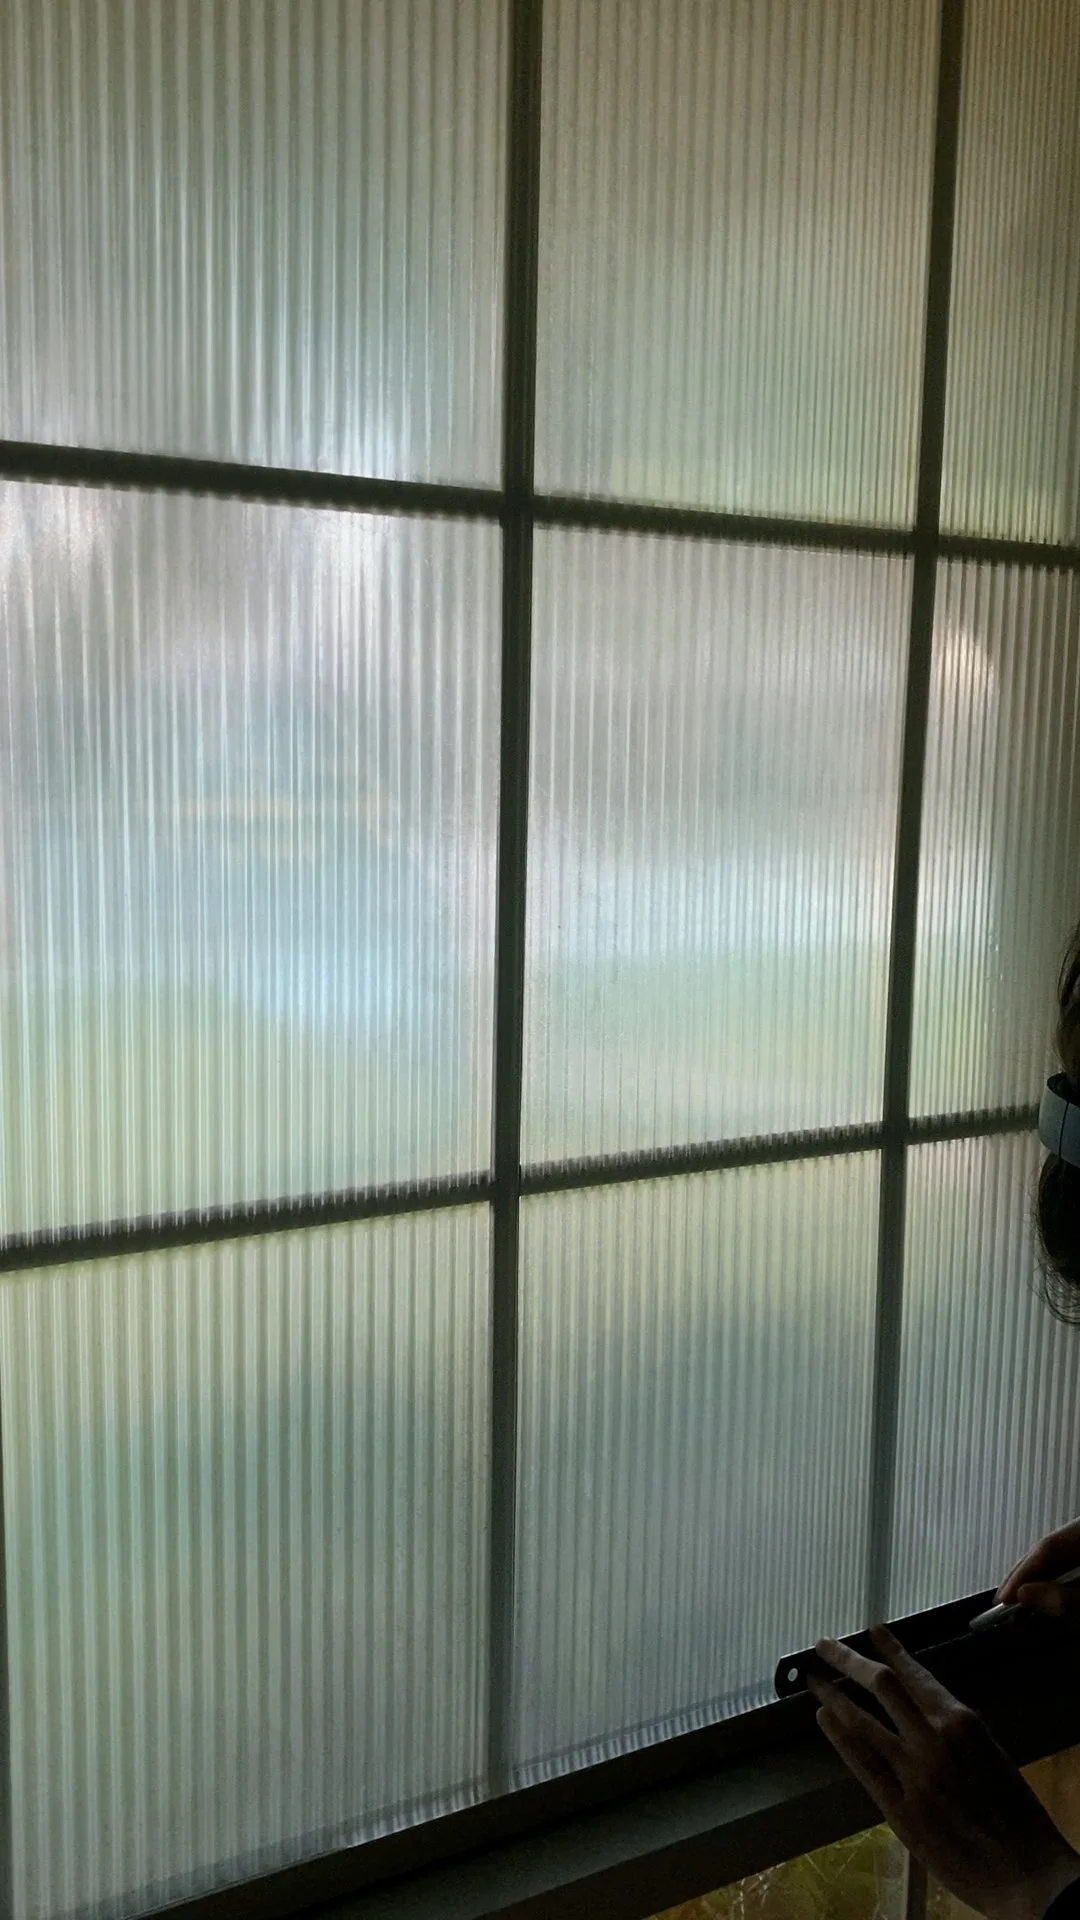
2. Install window film in the upper half, so I can cook dinner without being fully visible to the world
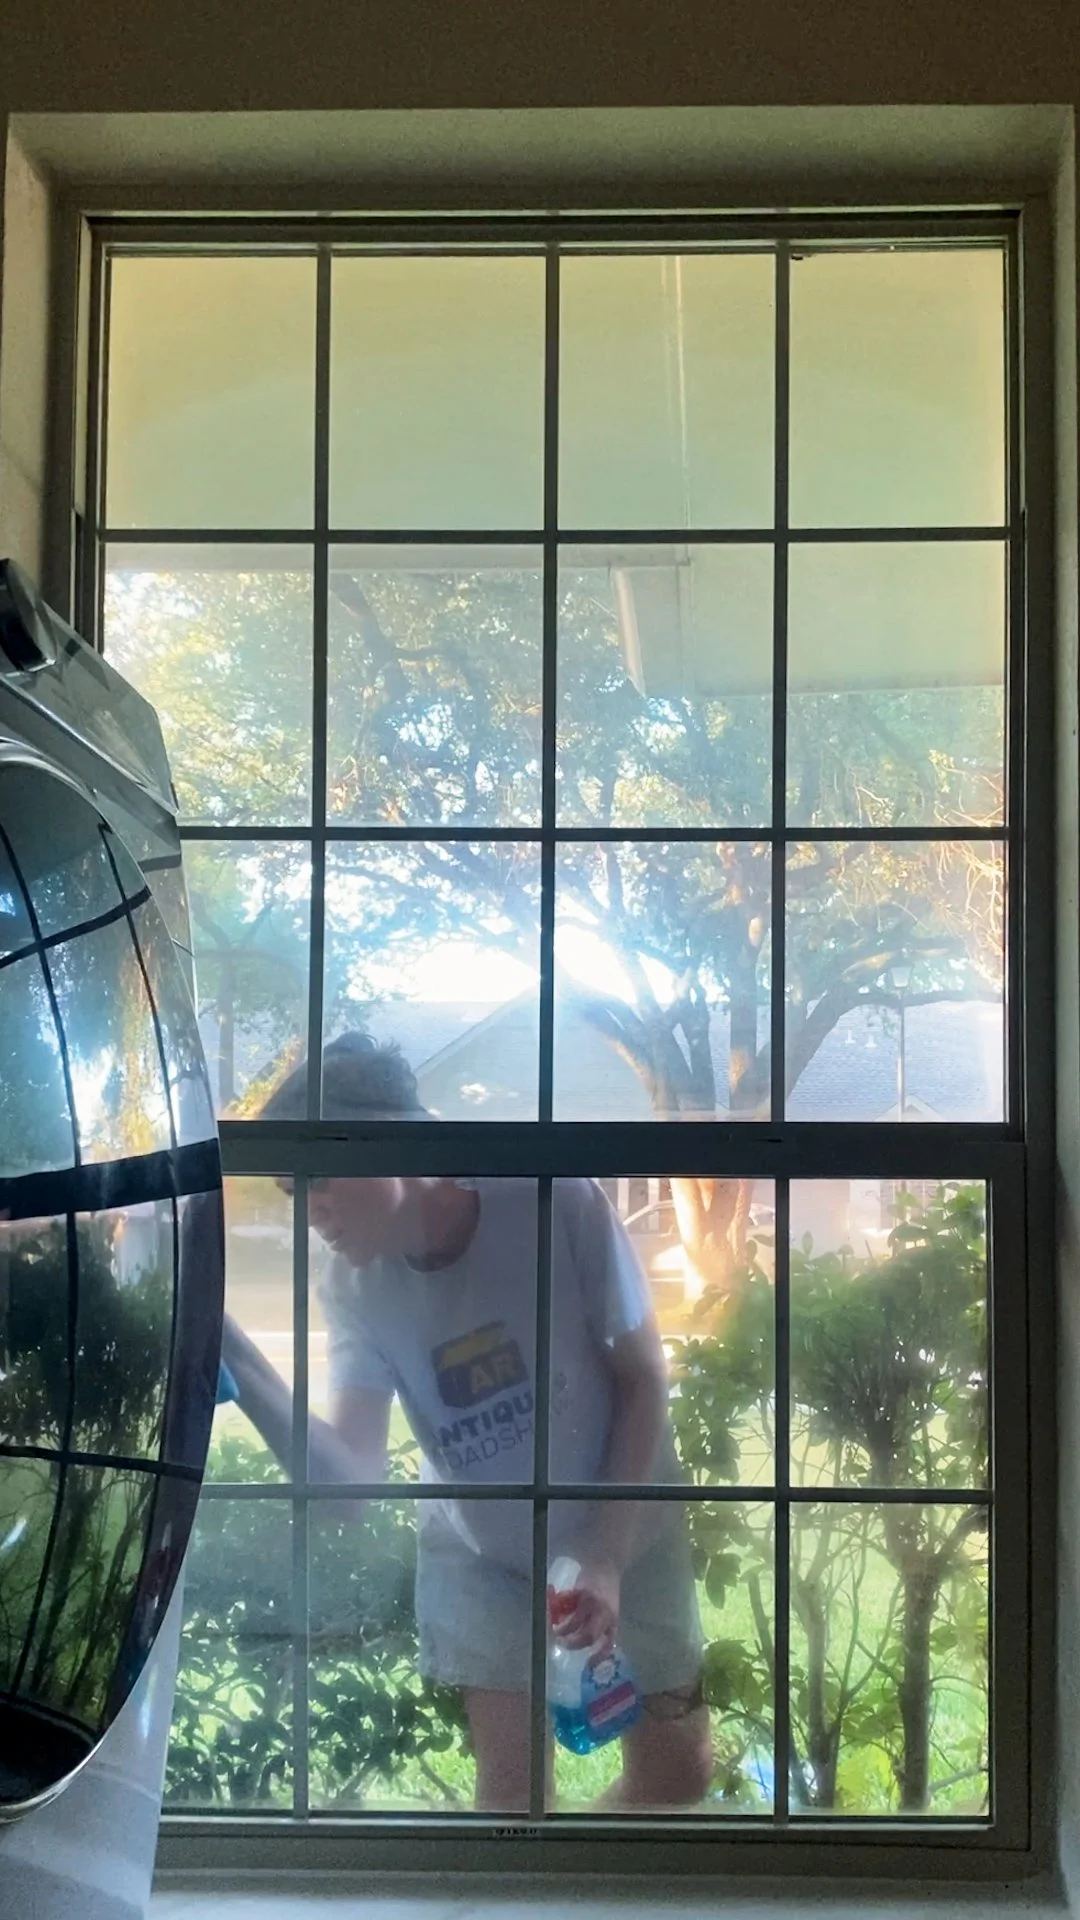
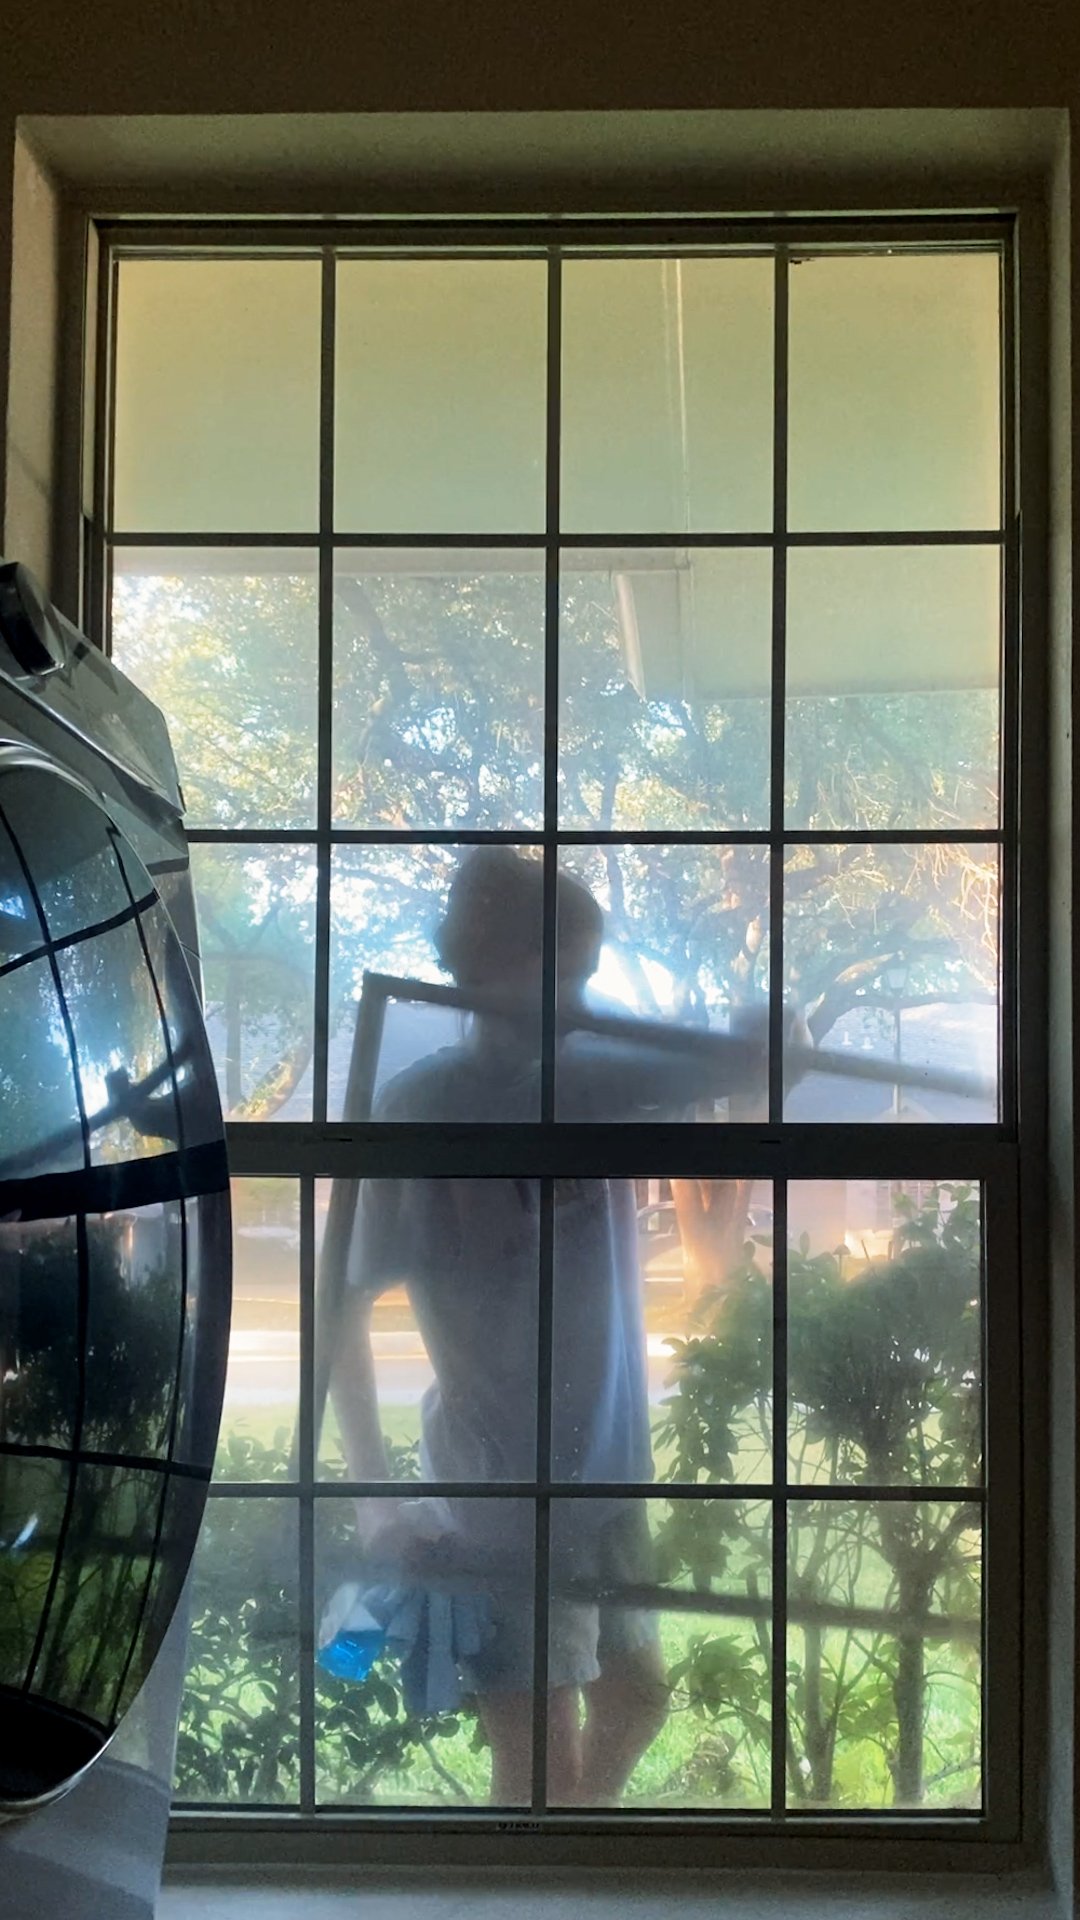
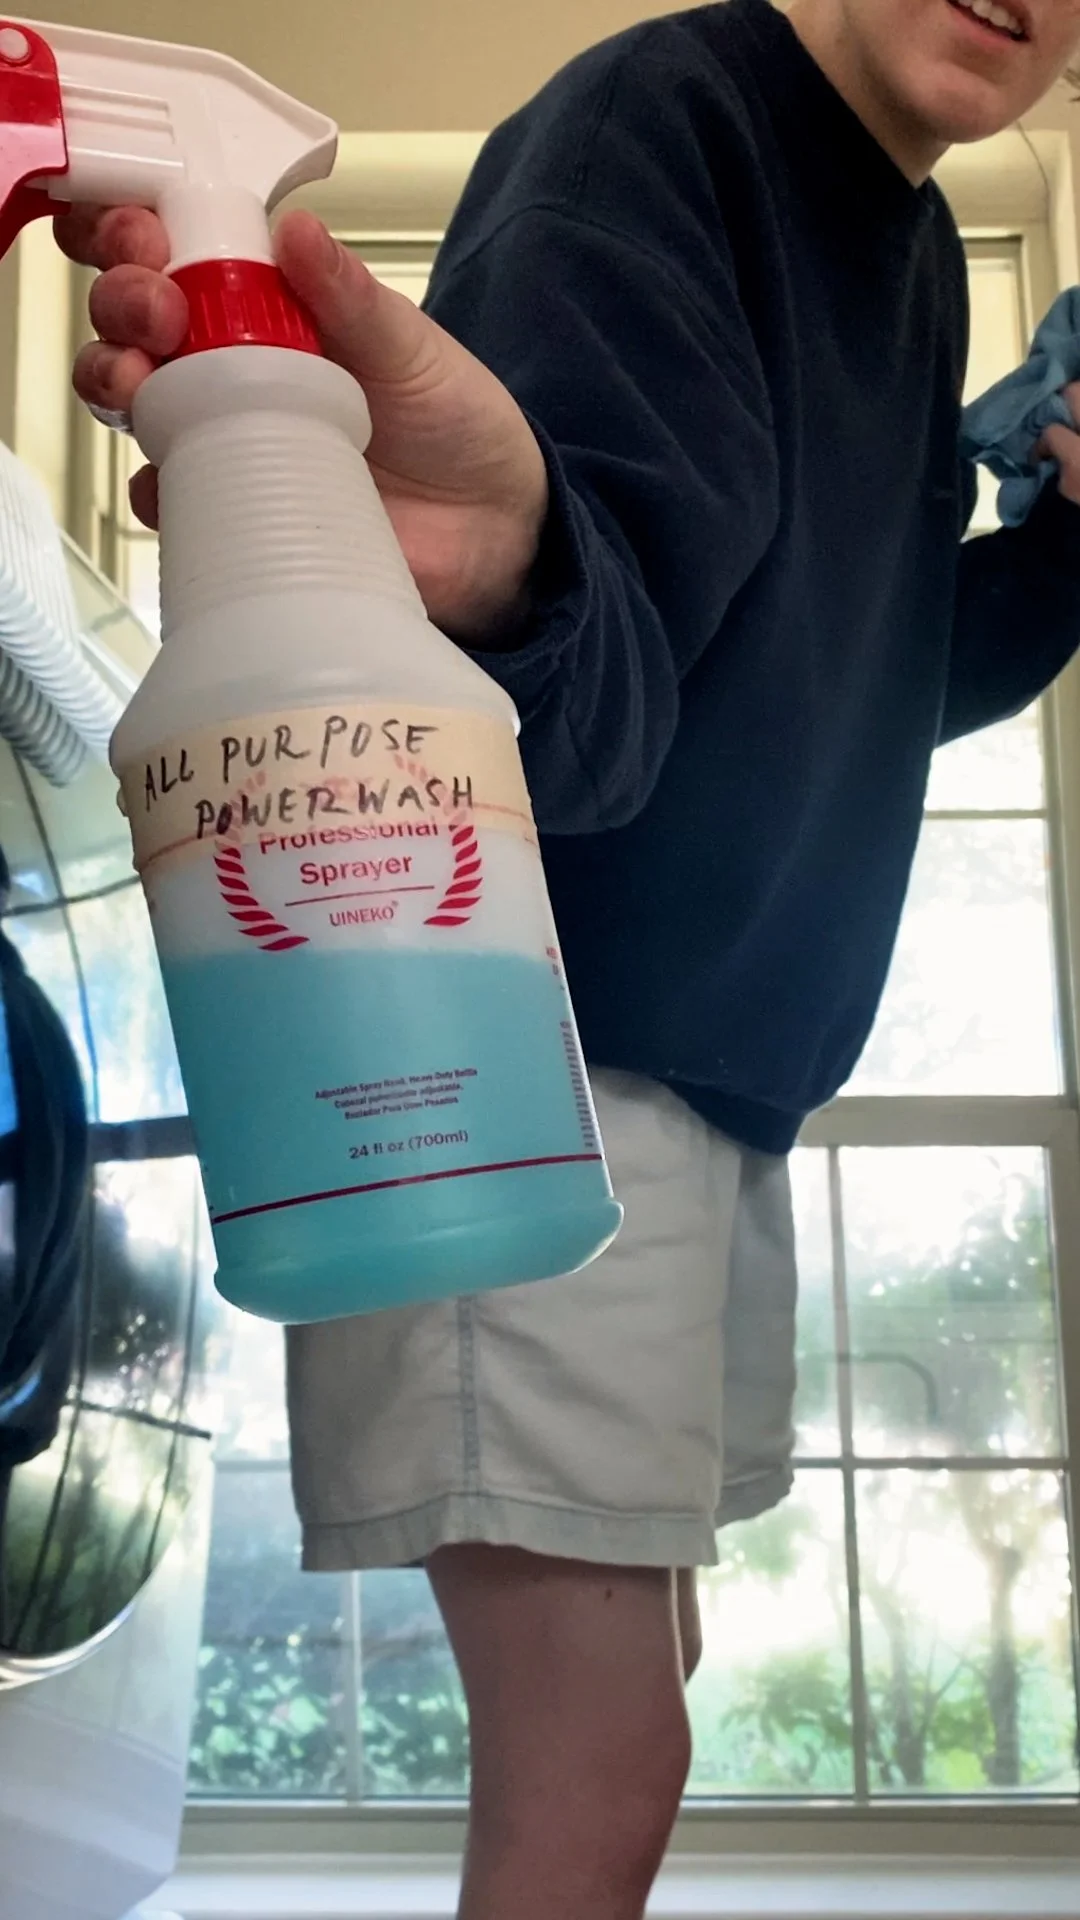
So I got started by discovering that you have to remove the screen from the inside of the window. Then I cleaned the outside of the window with windex and a microfiber cloth. I cleaned the inside of the window with DIY Dawn Powerwash. I think this recipe has made the rounds on Instagram and Tiktok a few times, but ICYMI:
- 13 fl oz of water in an empty spray bottle
- Add in 4 tablespoons of blue Dawn Dish Soap and 2 tablespoons of rubbing alcohol
- Swirl it around to combine
I use it for literally everything except painted surfaces.
Anyway, once the window was clean, I measured the width of the window to the halfway point where the middle pane thingy is.
The window film I went with has a reeded texture, and it adheres using static so it's fully re-usable and won't leave any residue. The roll isn't wide enough to cover the whole window, so I made sure the seam would be hidden by the divider. The film came with plastic backing that has a grid printed on it which made it easy to trim down to size.
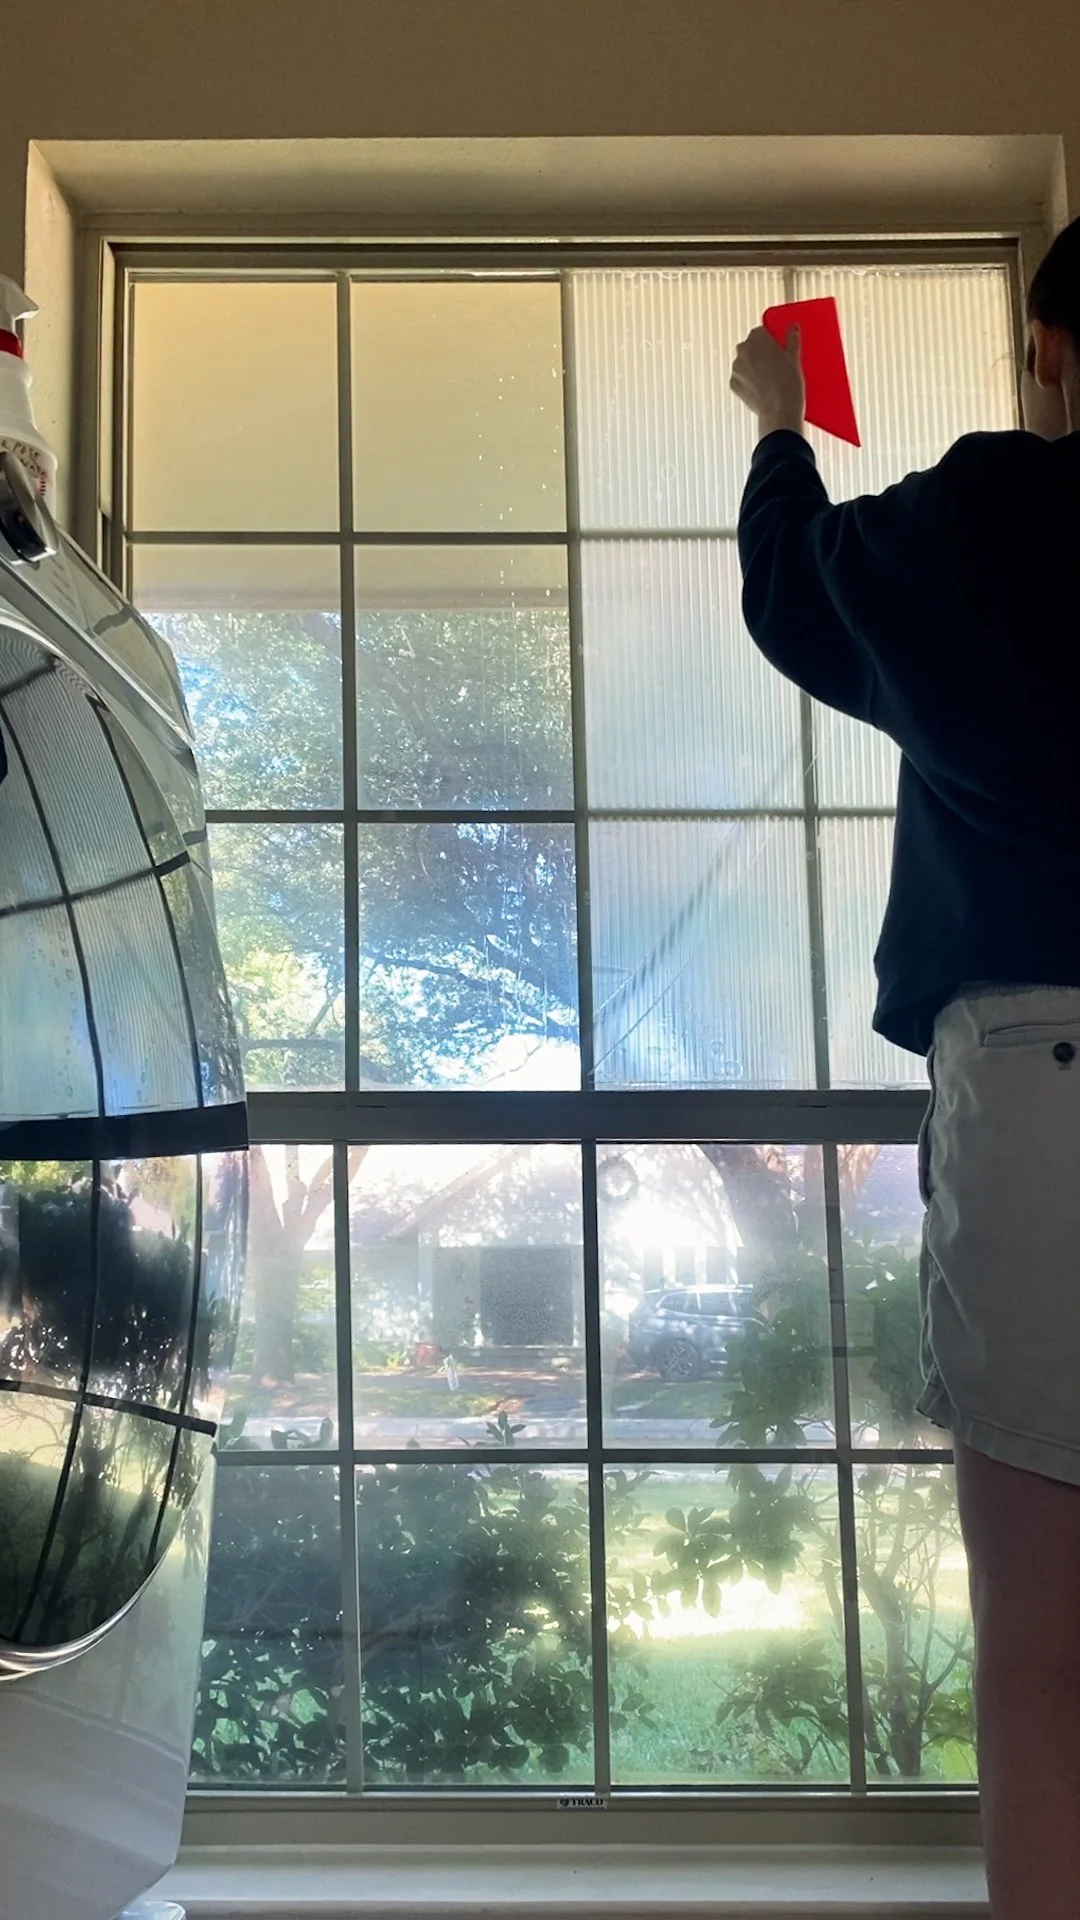
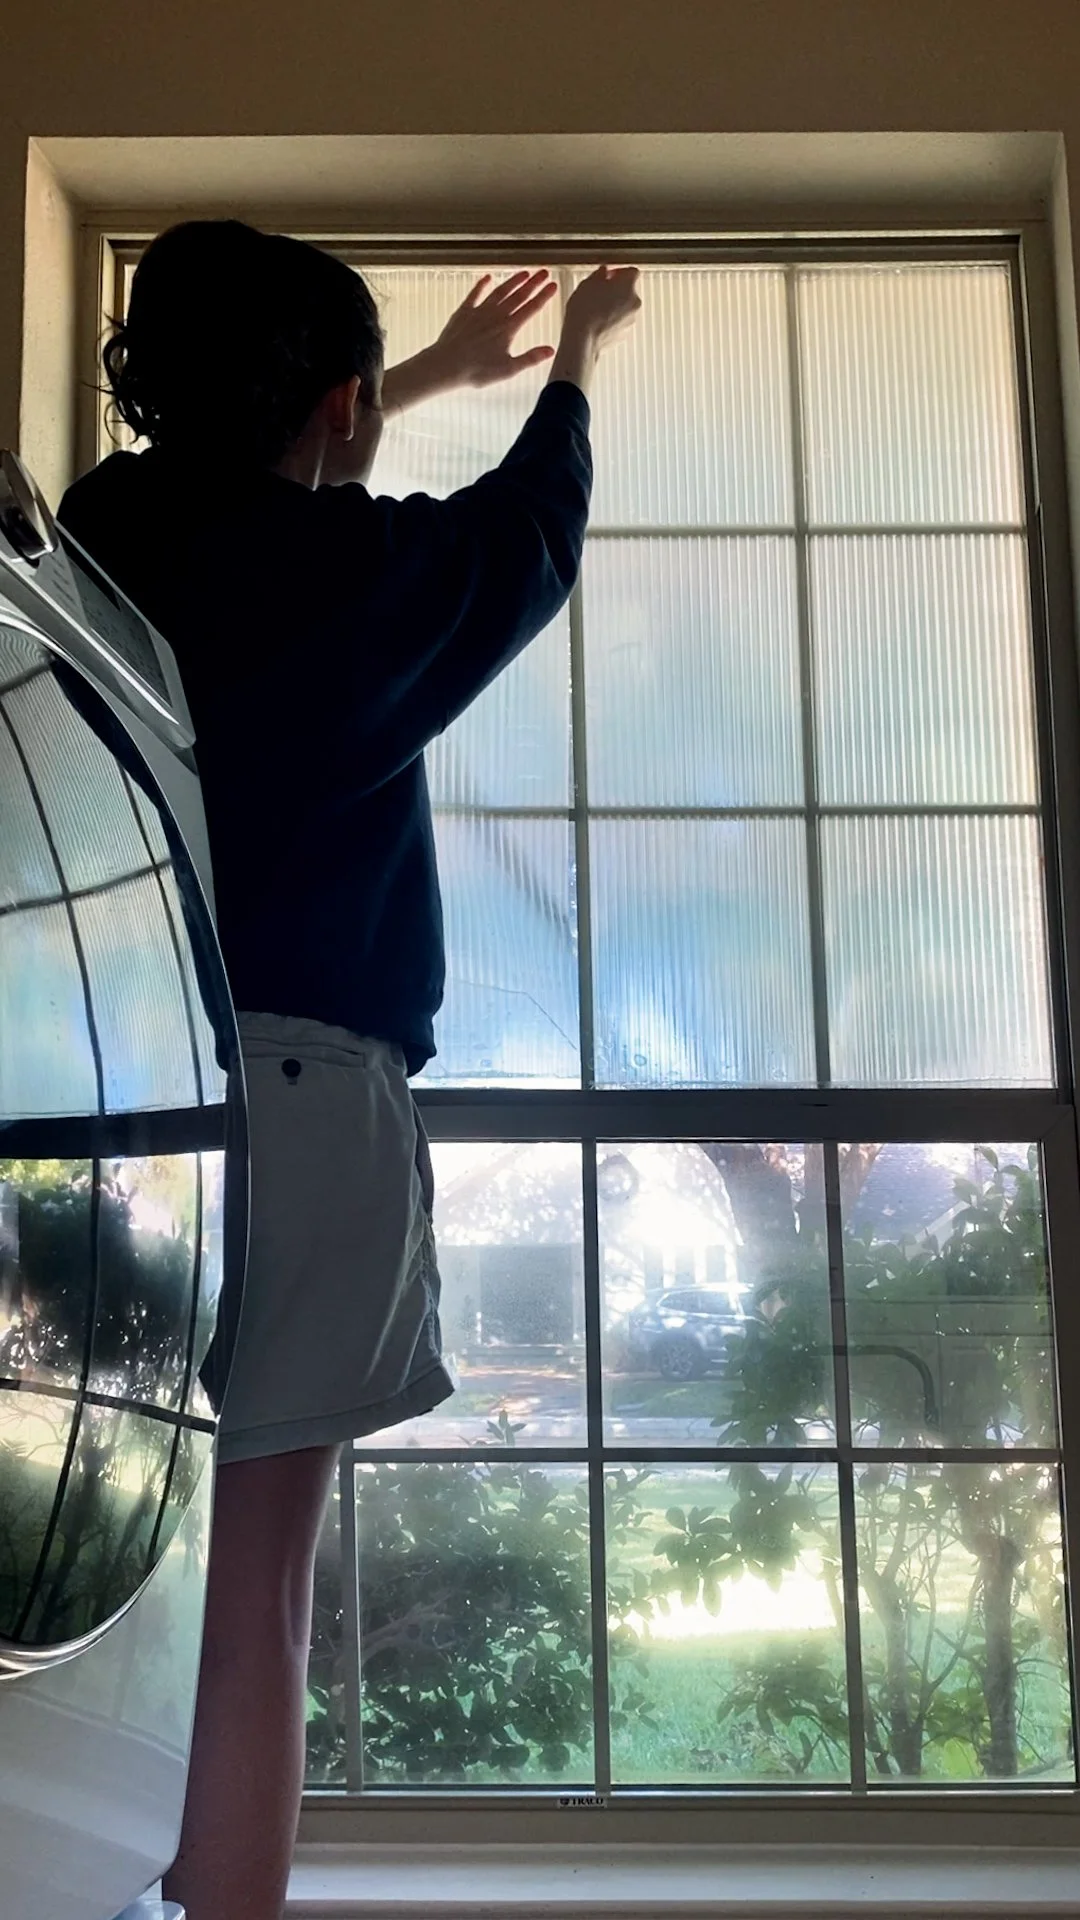

EXTREMELY IMPORTANT NOTE: there is SO much static when you pull off the backing. So much so that cat hair from my sweatshirt transferred onto the static-side of the film without even touching it. It should be part of the official instructions to lint-roll yourself beforehand. It turned out fine, it wasn't hard to peel the film back and then re-stick it, but it was annoying!
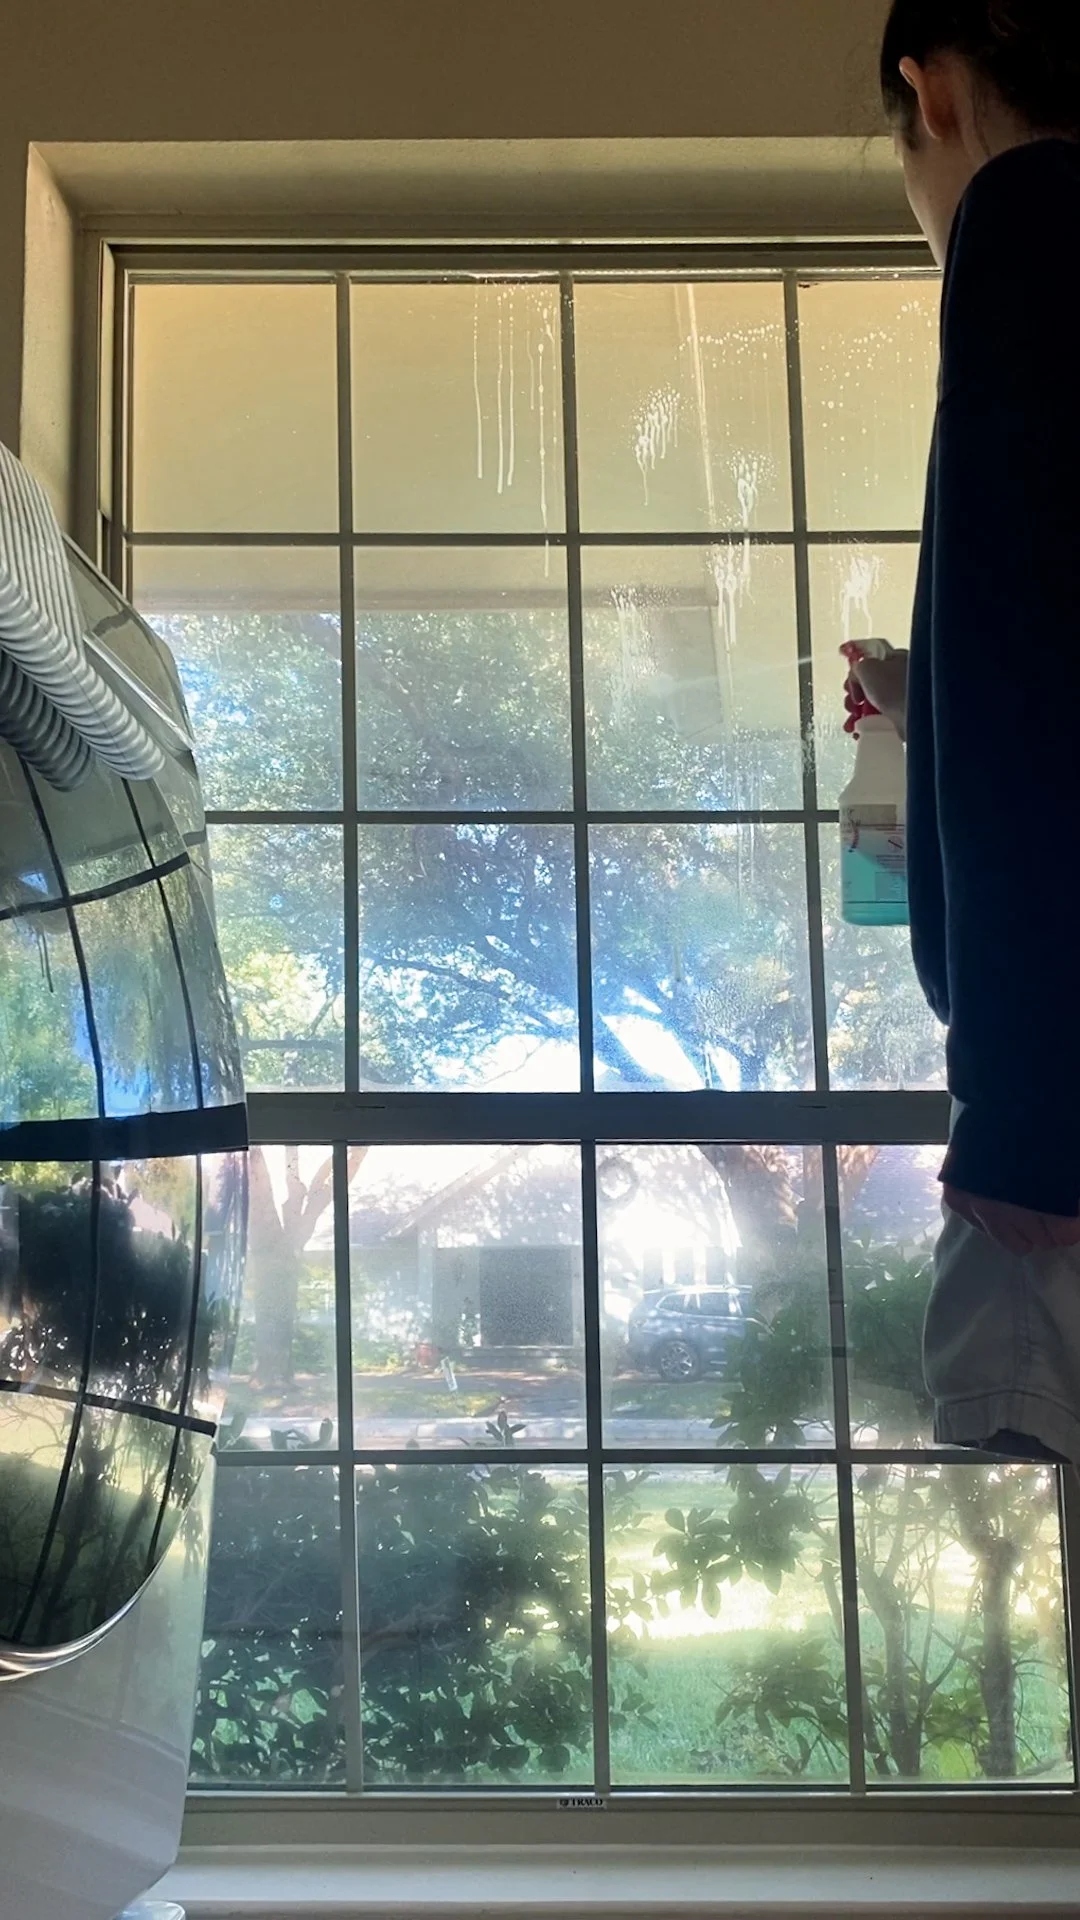
To make the window film stick, you're supposed to spray the window with soapy water, so I used the DIY Powerwash for this as well. I used a wallpaper smoothener tool to squish out the wrinkles and air bubbles. Once it was all smooth, there was a bit of overhang on the bottom, so I used a ruler and an Xacto knife to trim off the excess and get it perfectly flush.
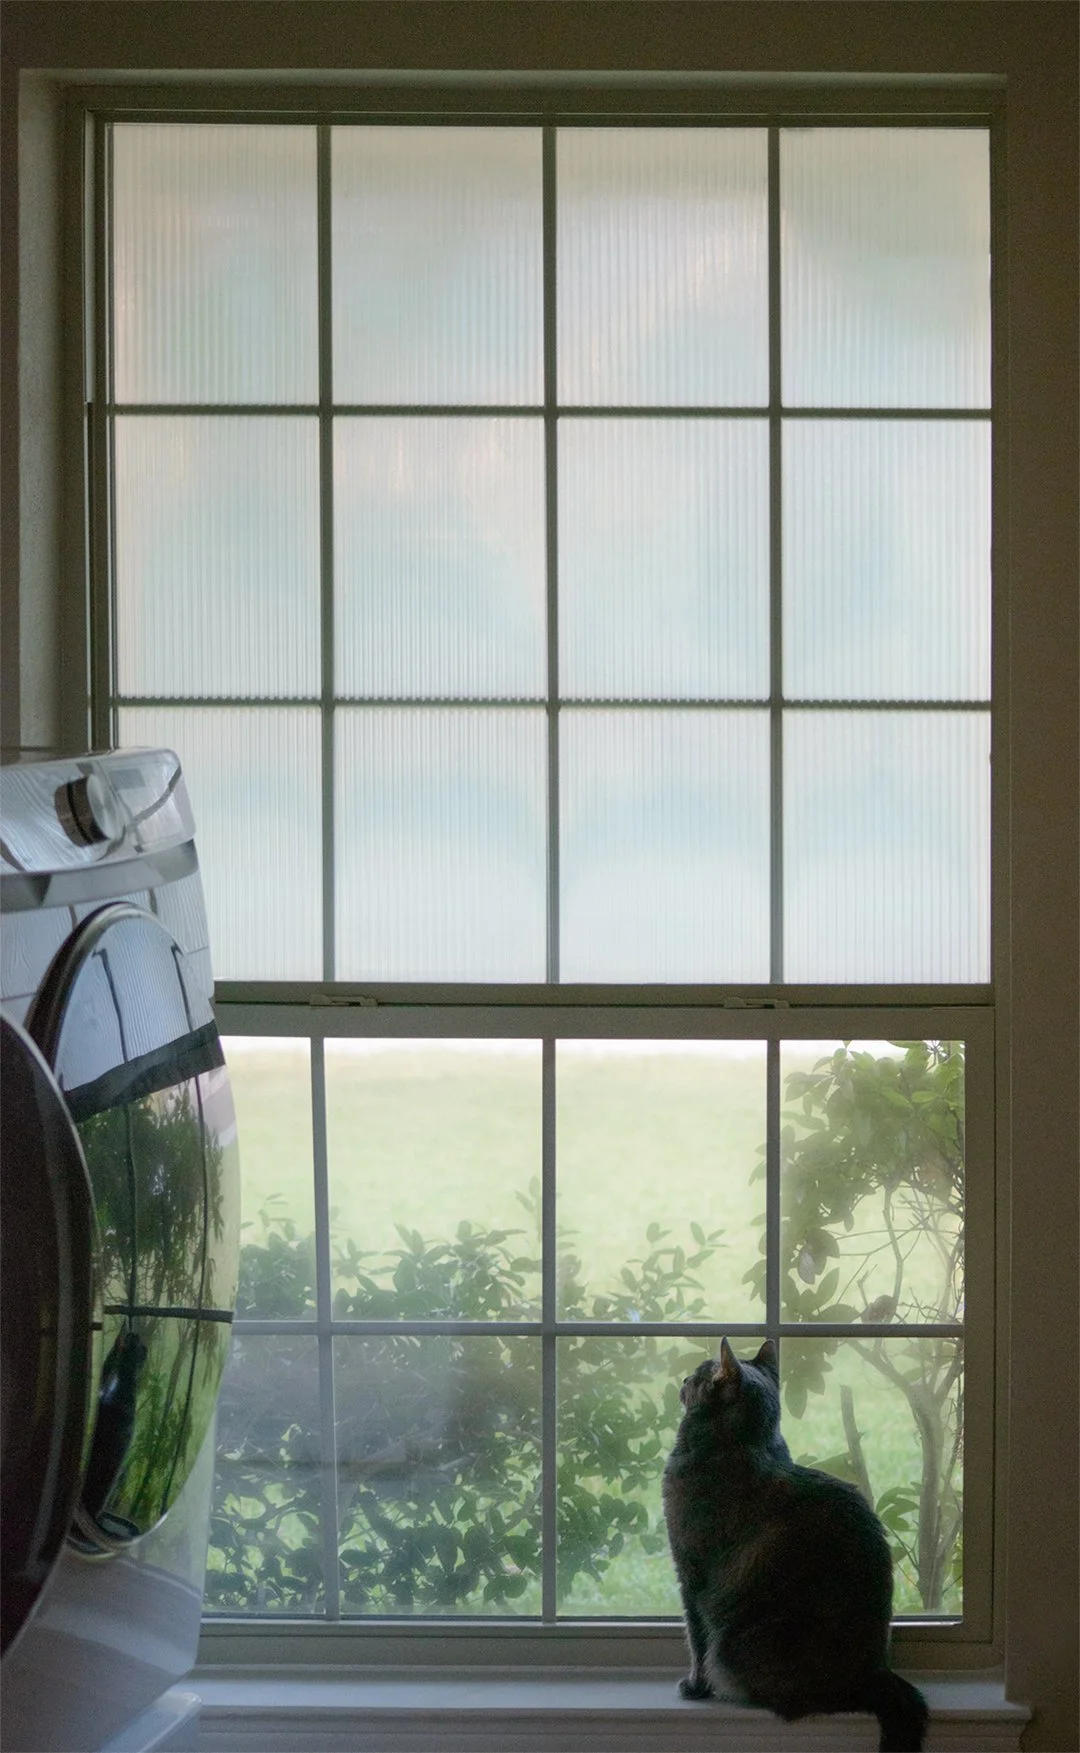
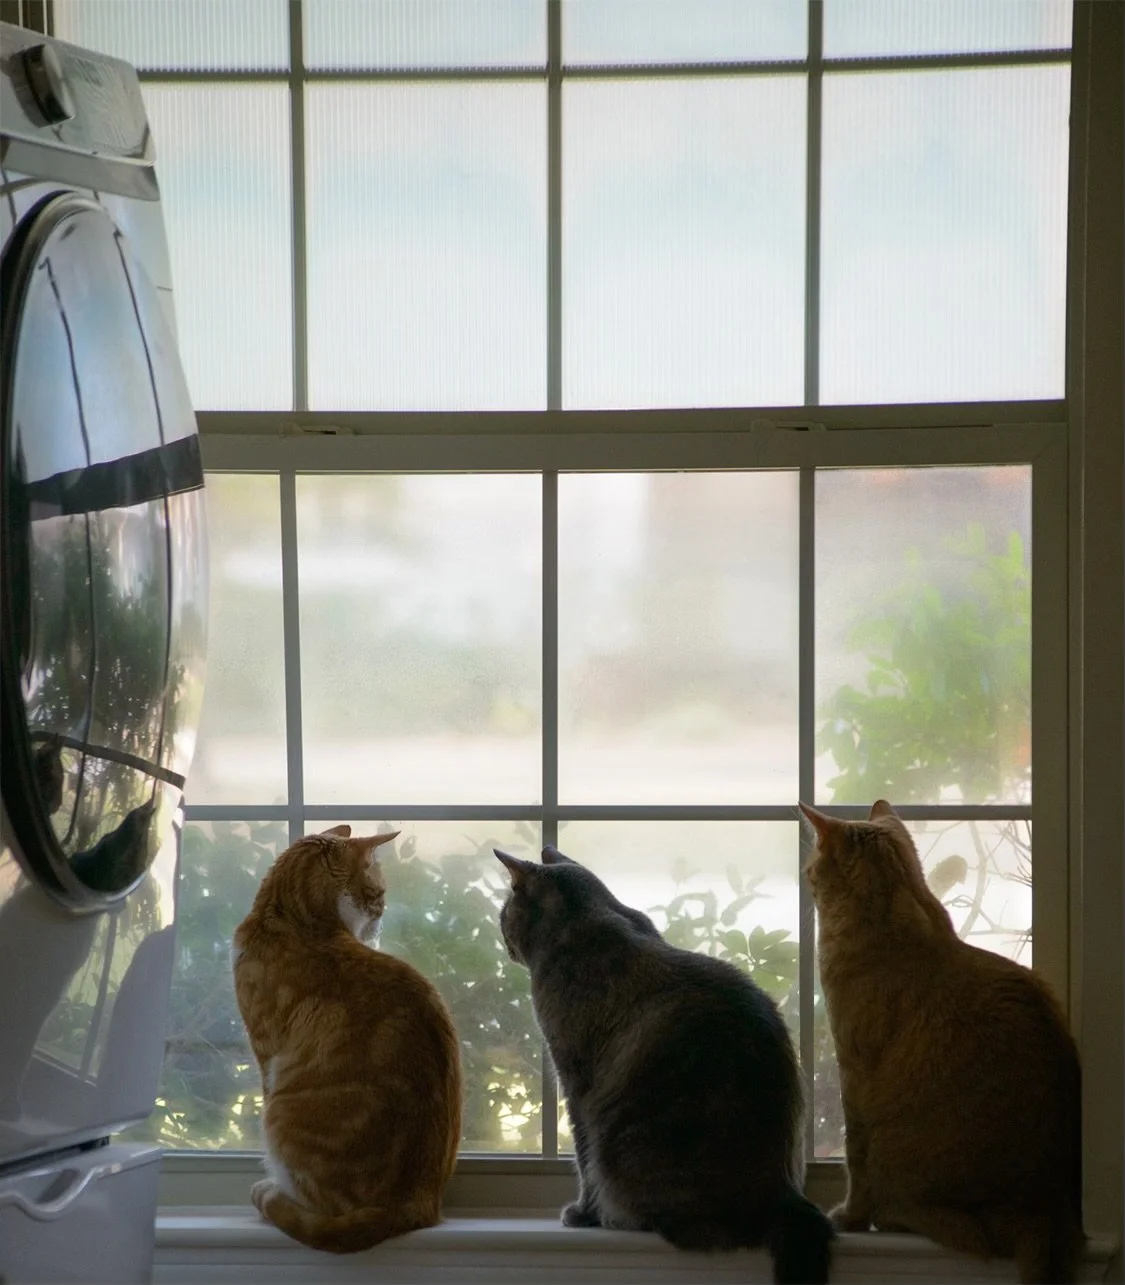
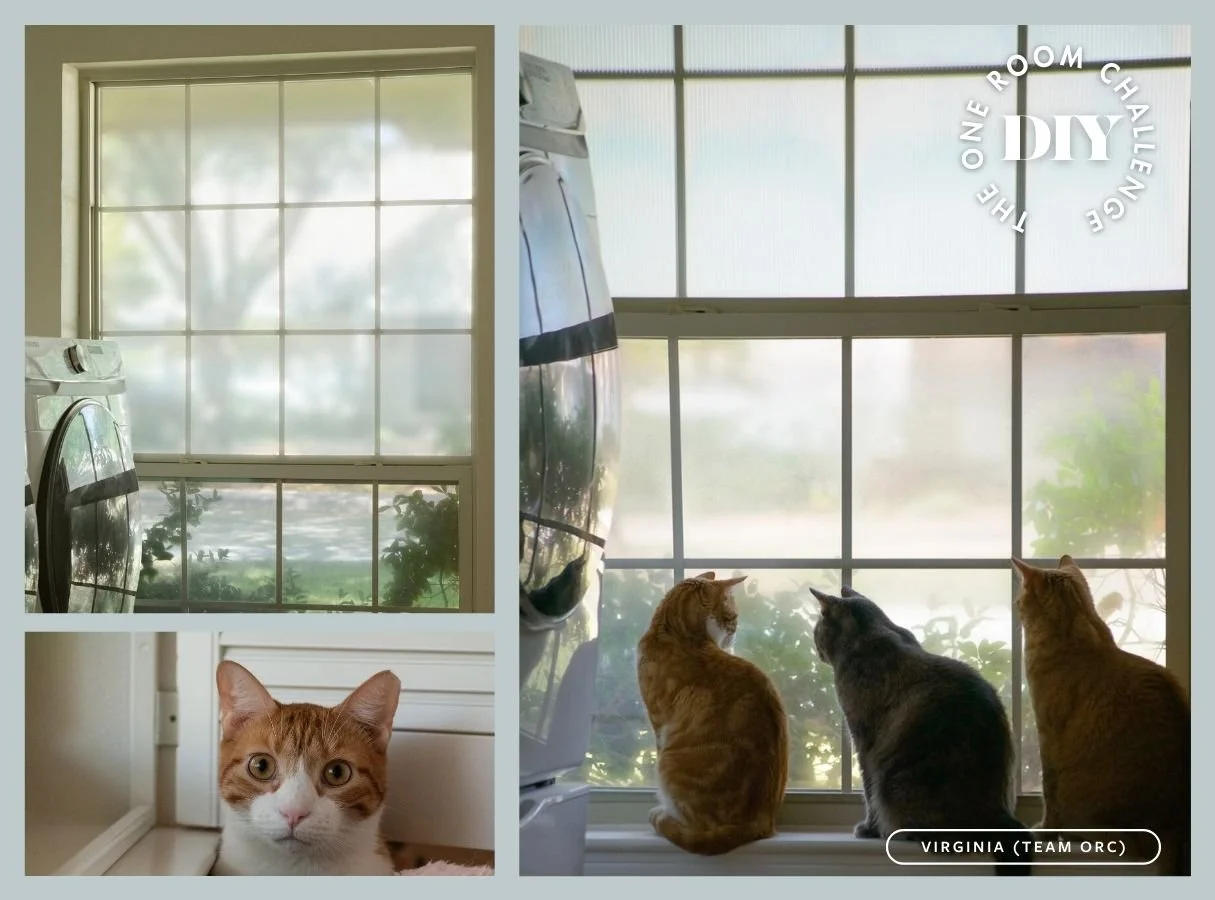
Clancy, Maisy, and Hamish all enjoy the window :)
And then it was done! I was sad to give up on my dreams of having a cute shade in this window, but I do really like how the film lets in full natural light all day long AND provides privacy at night without me needing to raise and lower anything. Plus, it's been up for a few days now and Clancy has made no attempts to tear it down, so I suppose we've finally reached a stalemate.
I always have the best time watching everyone work on their ORC projects every season, and I loved jumping in with a mini project.
The enthusiasm of the community is the best motivation :)
We want to feature your amazing DIY projects! Send us photos or videos from your One Room Challenge® project via this form.