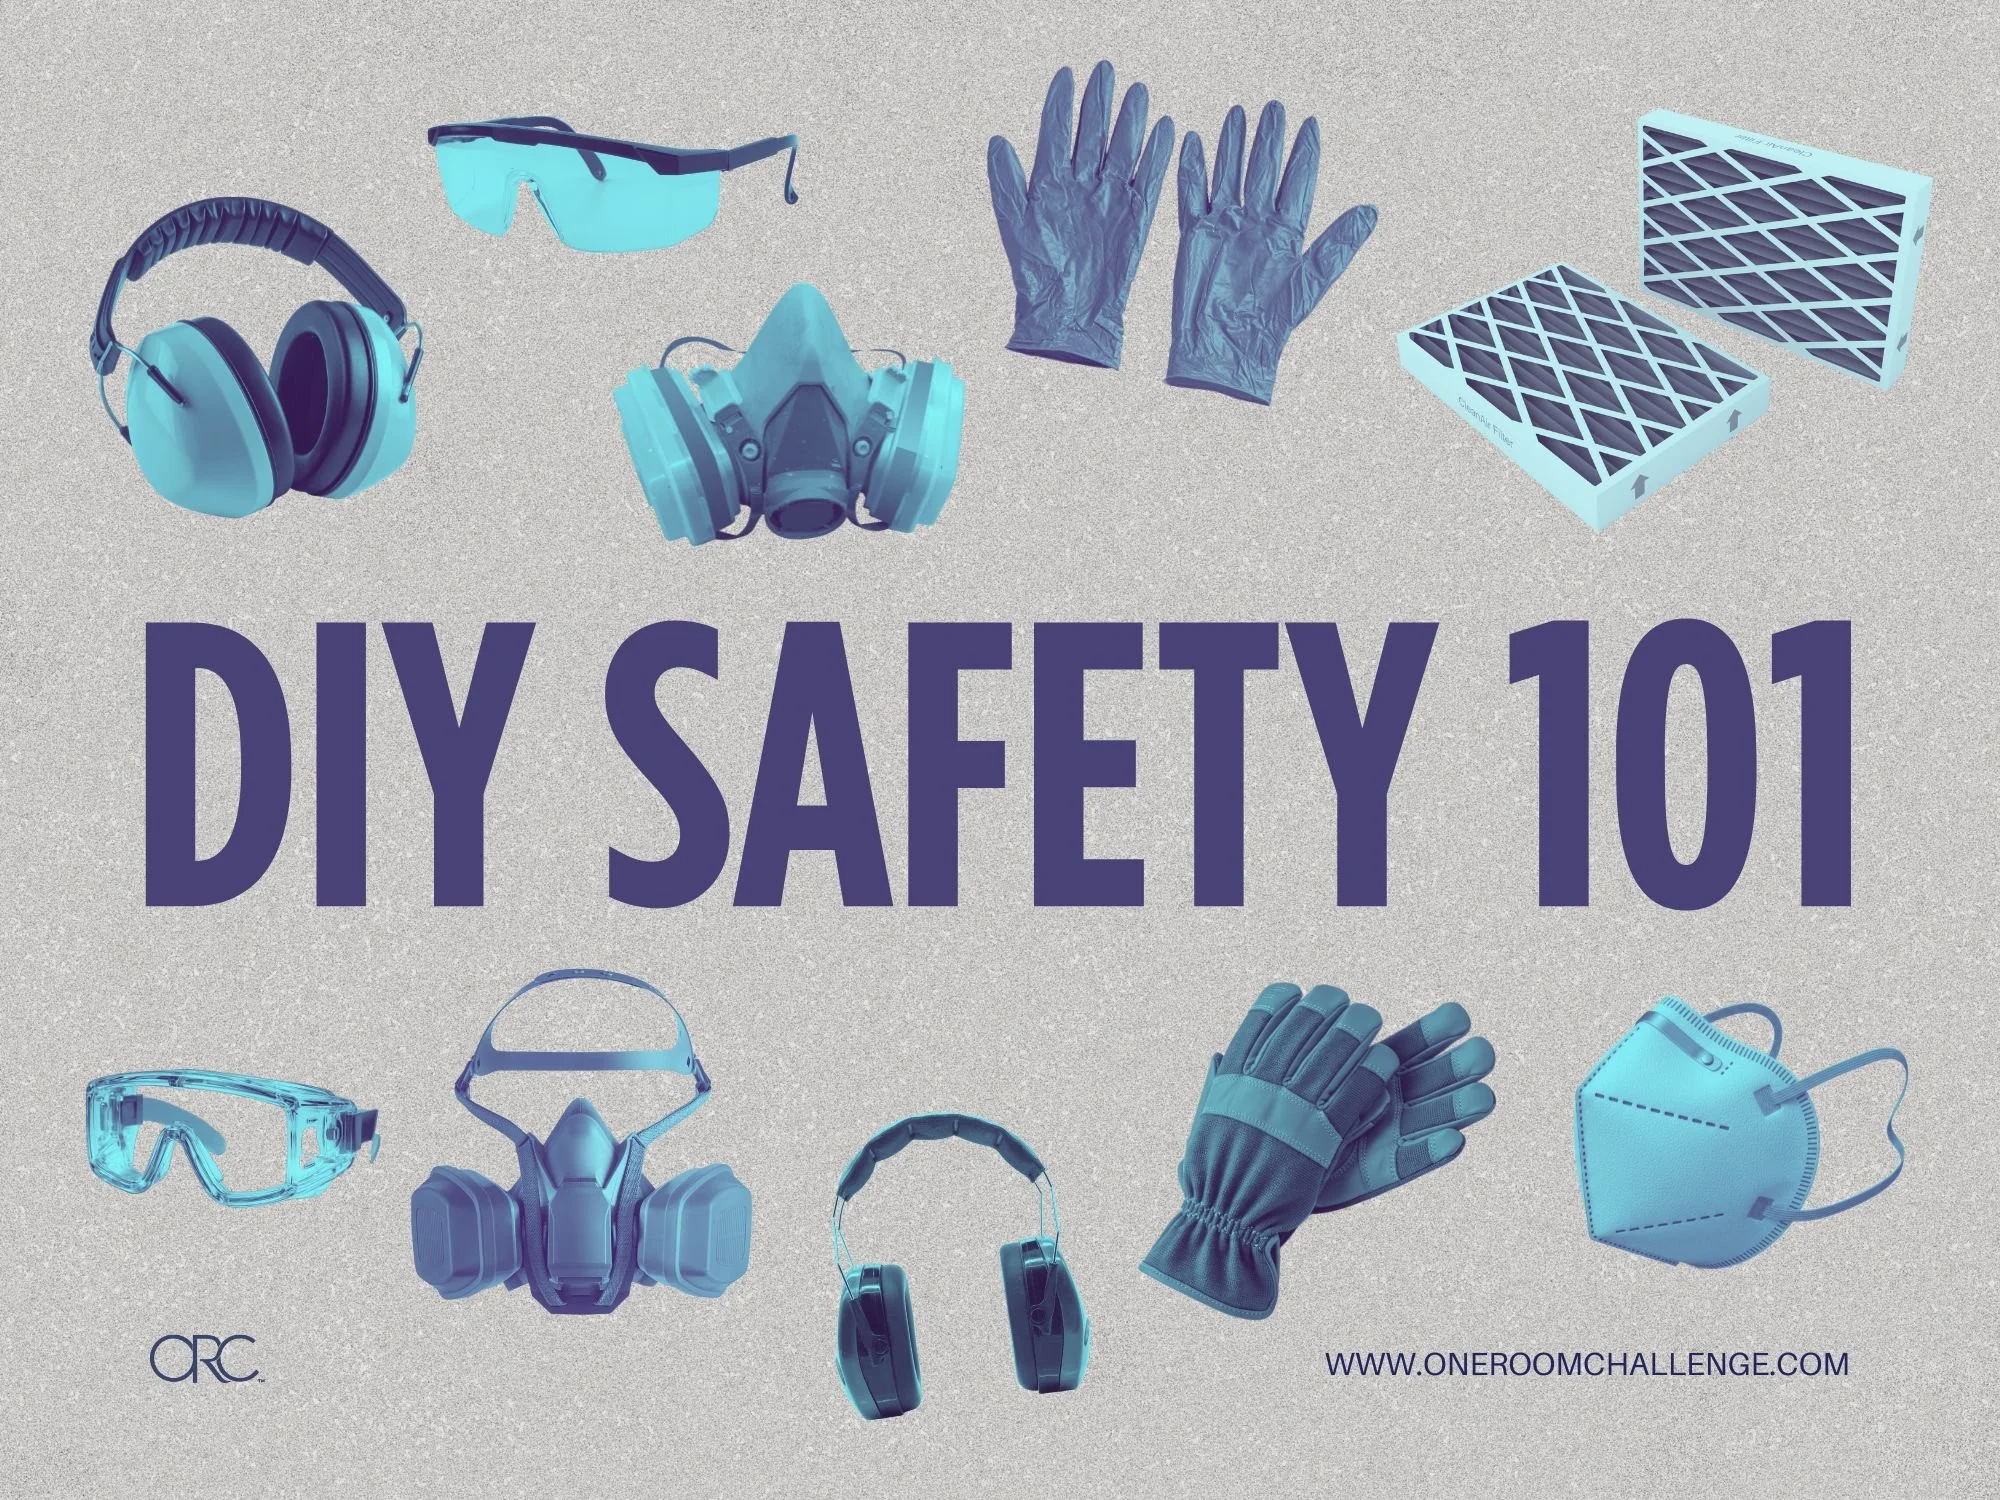
DIY Safety 101
DIY

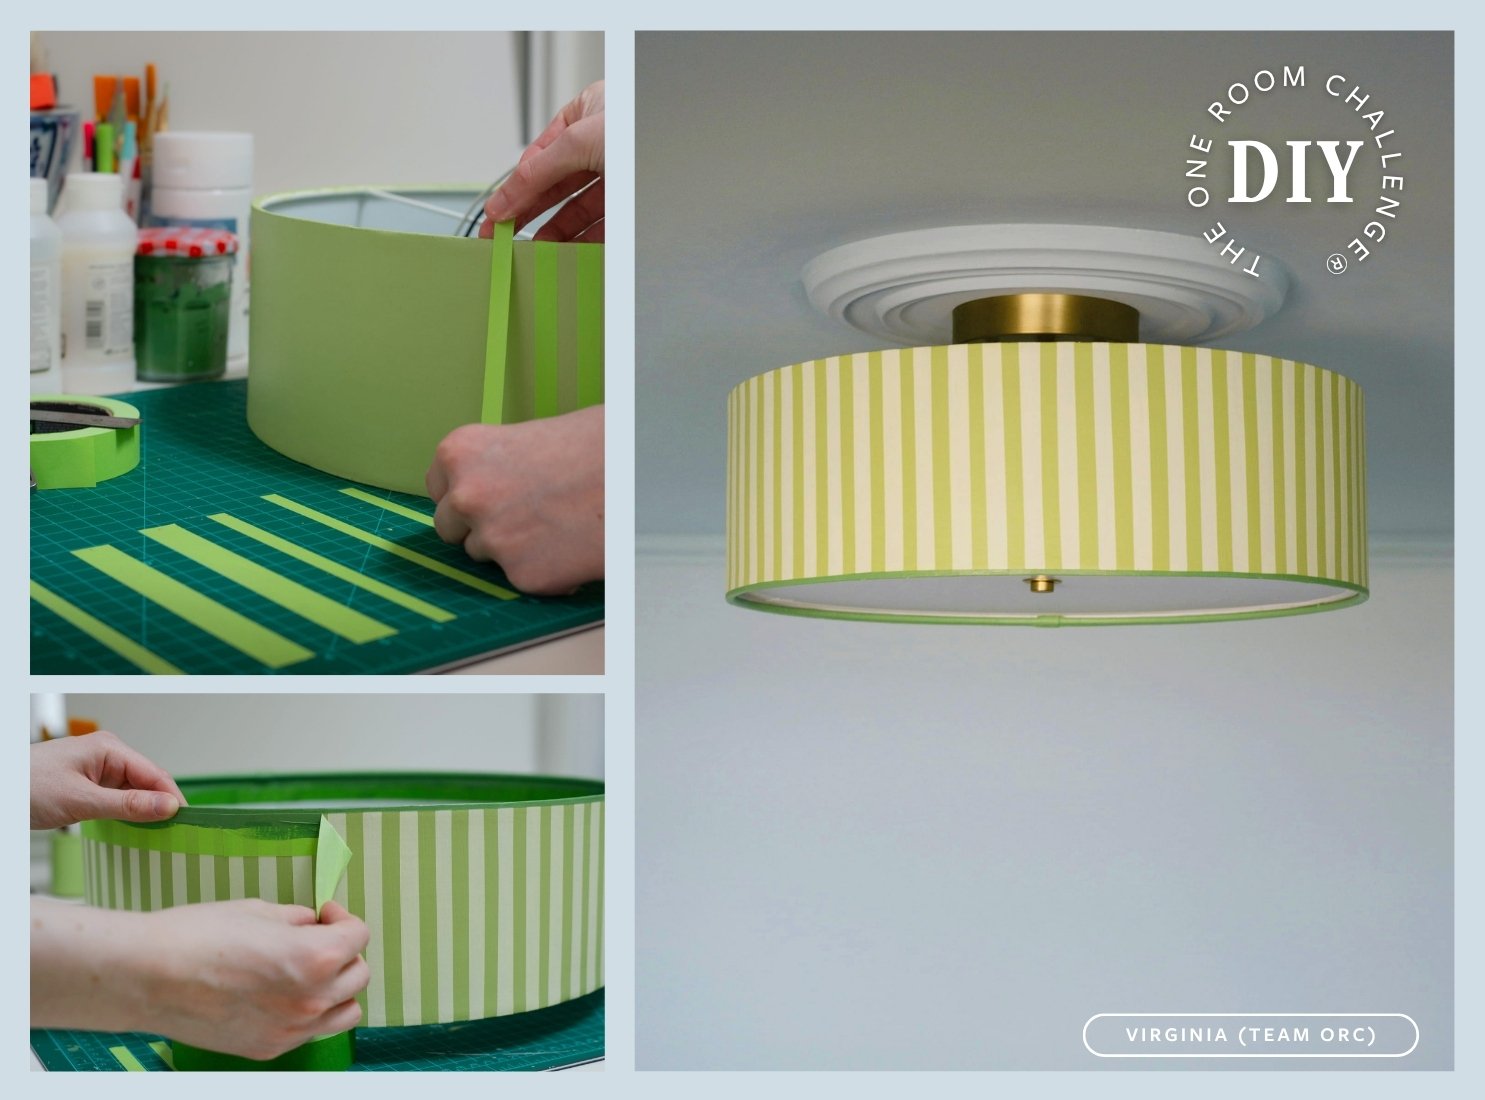
STORY BY VIRGINIA BESHEARS
Before I got pretty far down the DIY rabbit hole, I had no idea how gnarly some of the materials and processes can be for your body. Something that seems totally innocuous like sanding plywood can do real damage if you're not protecting yourself.
Some of the effects you'll notice right away, like headaches from paint fumes, ringing ears after using power tools, gritty irritated eyes from sawdust. The cumulative effect of breathing sawdust or paint fumes project after project adds up too, and can cause serious damage to your health.
The good news is that protecting yourself is pretty straightforward once you know what you're dealing with. So let's talk about how to protect yourself and make sure you can keep DIYing for years to come.
Respirators, Masks & Ventilation
Protecting your lungs is absolutely non-negotiable. A well-fitting respirator is an essential tool for every DIYer, full stop.
Paint fumes can cause headaches and dizziness in the short term, and chronic exposure can damage your nervous system, liver, and kidneys. Dust from power tools or sanding embeds itself in your lung tissue and causes respiratory issues that don't go away.
Types of respiratory protection, from least to most protective:
Dust masks (N95, KN95): These disposable masks filter out particles but not fumes or vapors. They're fine for quick sanding jobs or sweeping up, but they're not sufficient for power tool use or any project involving chemicals. The "95" means they filter out 95% of particles.
P100 disposable respirators: These filter out 99.97% of particles and are a step up from N95 masks. They're great for dusty work, but still don't protect against fumes and vapors.
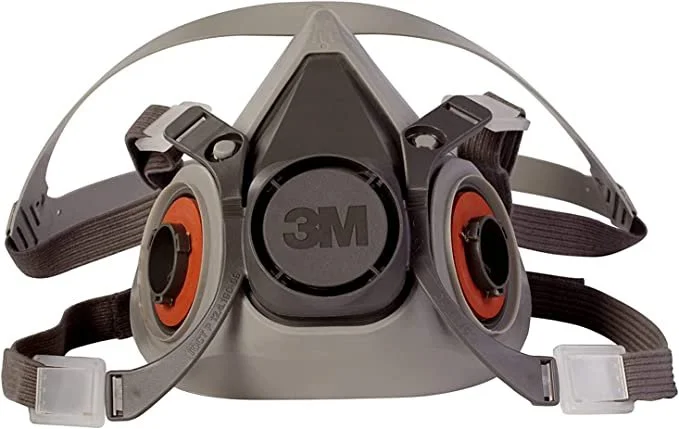
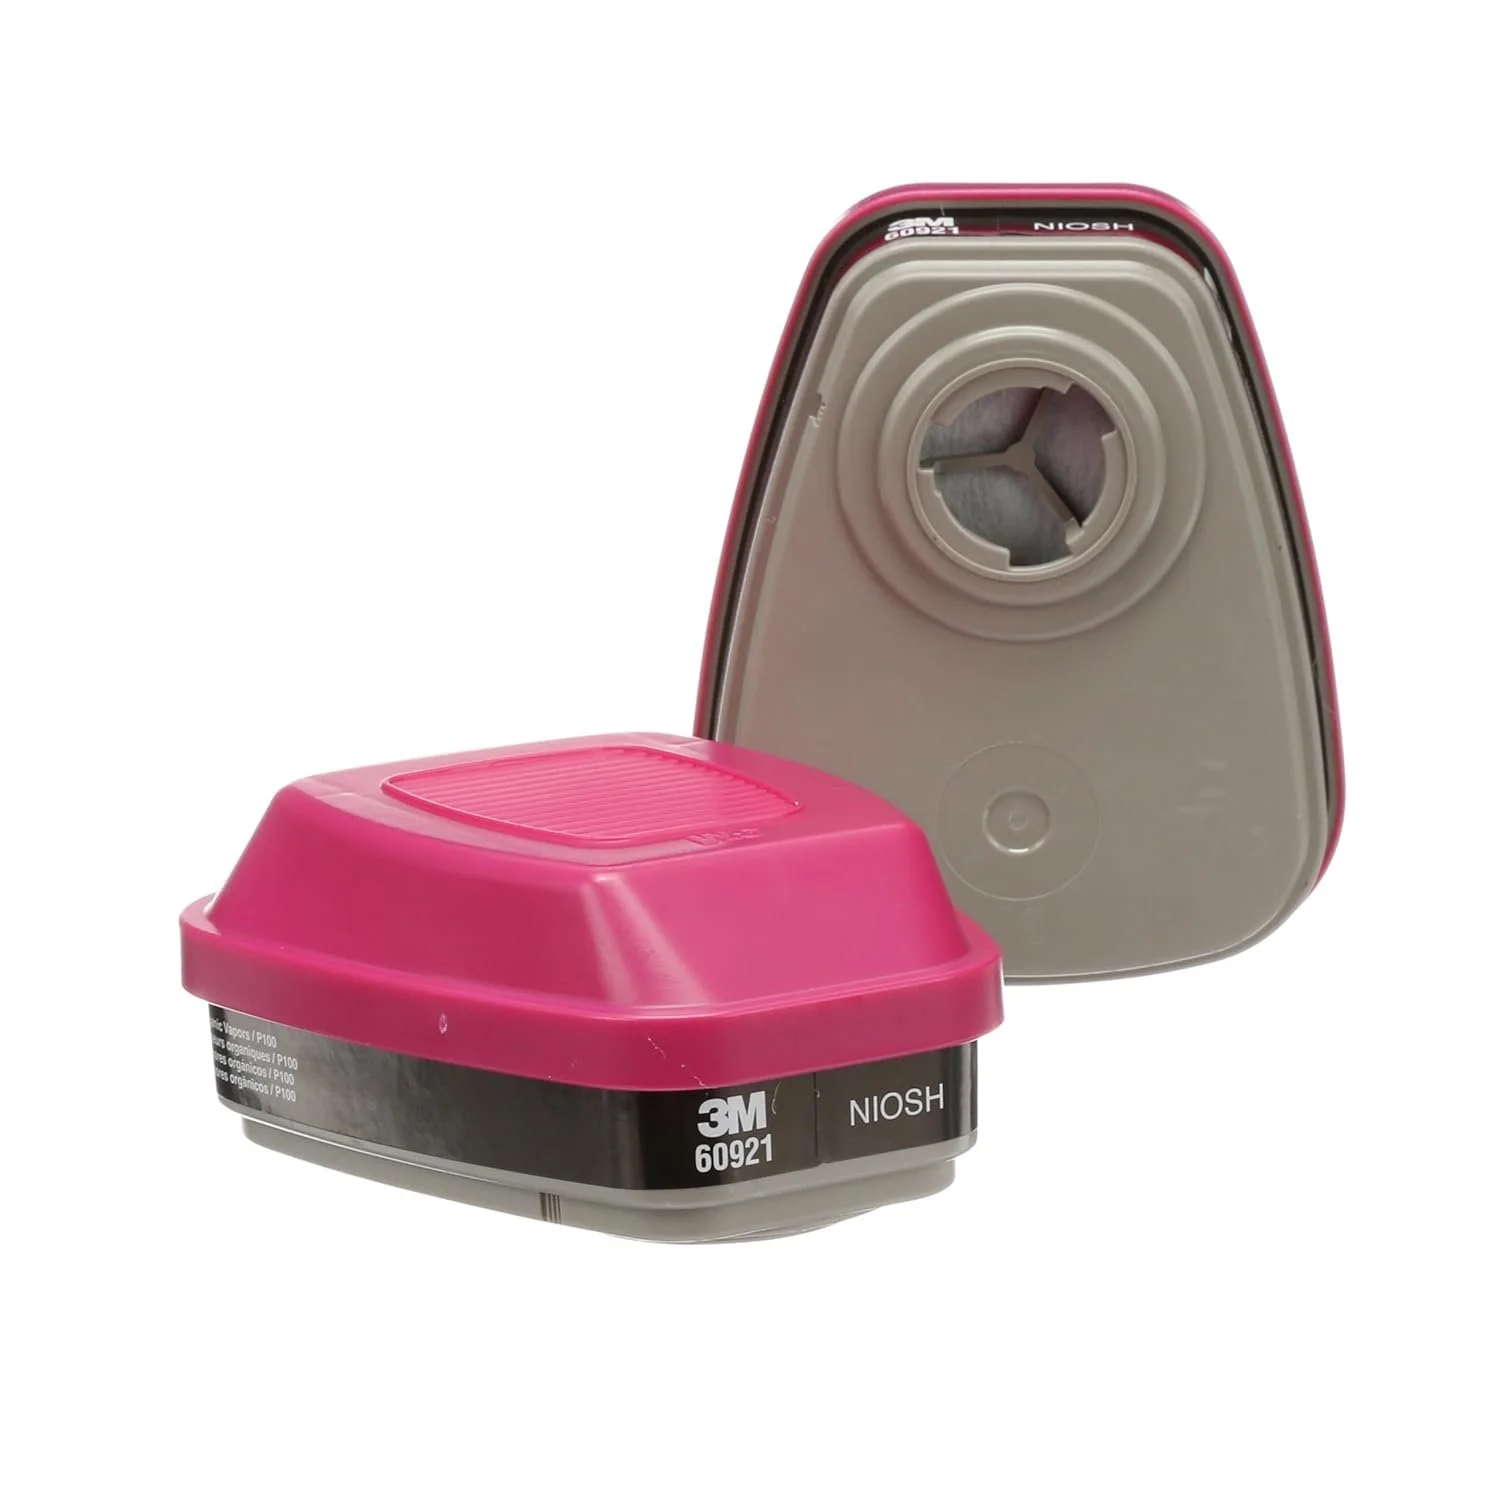
Half-face respirators with replaceable cartridges: This is what most DIYers should own. The exact one I have is below. These rubber or silicone masks cover your nose and mouth and use screw-on filter cartridges. The cartridges come in different types:
P100 particulate filters (usually pink/magenta): Block dust, mold, and particles
Organic vapor cartridges (usually black): Block fumes from paint, solvents, and adhesives
Multi-gas cartridges: Block a wider range of gases and vapors
Combination cartridges: Have both particulate filters AND vapor protection. These are your best all-around option for DIY work. Have the magenta p100 caps plus a color-coded band that represents what vapors it protects against. For normal DIY use, cartridges rated for organic vapors and materials like paint and solvents is sufficient
The key is getting a good seal. If you have facial hair where the mask sits, it won't seal properly. Test the fit by covering the cartridges with your hands and inhaling—if air leaks in around the edges, adjust the straps or try a different size.
Replace cartridges according to the manufacturer's guidelines, or sooner if you start to smell anything through the mask or if breathing becomes difficult.

Ventilation is your friend
Even with a great respirator, you should always work in a well-ventilated space. Open windows and doors, and use fans to create cross-ventilation that moves fumes outside.
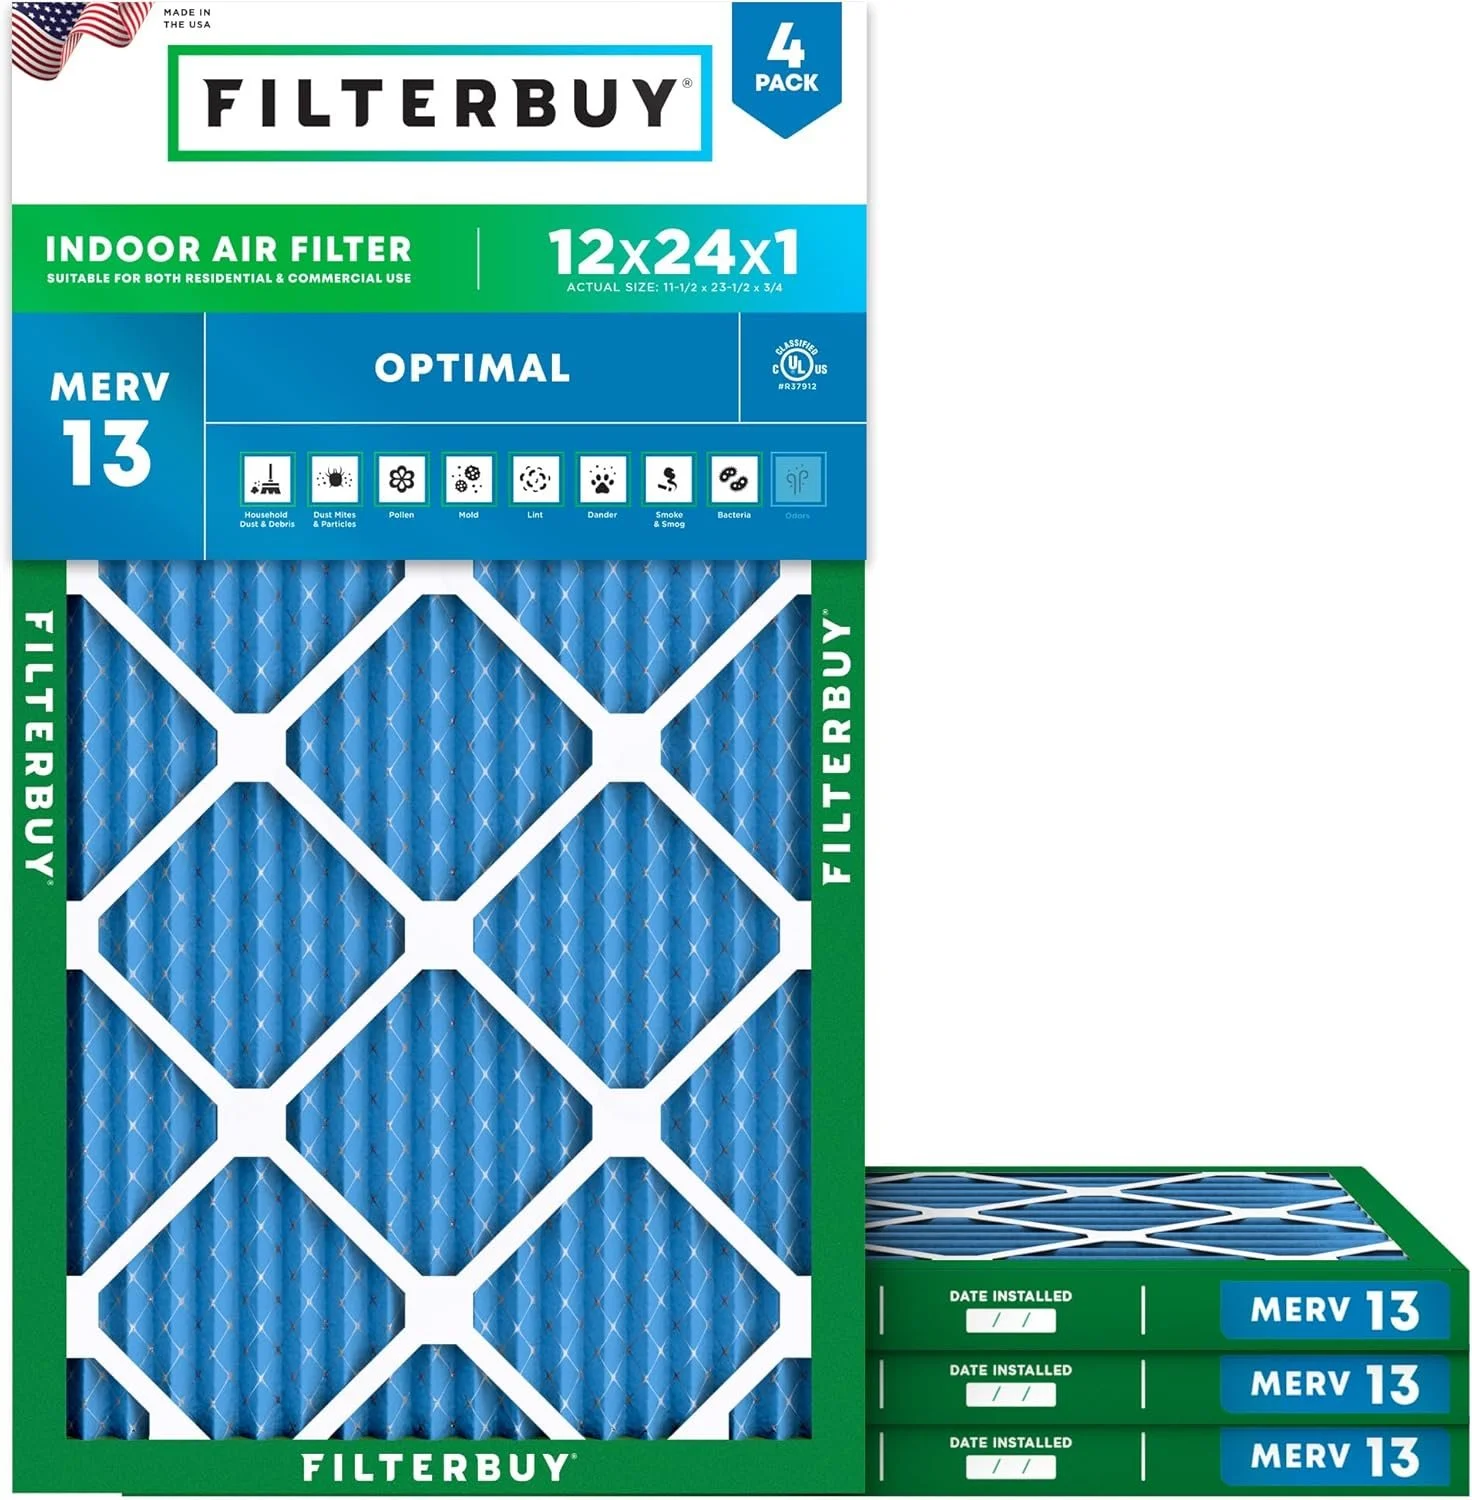
One of my absolute favorite DIY safety investments is building a Corsi-Rosenthal box. If you haven't heard of these, they're essentially super-powered air purifiers you can build yourself for a fraction of what a commercial unit costs. They're named after the two guys who popularized the design during the COVID pandemic, but they work brilliantly for workshop air quality too.
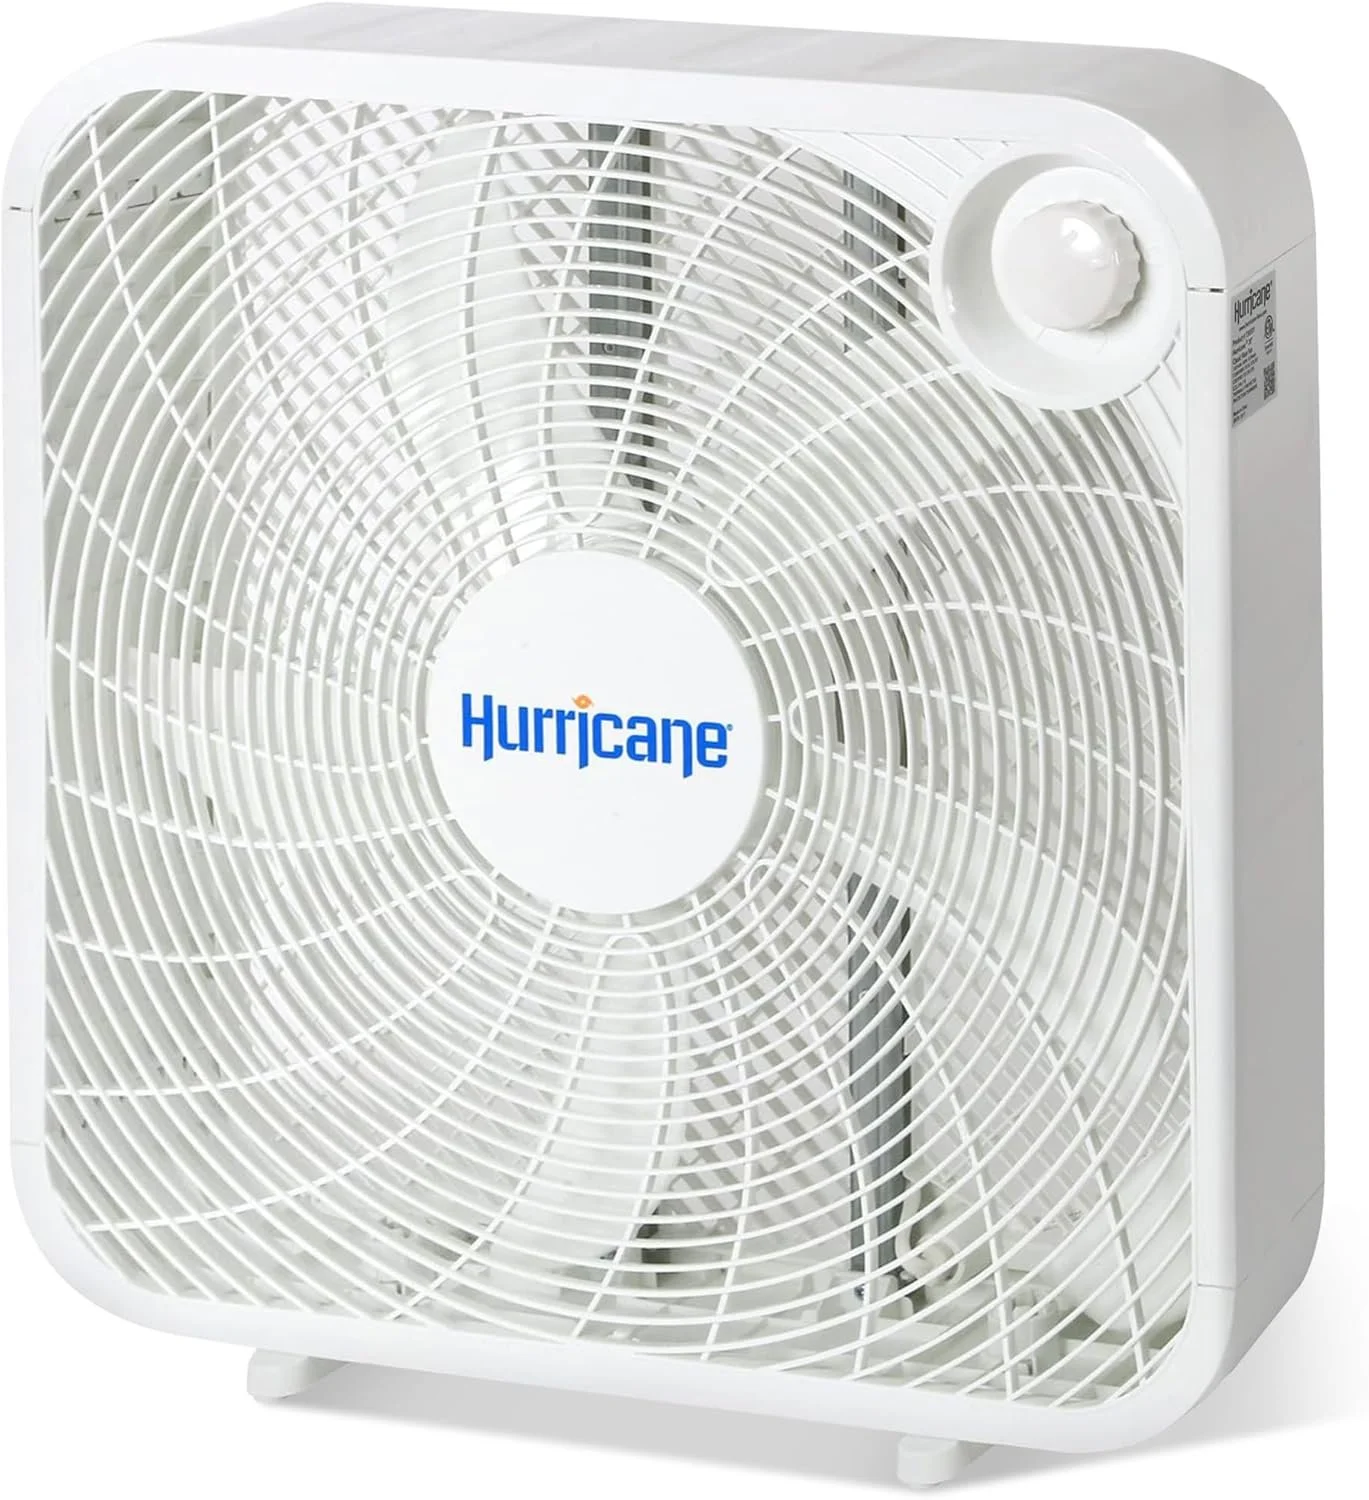
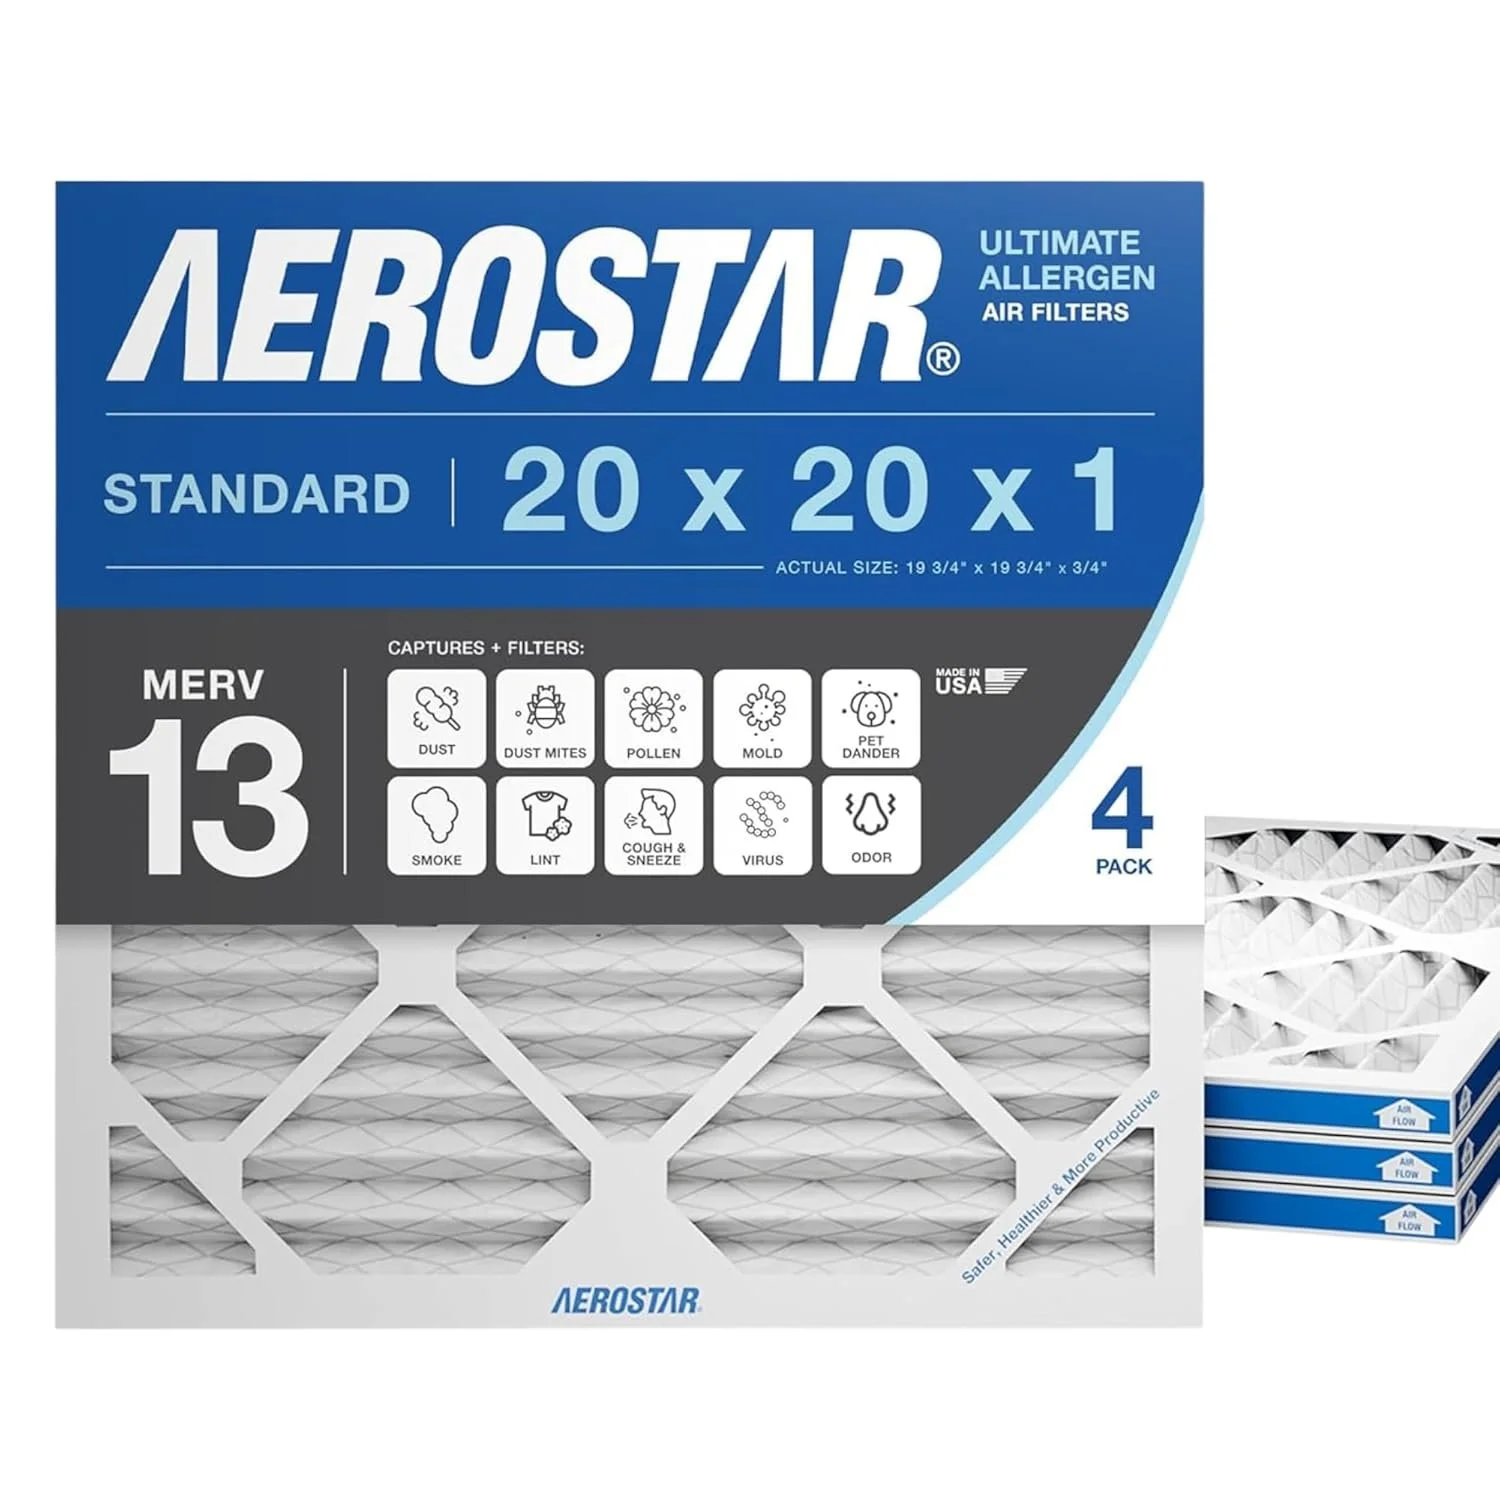
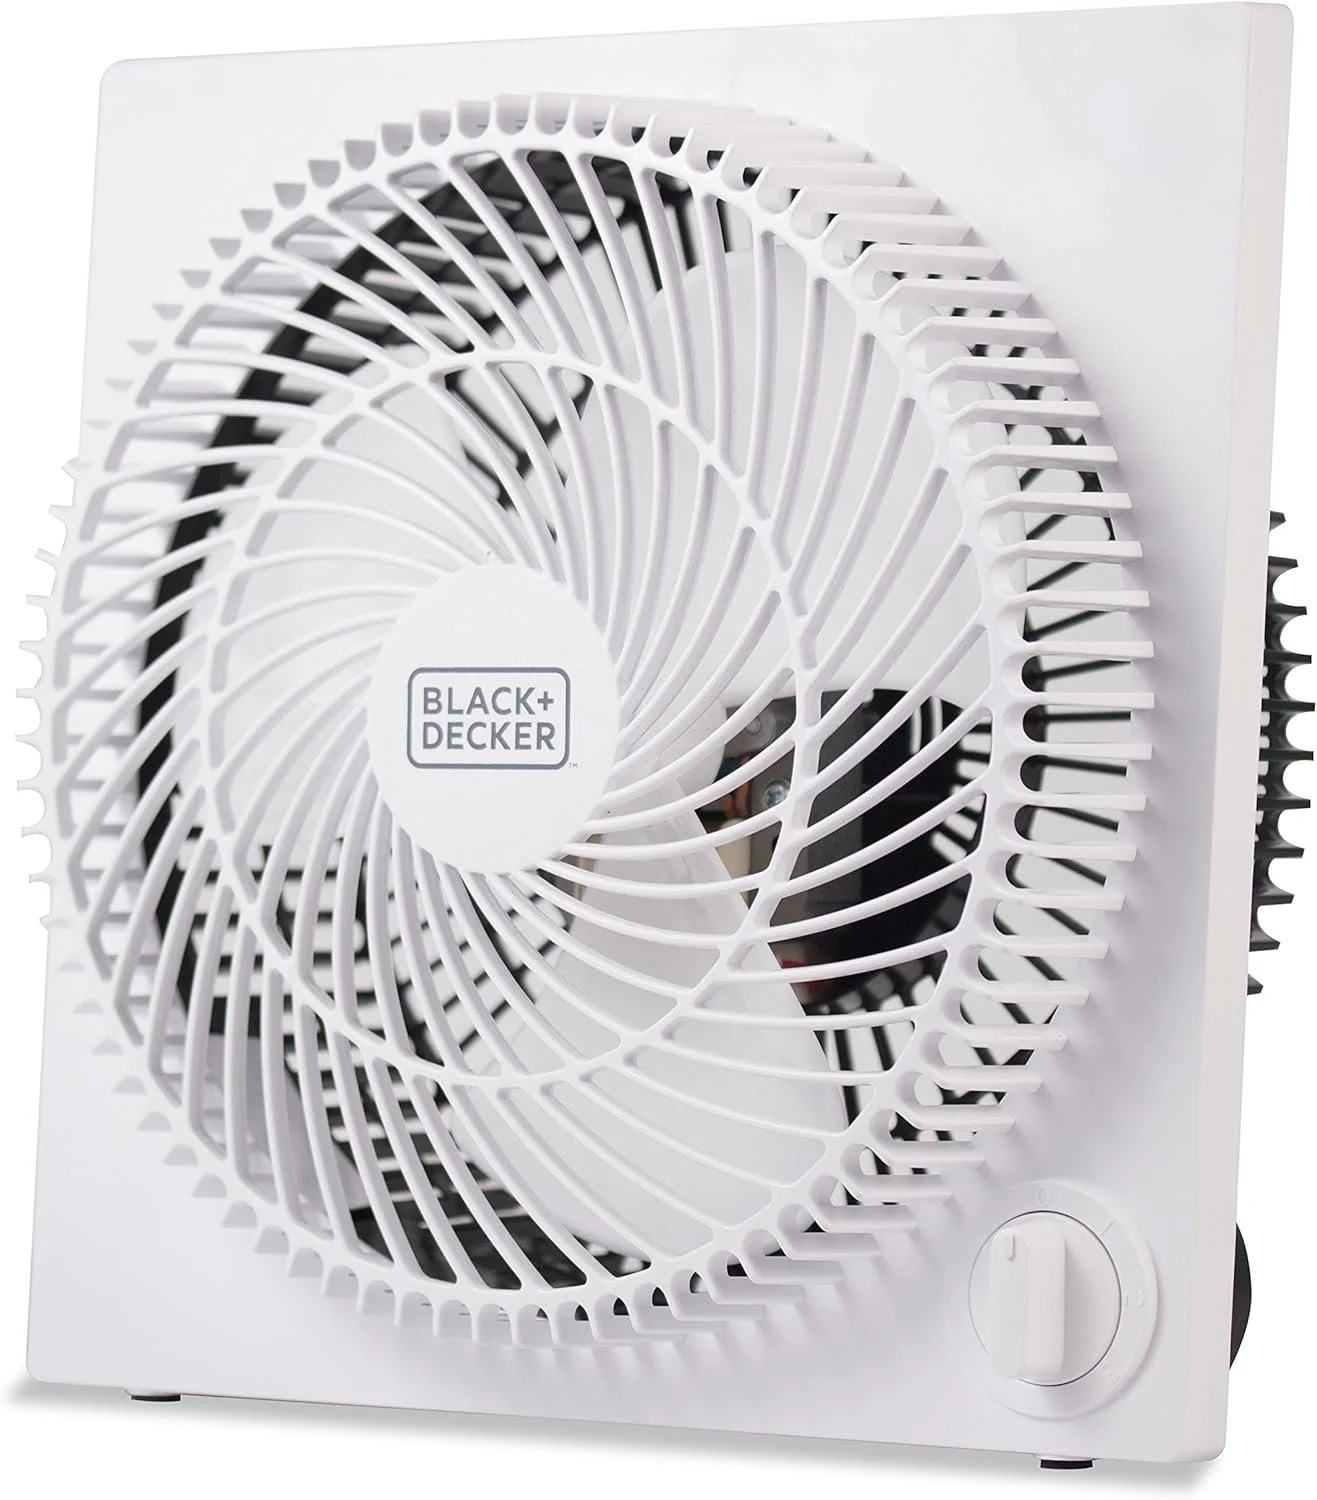
To make one, you tape four (or five) MERV-13 filters around a box fan to create a powerful, multi-directional air filter. There are tons of free plans online (official guide is here), and the whole thing costs maybe $50-75 depending on the size. They're incredibly effective at clearing dust and some fumes from your workspace.
I've made four of these now, two for family members and two for my own workspace, and I genuinely can't recommend them enough. My heavy-duty version uses a 20x20 box fan and corresponding filters, and it moves a serious amount of air. I also built a smaller, quieter one around a 9-inch desktop fan with 12x24" filters. It's not as powerful, but it's nice to have for smaller spaces and doesn't sound like a jet engine.
Quality eye protection

There are a number of reasons why it’s a good idea to wear eyewear when working on almost any DIY project. Besides potential materials flying at your face (which, if the chance is non-zero, it’s always better to be safe than lose an eye), even tiny pieces of sawdust can scratch or irritate your eyes.
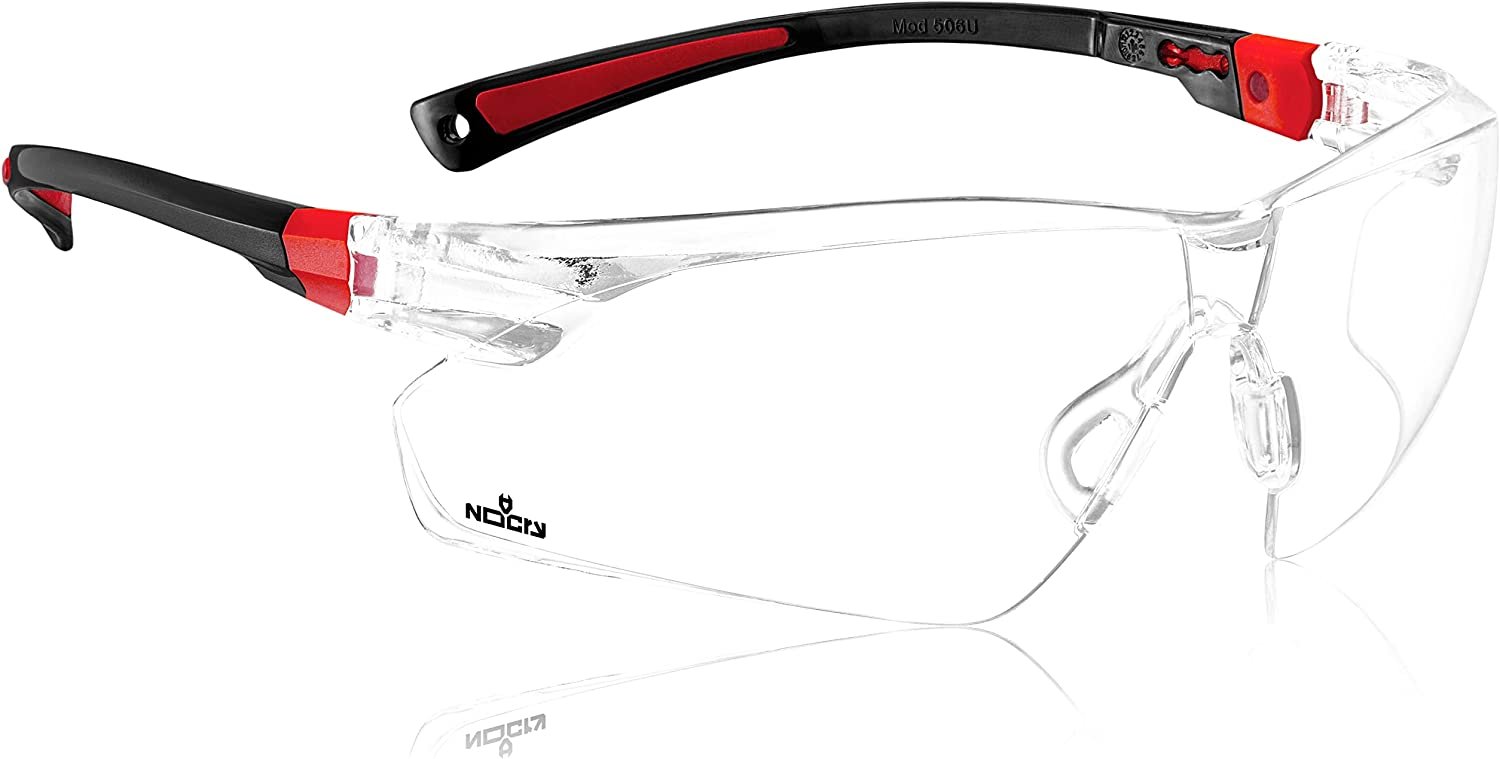
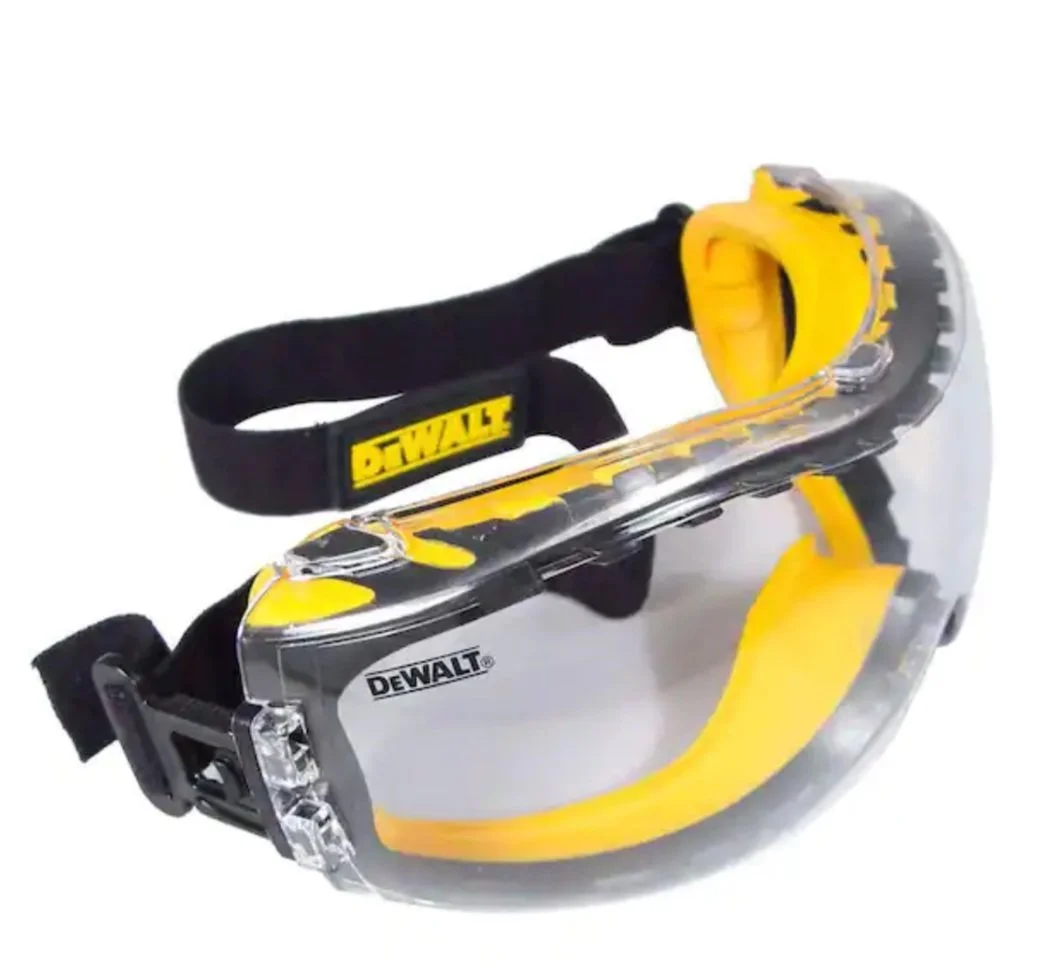
The best eye protection seals completely around your eyes with no gaps at the sides or bridge of your nose. This protects you from both the obvious stuff flying at your face and the microscopic particles you can't even see. Safety glasses that look like regular are better than nothing, but they won't protect you from dust and fumes that can sneak in from the sides.
Look for safety goggles or glasses specifically rated for impact protection. If you wear prescription glasses, you can find goggles designed to fit over them, or invest in prescription safety glasses if you're doing a lot of DIY work.
Dealing with foggy goggles
If you're wearing a respirator or mask along with eye protection, you may run into fogging issues. It's annoying, but there are fixes.
First, make sure your mask fits properly. Usually if your glasses are getting foggy it means your mask isn't sealed well at the nose bridge, so air is escaping upward. Pinch the metal nose piece on your mask to mold it to your face, or look for respirators with better nose seal designs. You can also use medical tape to seal the top of your mask.
Anti-fog spray or wipes made for safety glasses also work pretty well. Some people swear by using a tiny dot of dish soap rubbed on the inside of the lenses and buffed out, which creates a similar anti-fog coating.
You can also look for safety glasses or goggles with anti-fog coating already built in, or ones with ventilation designed to reduce fogging. Just make sure the vents are positioned so they're not directing air toward your eyes or compromising protection from dust.
Ear protection
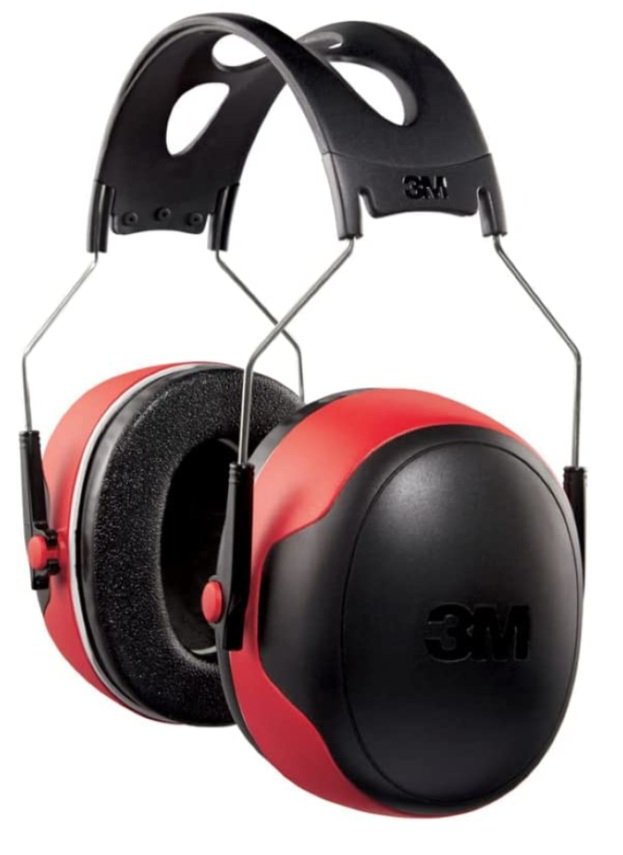


Power tools are loud. A circular saw can hit 110 decibels, which is loud enough to cause hearing damage after just a few minutes of exposure. And hearing loss is permanent.
Regular noise-canceling Bluetooth headphones are better than nothing for quick tasks, but if you're using power tools regularly, invest in actual hearing protection. You've got two main options:
Foam or silicone earplugs: Cheap, effective, and easy to keep in your pocket. The downside is you can't hear anything, including people trying to get your attention.
Ear muffs: These are what you see in most workshops. They're comfortable for long periods and some models have built-in Bluetooth so you can listen to music while protecting your ears.
Protecting your hands
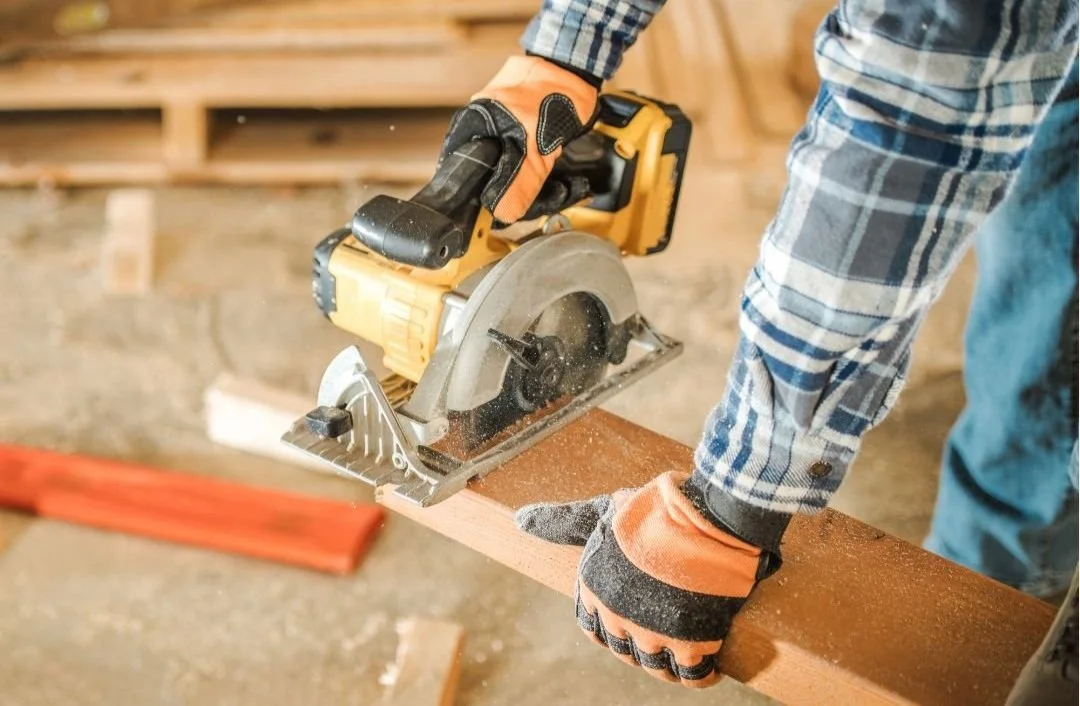
See this guy in this stock photo wearing gloves while operating a circular saw?
Do not be like this guy.
You should almost never wear gloves while operating power tools, especially anything with a rotating blade. Thick work gloves reduce your spatial awareness and dexterity. Even worse, if the glove gets caught on a saw blade, it will pull your entire hand into the blade instead of protecting it.
The same goes for jewelry, baggy clothes, and loose hair. Anything that can get caught should be removed or secured before you start working.
So when should you wear gloves?
Always wear gloves when you're working with materials that would irritate or burn your skin—things like paint thinner, lacquer, concrete, or fiberglass insulation.
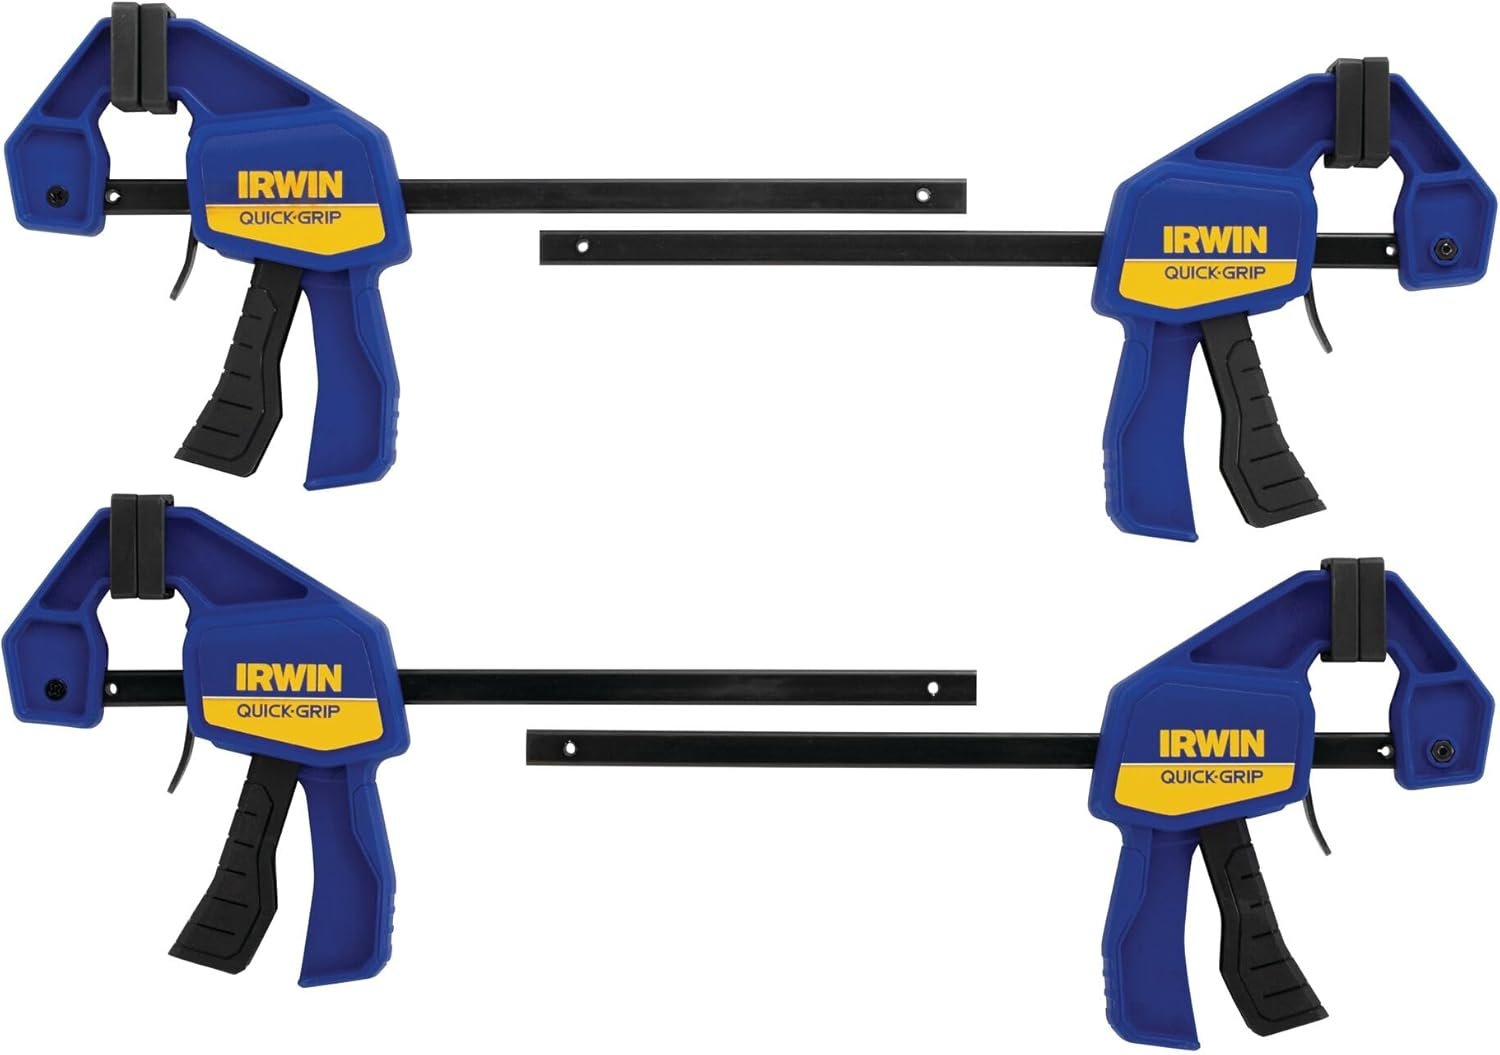
The actual best way to protect your hands when you use power tools:
A good set of clamps. Clamps hold your material steadier than your hands ever could, and they keep your hands completely out of harm's way if something goes wrong.
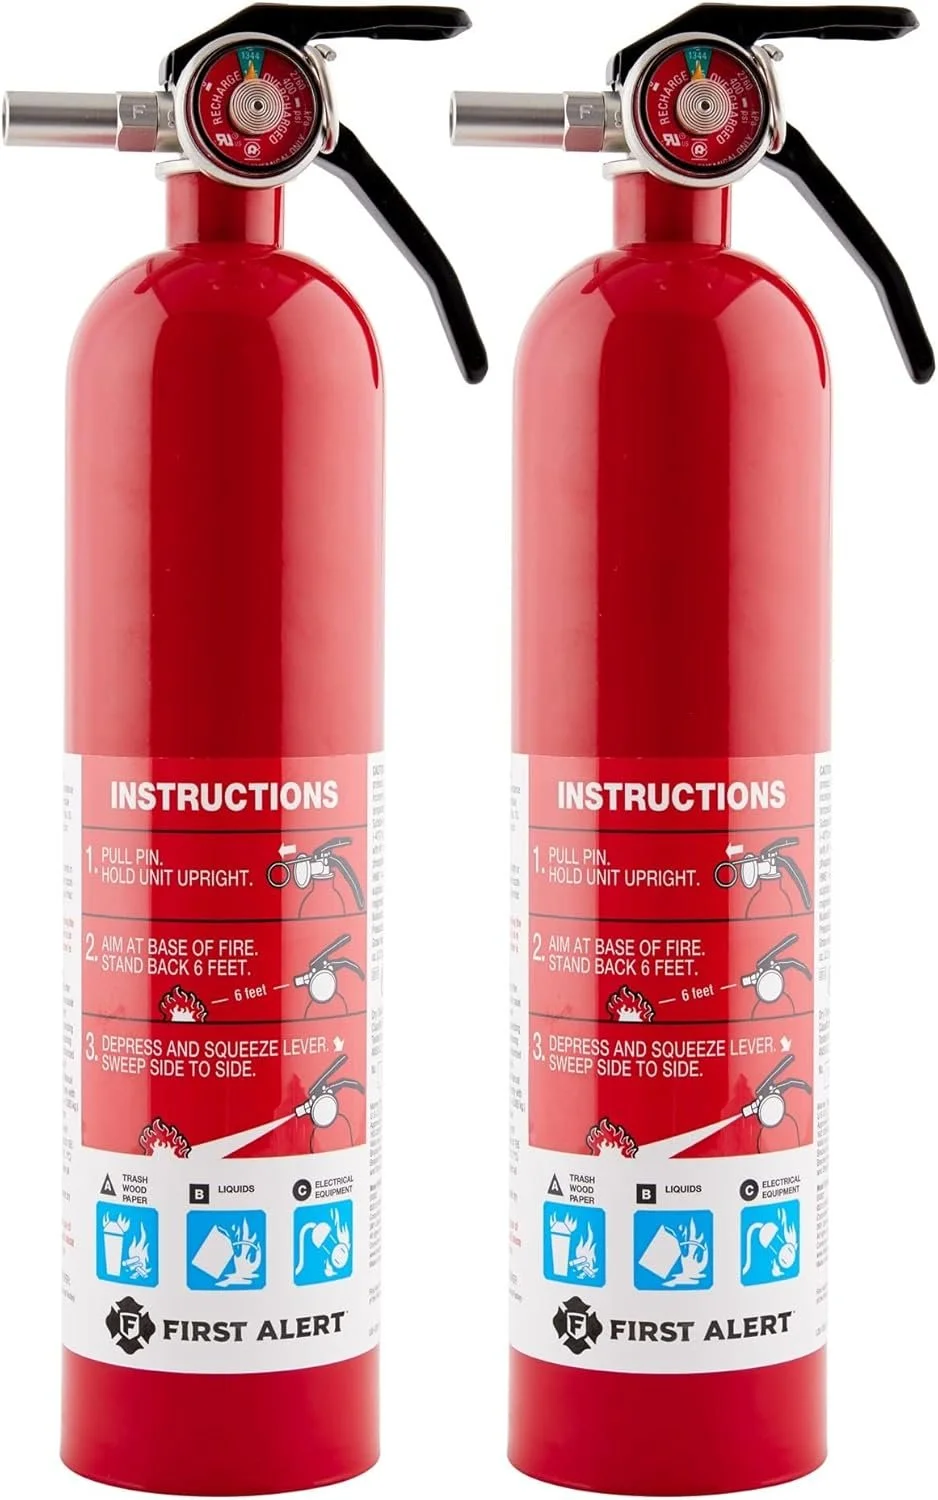
Invest in a fire extinguisher
This one's straightforward: have a fire extinguisher in or near your workspace. The chances of needing it are low, but if you do need it, you'll be really glad it's there. Make sure it's rated for electrical fires (Class C) since you'll be using power tools.
Maintain your tools and workspace properly
It’s slightly counter-intuitive, but a dull blade is much more dangerous than a sharp one. A dull blade requires more force to cut, which means you're more likely to slip, and it's more likely to bind and kick back. Keep your blades sharp and replace them when they're worn out.
Similarly, a messy workspace is a dangerous workspace. Always take a few minutes between tasks to toss scraps in the scrap pile, sweep up sawdust, and coil your cords.
The last thing to say about DIY safety is this: if something feels unsafe, it probably is. Trust your gut. If a project requires you to do something like override a safety feature on a tool, stop and figure out a better way. There's always a safer approach, and though it might take longer, but you'll still have all your fingers when you're done.
Happy, happy, DIYing, and stay safe!