Five Fixes for Regular Home Wear and Tear
DIY

Story by Virginia Beshears
Some of the most satisfying home improvements are the tiny ones that take less than an hour but somehow never make it to the top of the to-do list.
These little signs of wear and tear aren't disasters, but they add up to make your space feel less polished than it could.
Maybe you've got guests coming over and you want to freshen things up a bit. Or maybe you're just tired of noticing the same small imperfections every day. I've recently tackled a bunch of these quick fixes around my own house, and I'm sharing some of them here with step-by-step instructions, product recommendations, and tips.
1. Touch up scuffs and chips on millwork
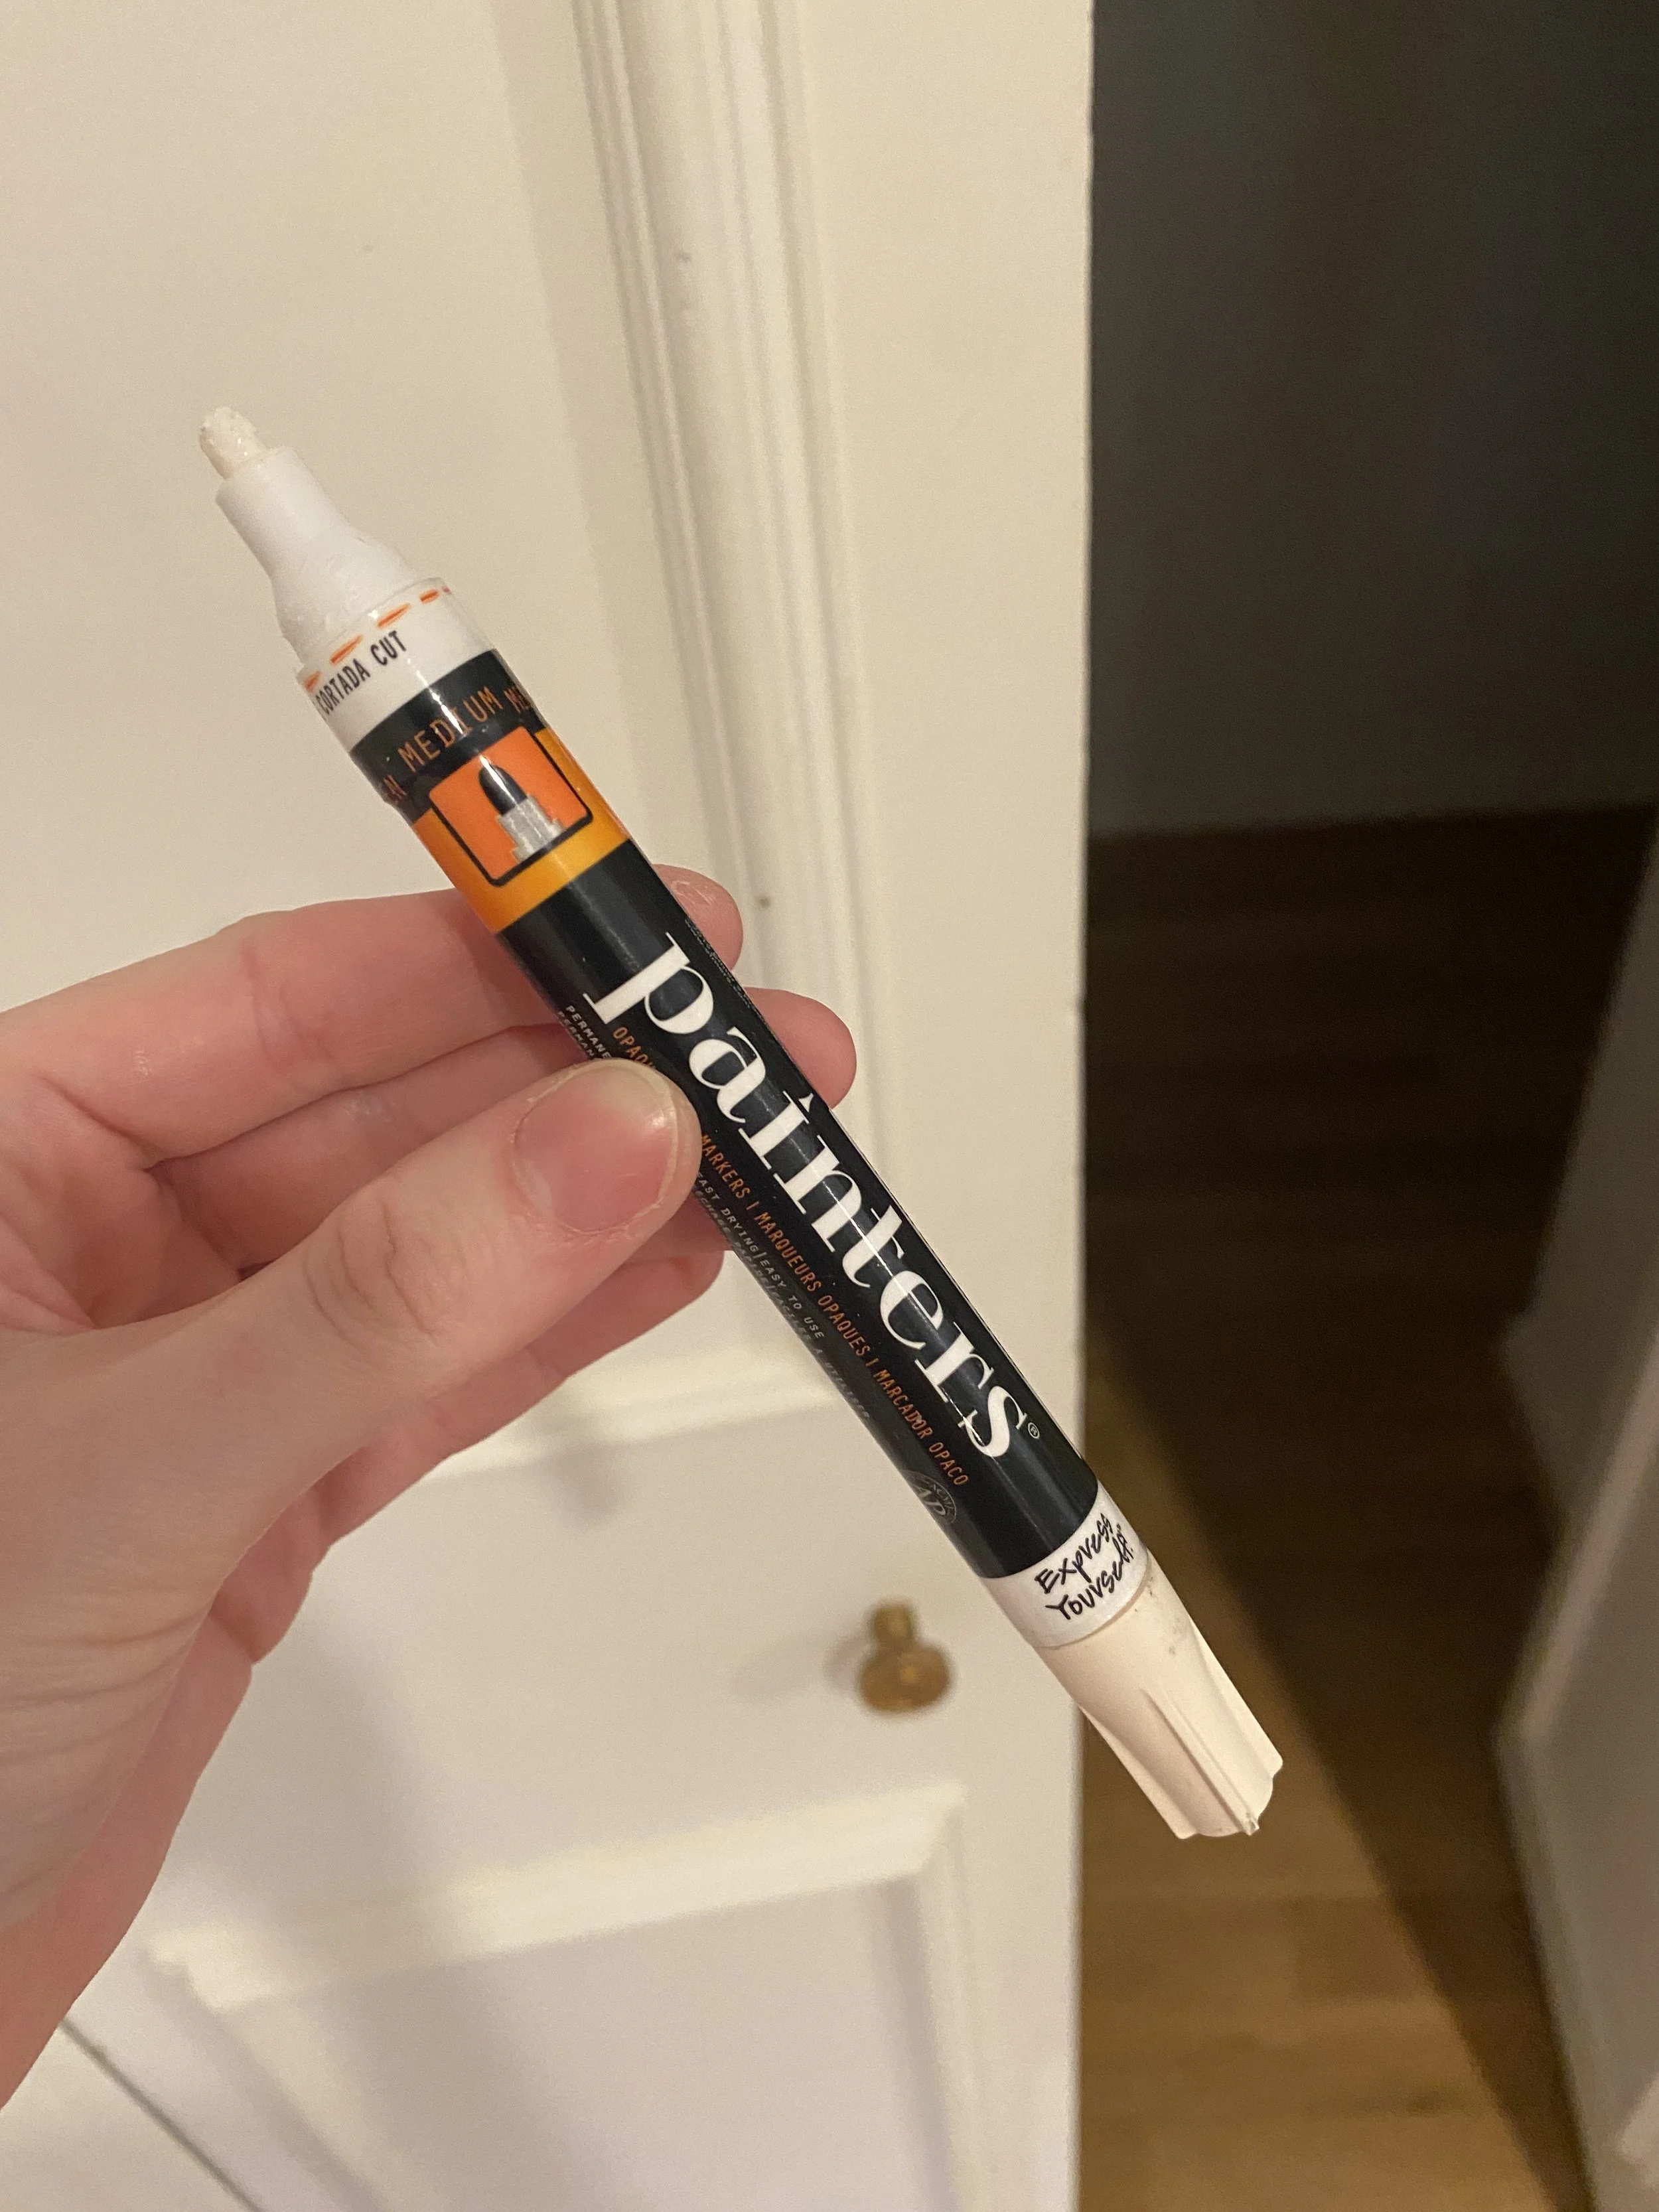
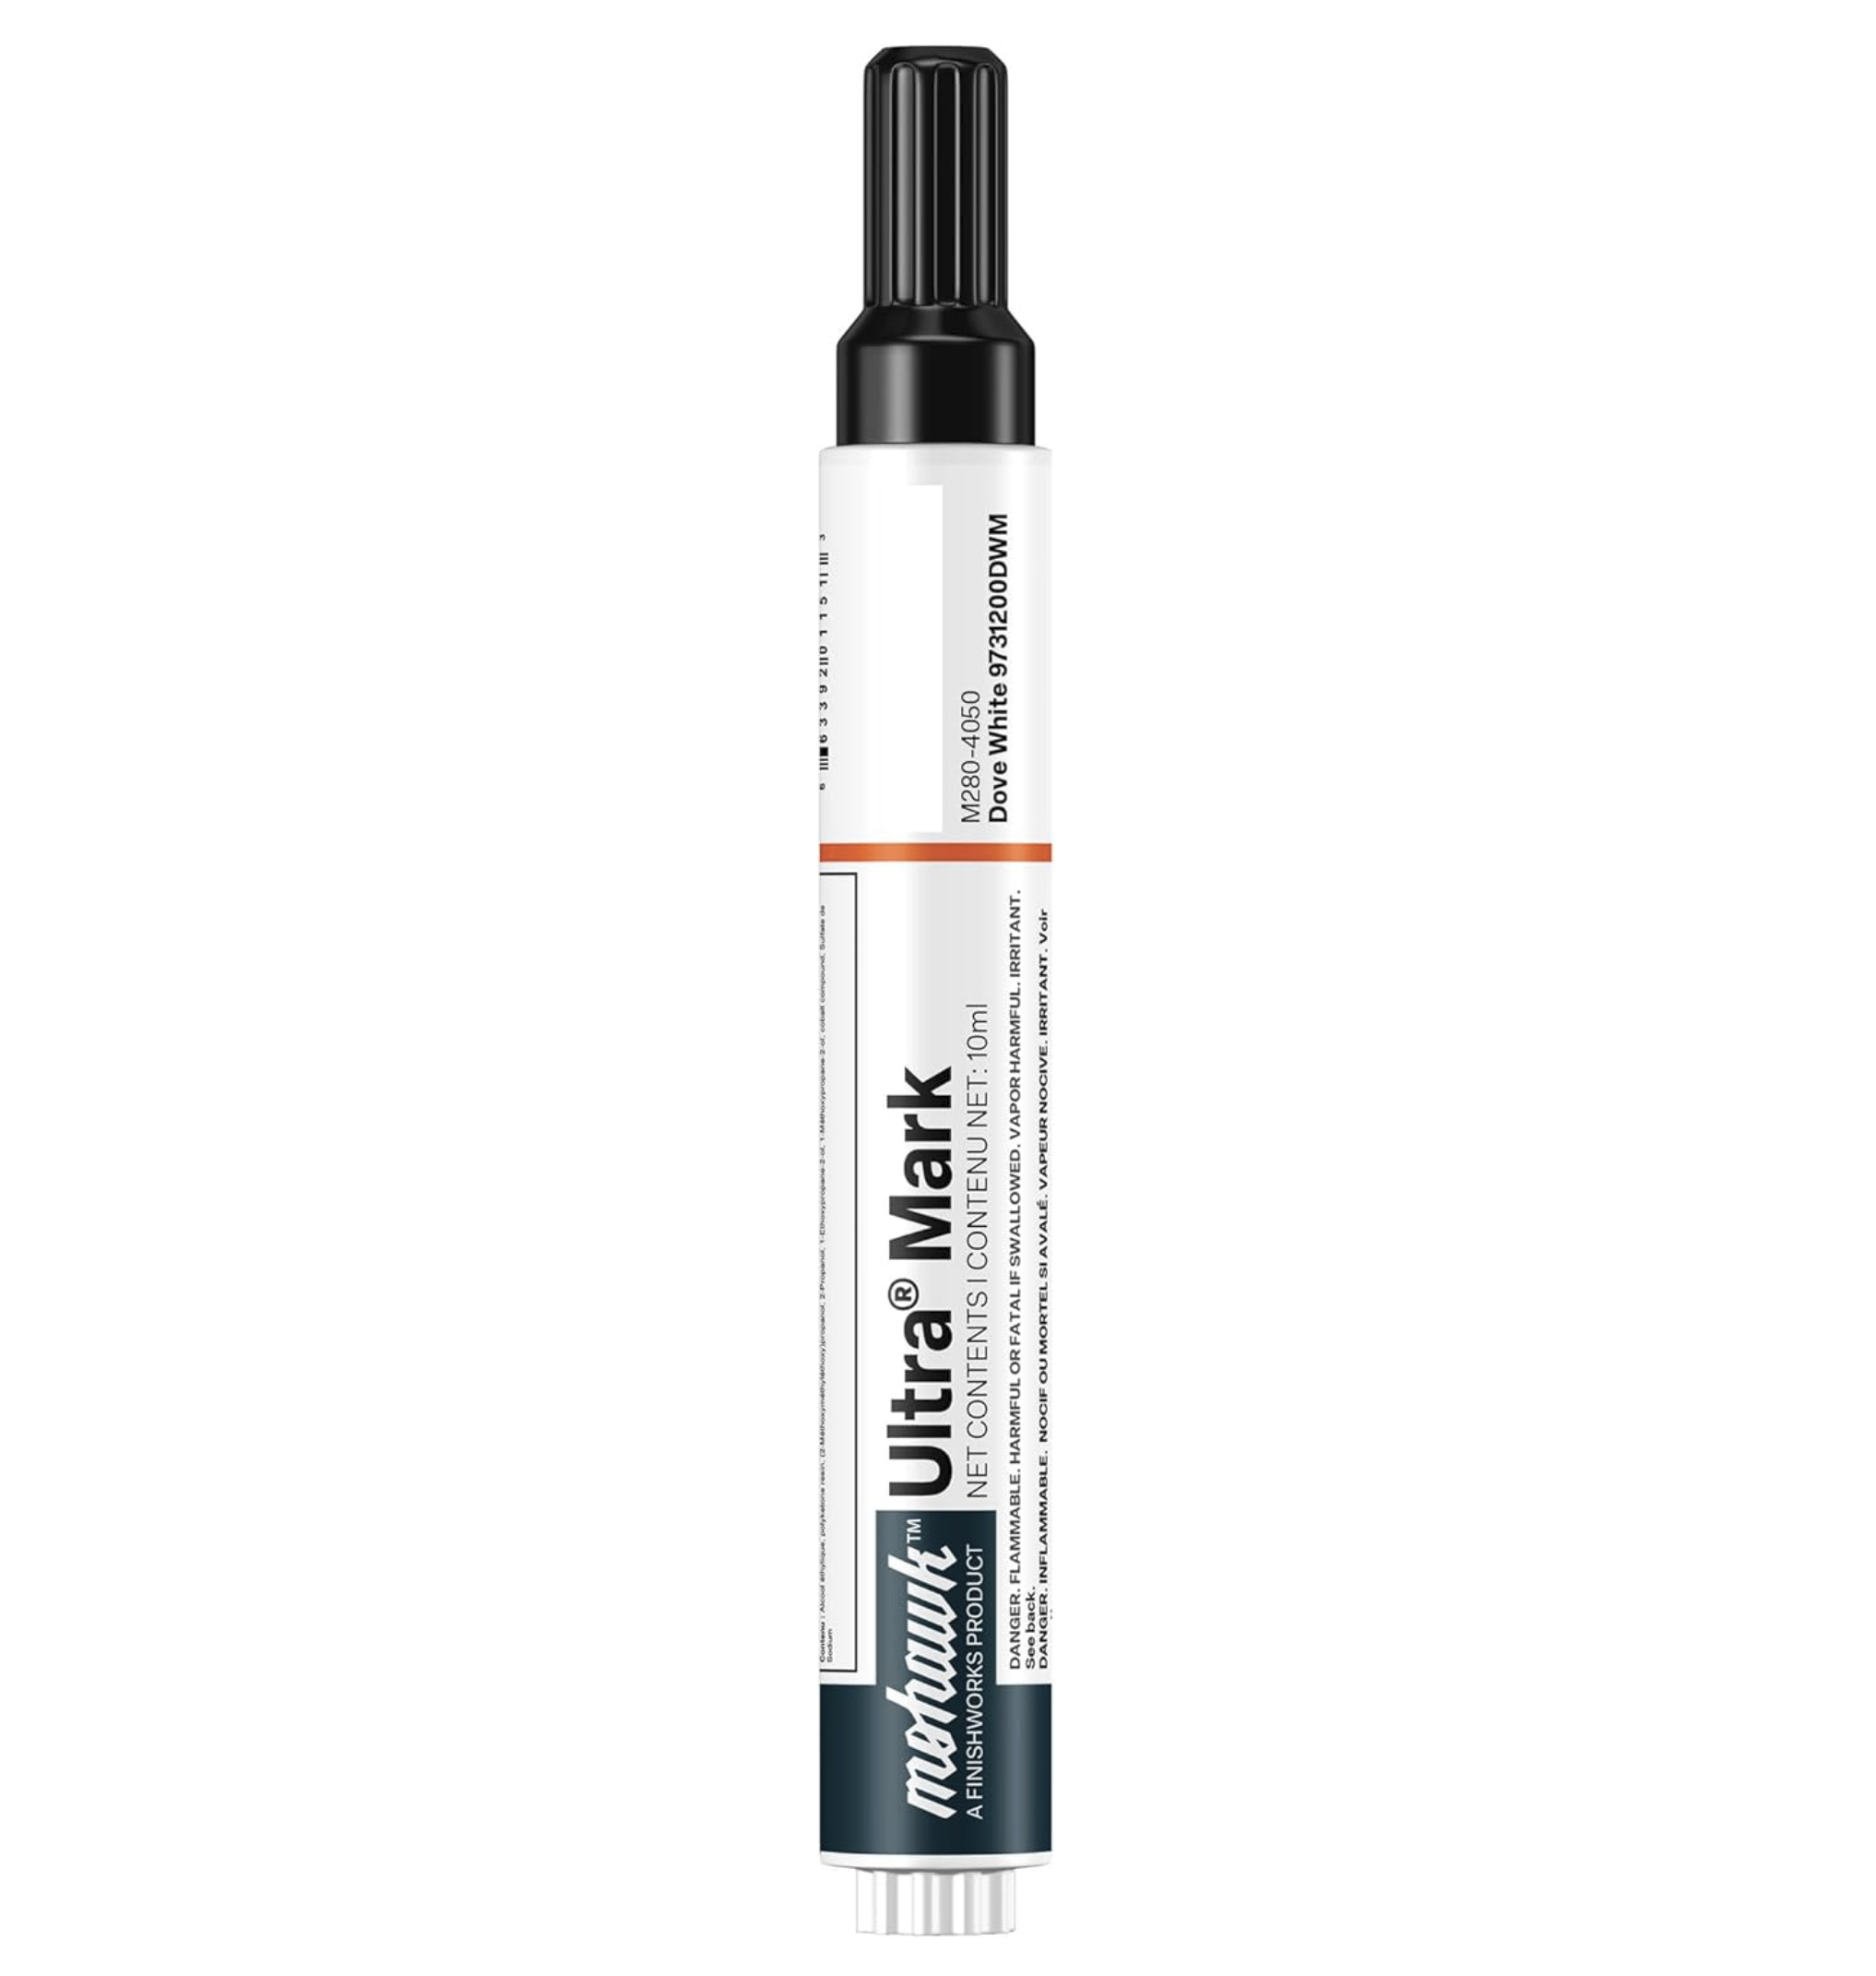
Baseboards and door frames take a beating from moving furniture, vacuum cleaners, and general daily life. I got out a paint pen the other day to fix one specific ding that had been bothering me, and since I already had it out, I ended up spending about 30 minutes just walking around the family room paint-penning little chips and marks. There were so many little marks I’d stopped noticing and filling them in was extremely satisfying.
You'll need:
A paint pen in the color of your trim (it might take some trial and error to find a match)
A Mr. Clean magic eraser sponge
Wood filler and medium grit sandpaper for extra large chips
Use the magic eraser for scuff marks, and the paint pen for smaller chips and dings in the paint.
Paint pen tips: shake the paint pen well and test it on a piece of paper or an inconspicuous spot first. You may need to apply a second coat after the first dries.
Here’s how my attempt at this project went. It’s not perfect of course but all the little chips are certainly less glaring.


2. Fix a Loose Cabinet Knob
This is possibly the easiest fix on the list, and yet it's one that people (me) live with for months.
You'll need:
a screwdriver (usually Phillips head, but check your hardware first)
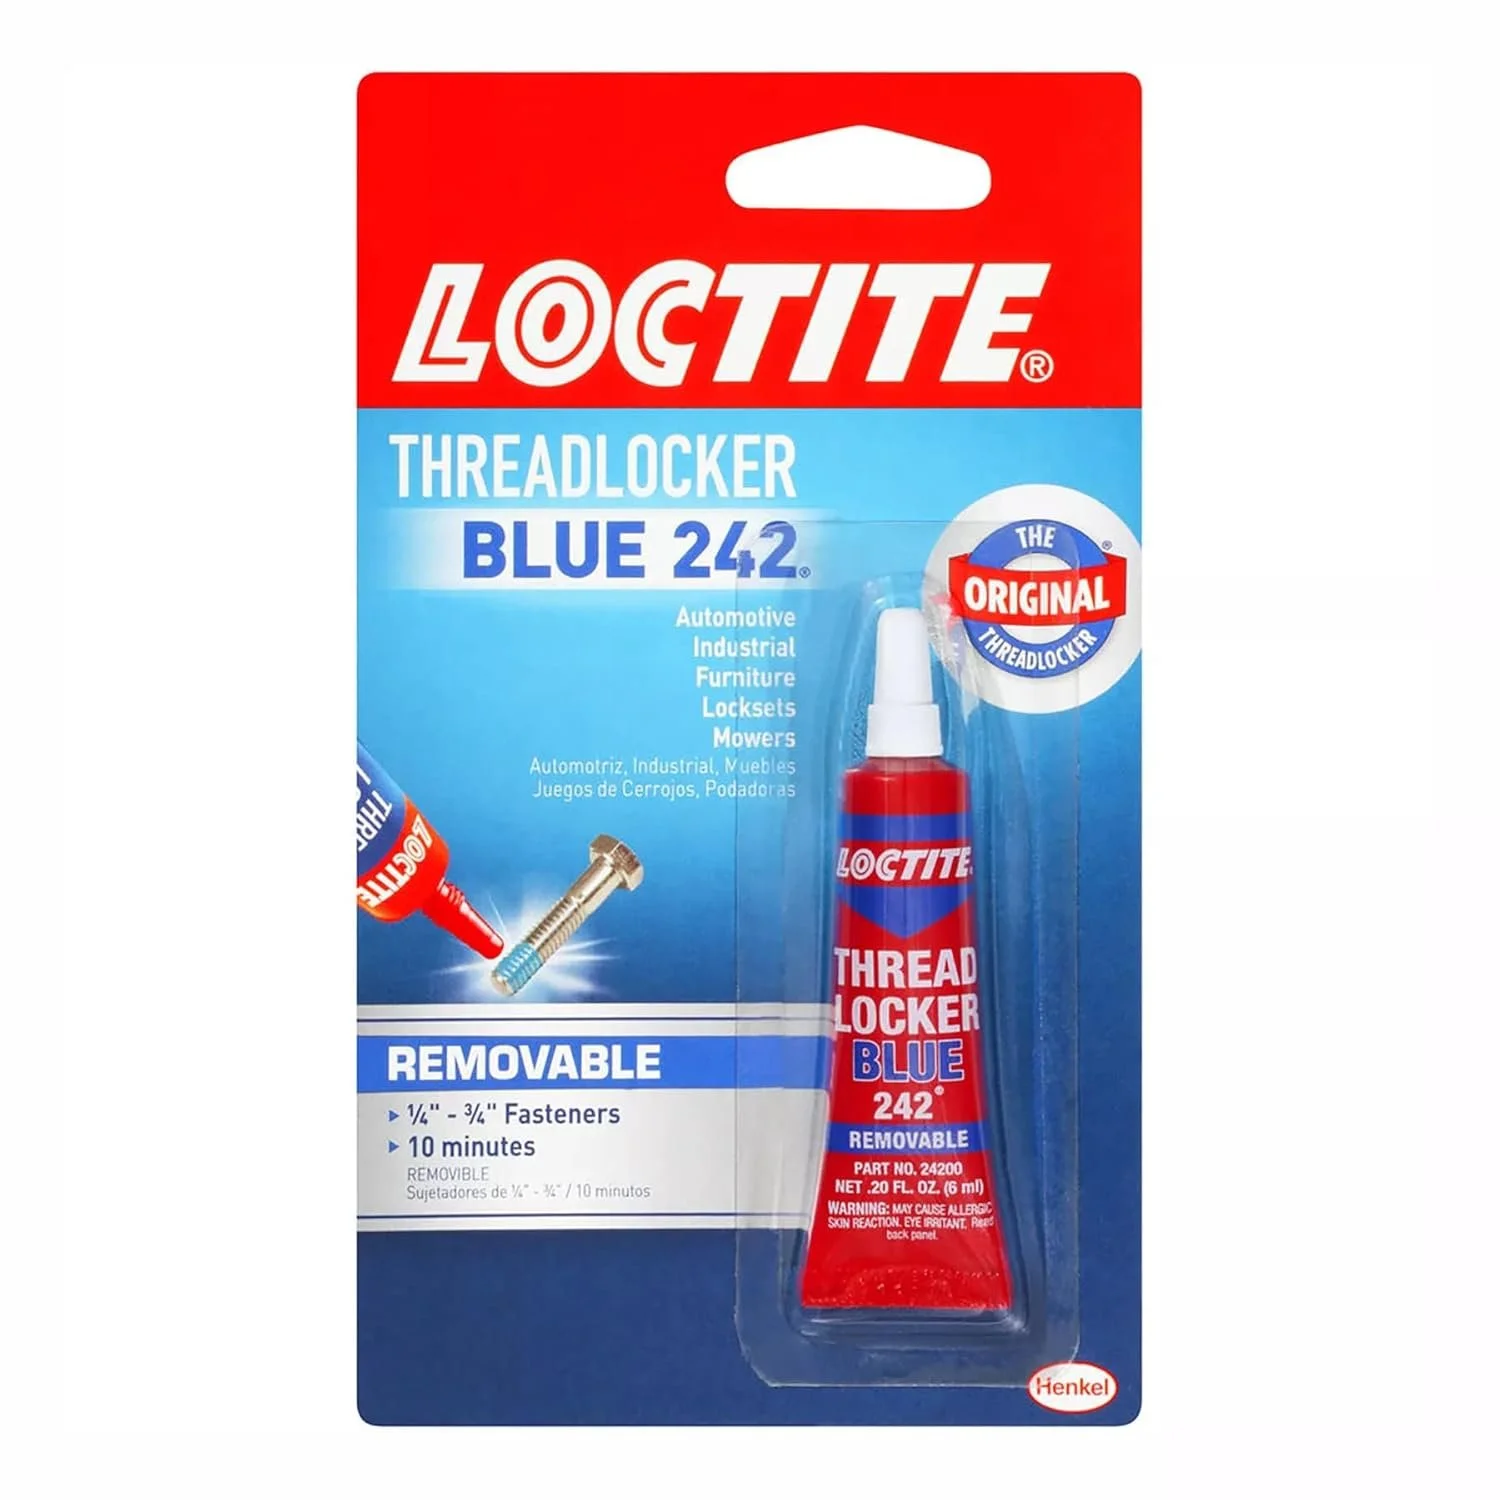
Thread-locking adhesive (like Loctite)
Open the cabinet door or drawer and locate the screw on the back side of the knob. Unscrew it almost all the way, add a drop of your thread-locking adhesive, and then tighten the hardware all the way. The screw can still be removed with an electric drill, but now it won't come loose after a few months of regular use. Woohoo!
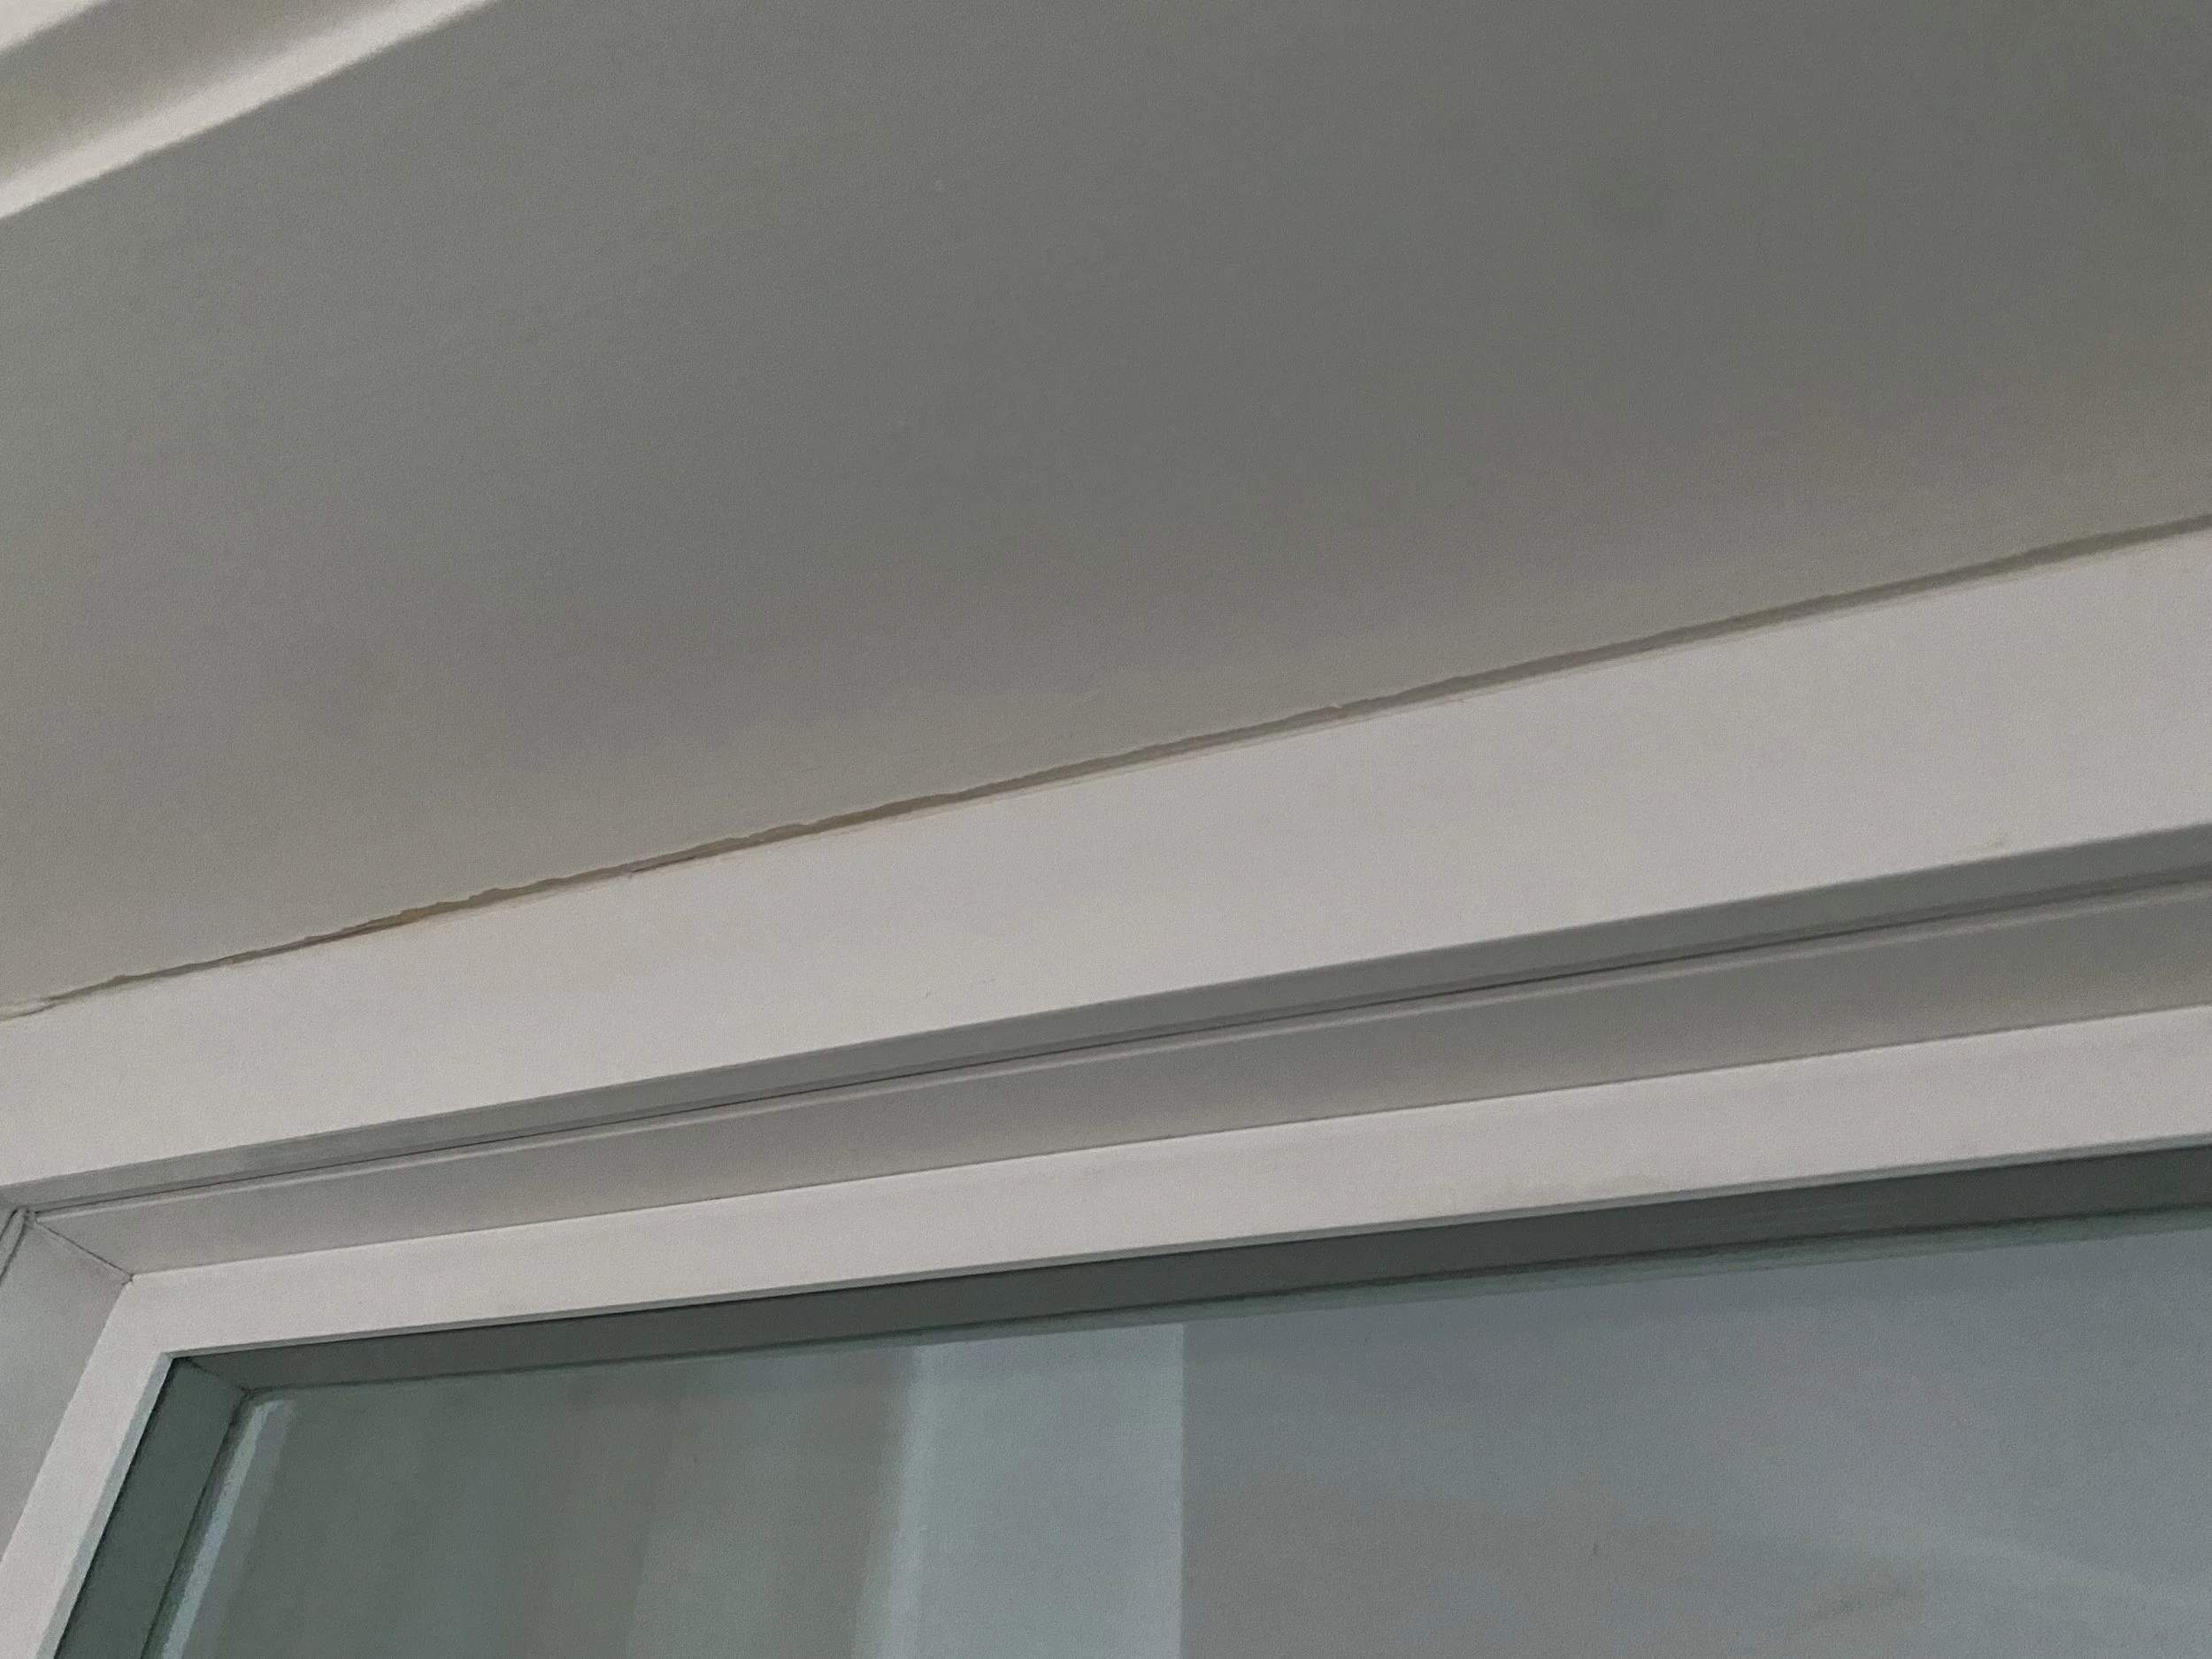
3. Re-seal windows with flexible caulk
If you live in an older house and you notice the caulk around your windows is cracking or getting brittle, now's a great time to re-seal them before it gets any colder.
You'll need:
A microfiber towel
A putty knife
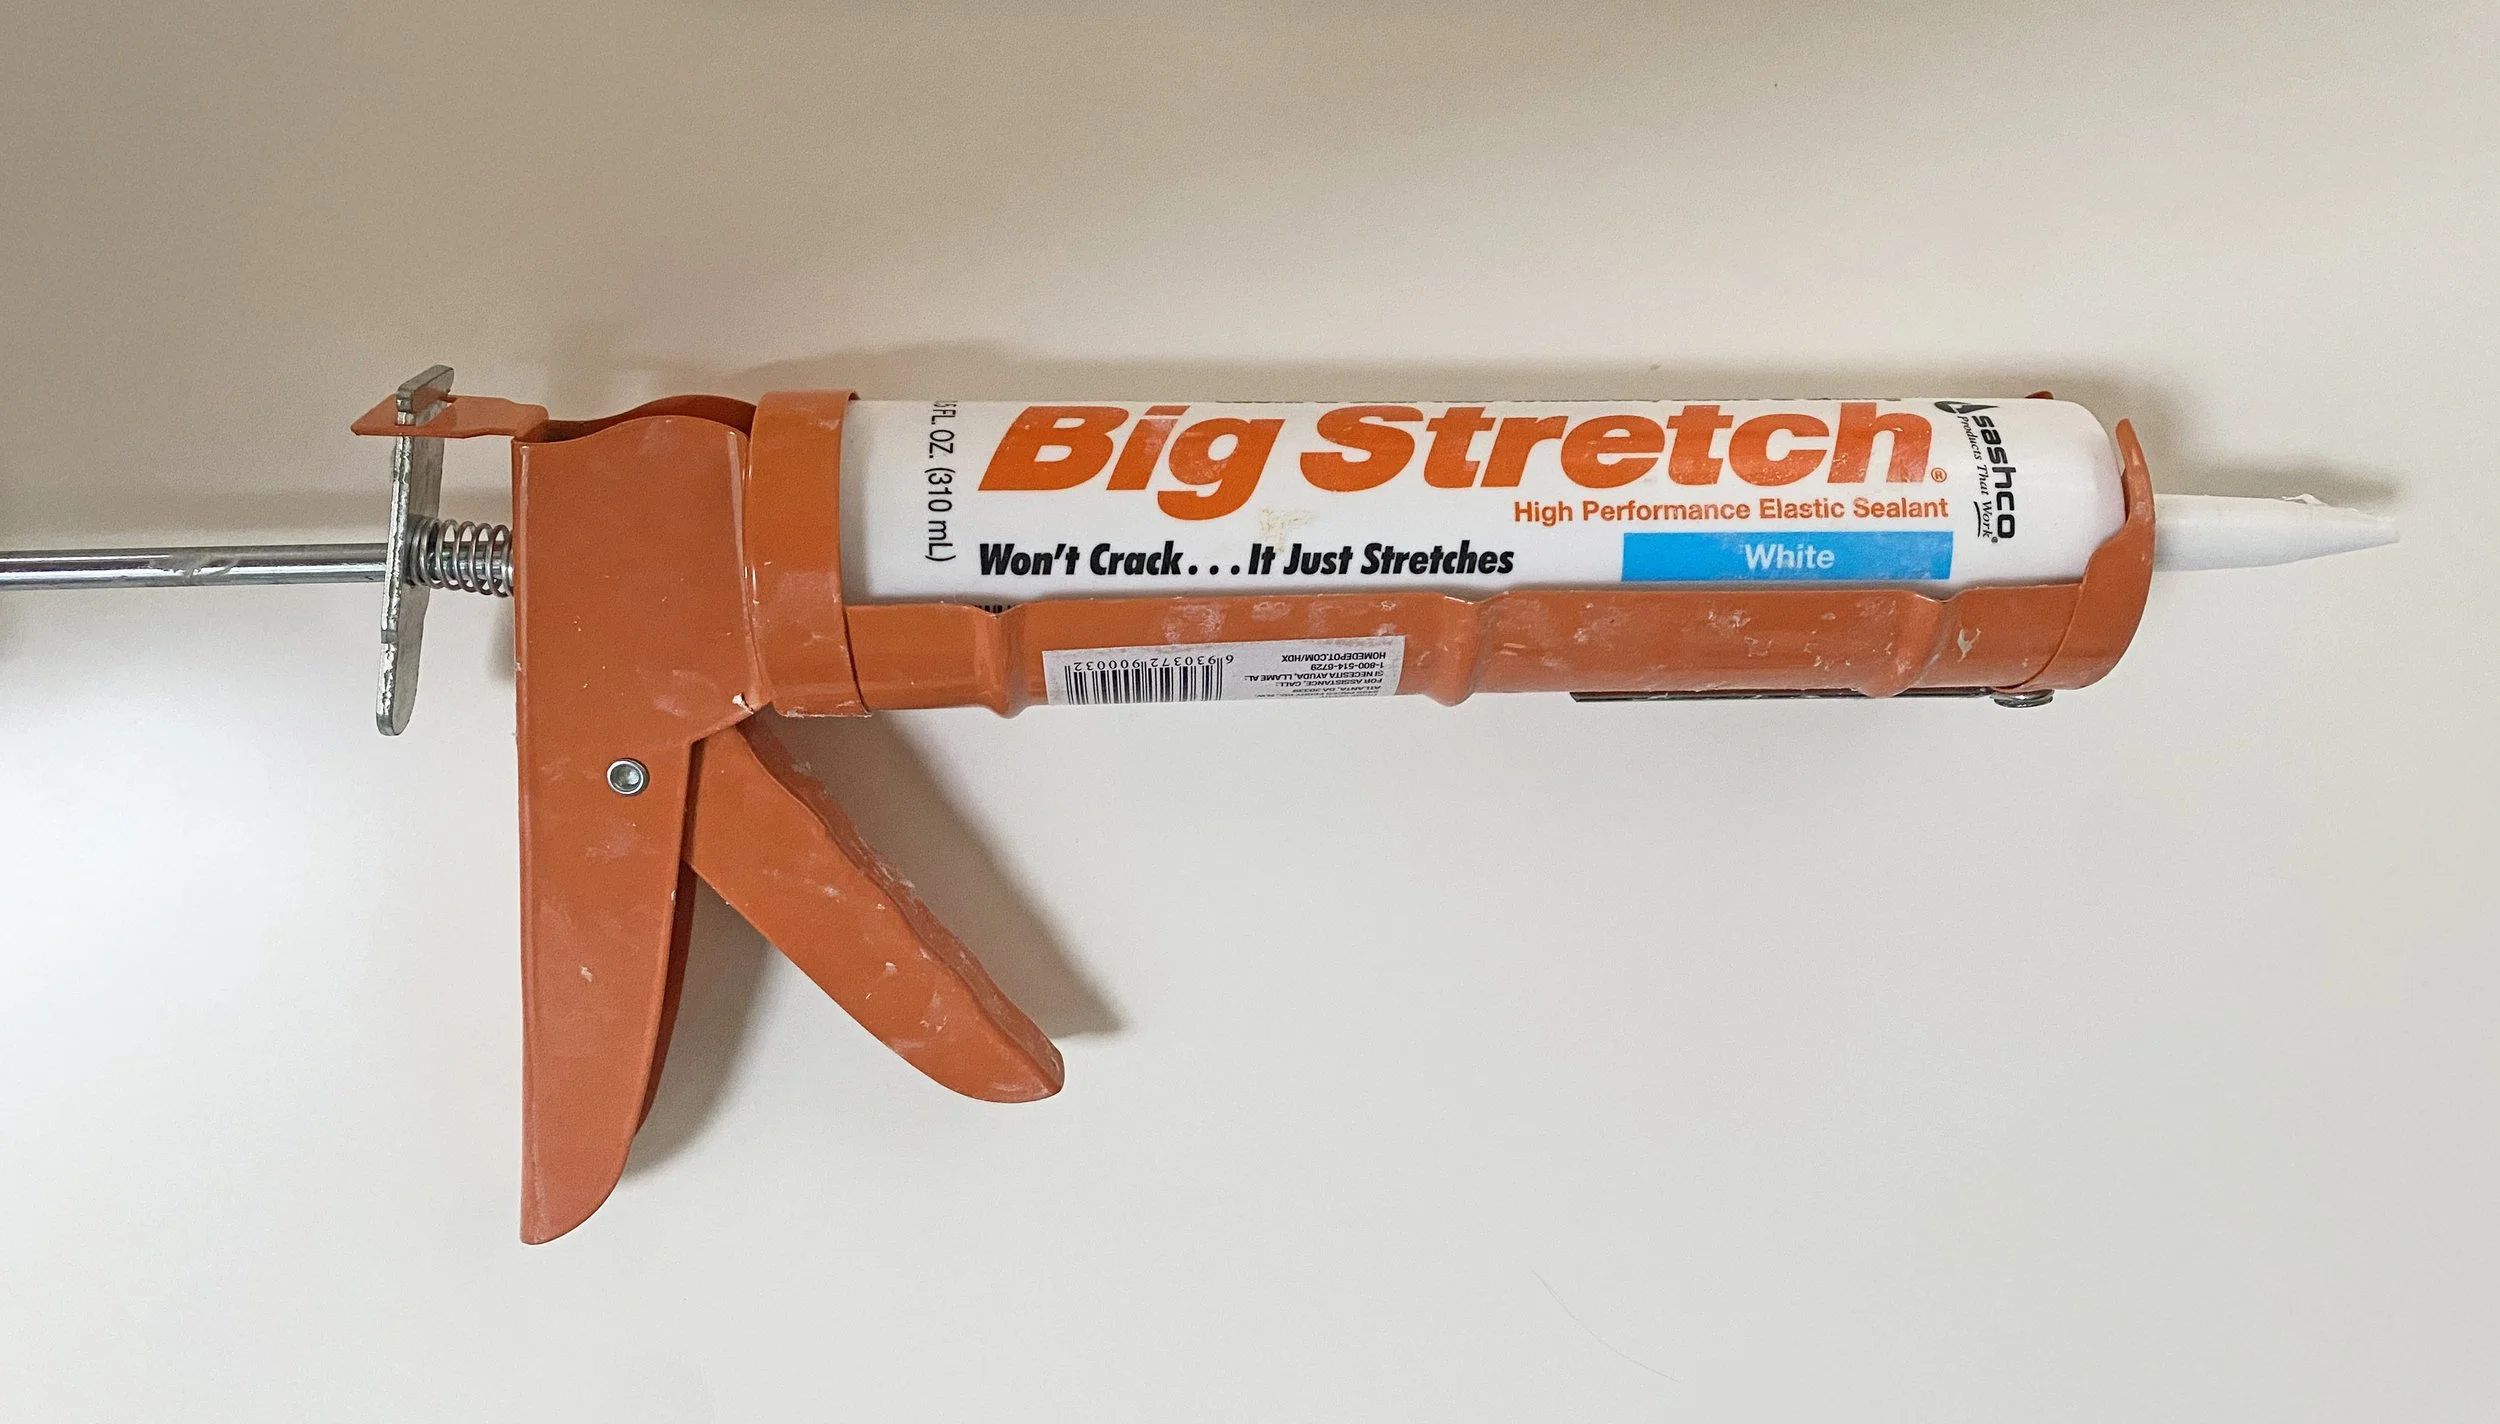
Flexible caulk (I’m using Big Stretch from Sashco)
A caulk gun
Painter's tape (optional but helpful)
If there's old, damaged caulk, remove it first with a putty knife or caulk removal tool. Clean the area thoroughly with the microfiber and let it dry.
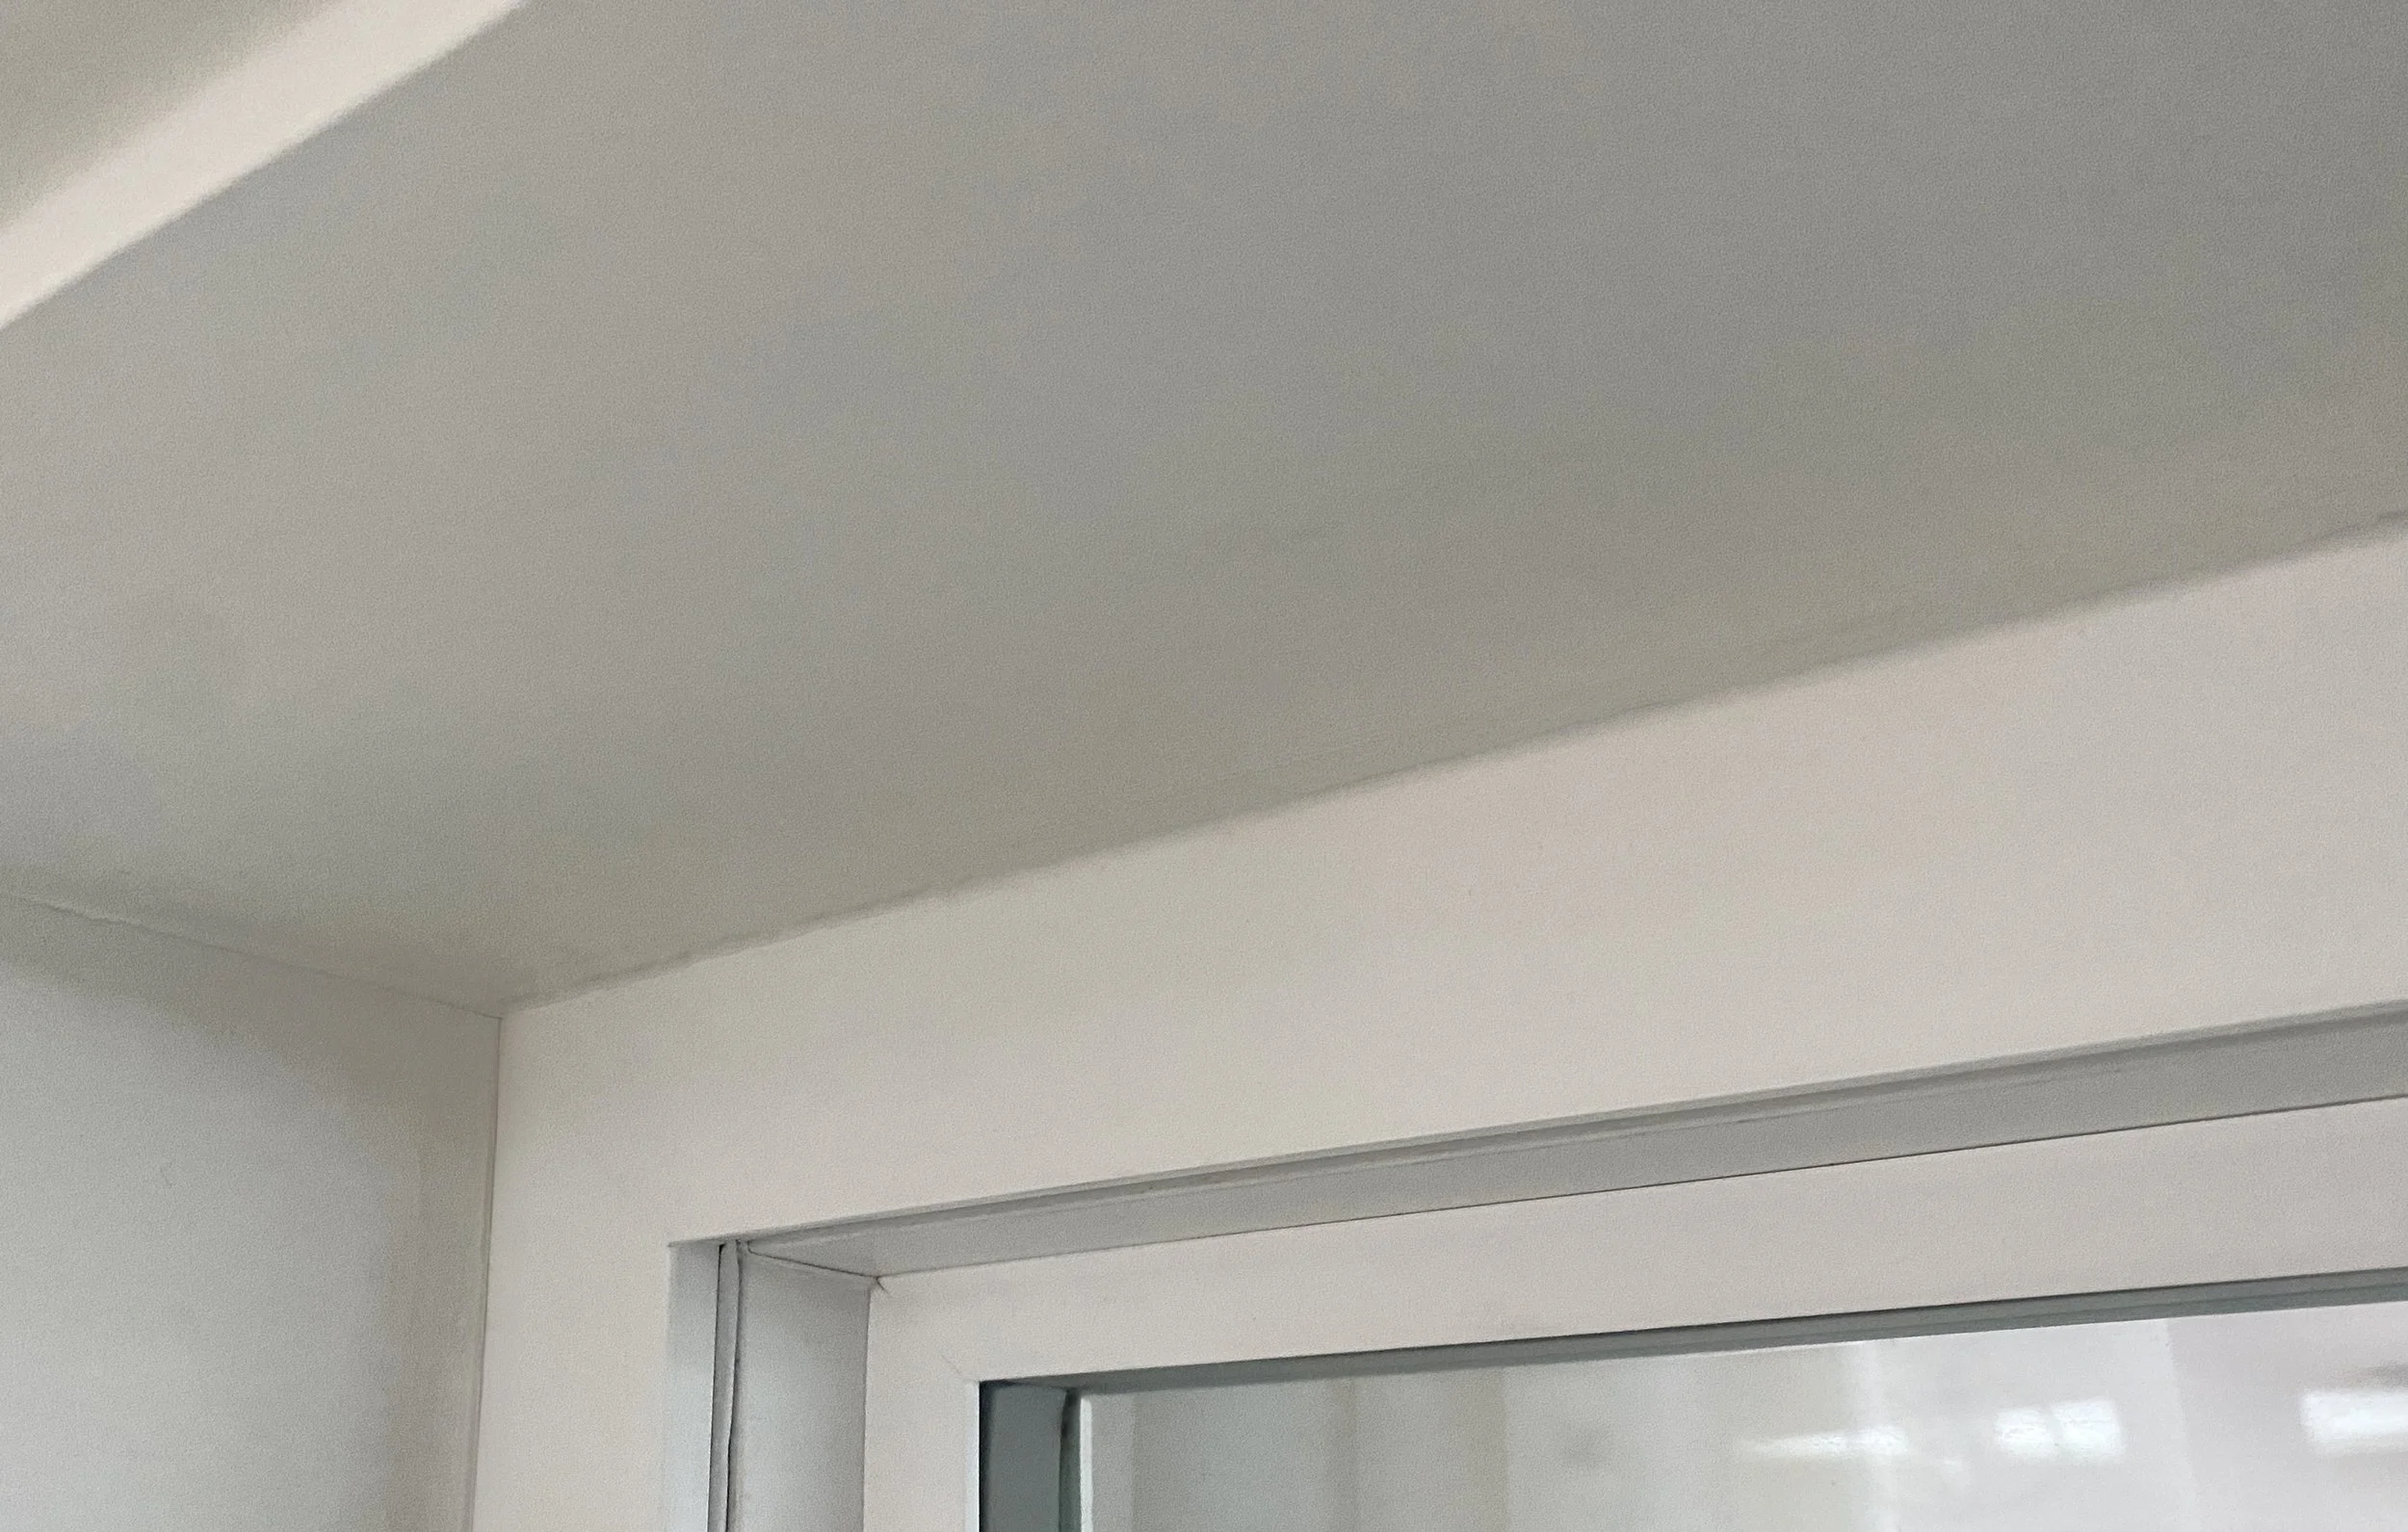
A few weeks ago I re-sealed a window where the caulk had gotten extremely brittle and it was QUITE satisfying to pull it all out. The window I re-sealed recently was starting to crack but the caulk was fairly recent, so I left it alone and just filled the crack that had appeared.
Load your caulk tube into the caulk gun and cut the tip at a 45-degree angle. Apply a smooth, continuous bead of caulk along the seam where the window frame meets the wall. Use a damp finger to press the caulk into the gap and create a clean, even line. Don't push too hard! If a lot of the caulk is getting built up on your finger, you're pressing too hard (I do this almost every single time). Let it dry according to the package instructions.
My hot tip: Use painter's tape to protect the window. It's pretty easy to remove caulk from drywall… much less so from a metal window frame. Remove the tape immediately after smoothing the caulk, before it starts to dry.


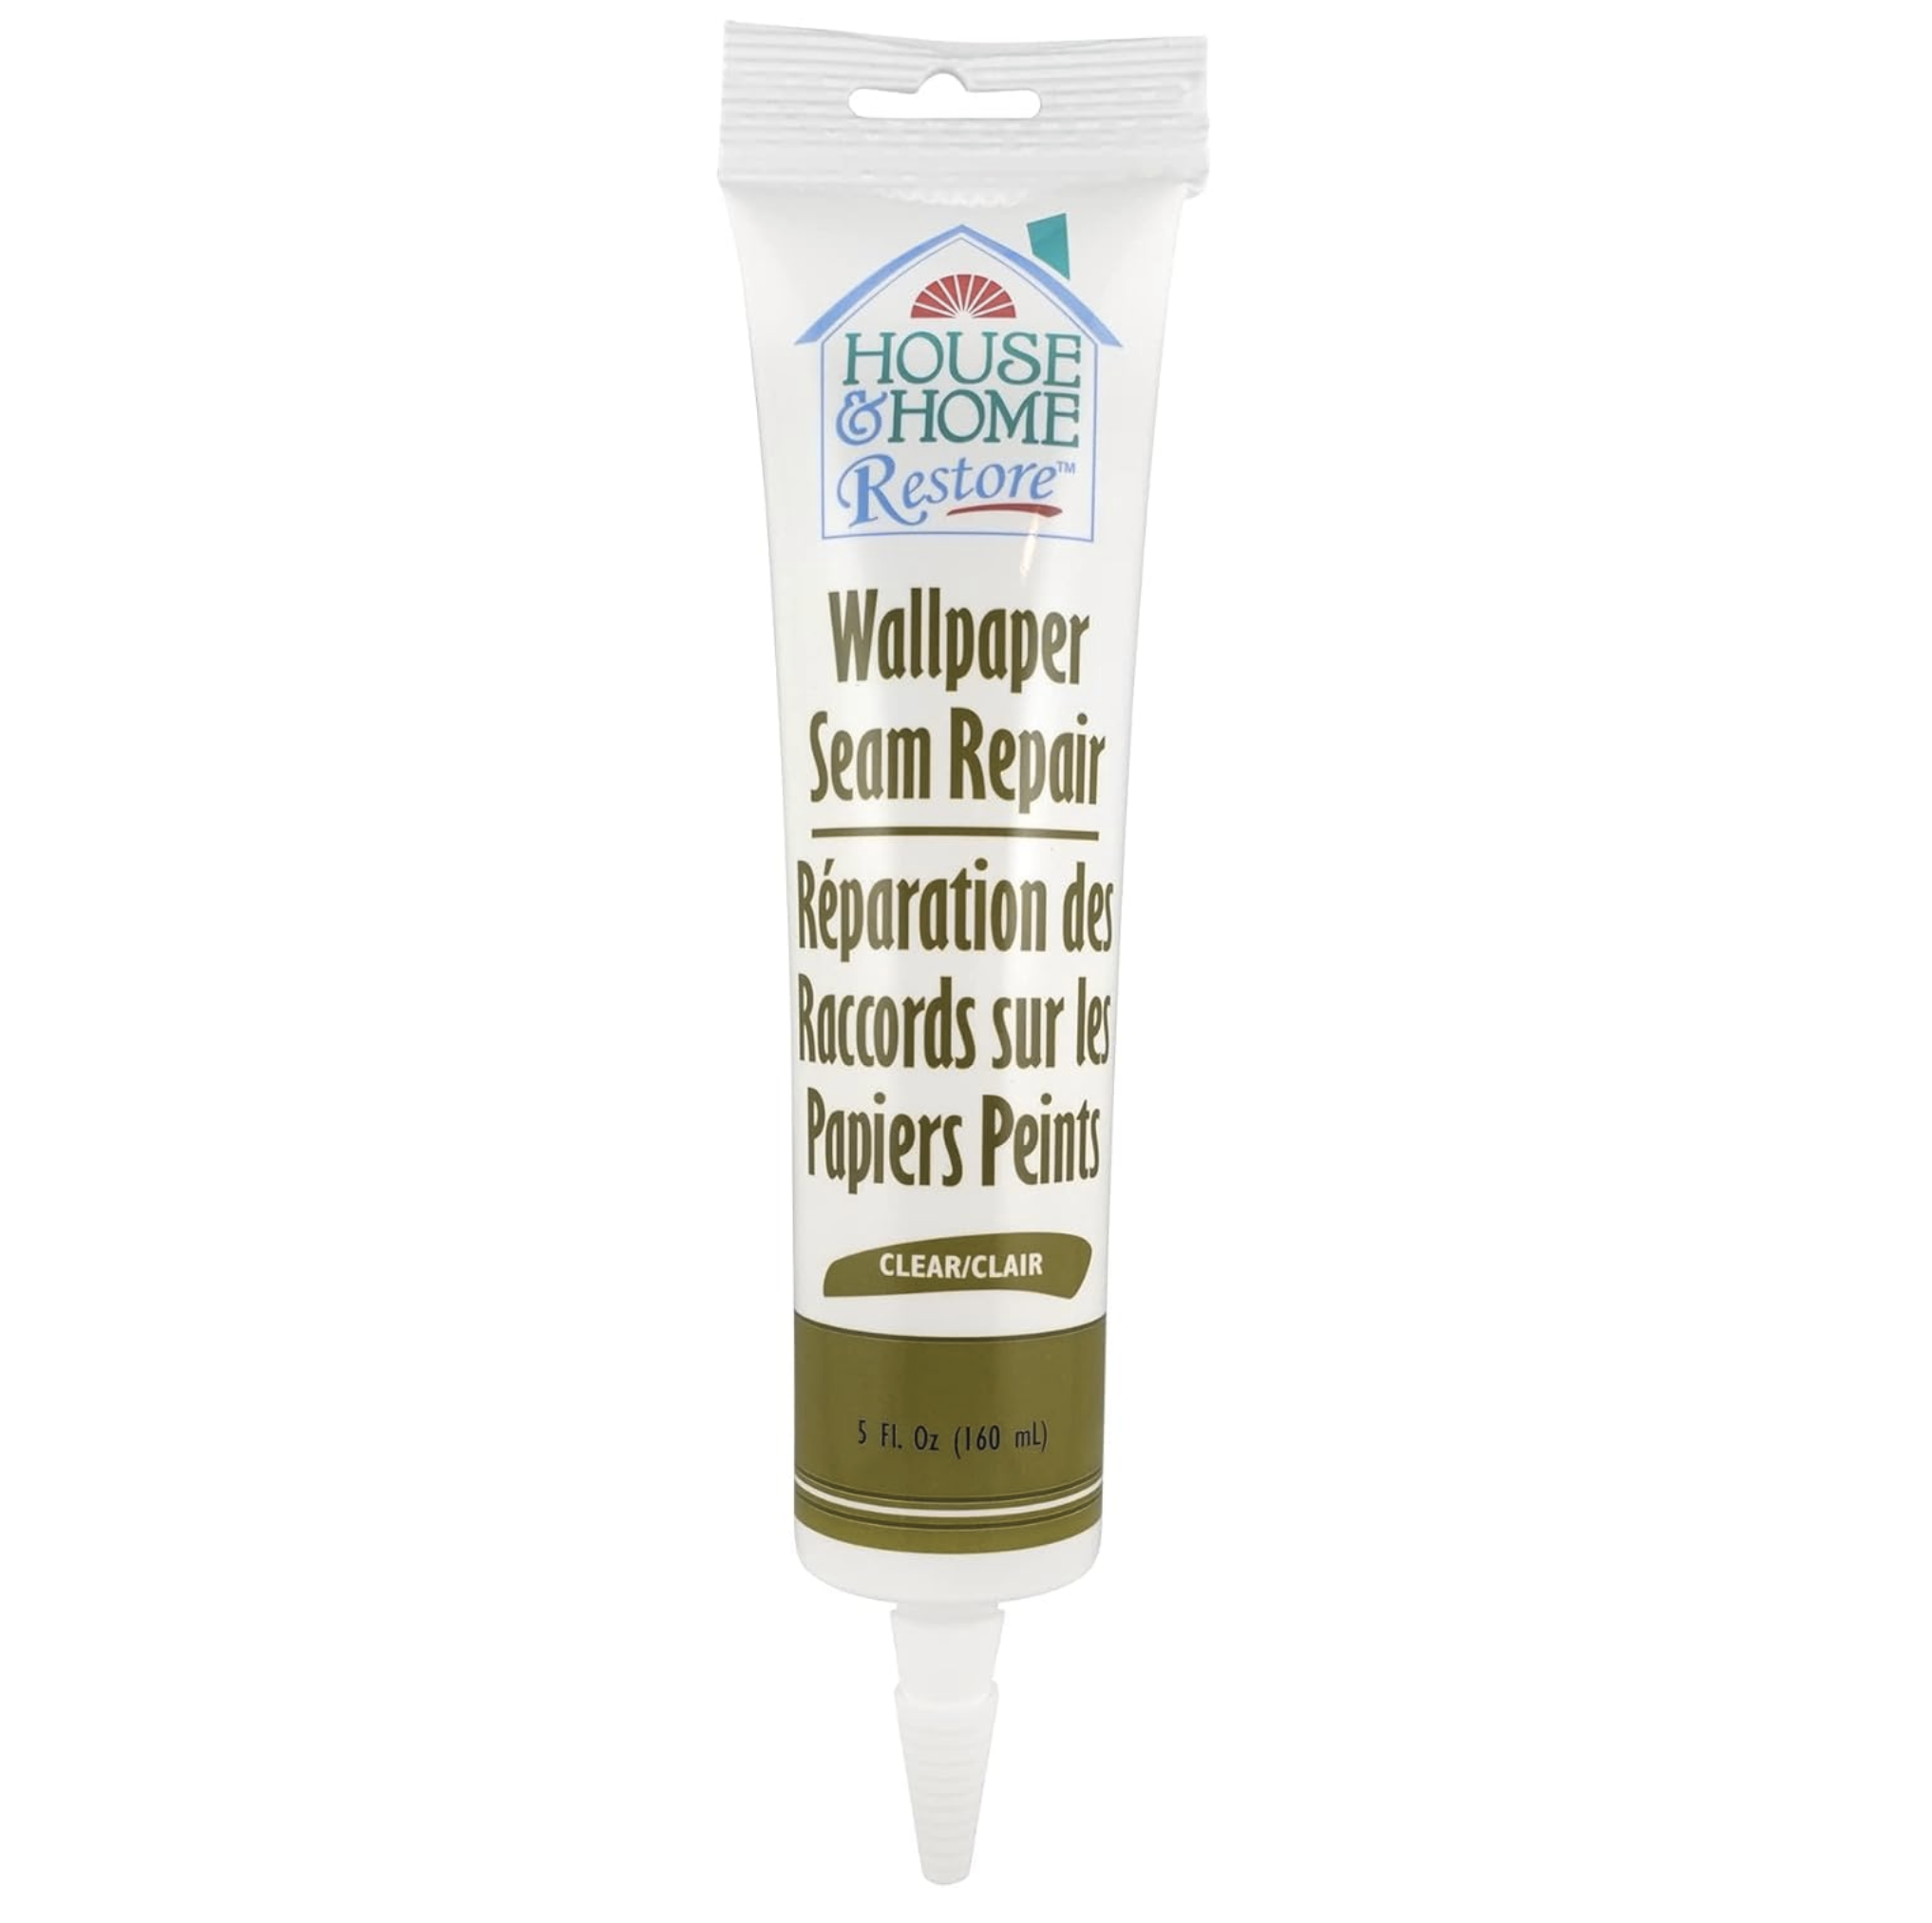
4. Fix Wallpaper Seams Coming Up at the Edges
Wallpaper seams that start to lift are frustrating, especially if you love your wallpaper. The good news is that they're usually easy to fix.
You'll need:
Wallpaper seam adhesive or regular white glue
A small artist's brush or cotton swab
A wallpaper smoothing tool or clean cloth
Lift the loose edge of the wallpaper gently. Use your brush or cotton swab to apply a thin layer of seam adhesive underneath the lifted section. Press the wallpaper back down firmly and smooth it with your seam roller or a clean cloth, working from the center of the seam outward to push out any air bubbles. Wipe away any excess adhesive with a damp cloth.
My hot tip: Don't use too much adhesive, because excess glue will seep out and create a mess. Also, wallpaper adhesive can dry quickly.
5. Clean Vent Covers
Vent covers aren't the prettiest to begin with so I tend to not look at mine often. Mine were overdue for a thorough cleaning recently and I learned a much easier method to clean them.
You'll need:
A medium-ish sized bin
A stiff brush or an old toothbrush
White vinegar, dish soap, and warm water (this may need to be different depending on what your vent covers are made of!!)
Remove the vent covers from the wall or ceiling (most just lift off or have simple screws). For light cleaning, scrub them with a stiff brush and soapy water, then rinse and dry. For stubborn buildup, soak the vent covers in a mixture of equal parts white vinegar and warm water for 15-20 minutes, then scrub, rinse, and dry thoroughly before replacing.
My hot tip: if you have a shop vac, while you've got the vent covers off, stick the shop vac hose down into just the visible portion of the ductwork.
None of these projects are glamorous, and you're not going to get the same dramatic before-and-after photos you'd see from a full renovation. But, these quick fixes have an outsized impact on how your home feels. These numerous but insignificant signs of wear can make a room feel tired even if you’ve stopped consciously noticing them.
Once you get started, you might find that tackling these little annoyances is oddly satisfying. I definitely had fun with my paint pen listening to my audiobook.
Happy, happy DIYing!