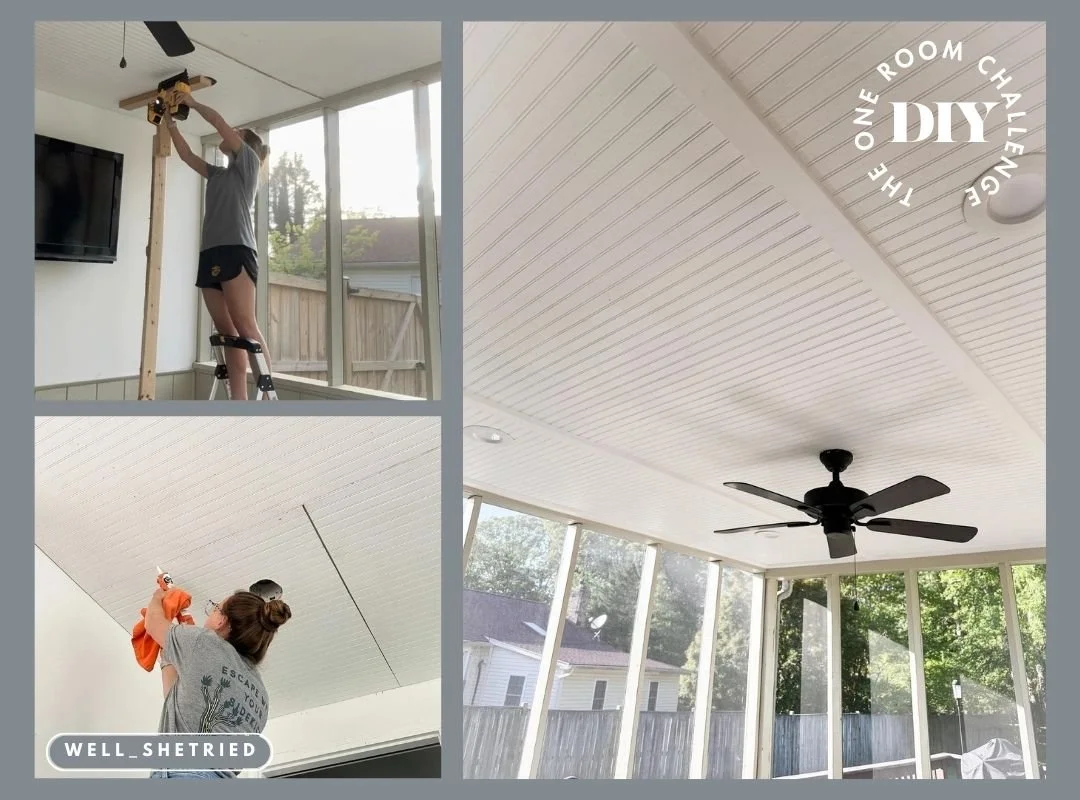
DIY: Using Beadboard Paneling to Cover a Textured Ceiling
DIY
VIA WELL SHE TRIED
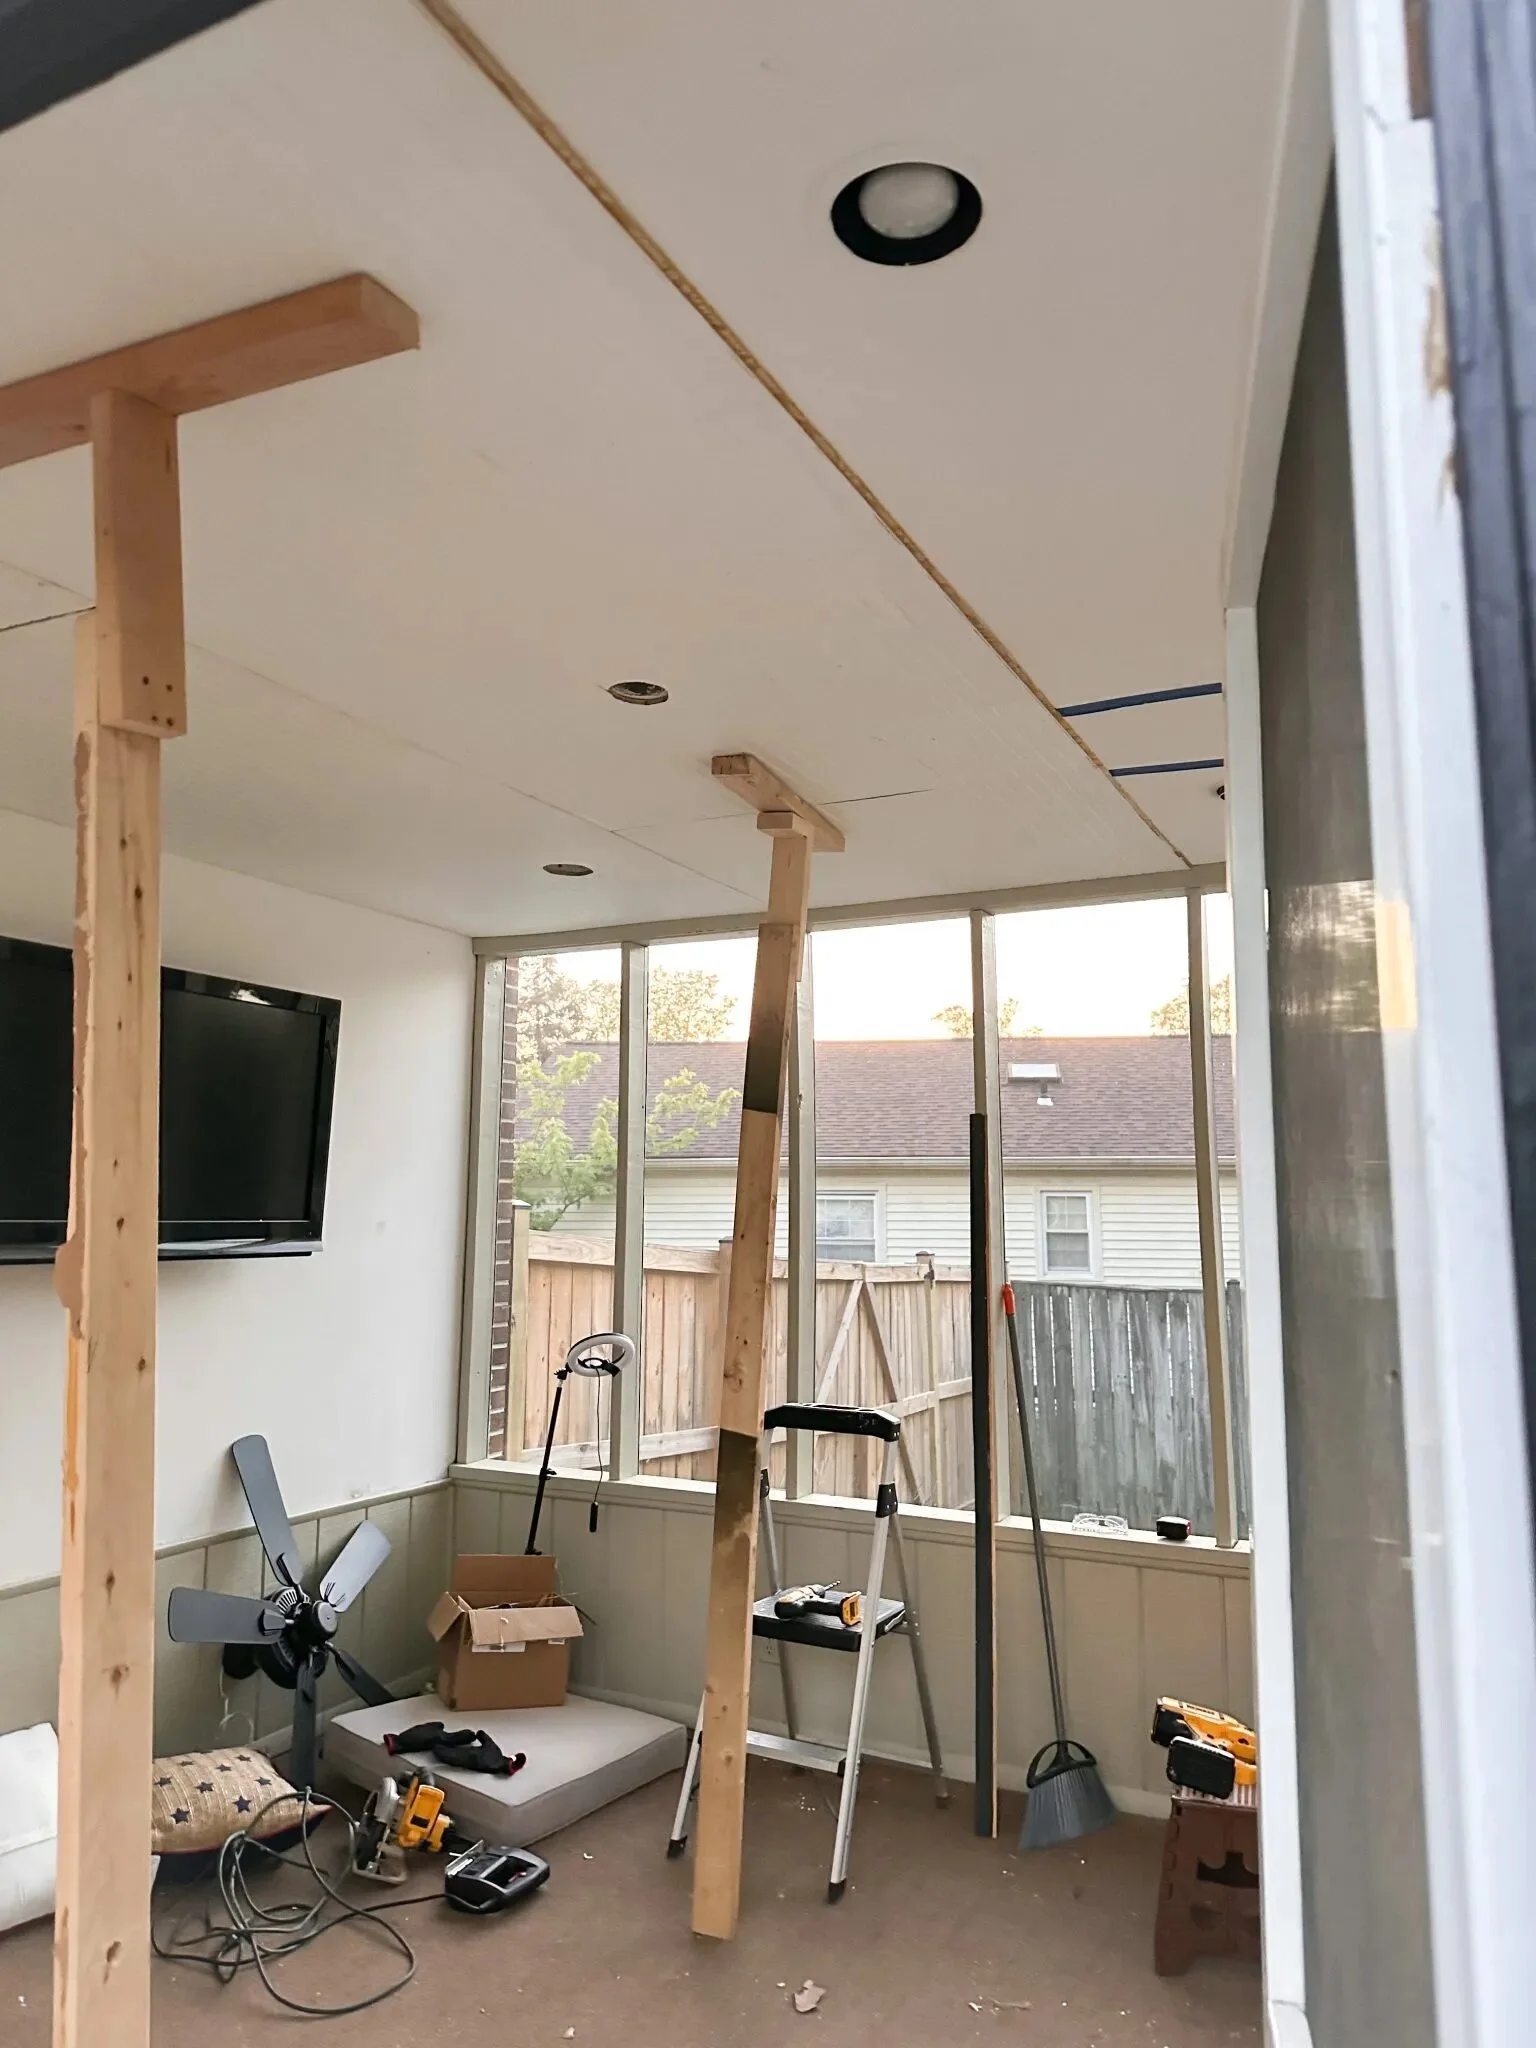
When Rachel of sister duo Well She Tried tackled her screened in porch during the spring ‘23 ORC event, paneling the ceiling was not part of her original plan. However, when she went to do a light round of sanding on the old, flaky paint on the ceiling, it continued to flake off in layers and Rachel realized it wasn’t salvageable. So, she pivoted and decided to cover the ceiling in beadboard paneling. The finished ceiling looks amazing and brings so much charm to the porch. If you have a textured ceiling you don’t like, especially one with asbestos, beadboard is a great option!
VIA WELL SHE TRIED
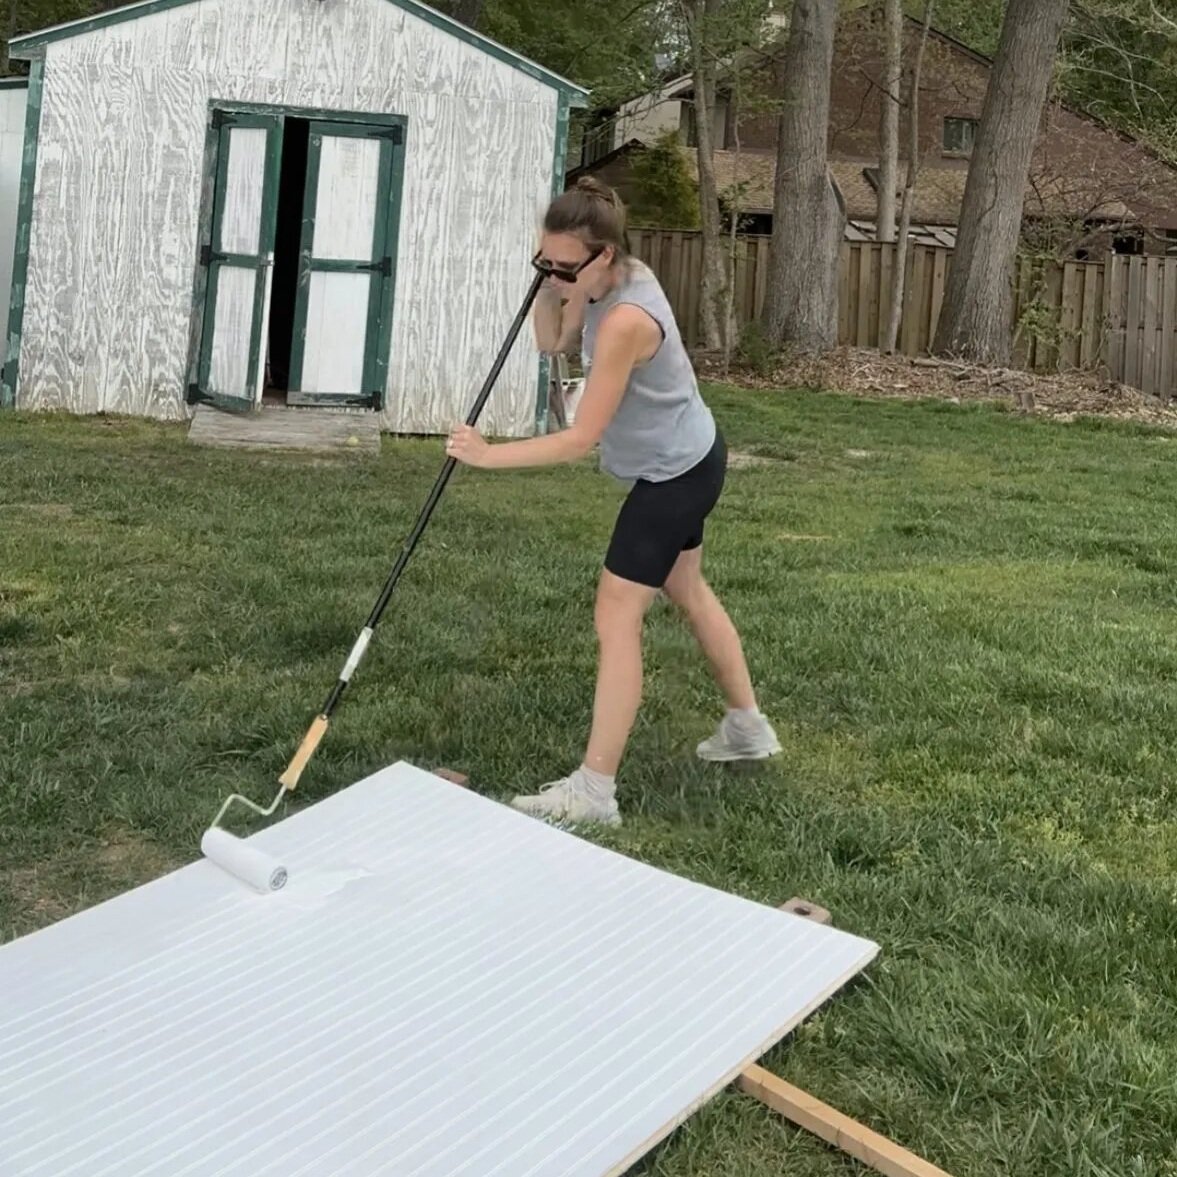
Rachel’s first step was painting the beadboard panels. According to her, painting them on the ground is much easier than painting them once they’re up, and will prevent at least a little neck soreness.
VIA WELL SHE TRIED
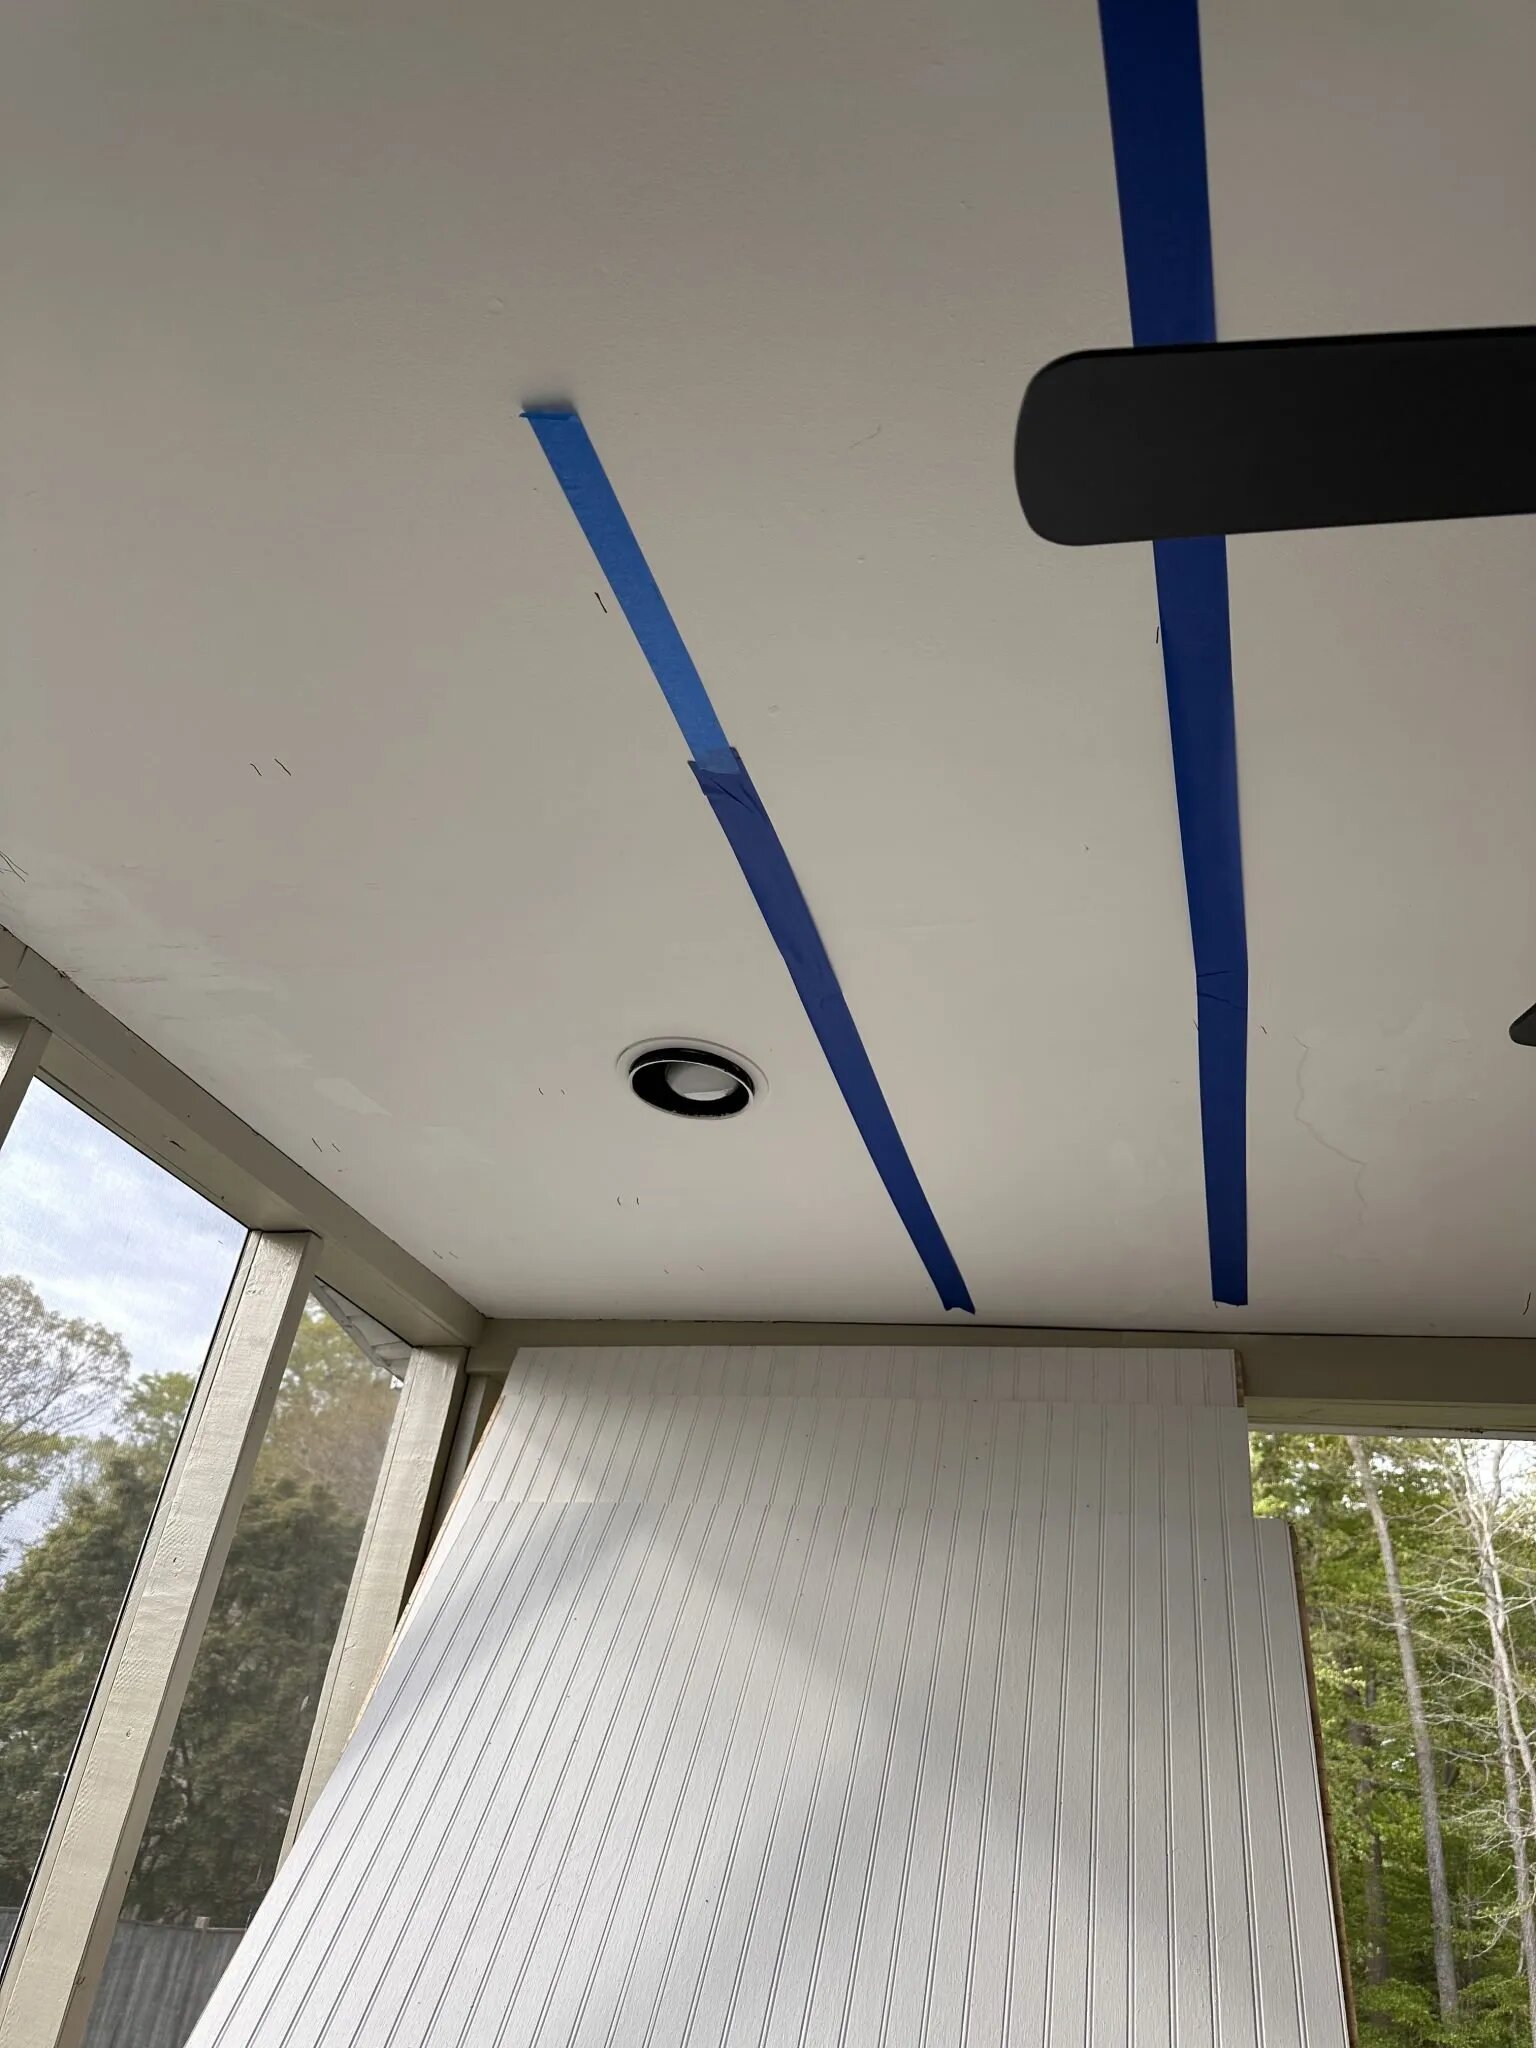
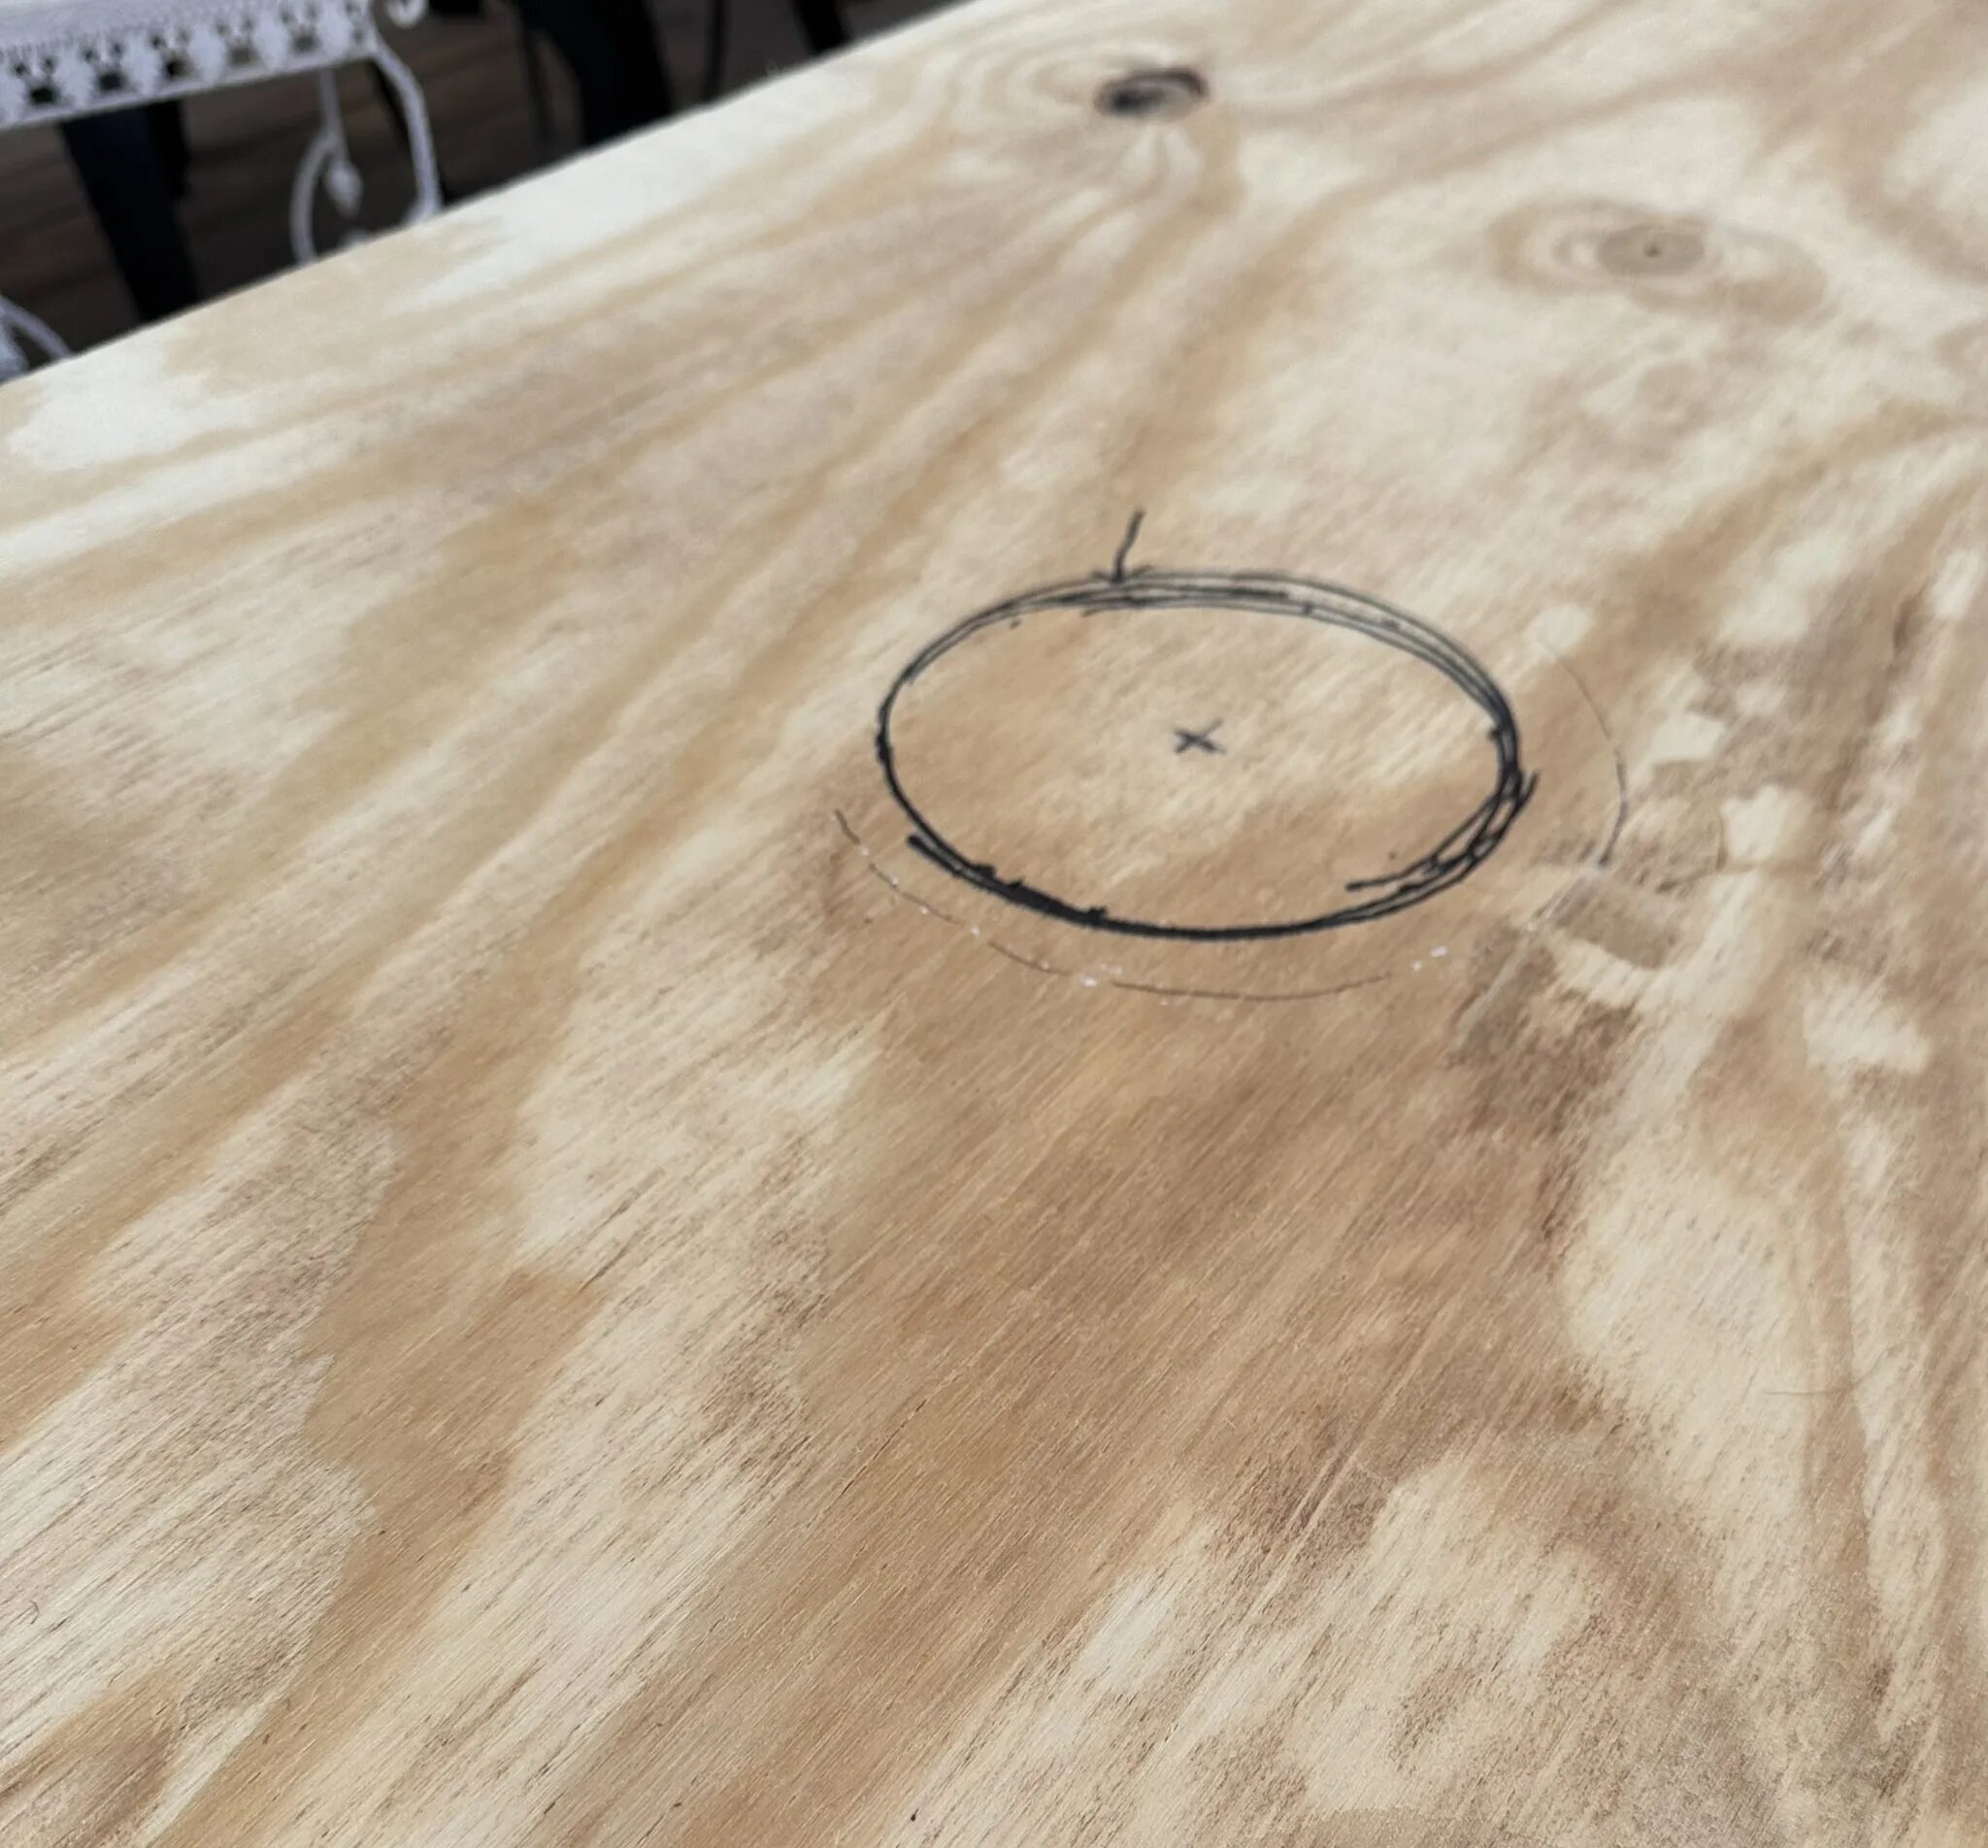
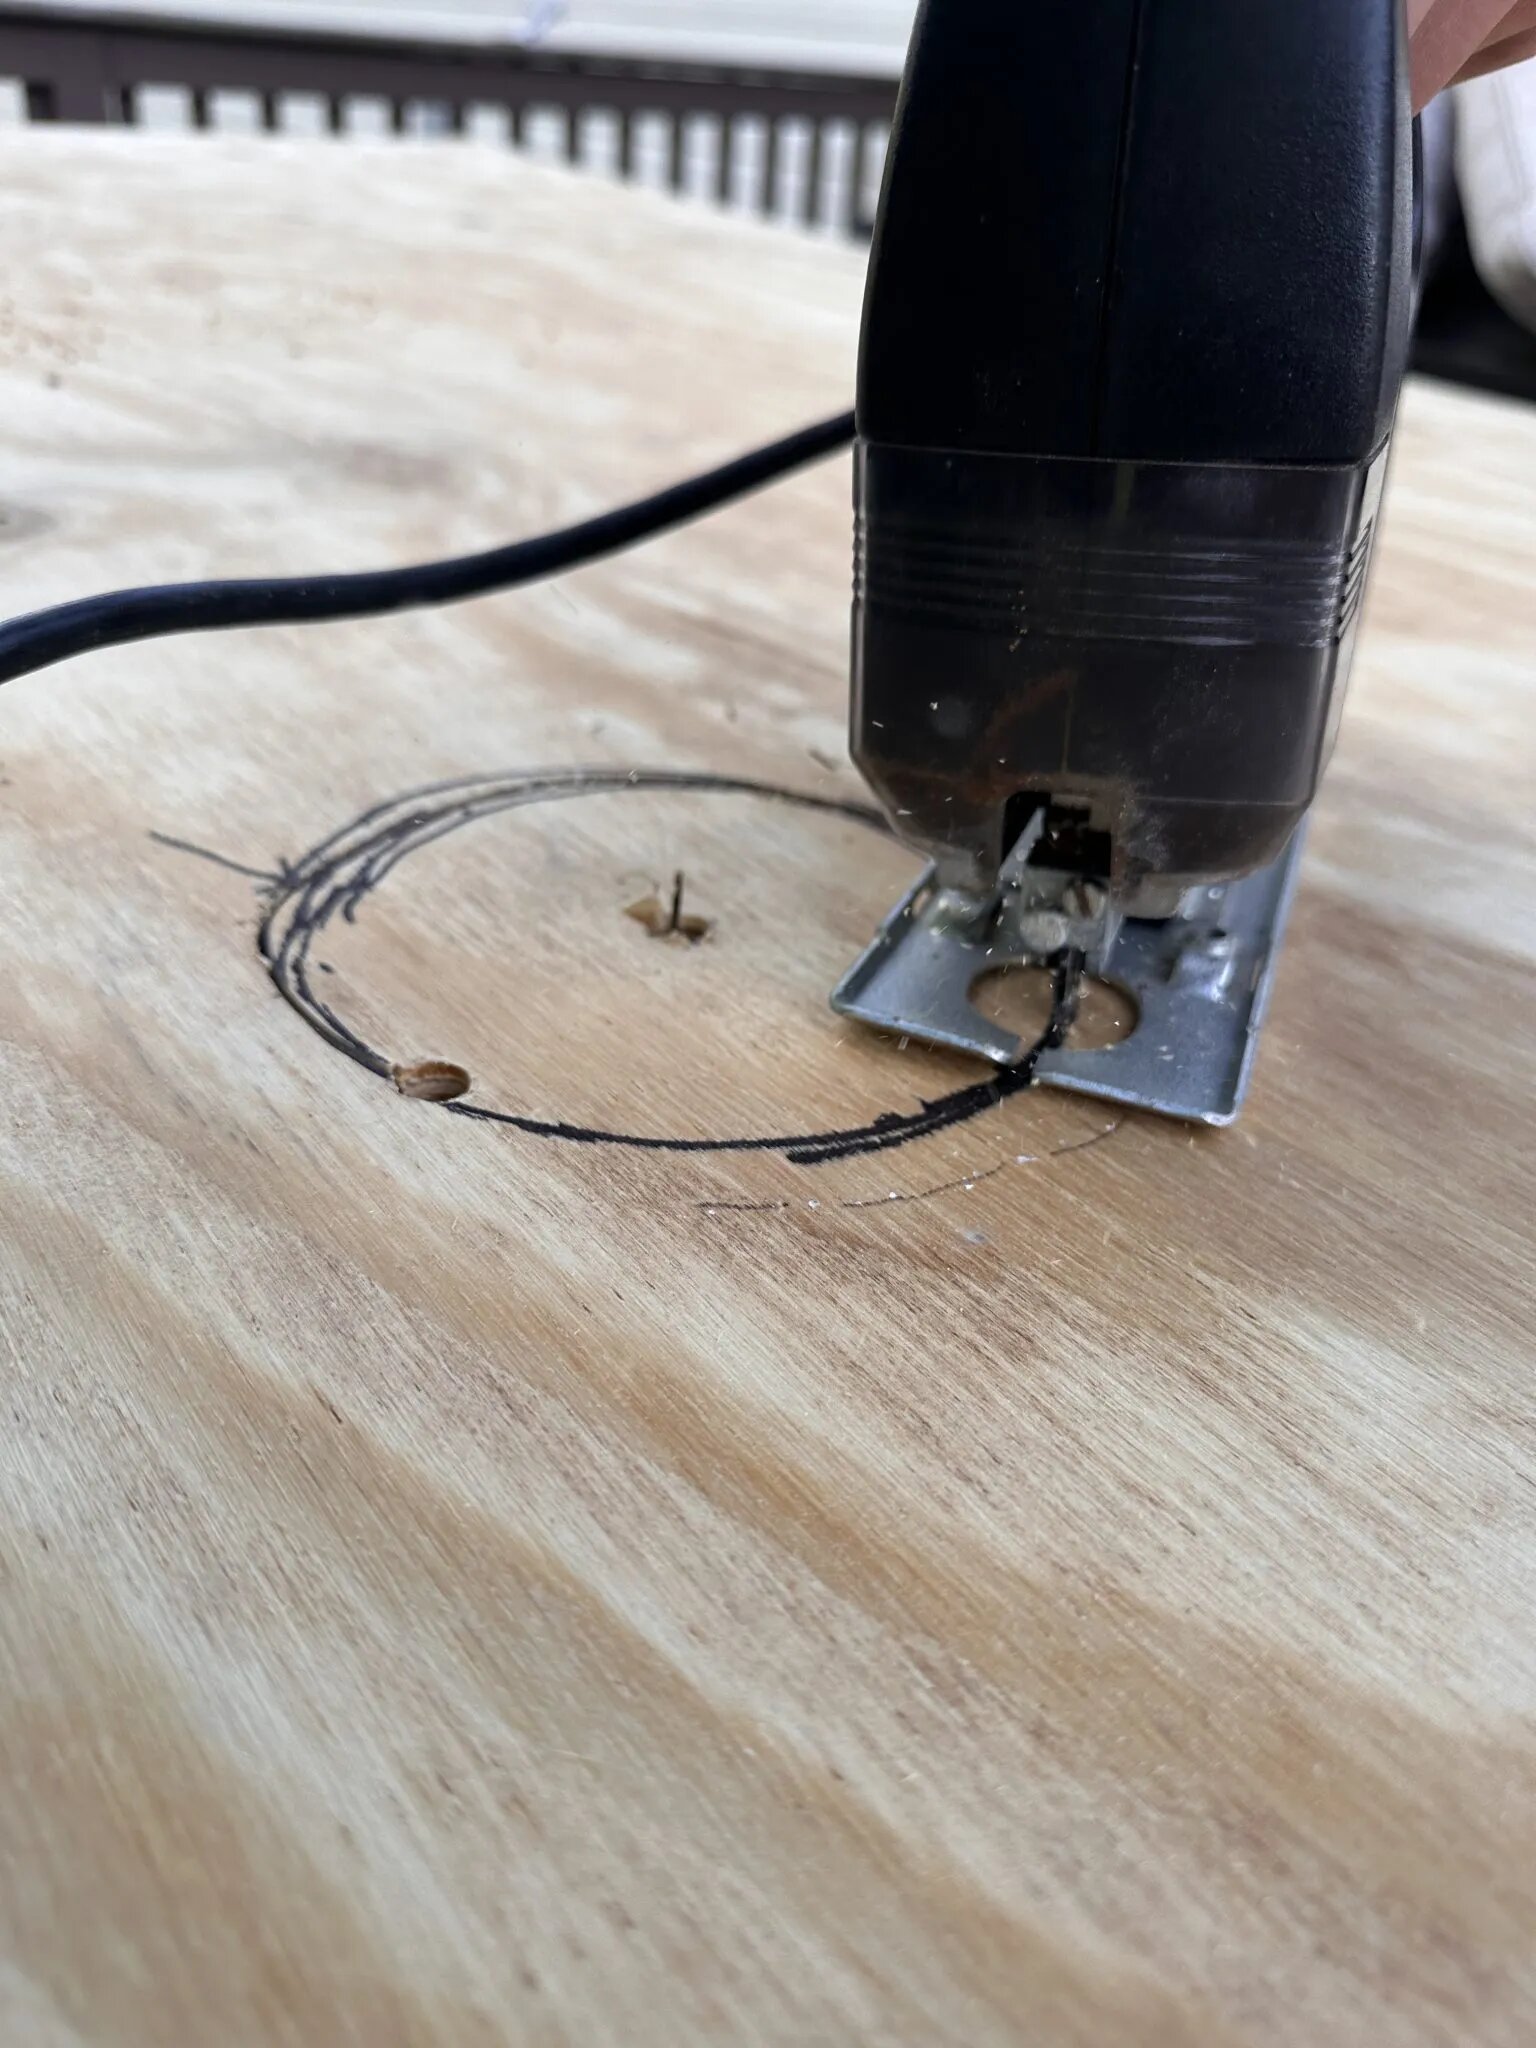
Her next step was finding the joists and marking them. Then, she measured out where she needed holes in her panels for the recessed lighting and ceiling fan, used a compass to draw perfect circles, and cut the holes with a jigsaw.
VIA WELL SHE TRIED
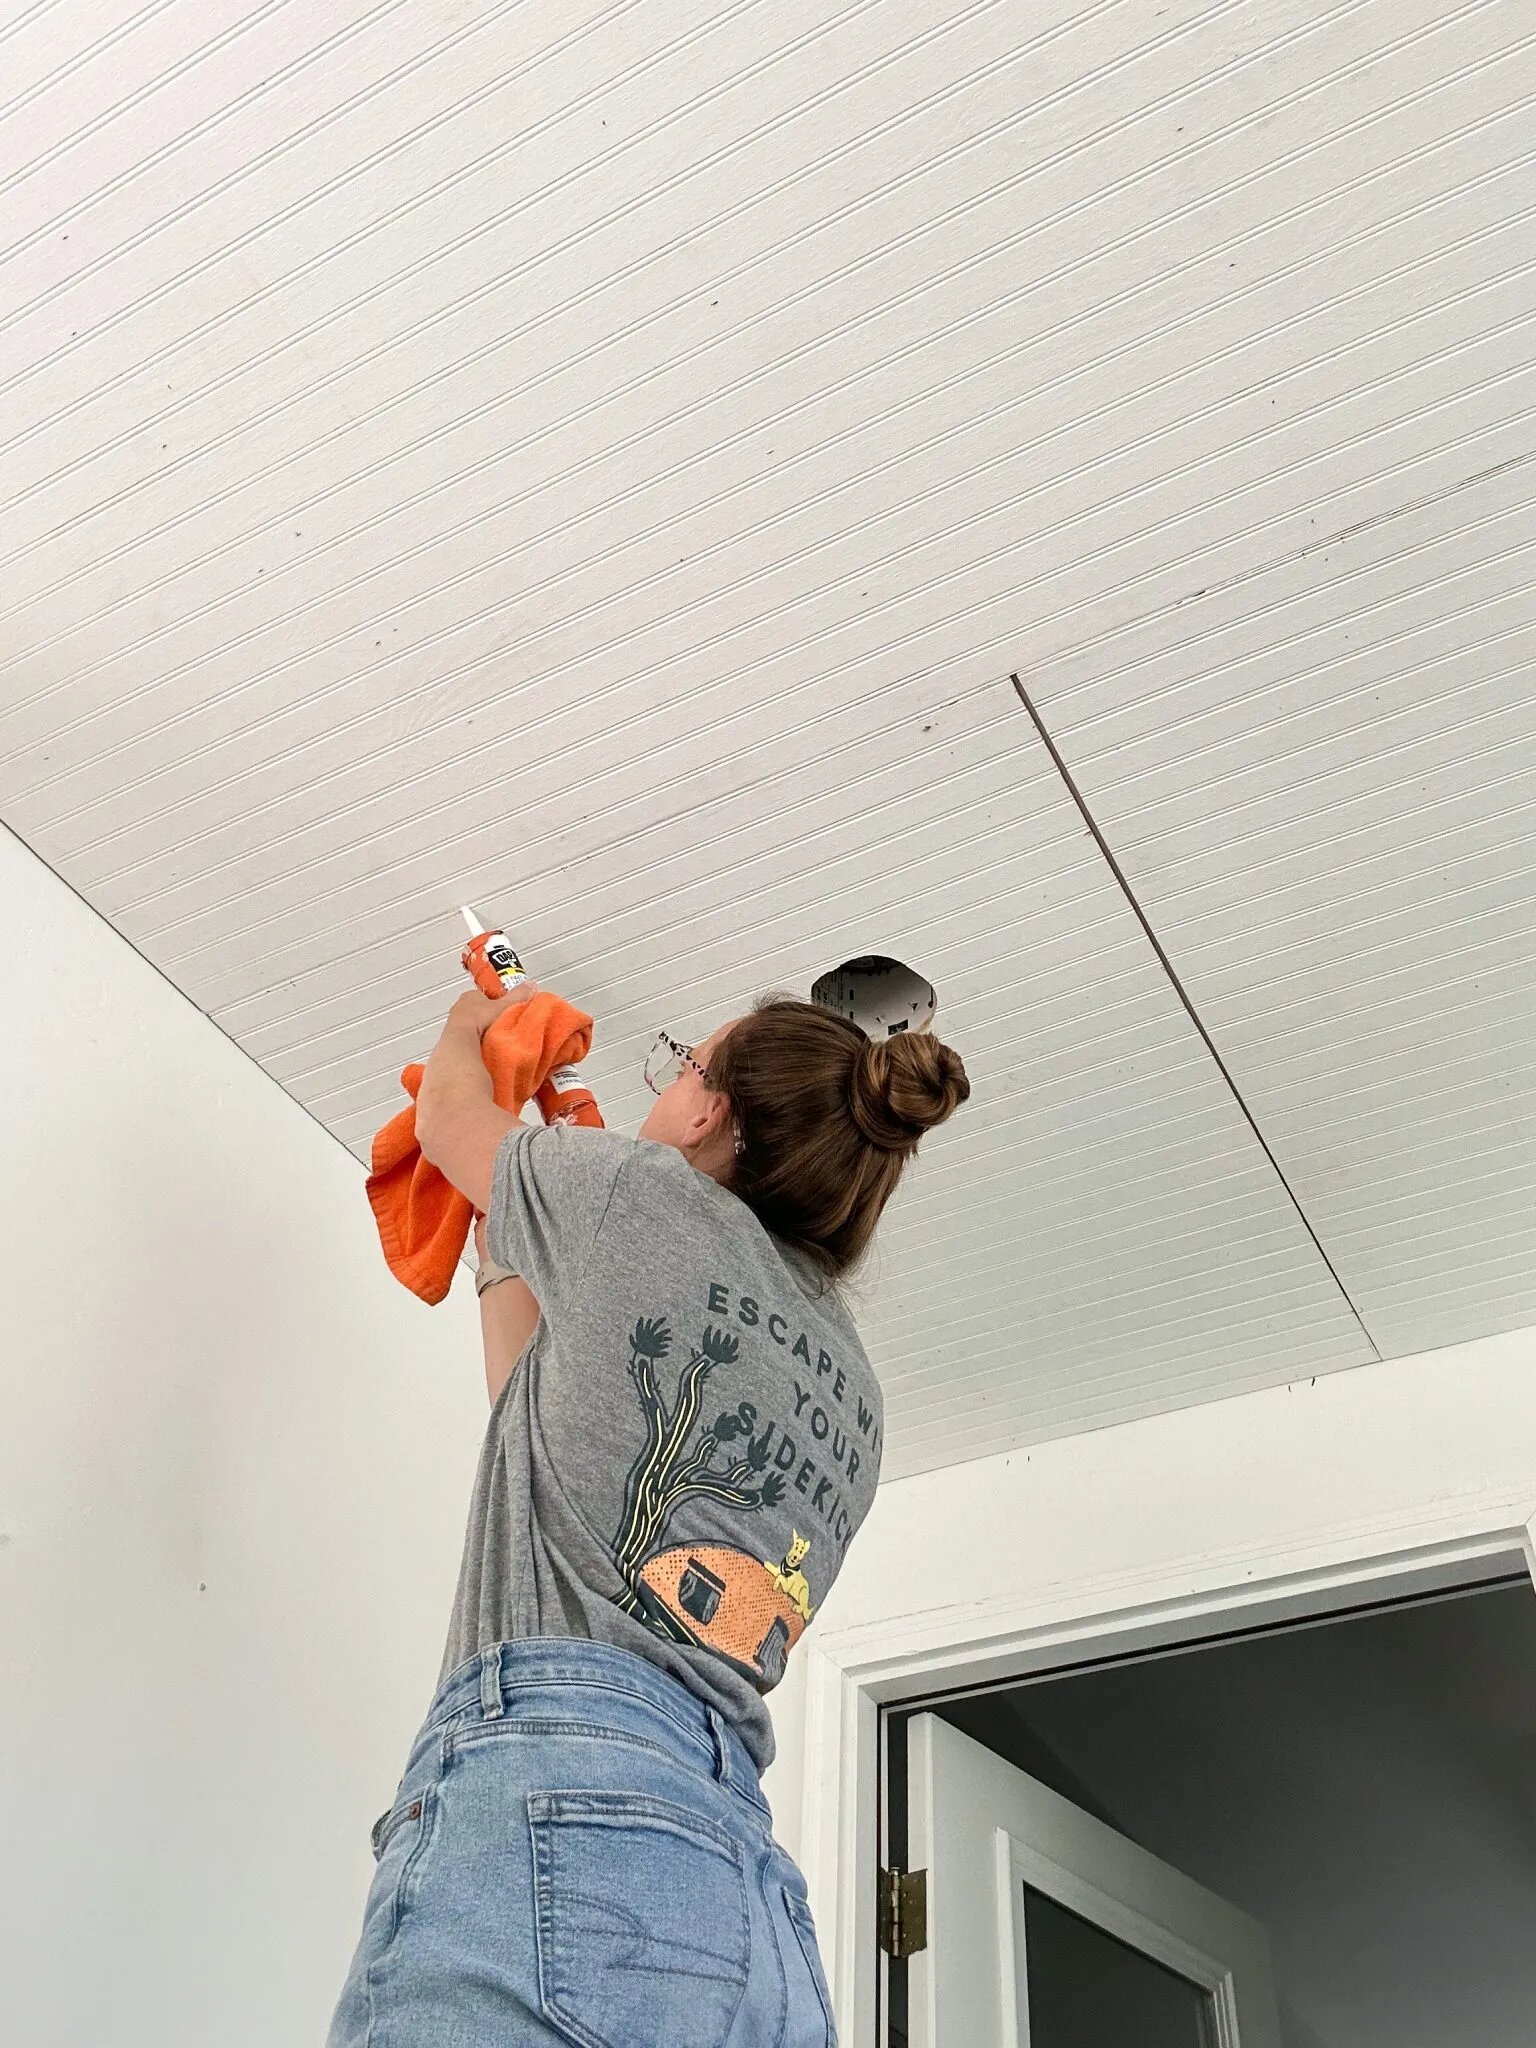
After that prep work, the panels were ready to go up! She applied liquid nails to the back of each before hoisting it up.
She used two T supports to hold the panels up while the liquid nails dried. The T supports were made out of scrap 2x4s, with their overall height being 3/4” shorter than the ceiling height.
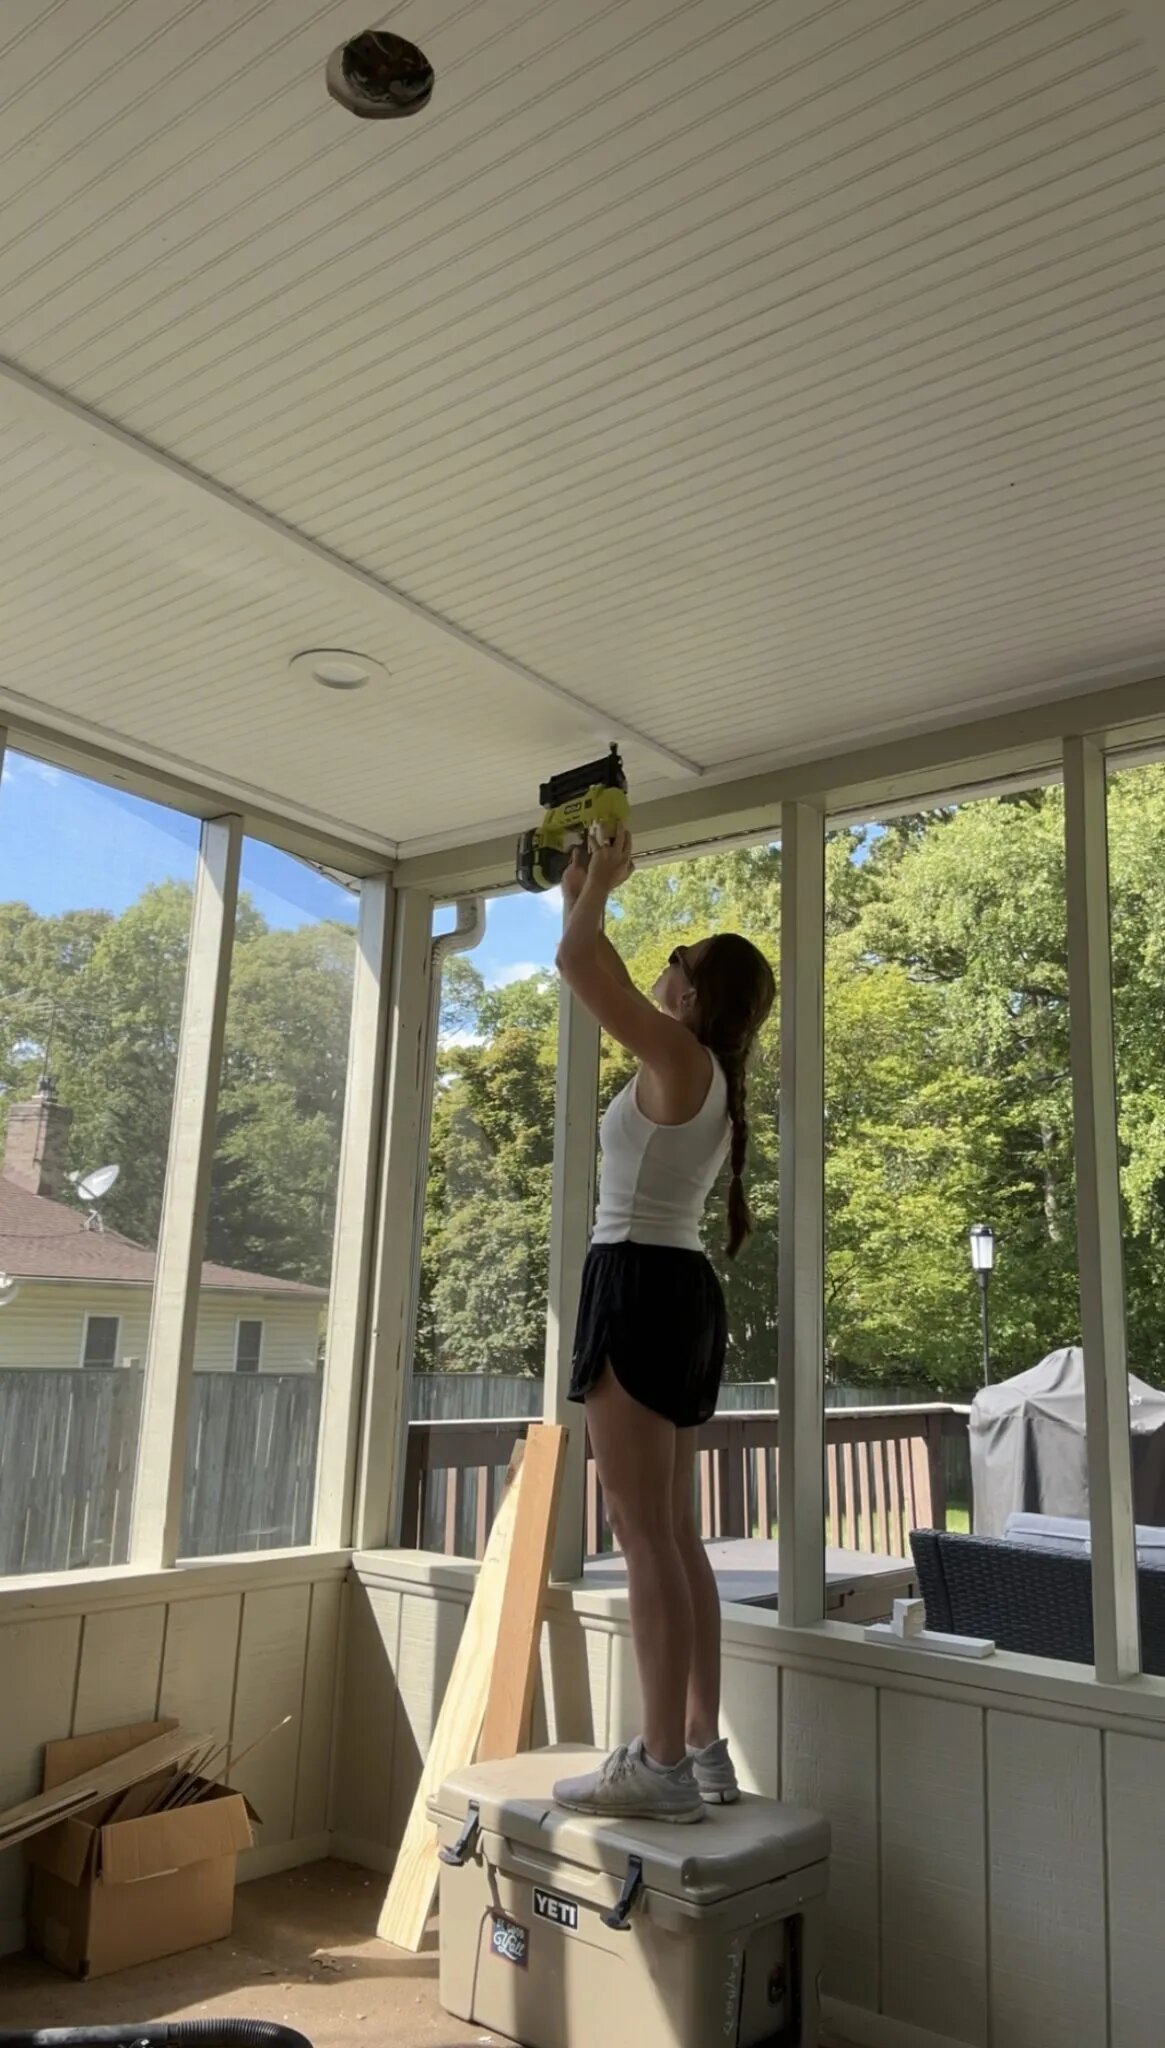
Once the T supports were up, she used her brad nailer to add a few 2” nails for extra support.
VIA WELL SHE TRIED
VIA WELL SHE TRIED
Once all the panels were up and the glue was dry, Rachel used white paintable caulk to fill all the gaps and nail holes. She opted for caulk over spackling, despite the slightly messier finish, because the waterproof material would do better outdoors.
Then, she added 1 x 3s to cover the seams and the perimeter of the room, again using liquid nails and her brad nailer to attach them.
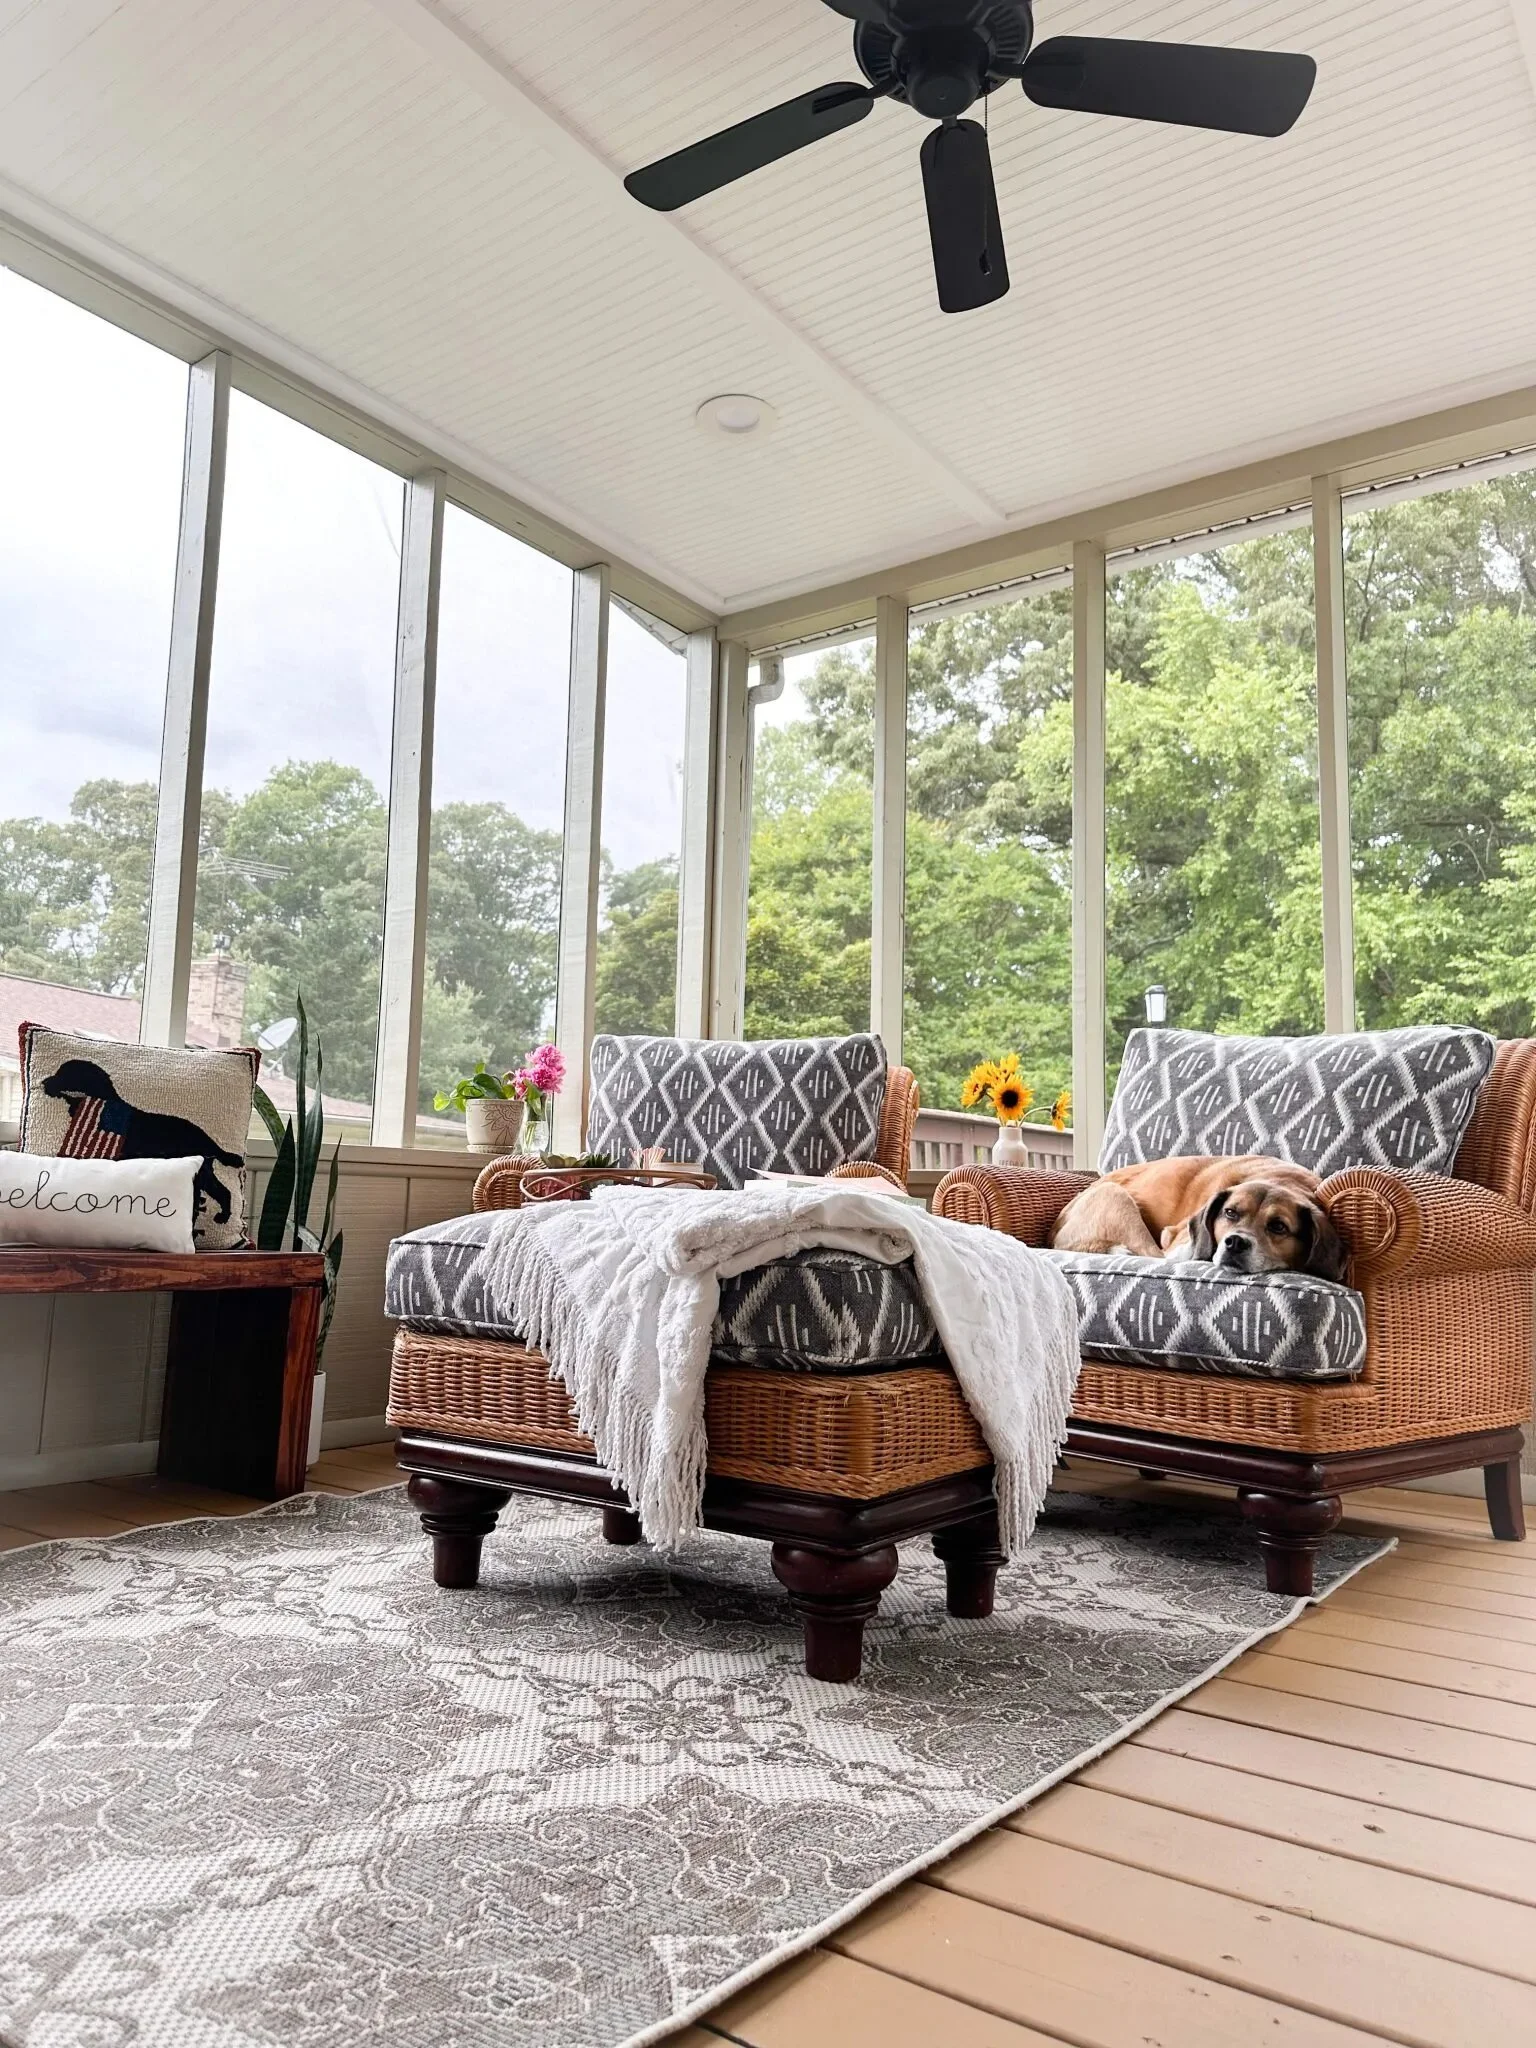
After a little bit of touching up, the ceiling was complete.
VIA WELL SHE TRIED
The finished ceiling looks so great that it’s hard to believe this wasn’t Rachel’s plan all along! If you’re interested in learning more or trying this yourself, Rachel has even more details here.
Also, the ORC editors recently put together a guide of their favorite DIY products. You can check out all their recommendations here.
We want to feature your amazing DIY projects! Send us photos or videos from your One Room Challenge® project via this form.