The ORC Guide to Garage Transformations: Everything I Learned So You Don't Have To
DESIGN
STORY BY VIRGINIA BESHEARS
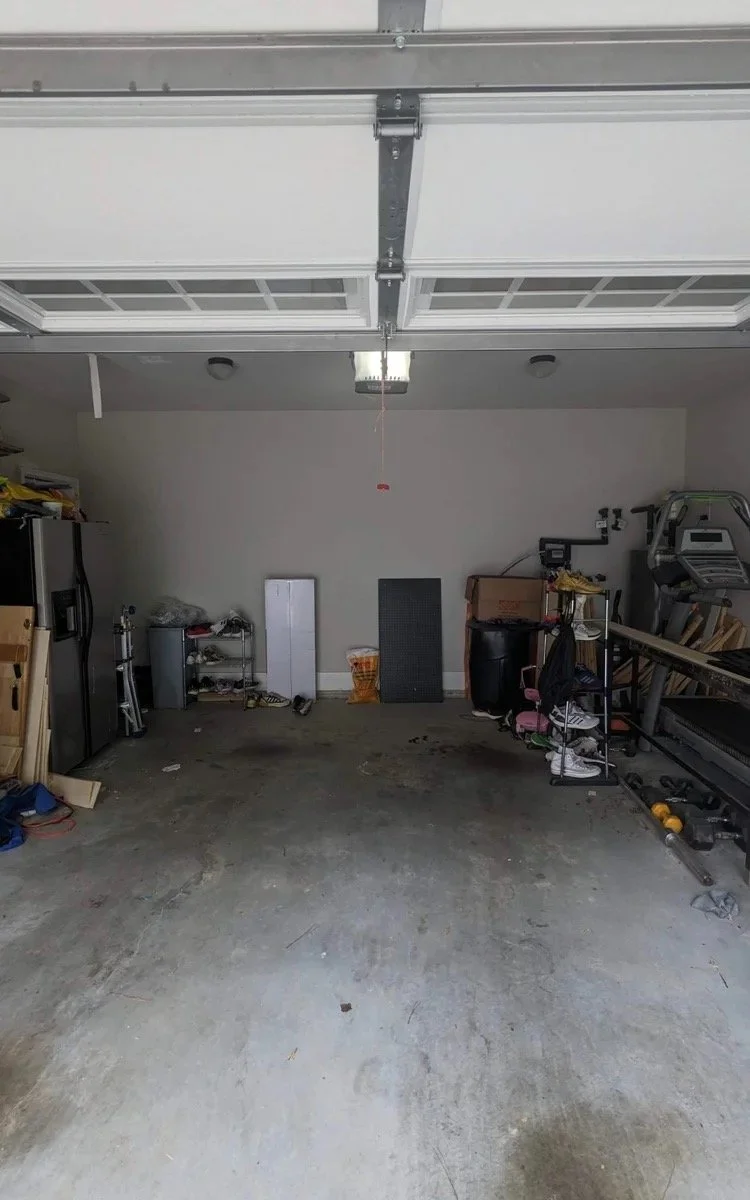
For my entire adult life, my garage has existed in some level of disaster, but it's always seemed like such an unapproachable project (the kind where you open the door, survey the chaos, quietly close the door, and go back inside). I'm officially done with that cycle, though, and my determination to finally do something about it sent me straight down a rabbit hole of ORC garage projects in search of inspiration and wisdom.
And, to nobody's surprise, the ORC community has produced some incredible garage glow-ups over the years. In my opinion, garage transformations are some of the most satisfying before-and-afters out there. Seriously underrated. The following article is fully a result of me having too much fun looking through ORC garage projects and learning from the ORC community's absolute wealth of knowledge. So, welcome to Garages 101! Whether you're trying to wrap your head around how to actually approach a garage transformation or you just want the catharsis of seeing garage before and after pics, I'm glad you're here.
VIA DOCTORDOITURSELF
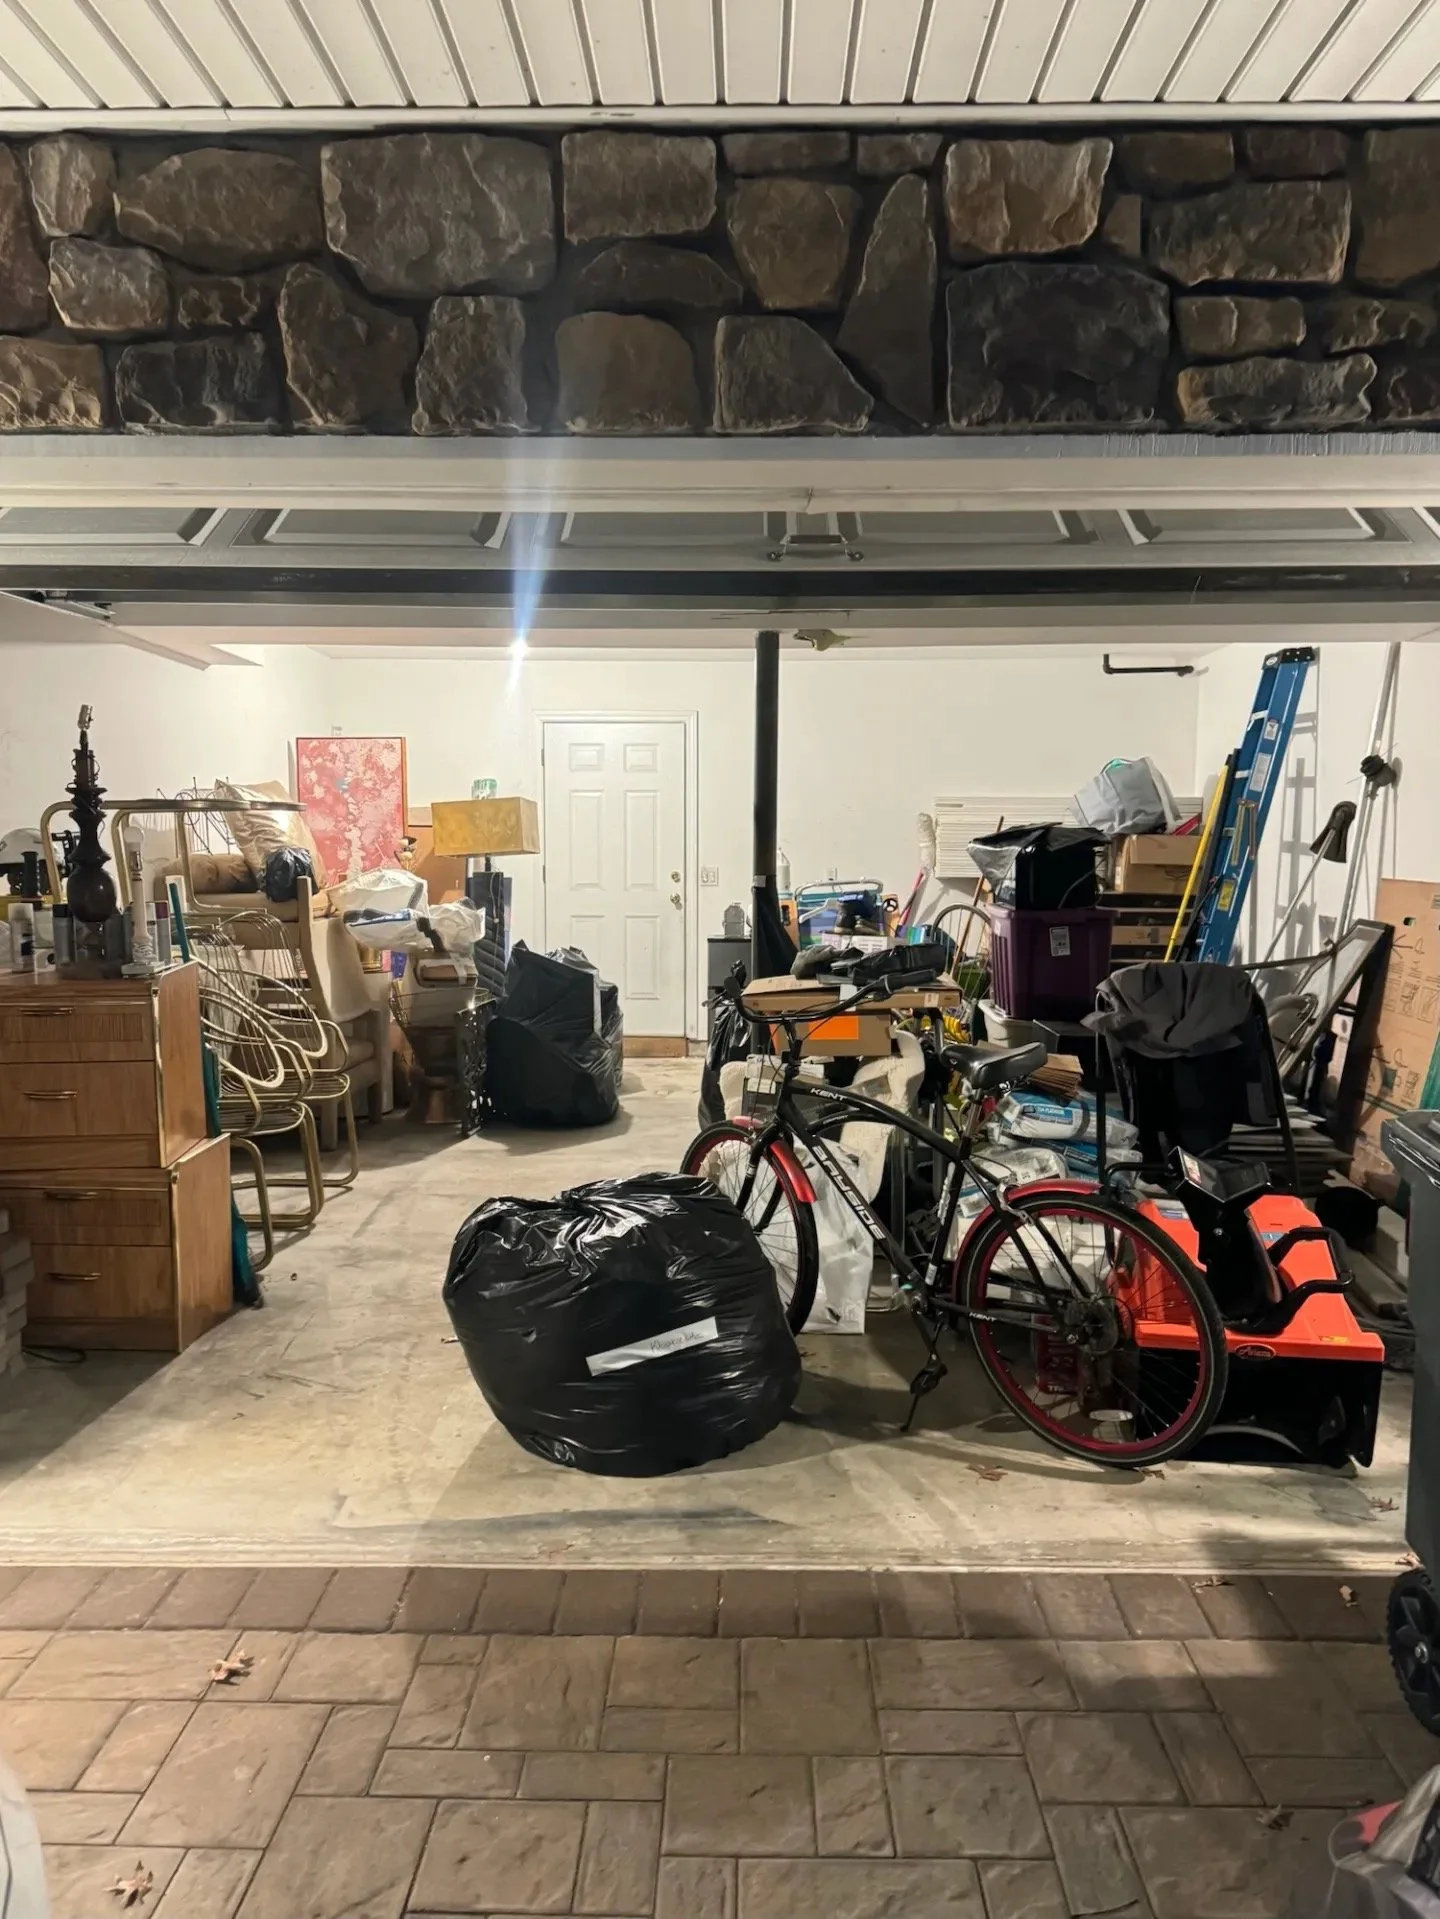
Phase 1: getting everything out
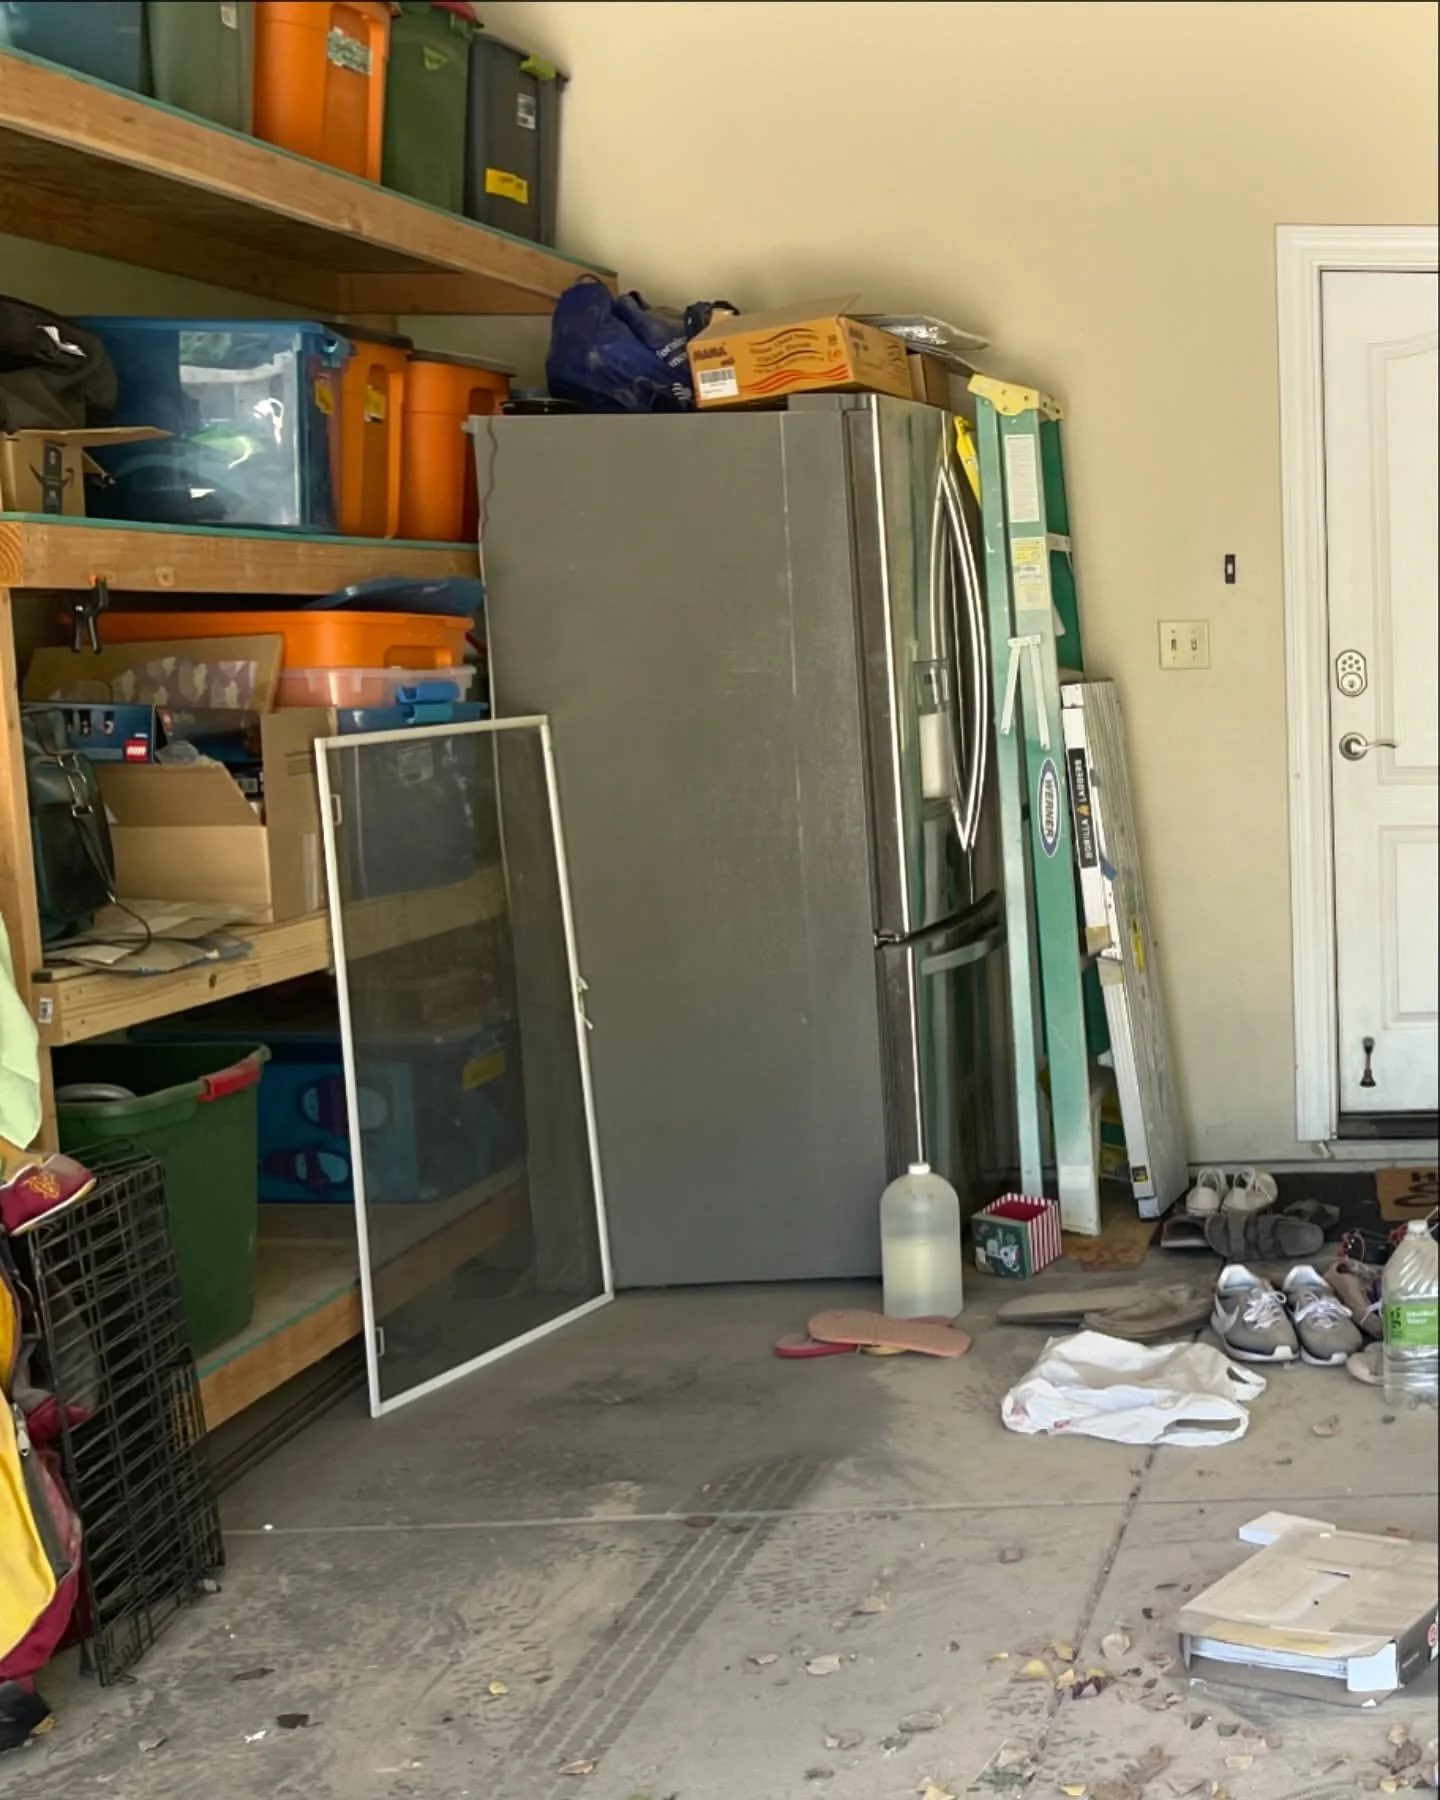
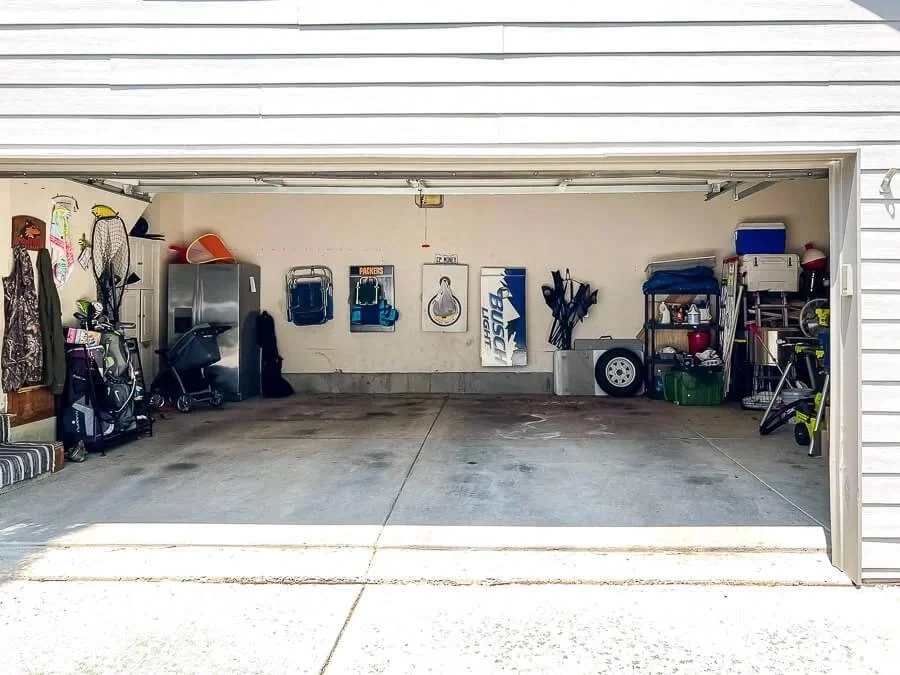
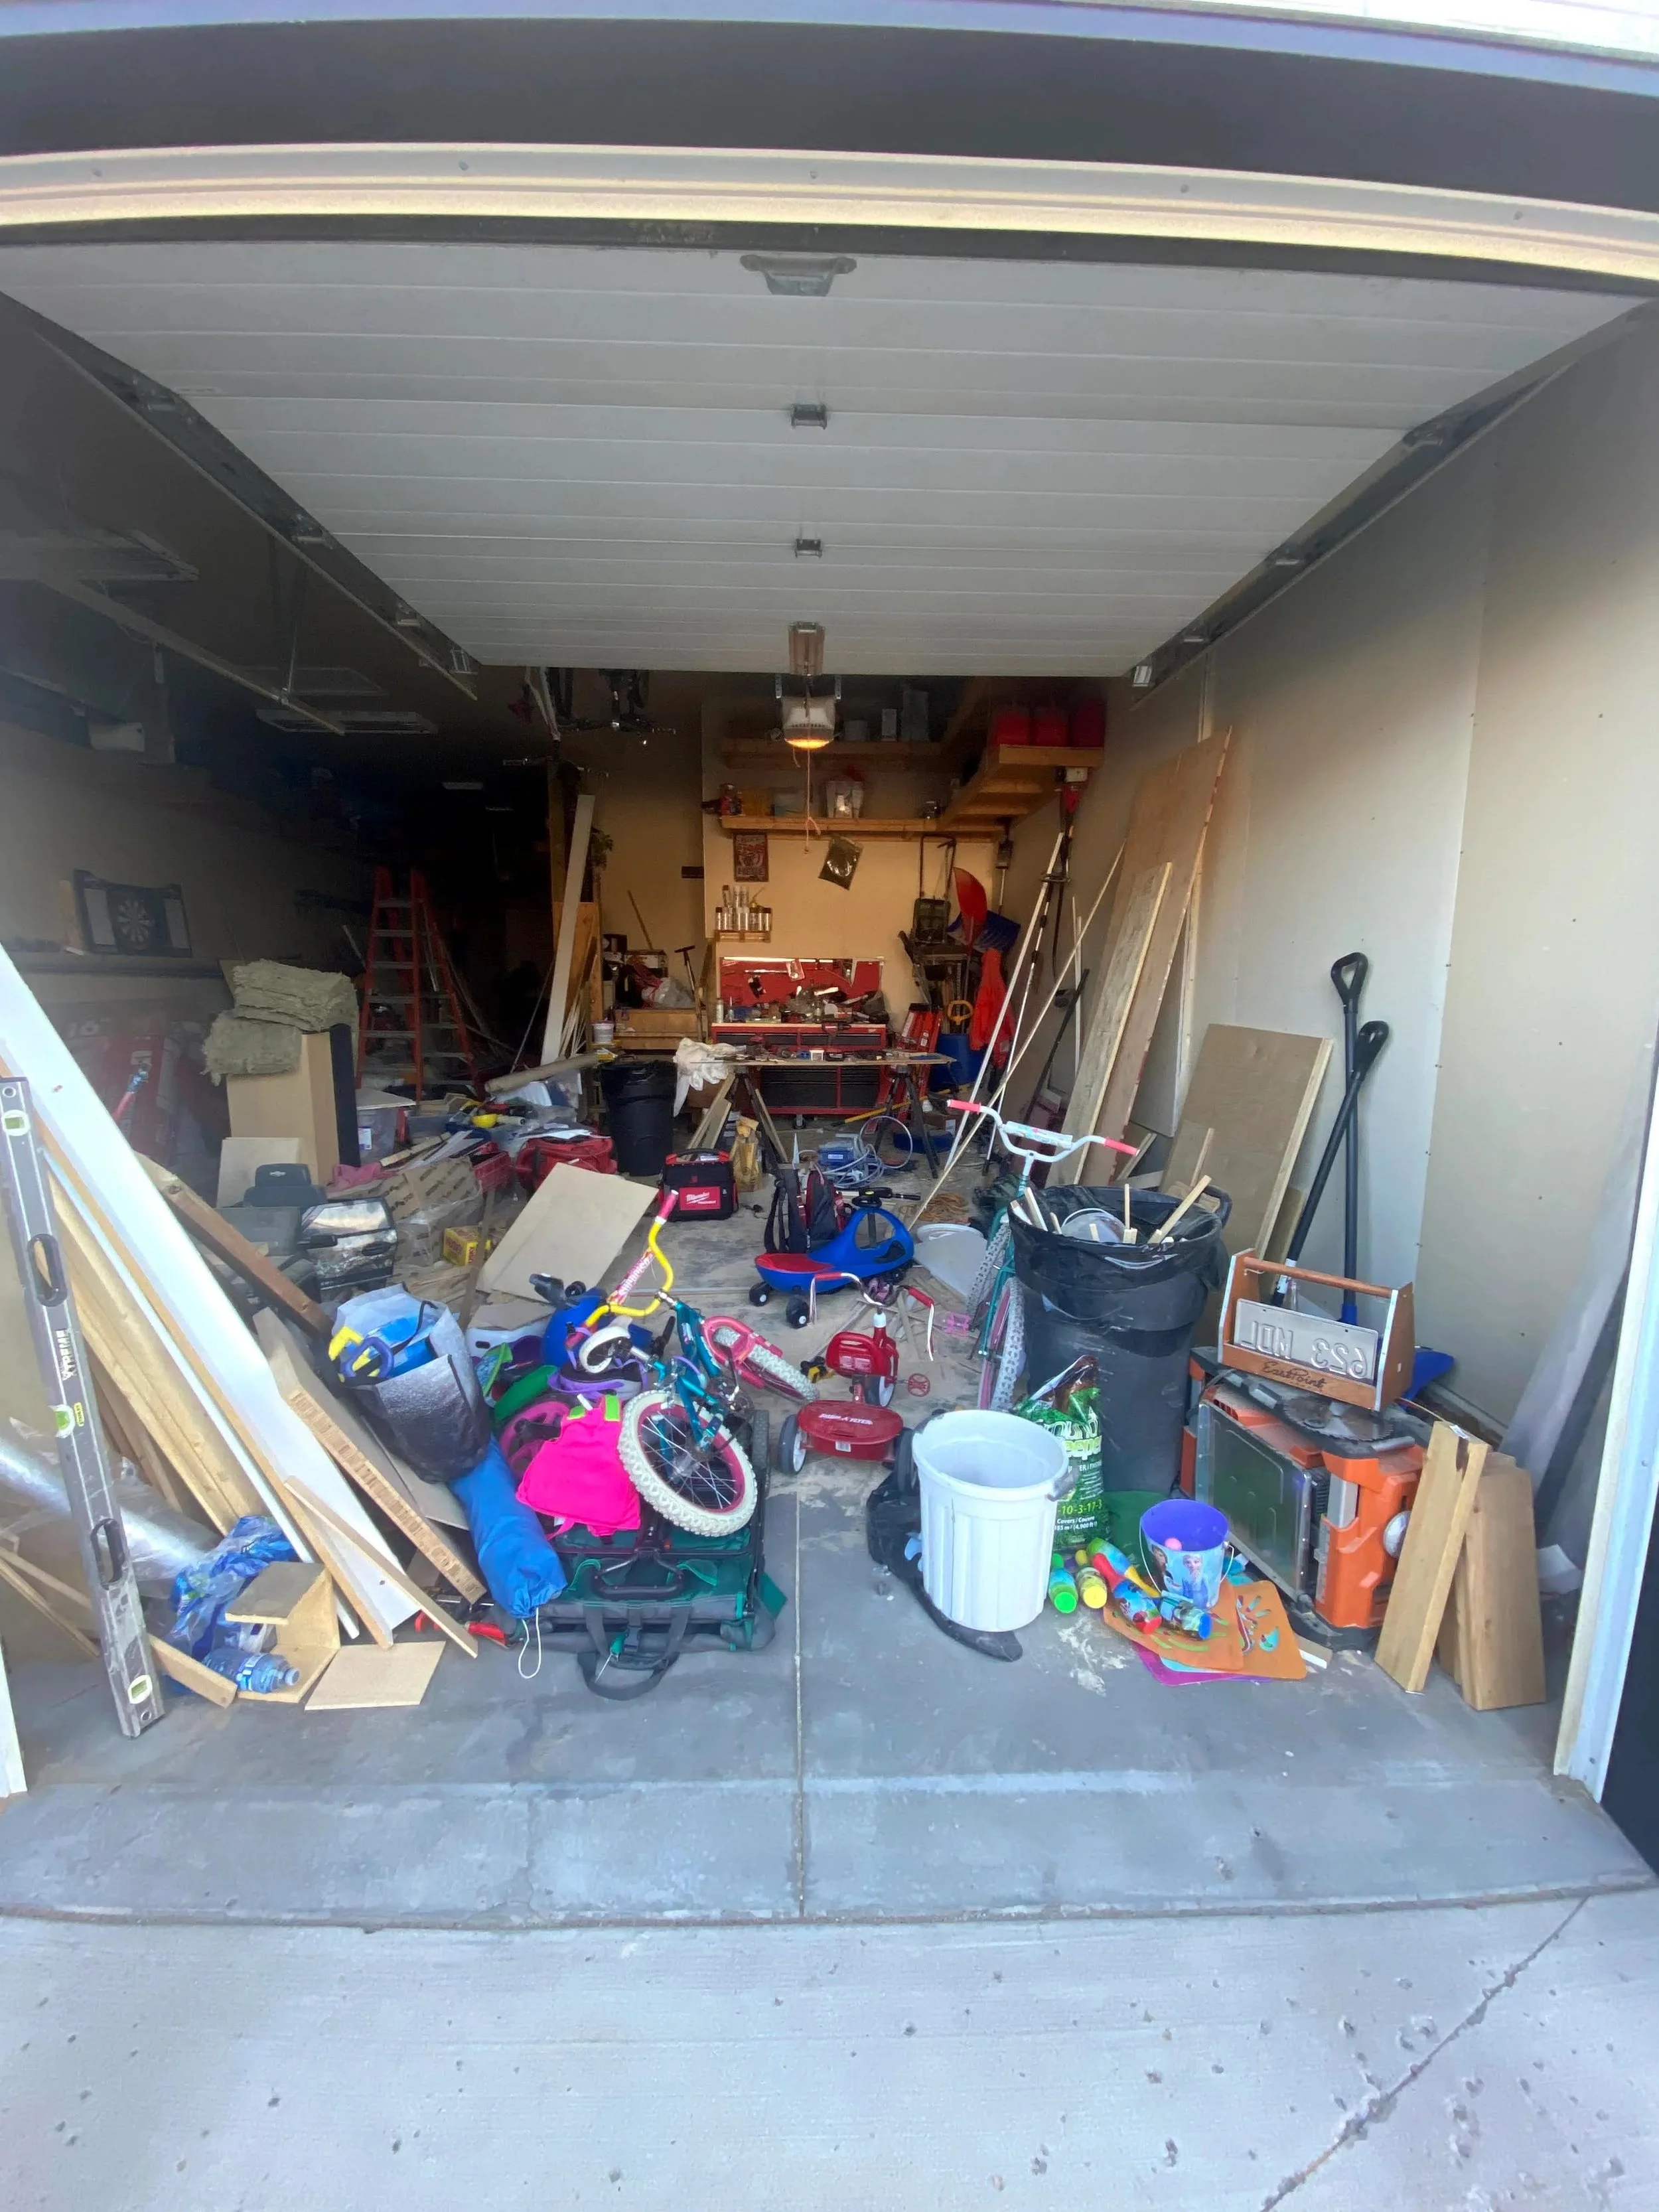
Garages have a mysterious way of becoming the default dumping ground for the most random items. The category of item currently cluttering my garage is what I like to call "things that will be inconvenient to get rid of," like a PC from the early 2000s that I played RollerCoaster Tycoon on as a child (it needs to go to an e-waste center), or the assortment of ancient paint cans that are too old to use but can't go in the regular trash because they're not empty. We all have our stuff.
Anyway, here's what the ORC community's collective wisdom says to do about it, and what I'll be following when I finally tackle mine:
Gear up before you start. Sturdy shoes are non-negotiable (work boots are ideal), and grab a mask for anything that's going to stir up dust and debris.
Set up sorting stations. Before you start pulling things out, designate areas for these four categories:
Trash/recycling
Get rid of, but not trash — donations, Facebook Marketplace listings, or items that need special disposal (hello, old electronics and paint cans)
Belongs elsewhere — anything that wandered into the garage and should be living somewhere else in your home
Going back in — the keepers
VIA TIFFANY TCHENG
Having clear zones prevents the dreaded "pile of mystery" situation where nothing is actually dealt with.
Once you've sorted everything, the stuff going back in should be grouped by category, which will make organizing it later much easier. And if you're planning to repaint or redo the floors, getting everything fully out is the only way to do it, plus a cleared space also lets you actually see what storage configurations might work.

VIA MYECLECTICNEST
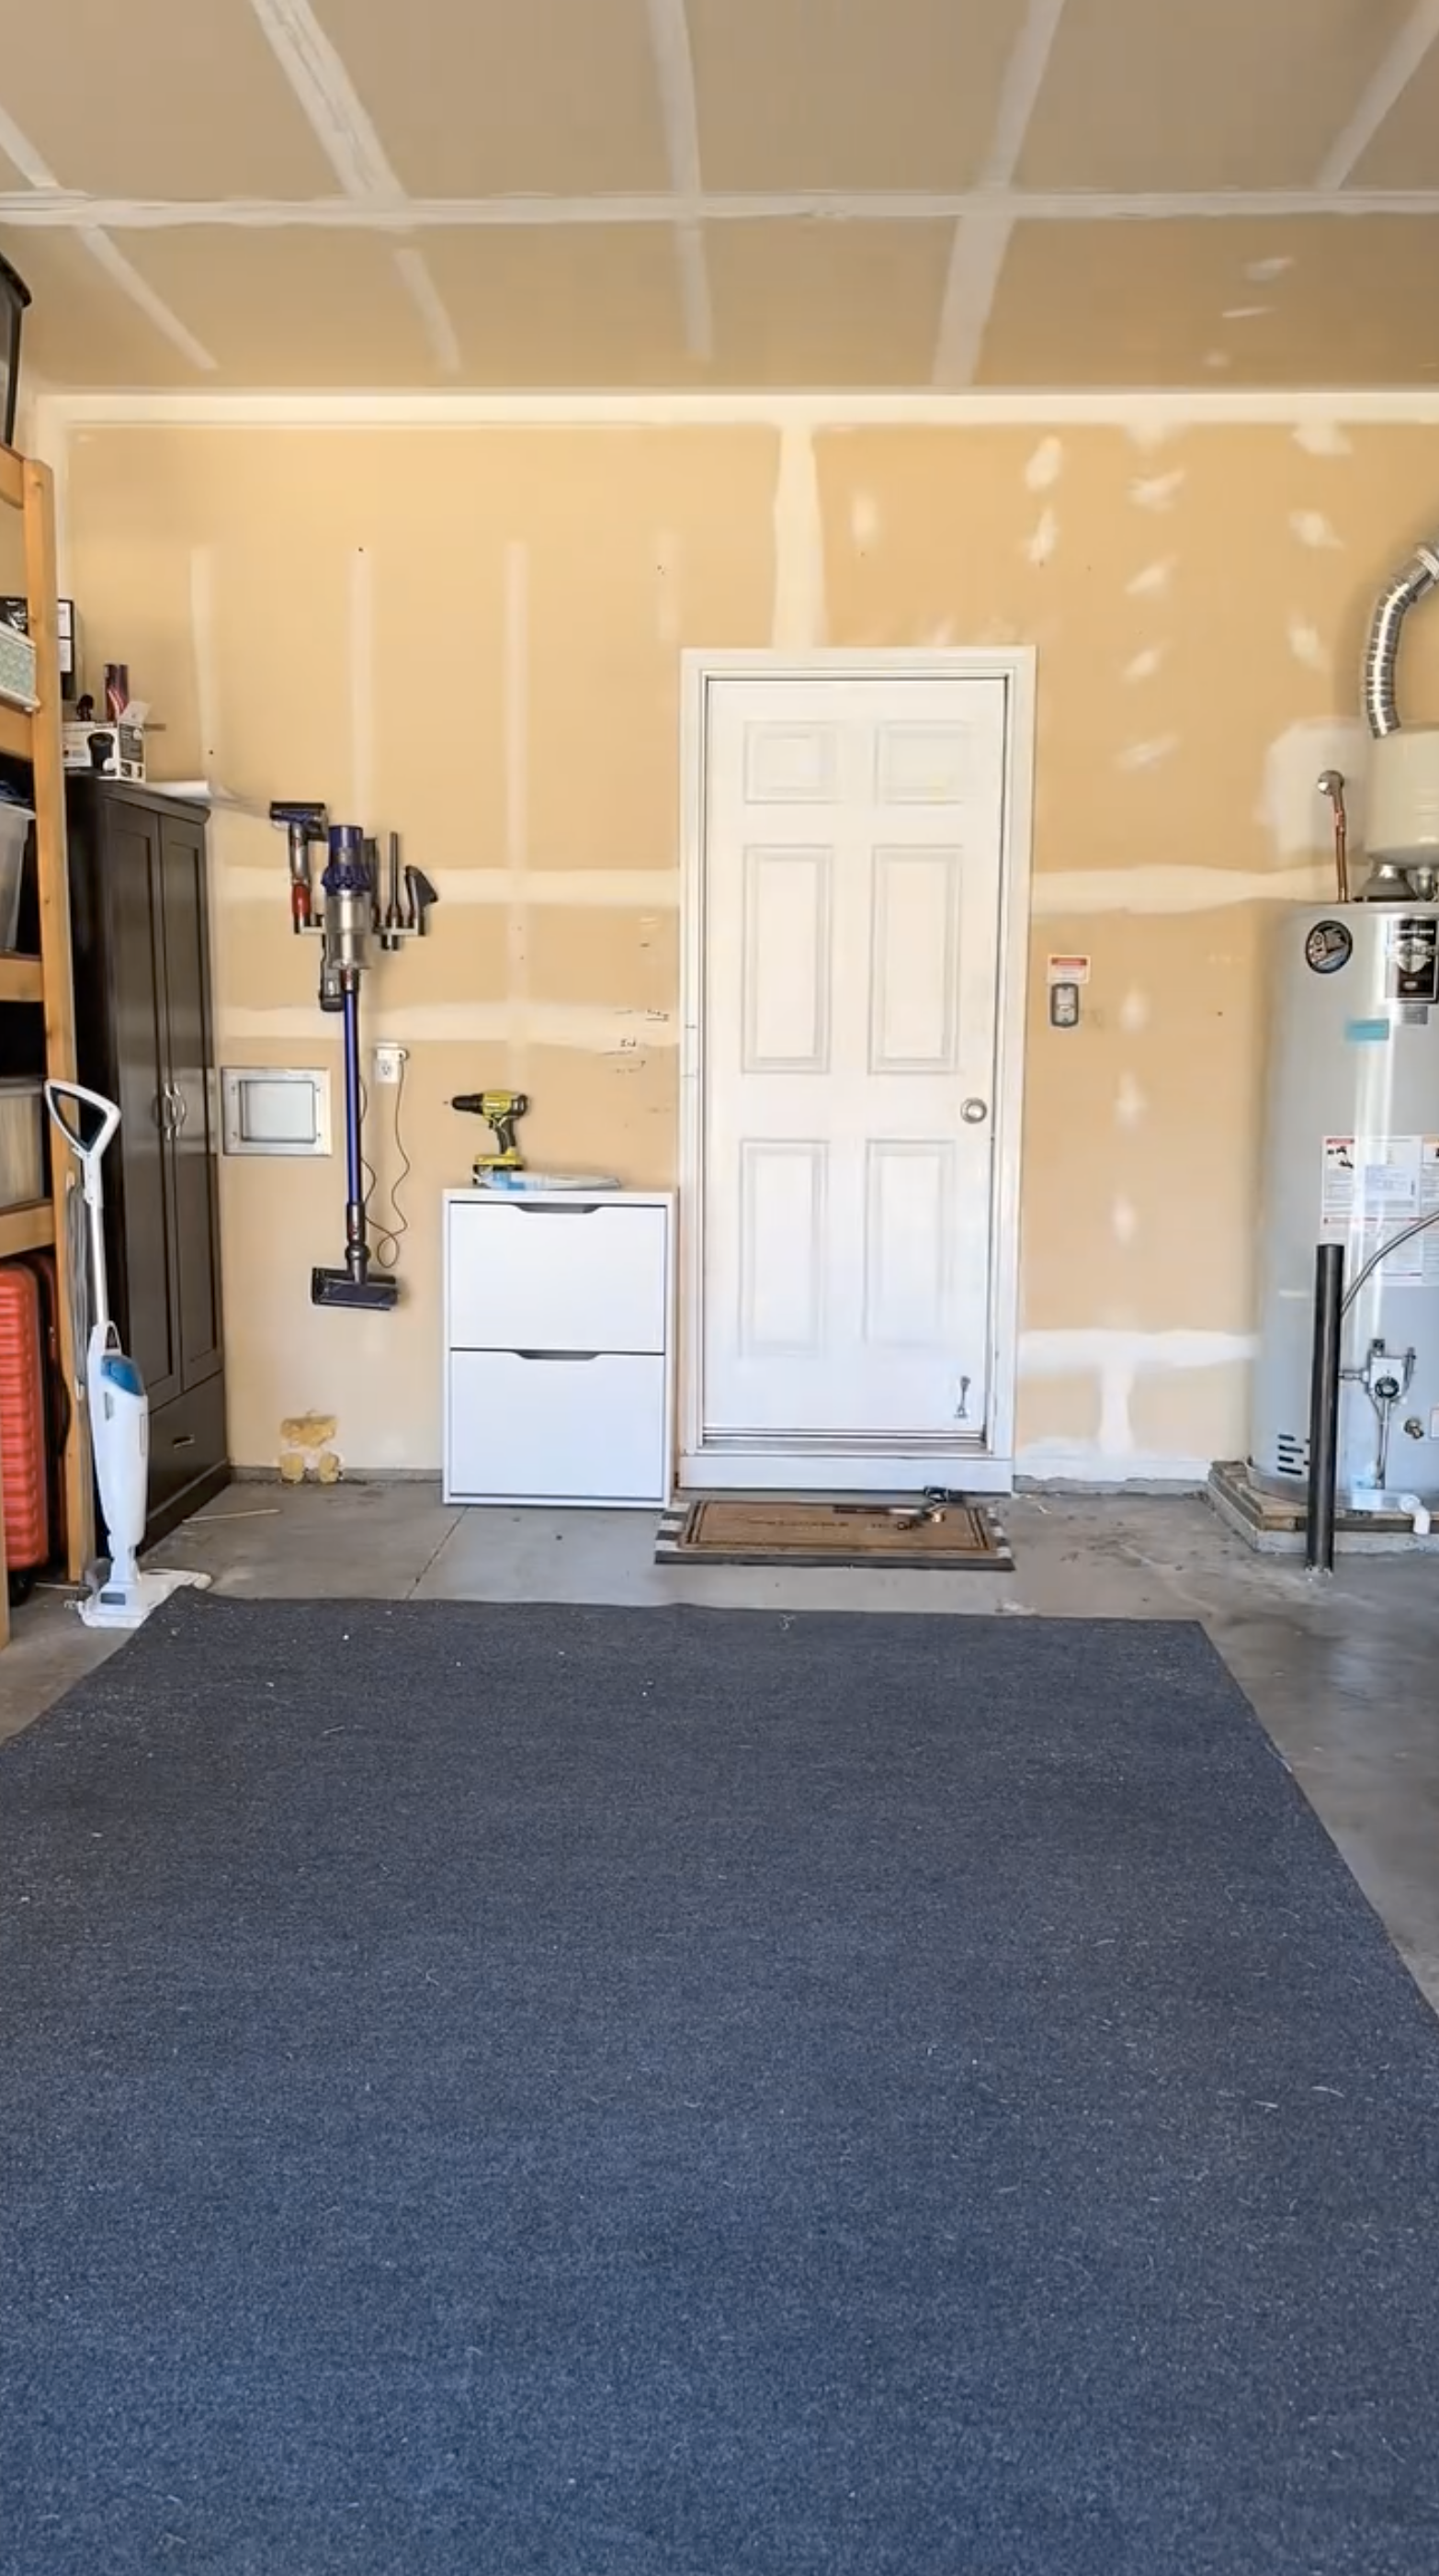
Phase 2: cleaning while it’s empty
With your garage cleared out, you have a rare and glorious opportunity: cleaning it properly.
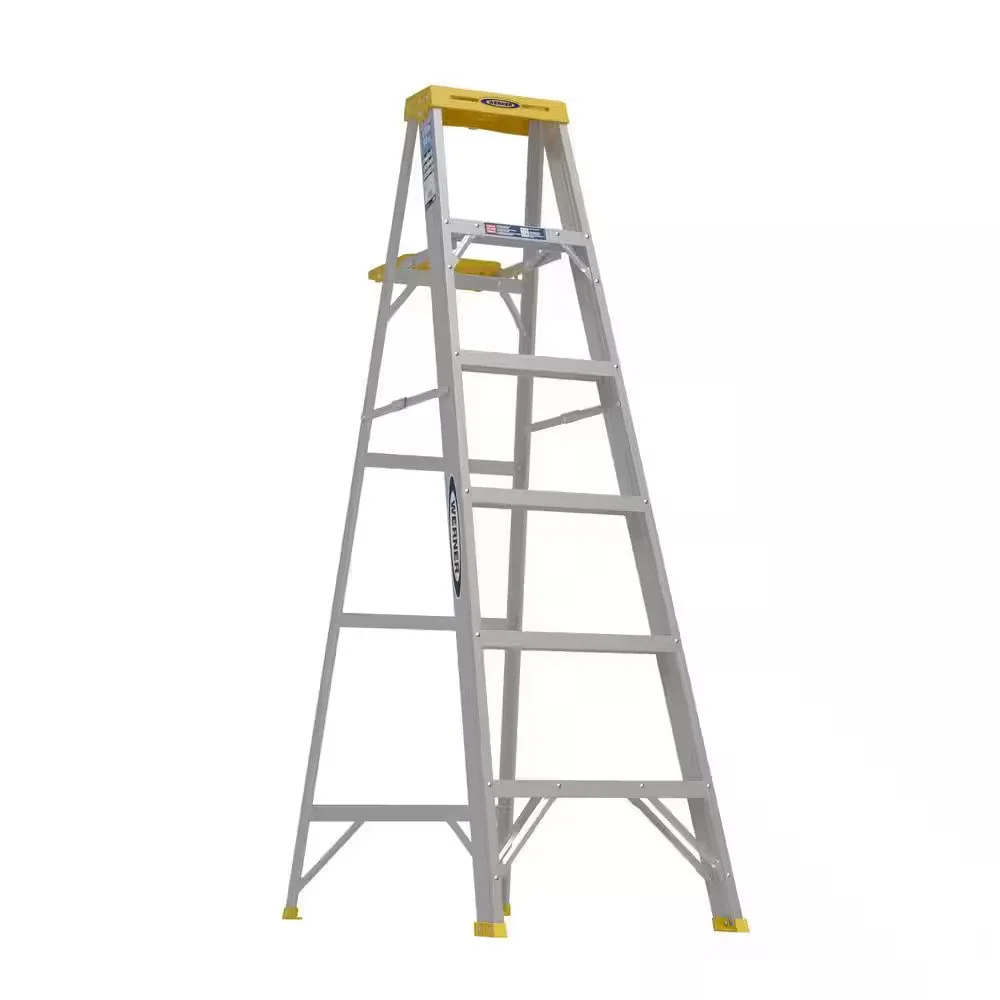
Start at the top. There are almost certainly cobwebs on your ceiling and walls. Sweep everything down with a broom before you do anything else. If you have a decent ladder, take down the light fixtures and clear out whatever has accumulated there too.
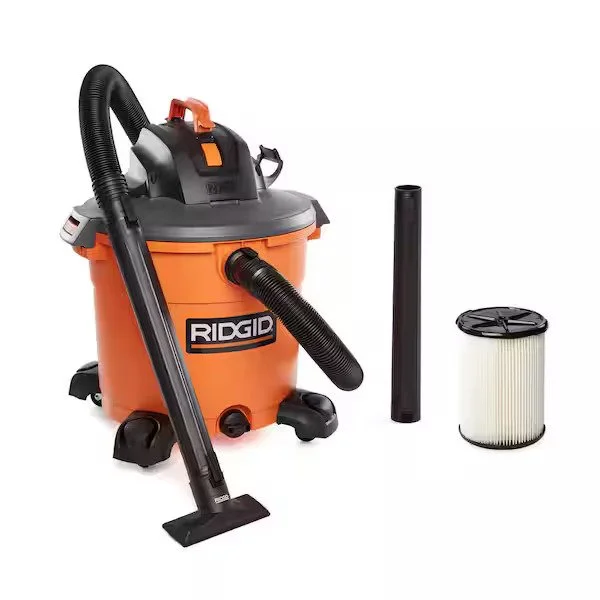
Work your way down. A shop vac with a crevice tool is your best friend here, especially for the gaps between the floor and walls, the corners behind workbenches, and anywhere a mouse might have set up camp (wear your mask!!). For walls, a stick mop with a wet microfiber pad works great since it covers a lot of surface area fast. The garage door can be cleaned with just soap and water and a big sponge.
Wipe down horizontal surfaces (workbenches, cabinet tops, shelving) with a sanitizing spray or sanitizing wipes. One important note: if you're cleaning up any mystery spills, stick to plain water. No mixing unknown chemicals.
VIA MYHOMIERHOME
Phase 3: repairs and resurfacing
Now that it's nice and clean, it's much easier to spot anything that needs attention before you move everything back in.
Inspect for damage. Look for cracks in the floor, gaps around windows and door frames, and worn or broken weatherstripping along the bottom of the garage door. Cracked or missing weatherstripping lets in cold air, drafts, and pests, and it's a cheap and easy fix that makes a big difference. Measure the width of your door, buy a matching strip at any home center or lumber yard, and nail it in place with galvanized roofing nails.
Seal up gaps. Caulk is perfect for smaller cracks and air leaks. For larger holes, spray foam insulation will do the job. Sealing these gaps also helps prevent condensation, which is the enemy of your metal tools and equipment.
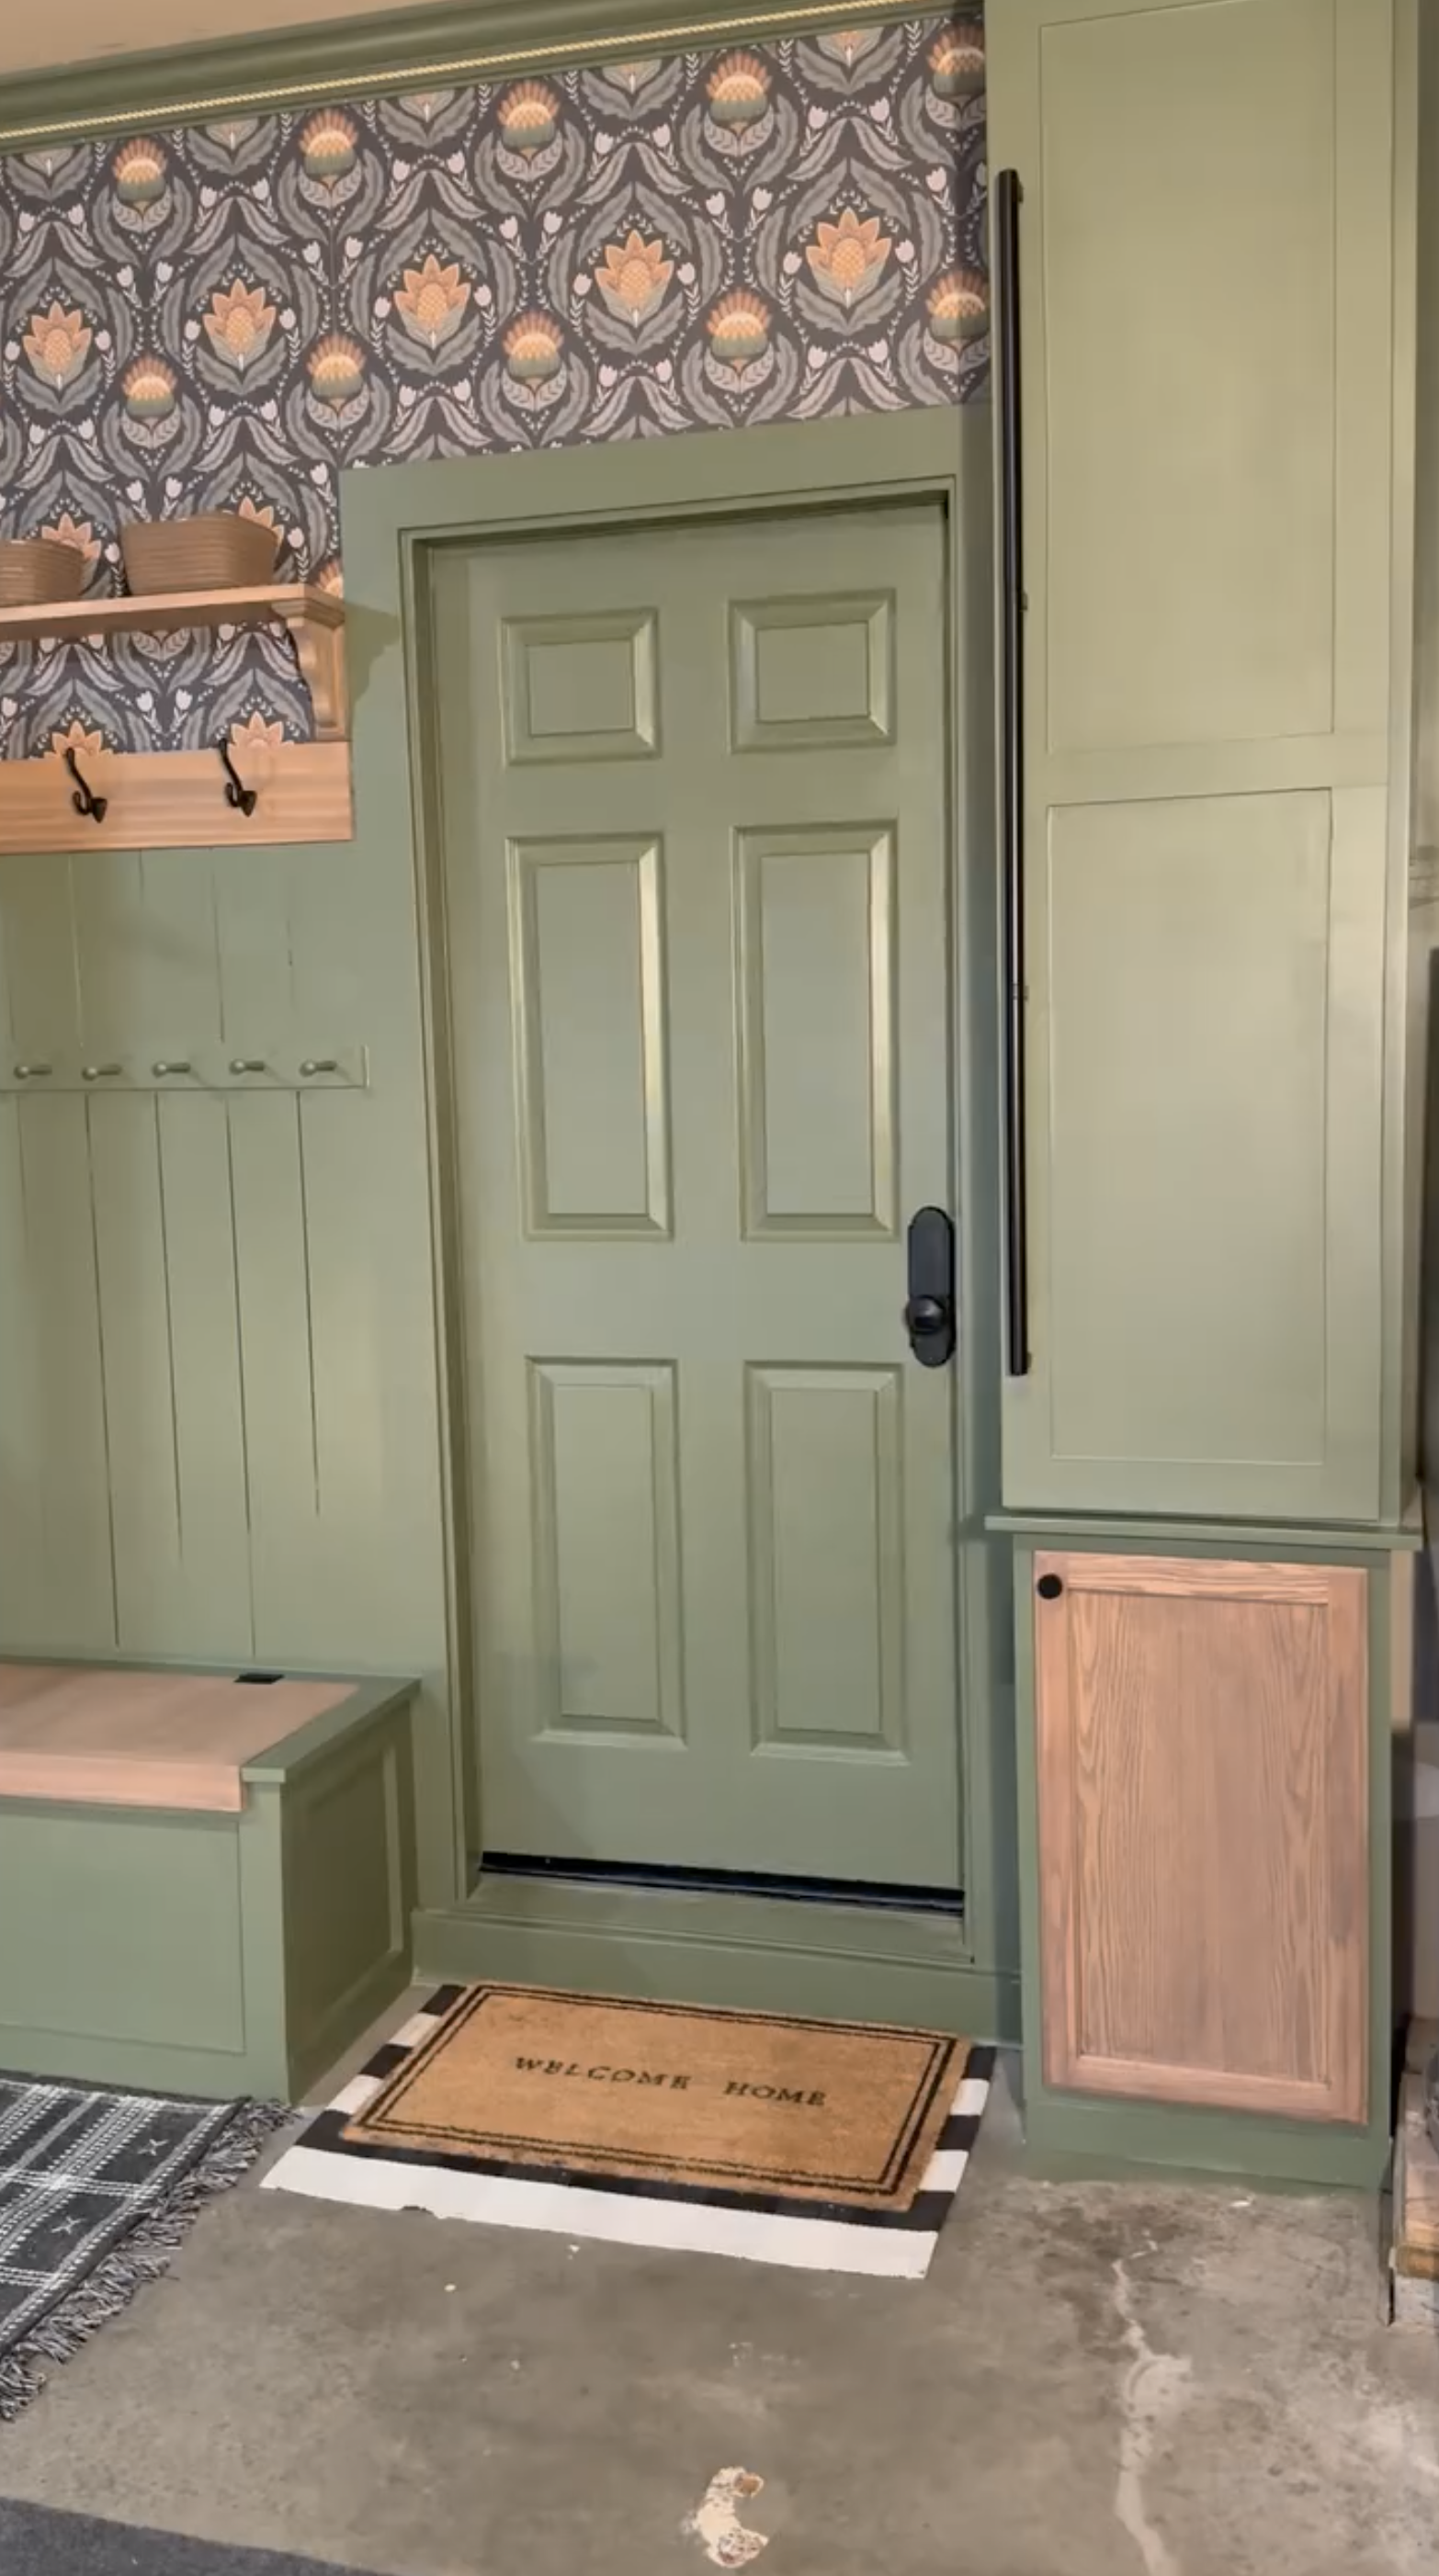
Repainting: This one is optional but worth considering if you're wanting your garage to feel as shiny and new as possible. A semi-gloss finish in a neutral like light gray or beige is smart for a garage since it would be easy to clean and hides grime better than flat white.
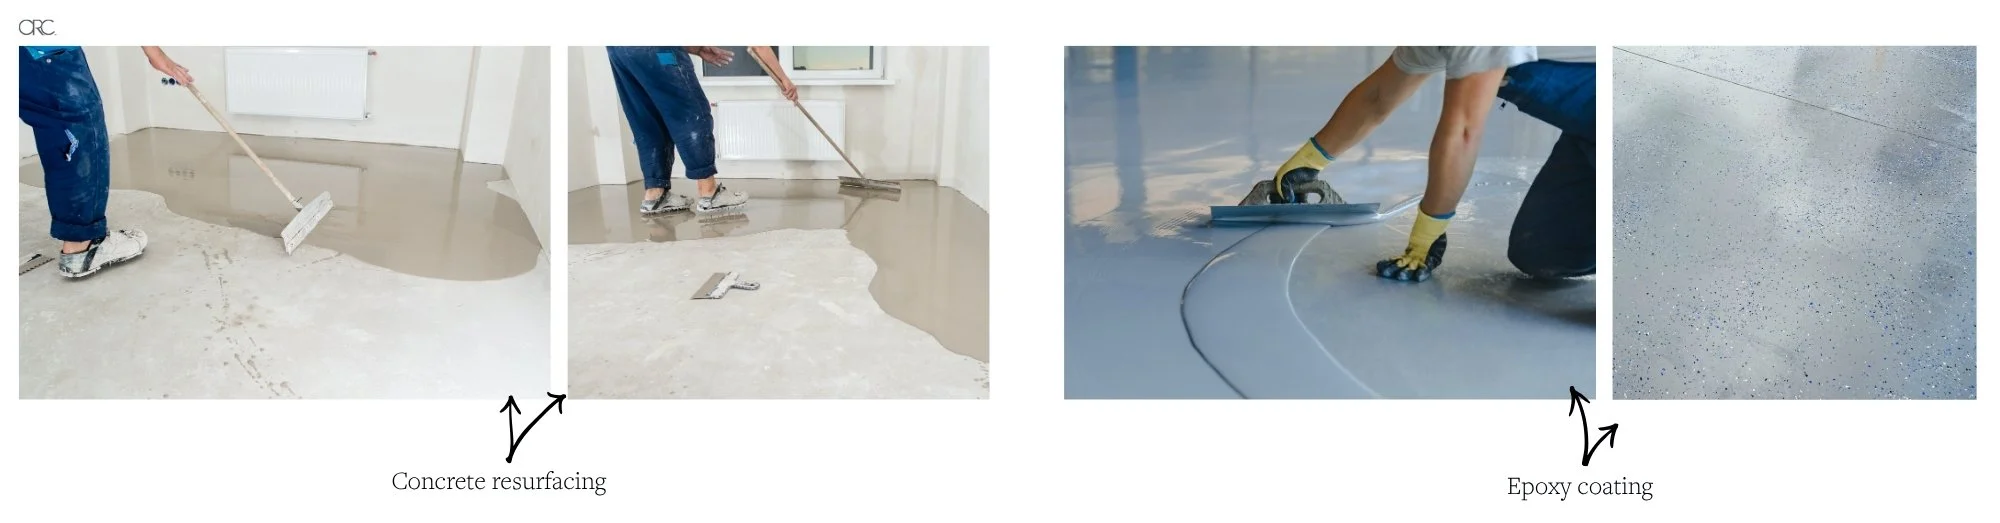
Floor treatments: If your garage floor has seen better days, you have several options depending on how ambitious you're feeling:
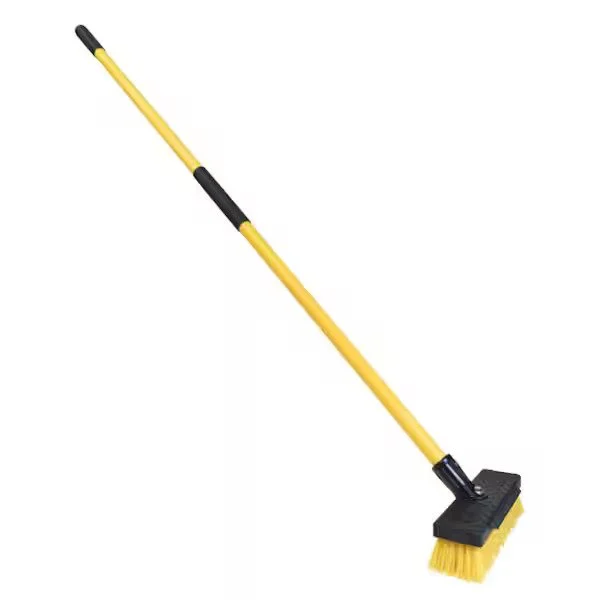
Basic cleaning: Way easier than you’d think, just takes a bucket with soapy water (any soap like Dawn will work) and a stiff brush. Any stains can usually be improved with some baking soda and a bit of scrubbing.
Concrete resurfacer: If your concrete is structurally sound but just looks rough, resurfacer can give it a fresh-poured appearance without a full replacement. Depending on the surface condition, the new layer can be anywhere from quite thin to about a quarter inch thick, and you can finish it smooth or textured.
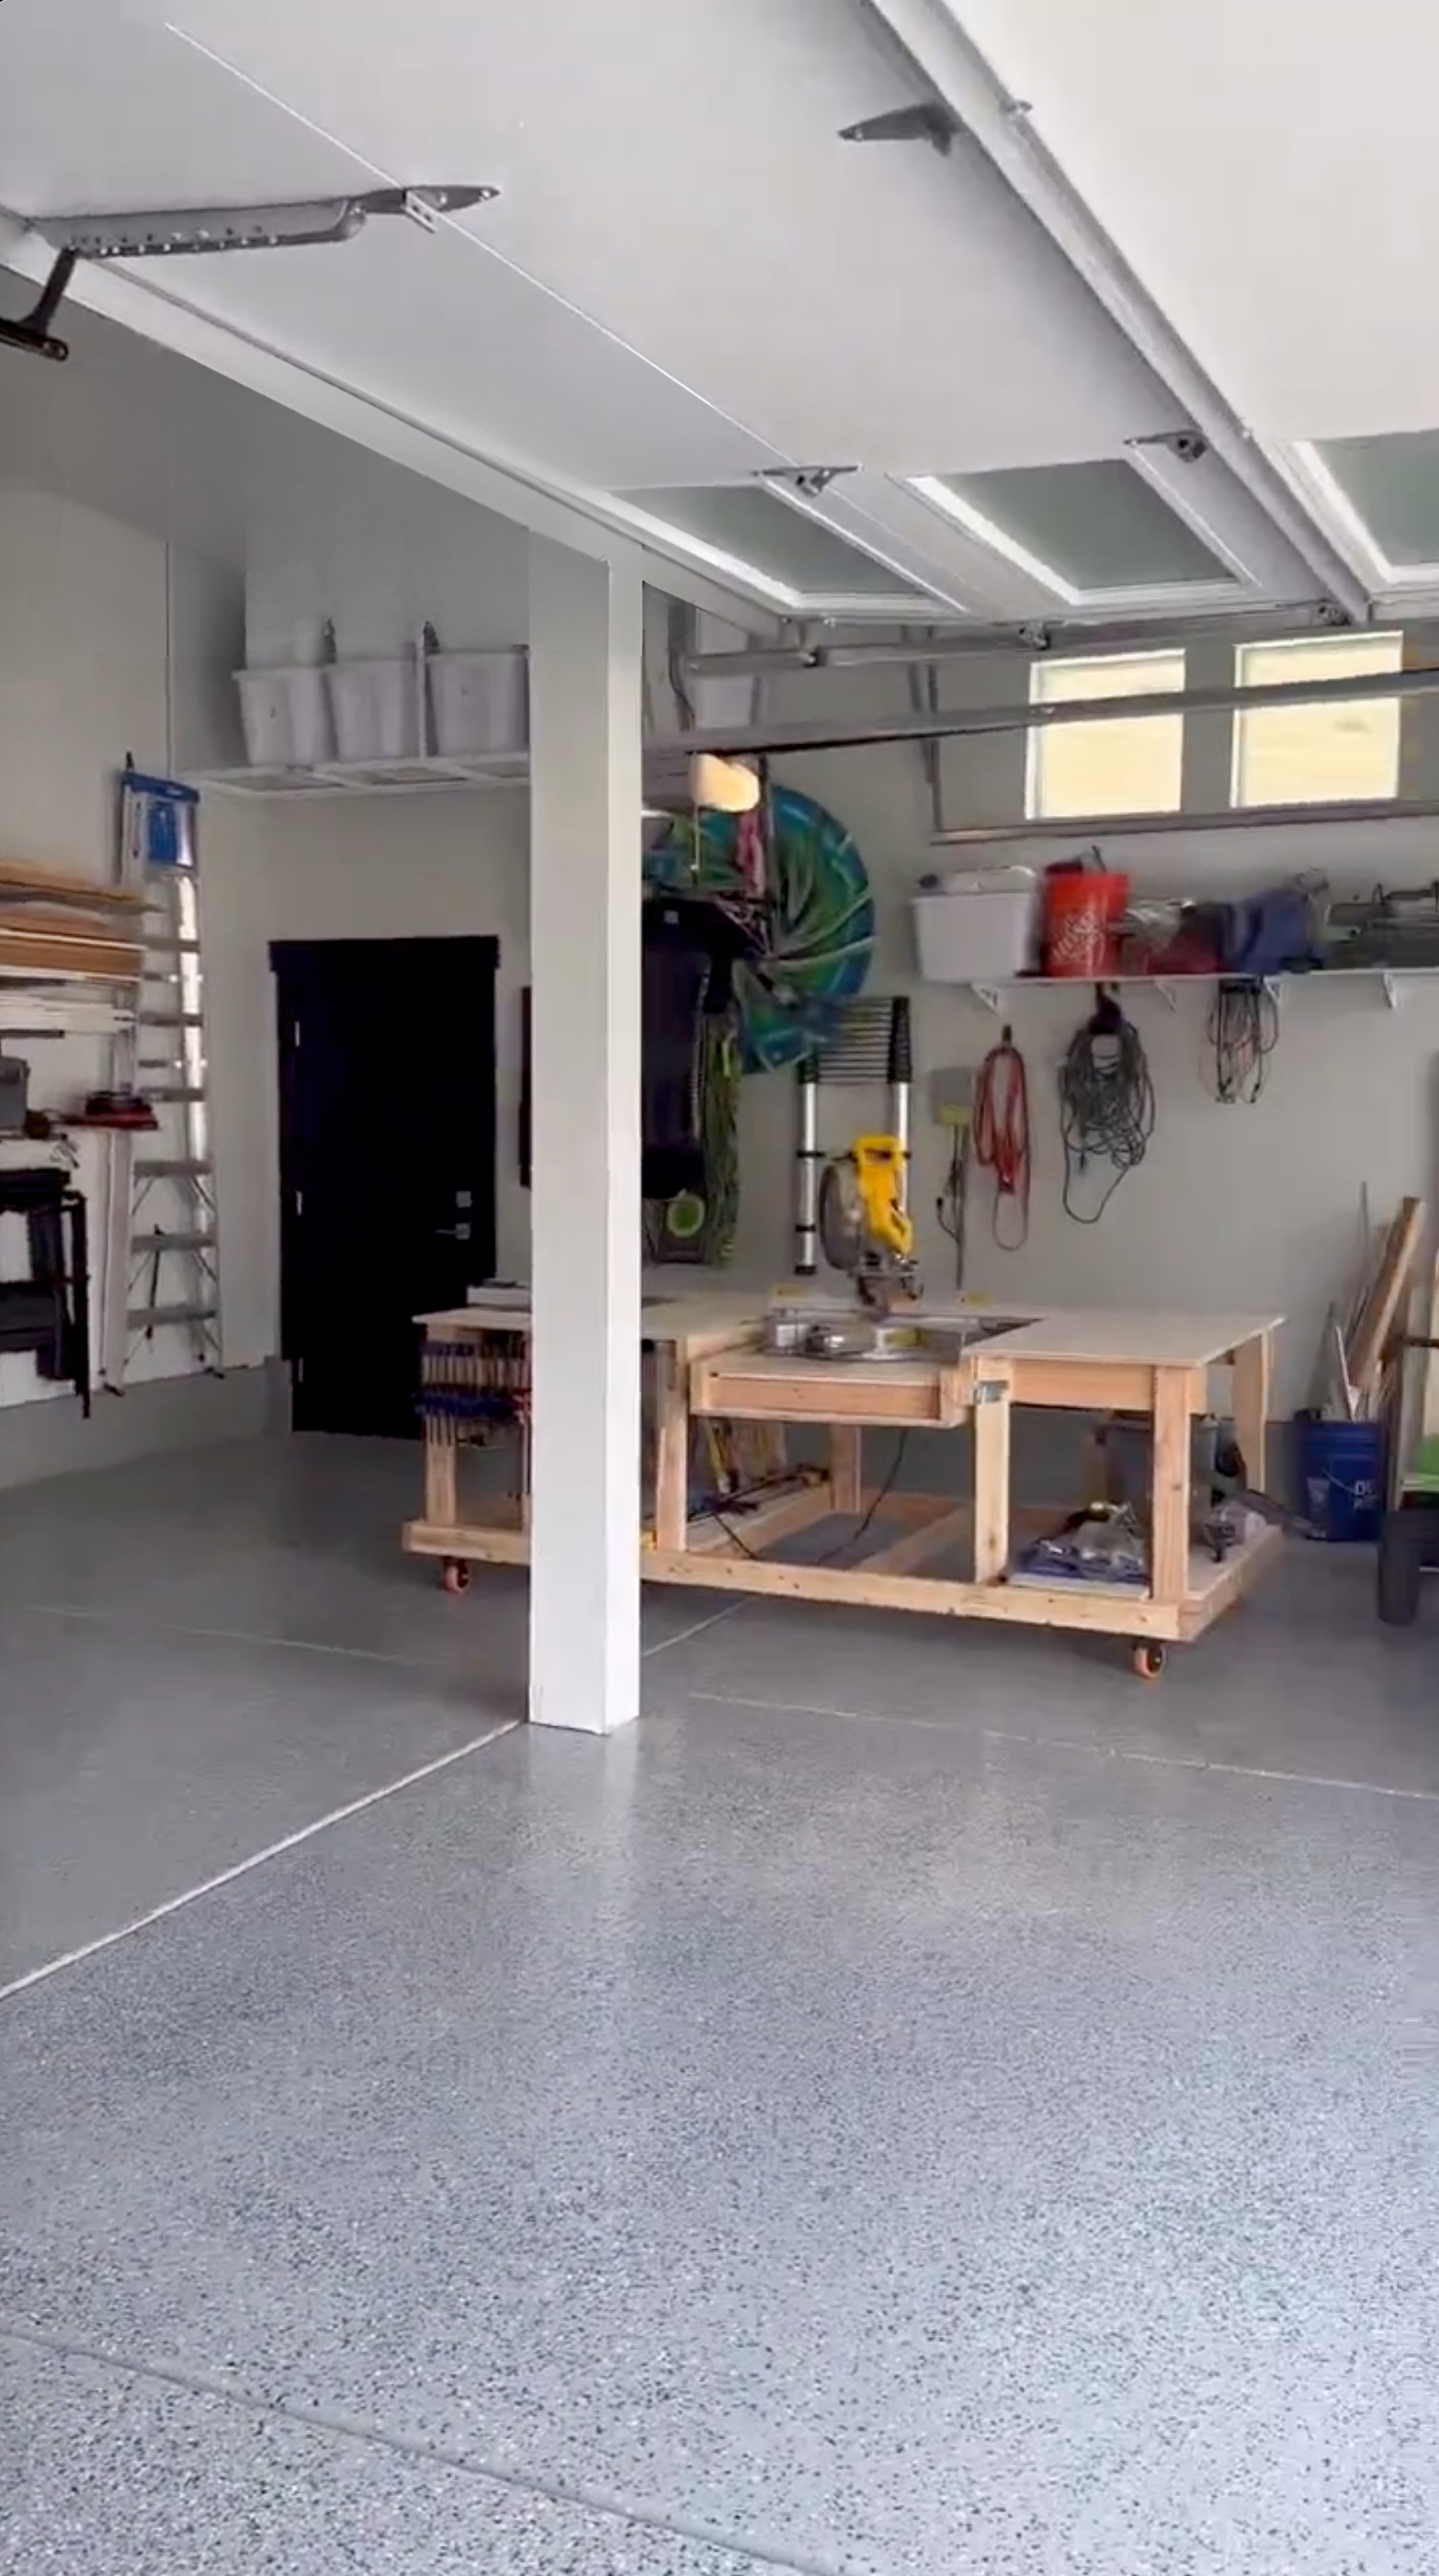
Epoxy coating: The most popular upgrade—epoxy creates a shiny, durable surface that resists tire marks, moisture, and automotive fluids. Before applying, you'll need to buff the floor with a floor sander (rentable) to scuff it up, then degrease it thoroughly. It needs to dry completely before the epoxy goes on.

VIA MAMA_CANBUILDIT
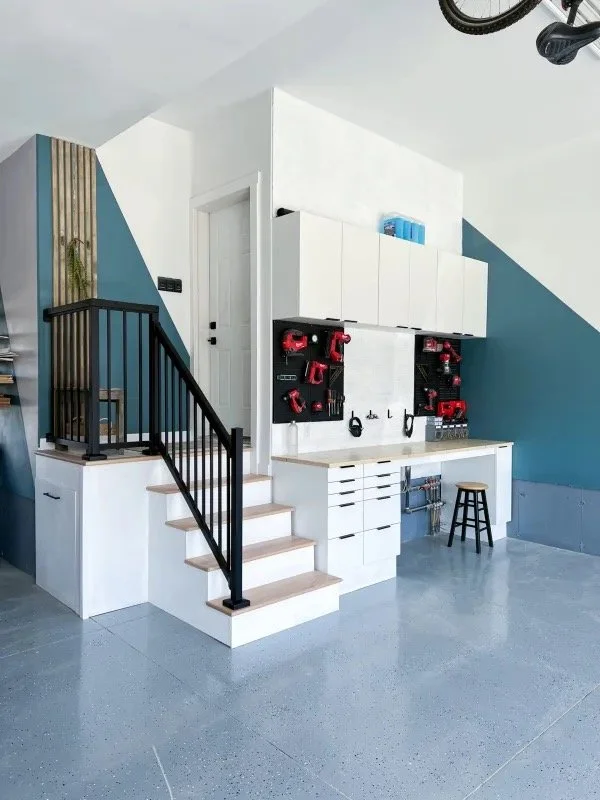
Phase 4: organize what’s going back
With a clean, repaired garage and a categorized pile of belongings, it's time to figure out where everything lives!
Take stock before you buy anything. Look at what you're actually keeping. Think about how often you need to access each item, whether things need to be hung, shelved, or stored in cabinets, and whether anything has special requirements (flammable materials, chemicals, etc.). Generally, no single storage solution does the whole job. The goal is to compartmentalize your garage into zones and use a mix of solutions across wall, floor, and ceiling space.
Don't invest in expensive storage systems until you're sure. A garage lined with a gorgeous custom system is only worth it if that system actually works for your family and your stuff. Test your layouts before you commit. Literally just put things where you think you want them and live with it for a bit.
Keep things off the floor when possible. The exceptions are very heavy or bulky items (i.e. lawnmower) and anything kids need regular access to. But even if you're keeping heavy equipment on the floor, the accessories and peripherals can usually be hung or stored on shelves.
Label everything you can. Future you will be very grateful :)
VIA THE_DIY_RECORDS
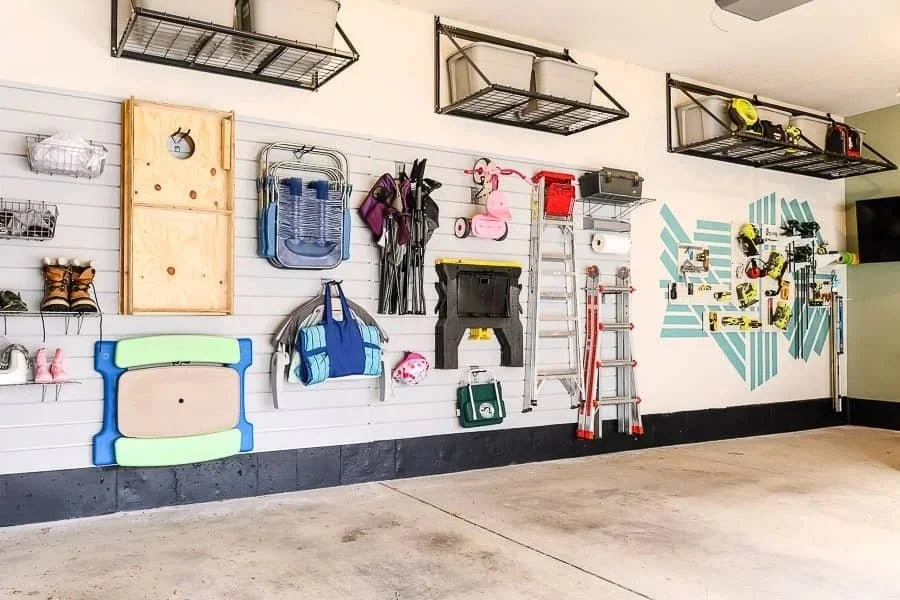
Some of the most popular/effective garage storage options include:
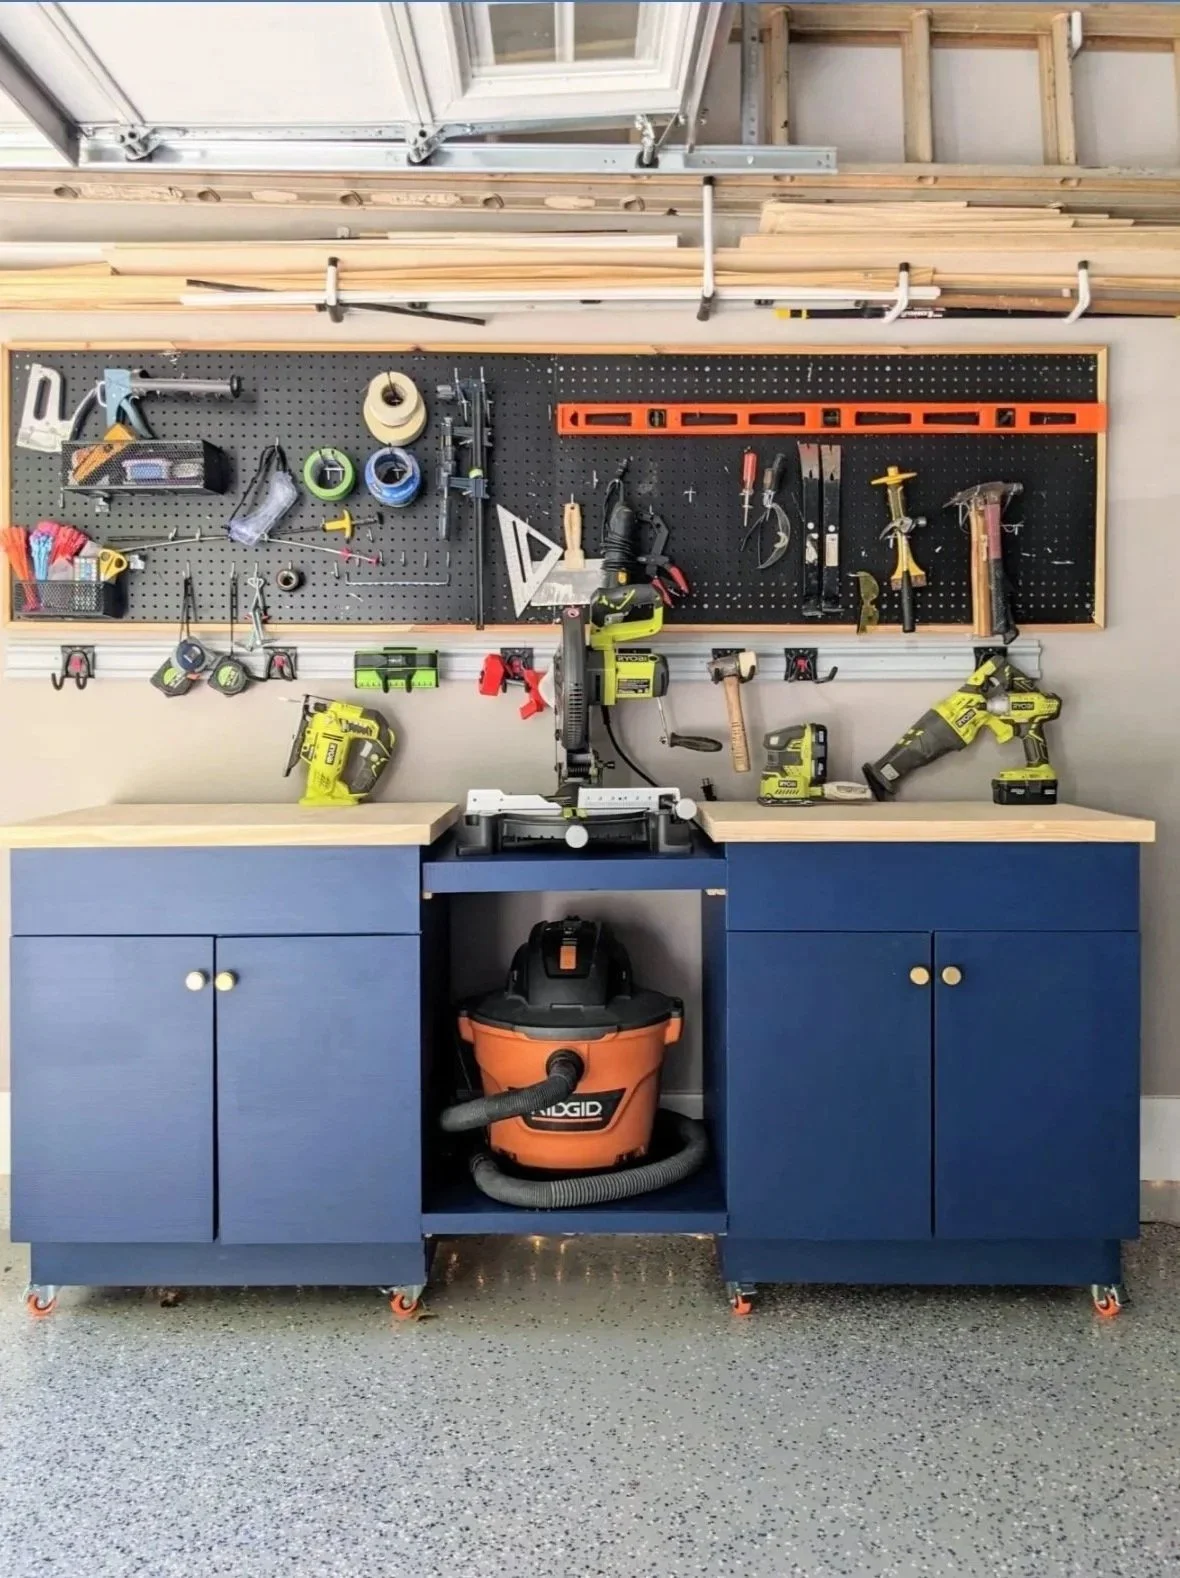
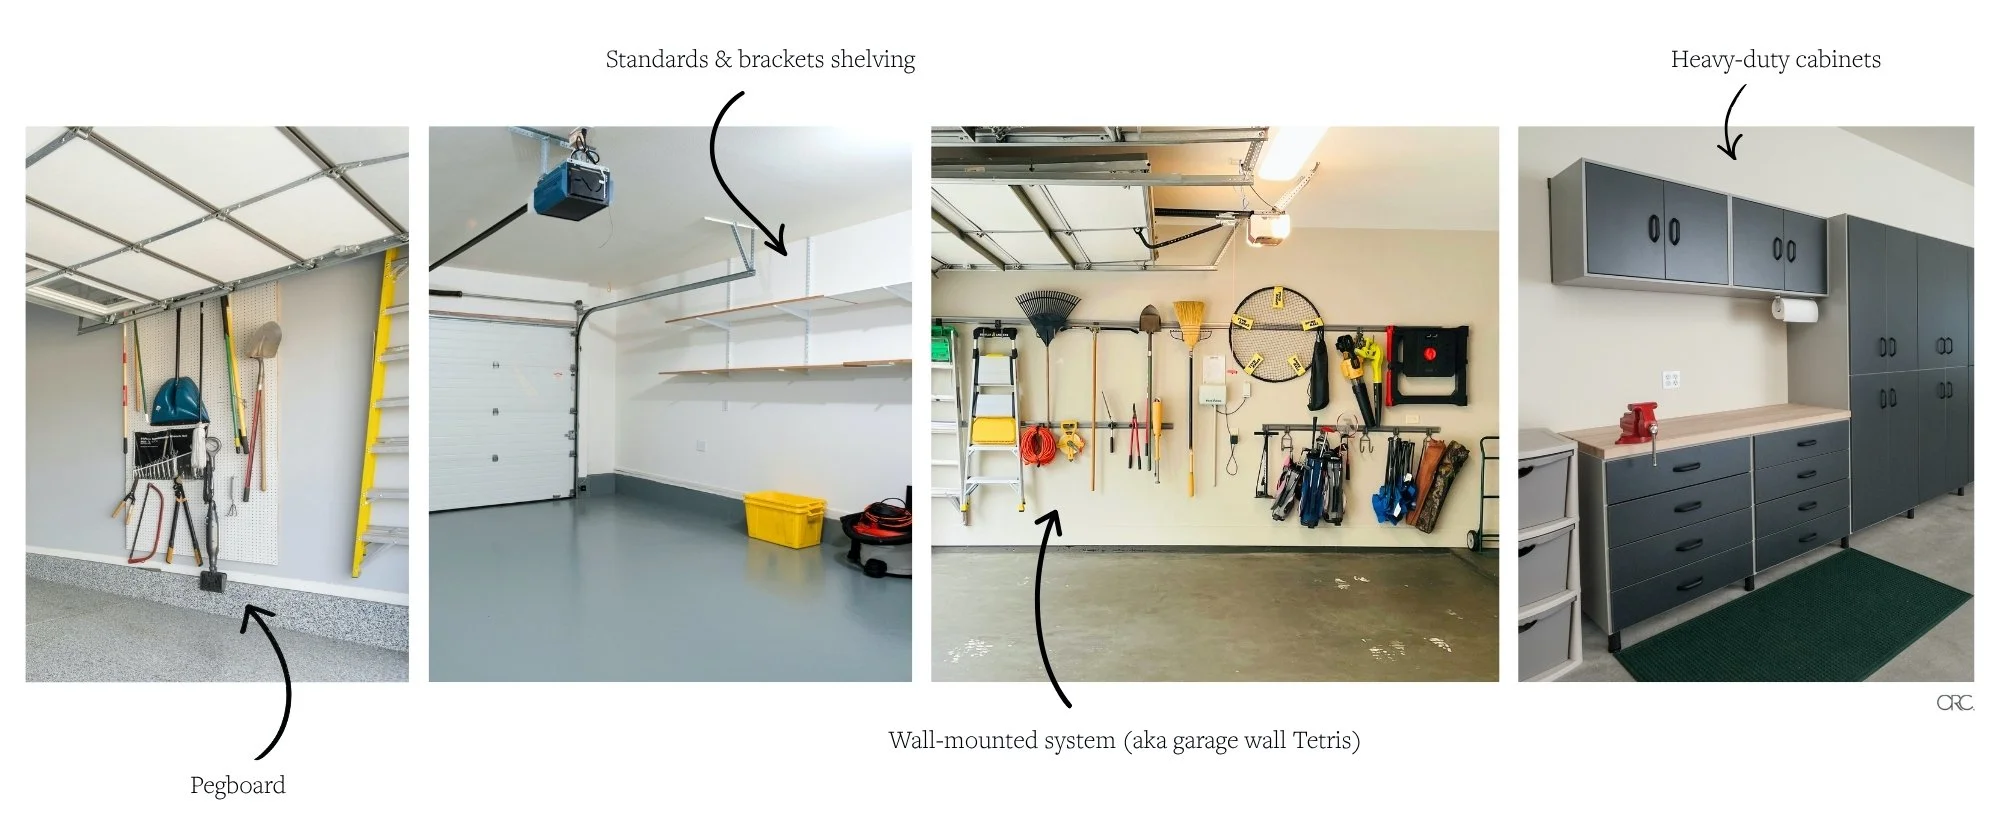
Pegboards - pegboards are the classic garage wall storage solution for good reason: the material is inexpensive, they're easy to install, and they're infinitely rearrangeable without drilling new holes every time your layout needs to be adjusted. Once it's mounted and loaded up with metal hooks and brackets, you can configure and reconfigure it as much as you like. Pegboards are perfect for storing smaller items that you need regularly.
A few things to know: if your garage walls have exposed studs, you can attach pegboard directly to them. On finished walls, you'll need to add a framework of furring strips behind the pegboard to create clearance for the hooks. If your garage tends toward dampness, seal both sides of the pegboard with primer and exterior paint to prevent it from absorbing moisture and warping. Hooks come in two common thicknesses (1/8" and 3/16" diameter), and heavier items will need the thicker option.
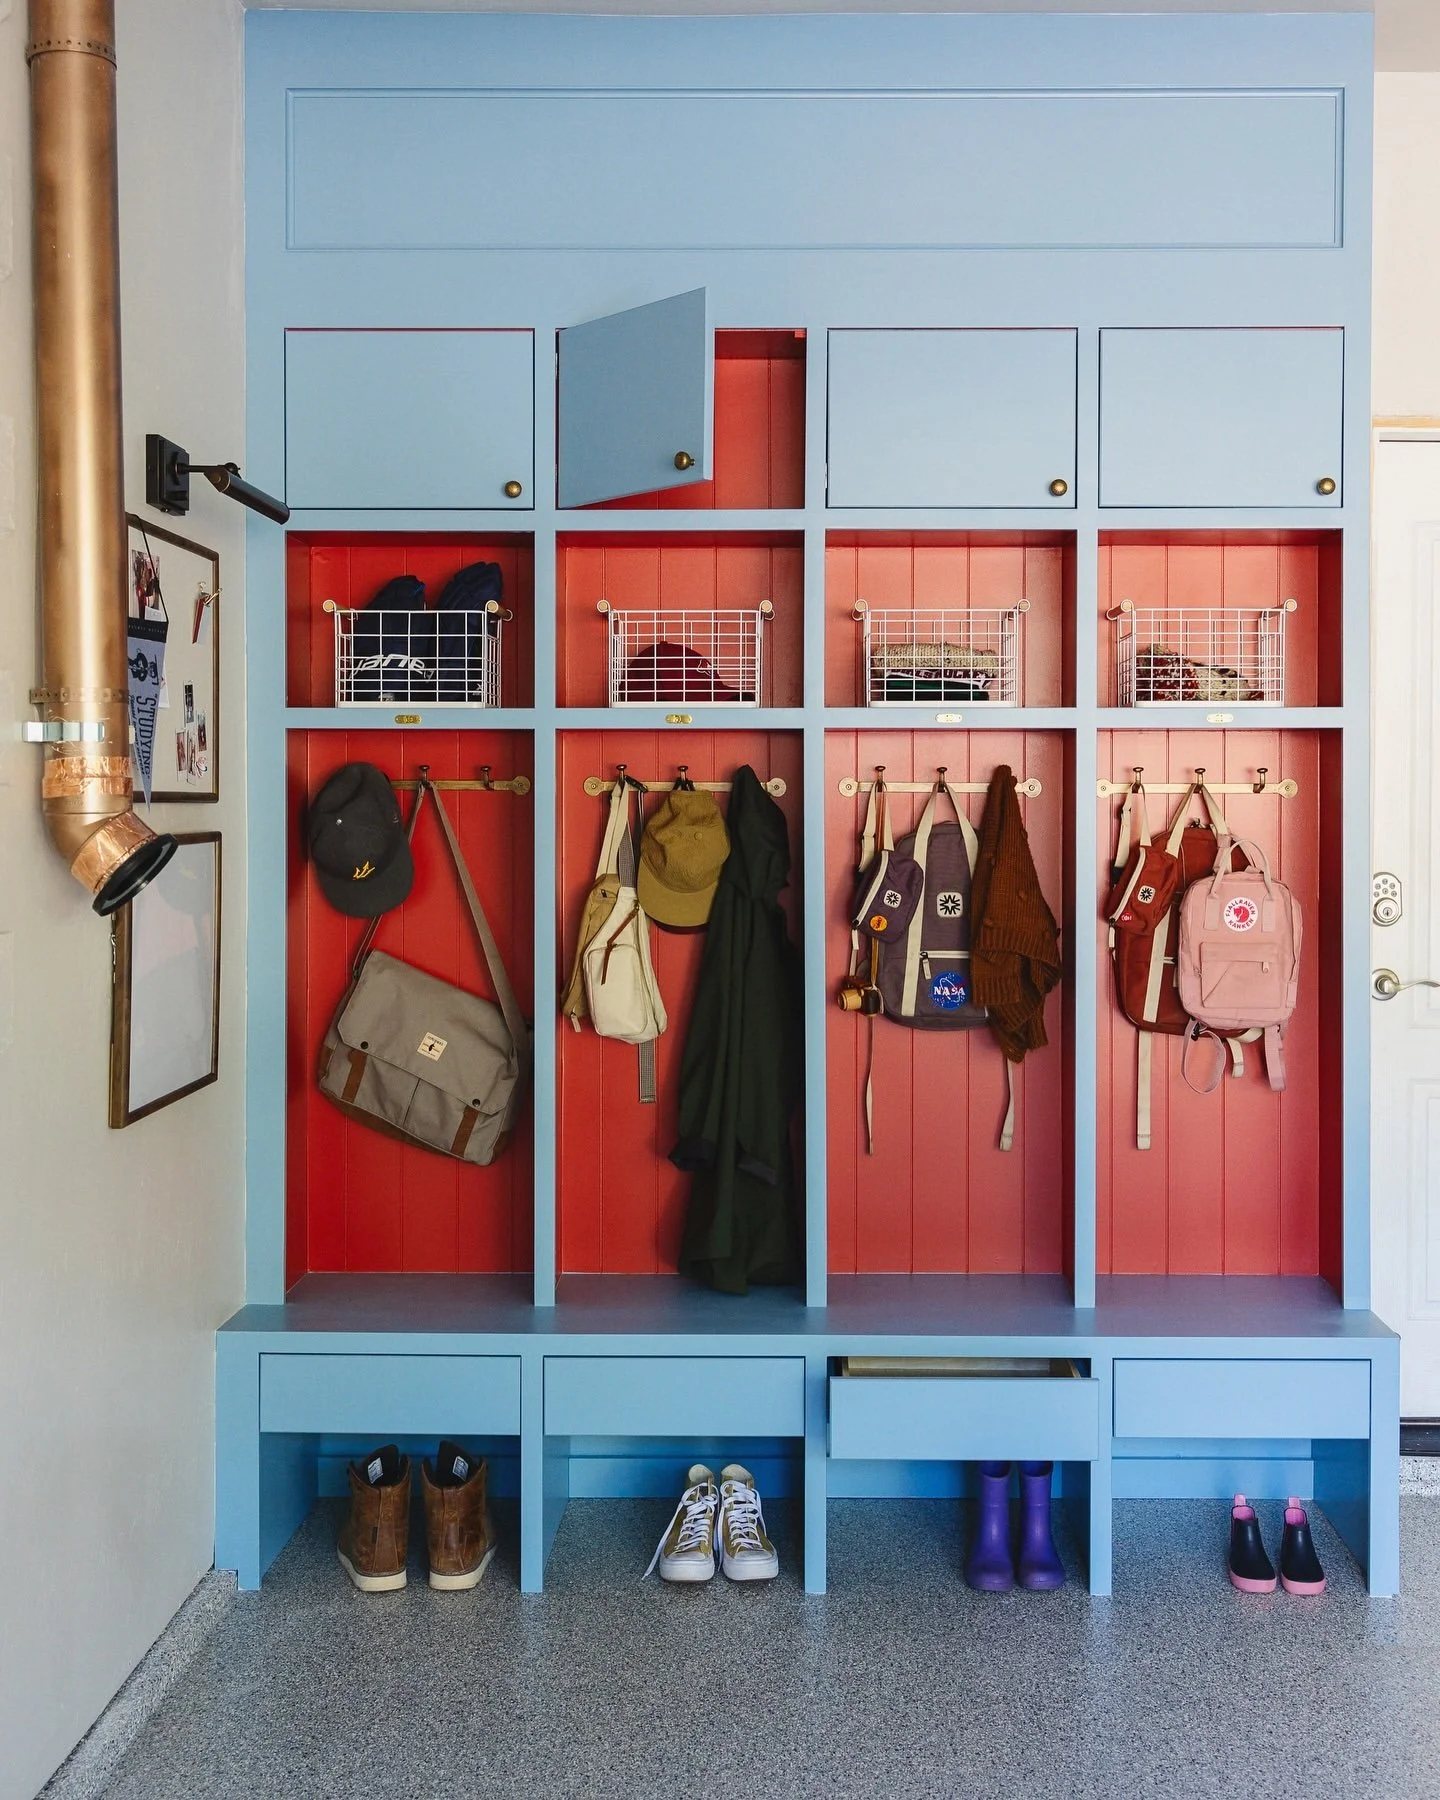
Wall-mounted shelving - Metal shelf standards and brackets (those wall-mounted vertical strips and the supports that stick off of them) are a garage staple for items that are bulky but still relatively lightweight, like empty planters, seasonal decor, and anything in bins or boxes. The big advantage of the adjustable kind over built-in shelves is exactly what it sounds like: you can reposition the shelves as your needs change. Look for heavy-duty standards and brackets (thicker gauge, two mounting lugs instead of one) and mount them into wall studs only.
Other wall-mounted options - Shelves aren’t a requirement, and depending on what you’re needing to store, you might be better served by something like a slat-wall storage system that you can hang things on directly (like a massive game of garage-wall-Tetris). Large but flat-ish items like ladders are perfect for hanging directly on the wall.
Cabinets - If you prefer to keep things behind closed doors, cabinets are a great option—and you don't necessarily need to buy dedicated garage cabinets. Standard kitchen cabinets work perfectly well, including base cabinets with drawers (ideal for hardware and small tools) and upper cabinets for lighter items. Utility-grade or unfinished cabinets can be quite affordable, and secondhand building materials stores or leftover kitchen cabinets from a remodel are worth exploring. If floor space is tight, some manufacturers make 15"-deep models, nine inches shallower than standard. Installation is the same as in a kitchen: cabinets must be level, plumb, and fastened into wall studs.
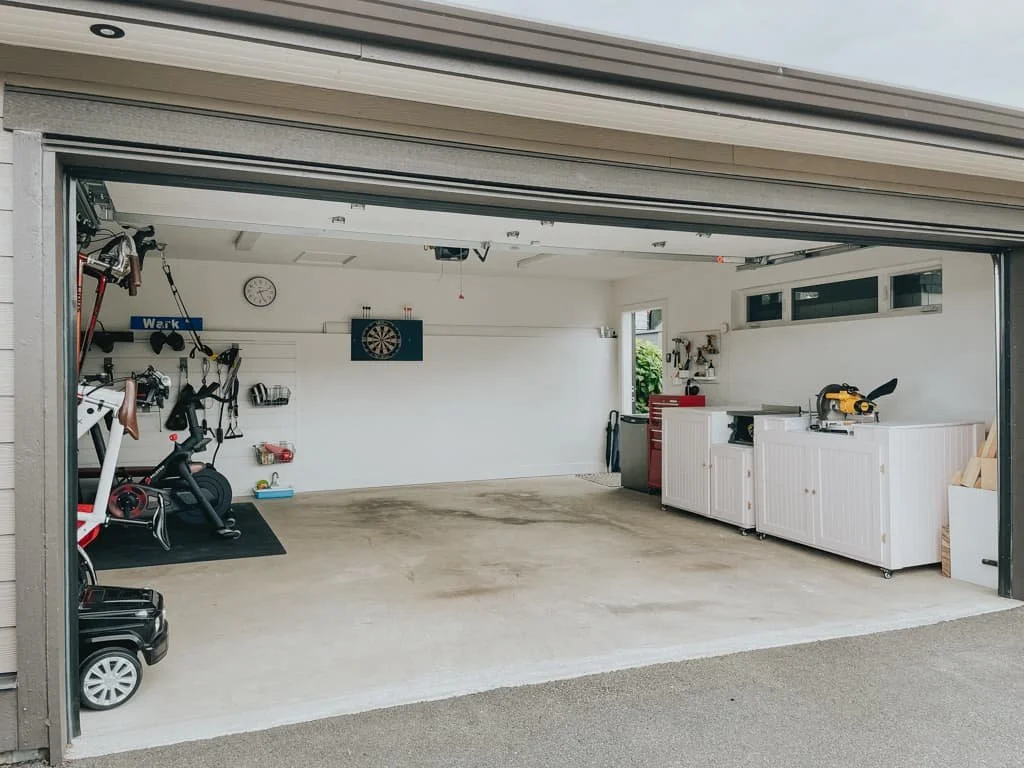
Once your garage is clean and organized, the goal is to keep it that way, and the best way to do that is to make it easy for yourself. Due to the nature of garages, your stunning photoshoot-ready garage will last approx. 1 day, but that's ok! The goal is a garage you can walk into, grab what you need, and walk out of without wanting to scream. You got this!
VIA SAMANTHA POTTER