How to Custom Paint a Drum Shade (With a Little Help from FrogTape®)
DIY

STORY BY VIRGINIA BESHEARS
This is a collaboration with FrogTape®, the official painter's tape of the One Room Challenge®
I've been working on a guest bedroom transformation for a few months now, and my vision for the light fixture was specific enough that I knew I was going to have to get creative. My original inspiration was tole metal shades and after realizing nothing on the market was quite right, I ordered a simple 16" flush mount drum shade and set to work making it my own.
Here's how it came together.

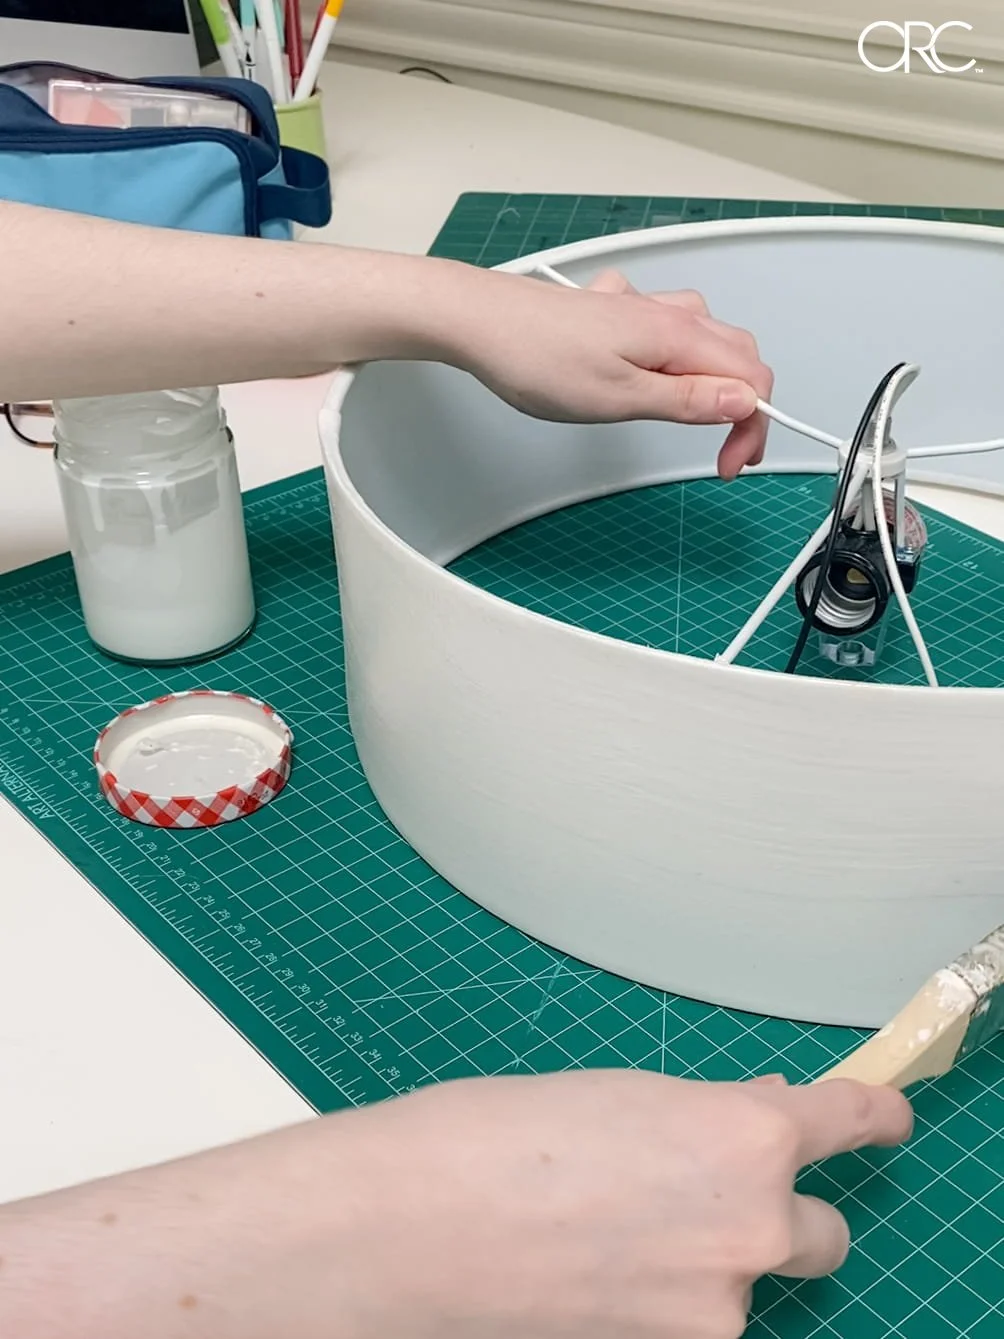
STEP 1: PREP THE SHADE
The shade is made from a synthetic linen with a fairly open weave, which is not exactly an ideal painting surface straight out of the box. To prep it, I gave it several coats of a DIY clear gesso I made from PVA glue, water, and cornstarch (4 parts PVA glue : 2 parts water : 1 part cornstarch). The PVA glue bridges the gaps between the threads, and the cornstarch gives the surface just enough tooth for paint to grab onto.

STEP 2: BASE COAT
Next I painted the whole shade in my light green color. My original plan was a light green and dark green alternating stripe, but once the base coat was on and I could really see how the green was reading, it became clear that two shades of green would look too heavy. I pivoted to light green and off-white.


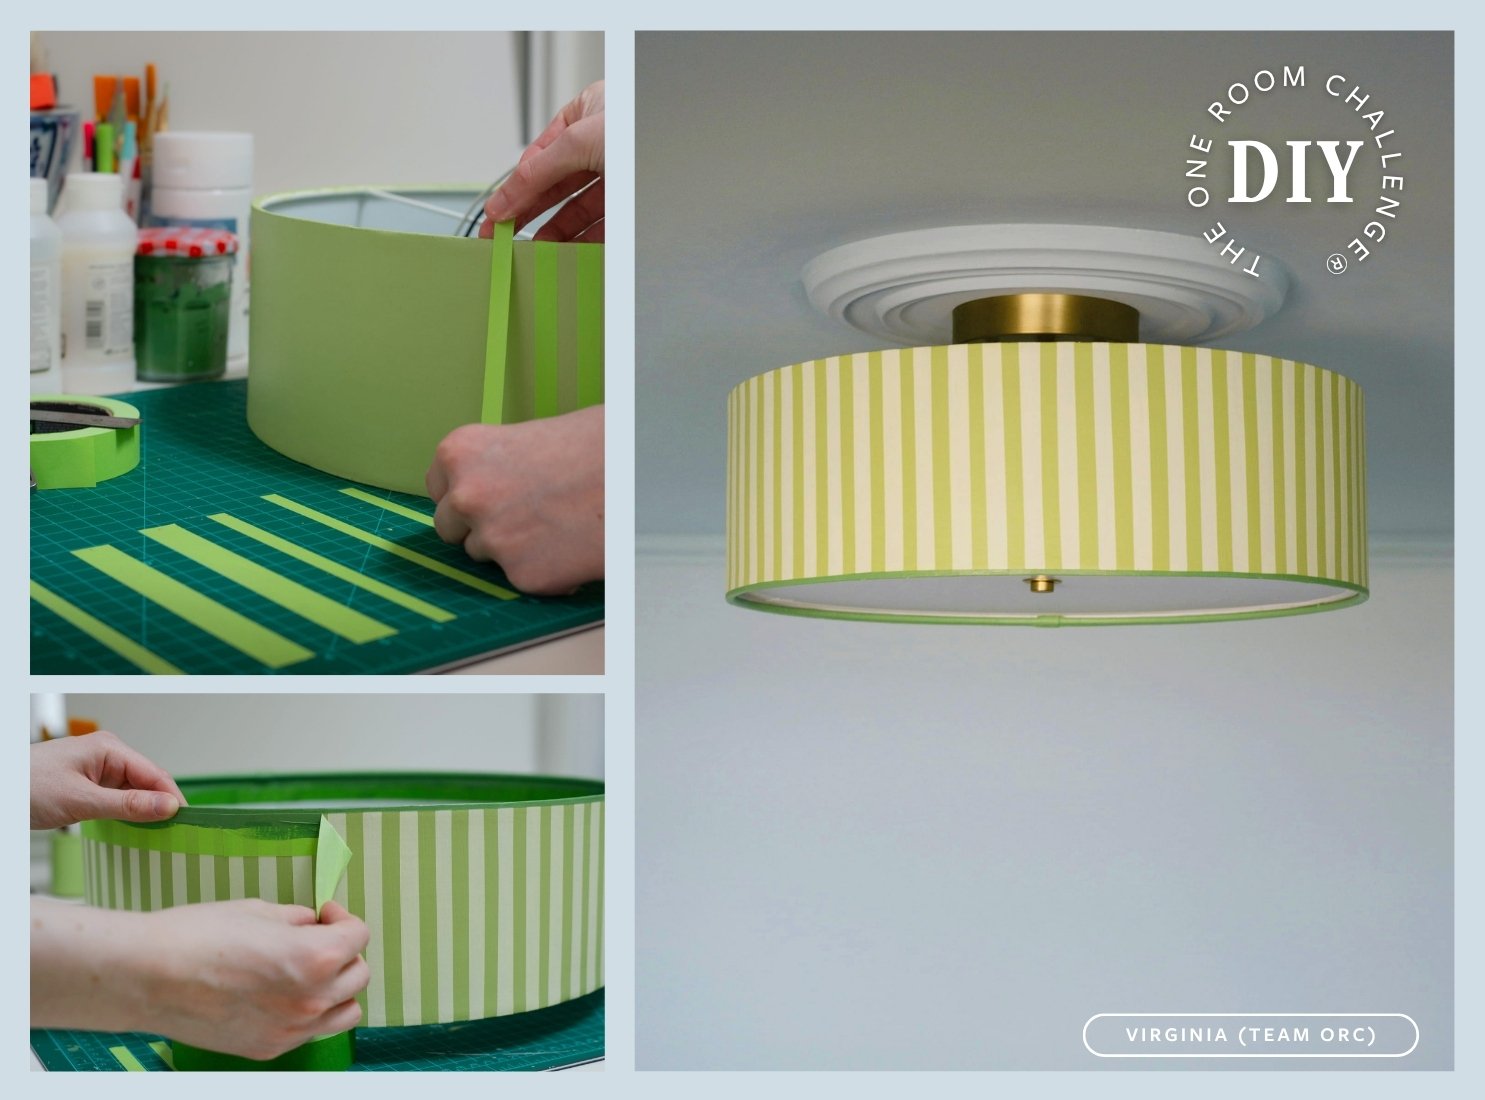
STEP 3: TAPE THE STRIPE PATTERN
I wanted 1cm wide stripes, so I used a ruler and an X-Acto knife to cut a large quantity of 1cm strips of FrogTape® and placed them 1cm apart all the way around the shade. Also, if you trim the edges of a painter’s tape, be sure to use a fresh sharp blade to best maintain the integrity of the tape edge.


STEP 4: PAINT STRIPES & PULL TAPE
I applied a few coats of my off-white color to the un-taped sections and then pulled the tape. Given that the shade fabric was such a wild card (I truly wasn't sure it could handle paint cleanly, let alone a crisp stripe) I used FrogTape® Advanced to give myself the best possible shot at clean edges, and the lines came out looking razor sharp. I was thrilled.

STEP 5: ADD CONTRASTING TRIM
The shade still felt like it needed a little extra something. I taped off a few millimeters all the way around the bottom edge of the shade and used my original dark green (the one I'd mixed before the pivot) to add a slim contrasting rim. Another clean tape pull, and it was exactly the finishing touch it needed.


VIA MAMA_CANBUILDIT
STEP 6: HANG IT (AND PROBLEM SOLVE)
I turned off the breaker, removed the old fixture, and got started wiring in the new base. At this point I realized my oversight: the shade itself is 16", but the metal base is considerably smaller than the one it was replacing, which meant there was now a very visible ring of unpainted, textured ceiling around it. The fix ended up being a ceiling medallion, which took maybe a third of the time that patching and mudding would have, and honestly looks like it was always meant to be there.
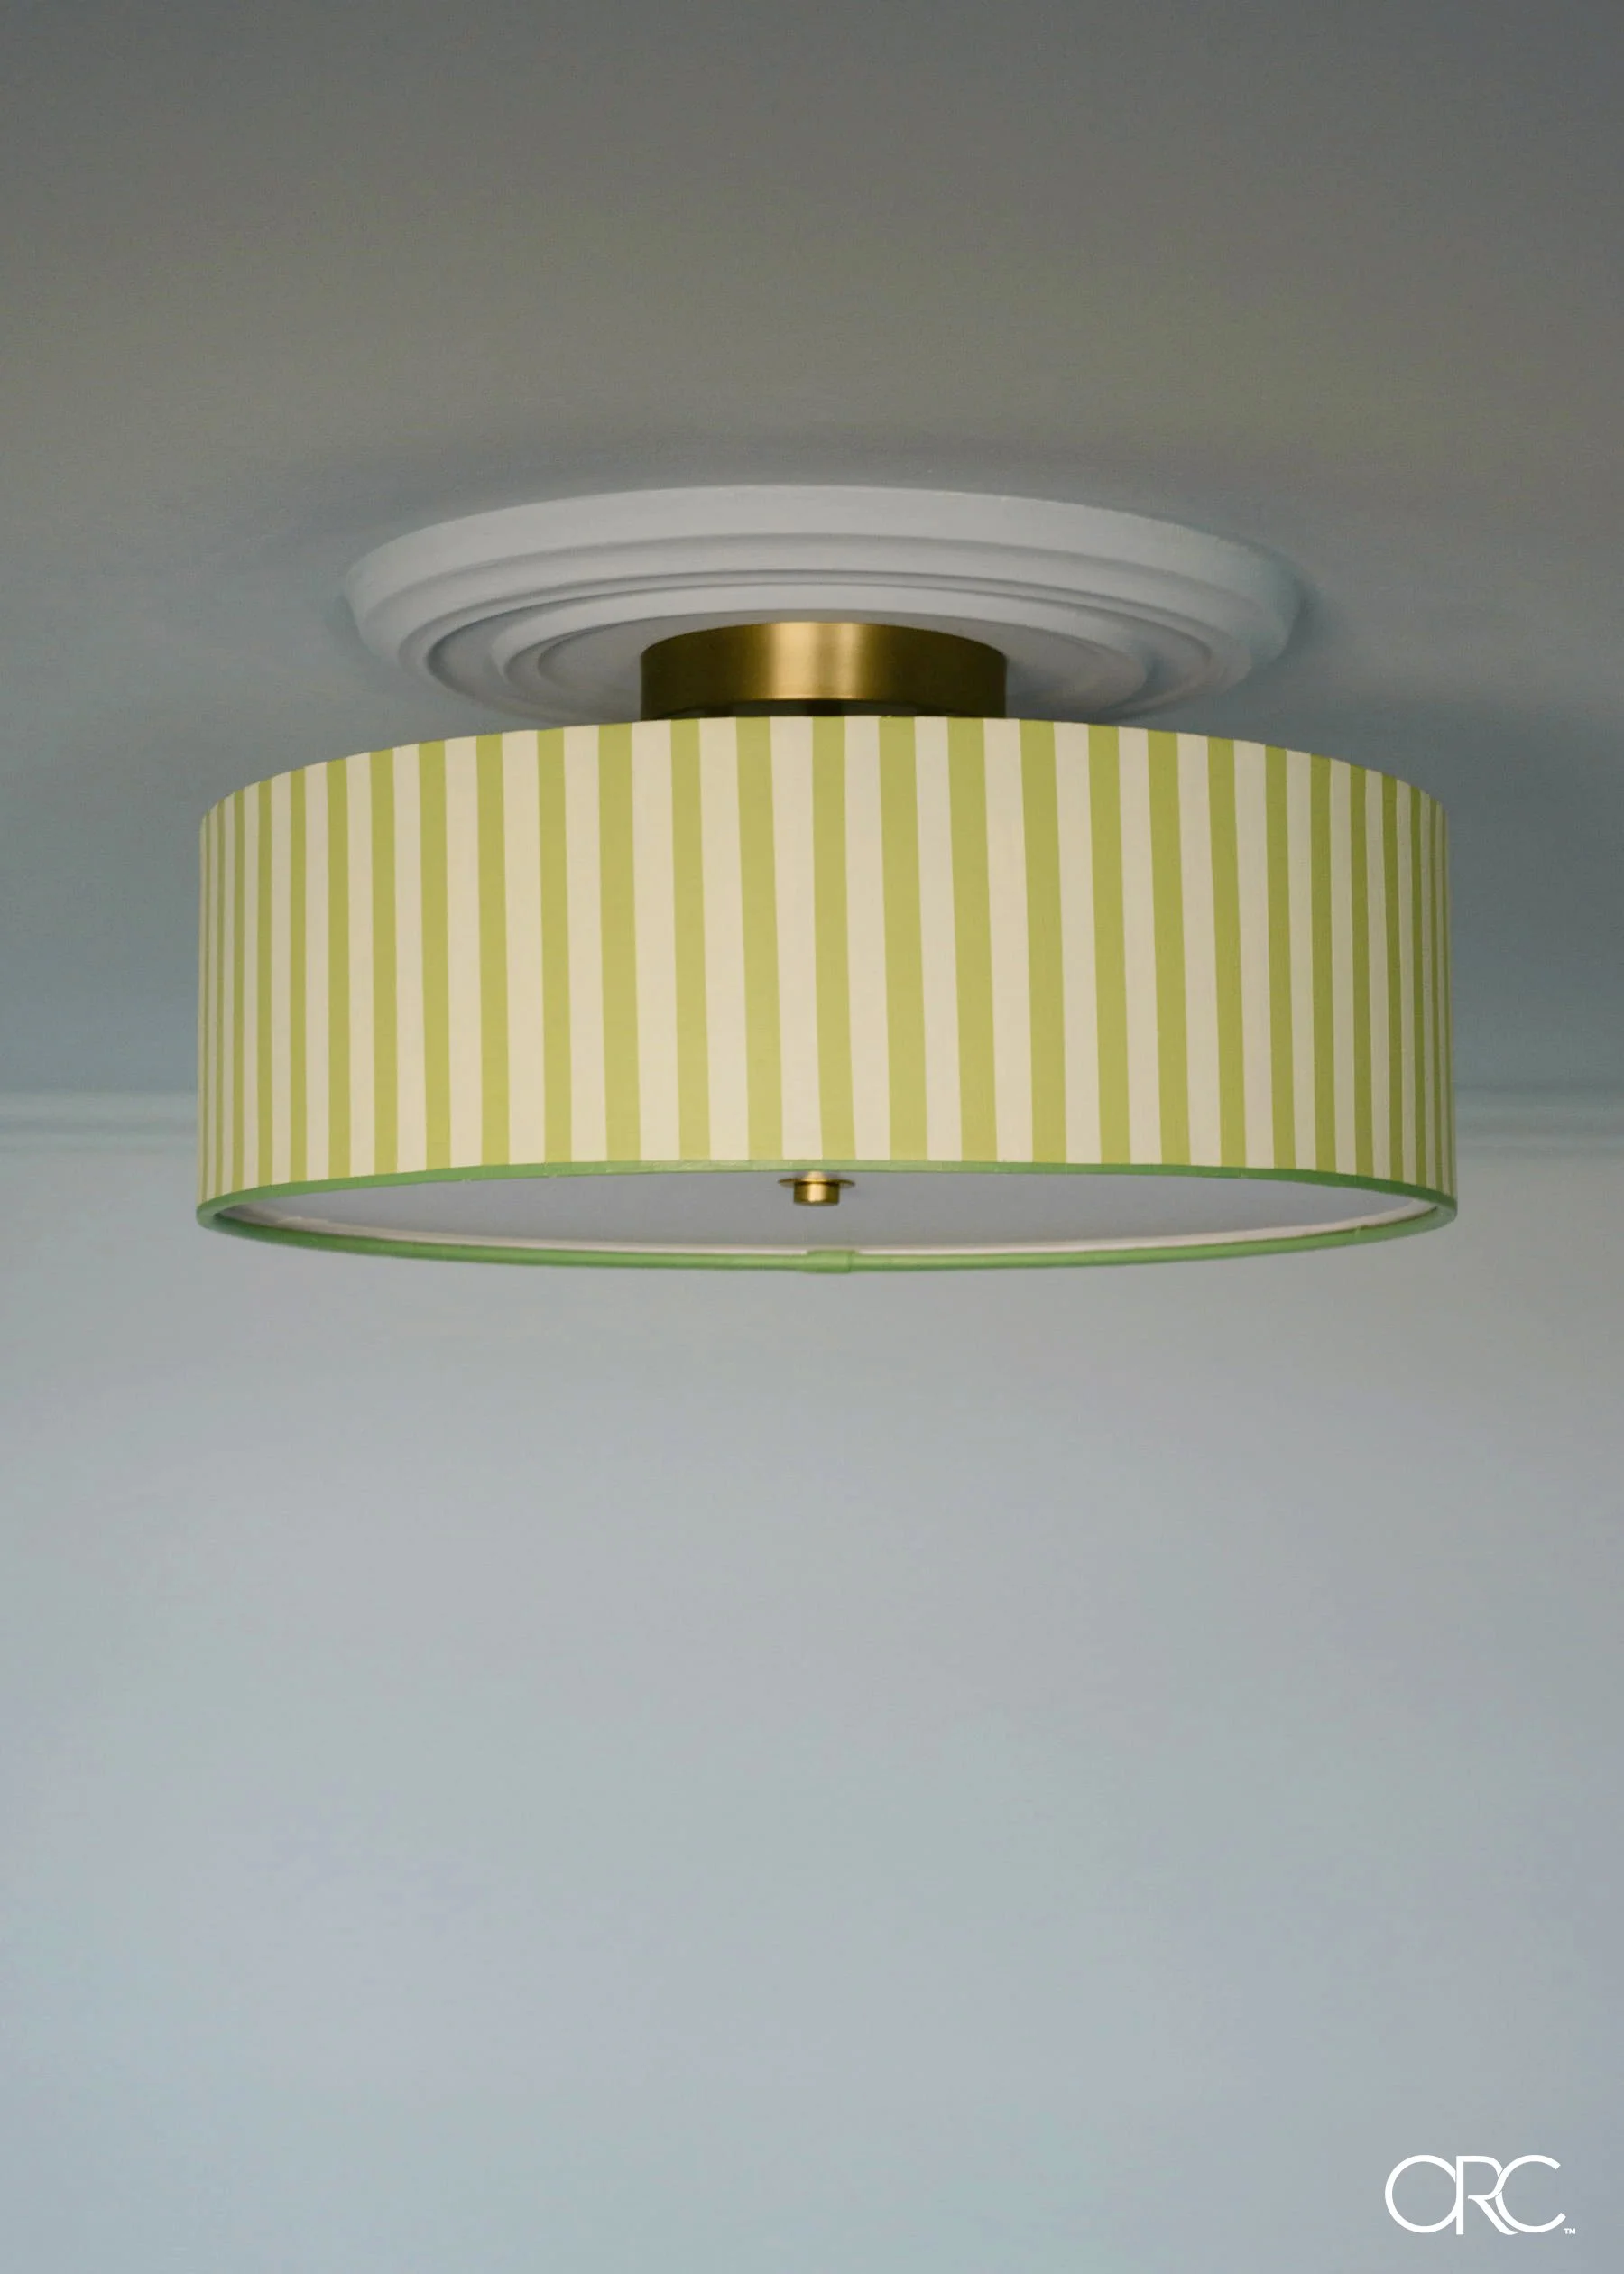
STEP 7: ENJOY THE RESULT
I couldn't be more thrilled with how this turned out. There's something especially satisfying about a fixture you designed yourself, and this one is exactly what I had imagined from the start.


Supplies used: