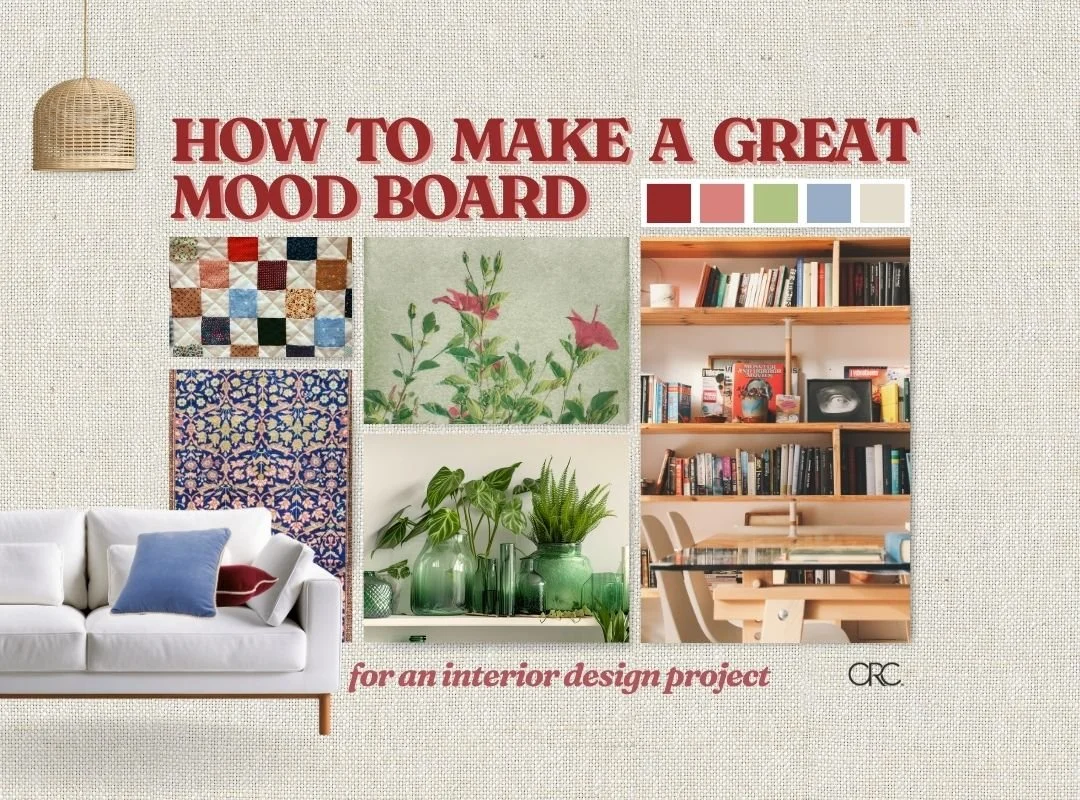
How to Make a Great Mood Board for an Interior Design Project
DESIGN
STORY BY VIRGINIA BESHEARS
A mood board is a powerful visual tool for interior design professionals and newbs alike, and the process of creating a mood board is an important and clarifying step in designing a space.
Whether you’re needing assistance with the technical side or the creative process, we’ve got you covered below with a complete guide to creating an interior design mood board.

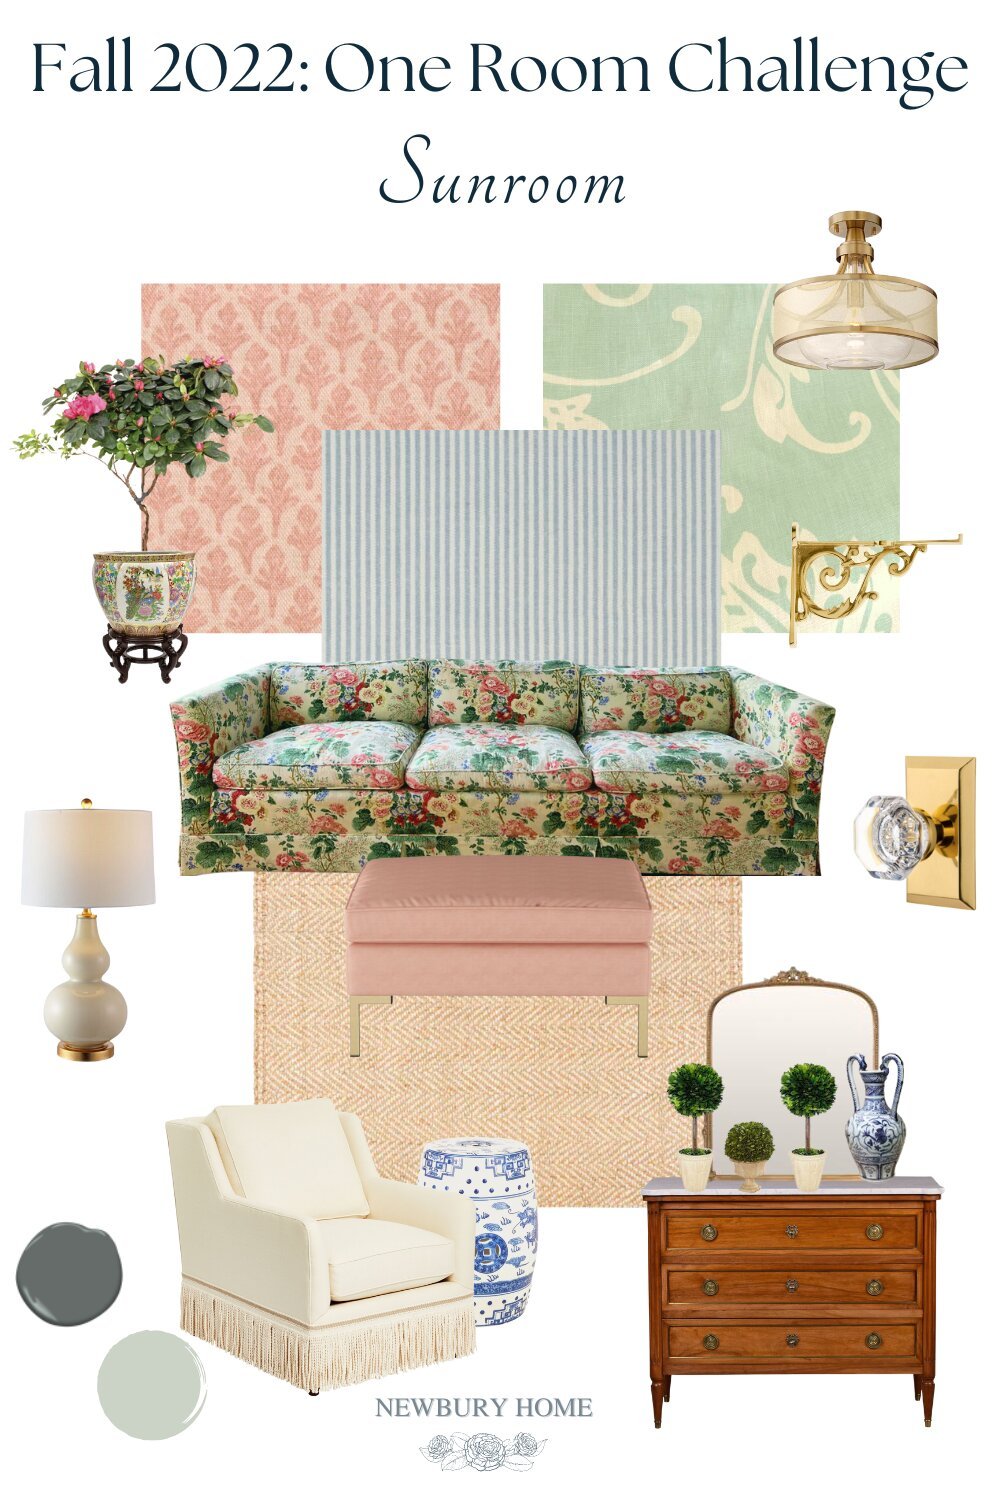
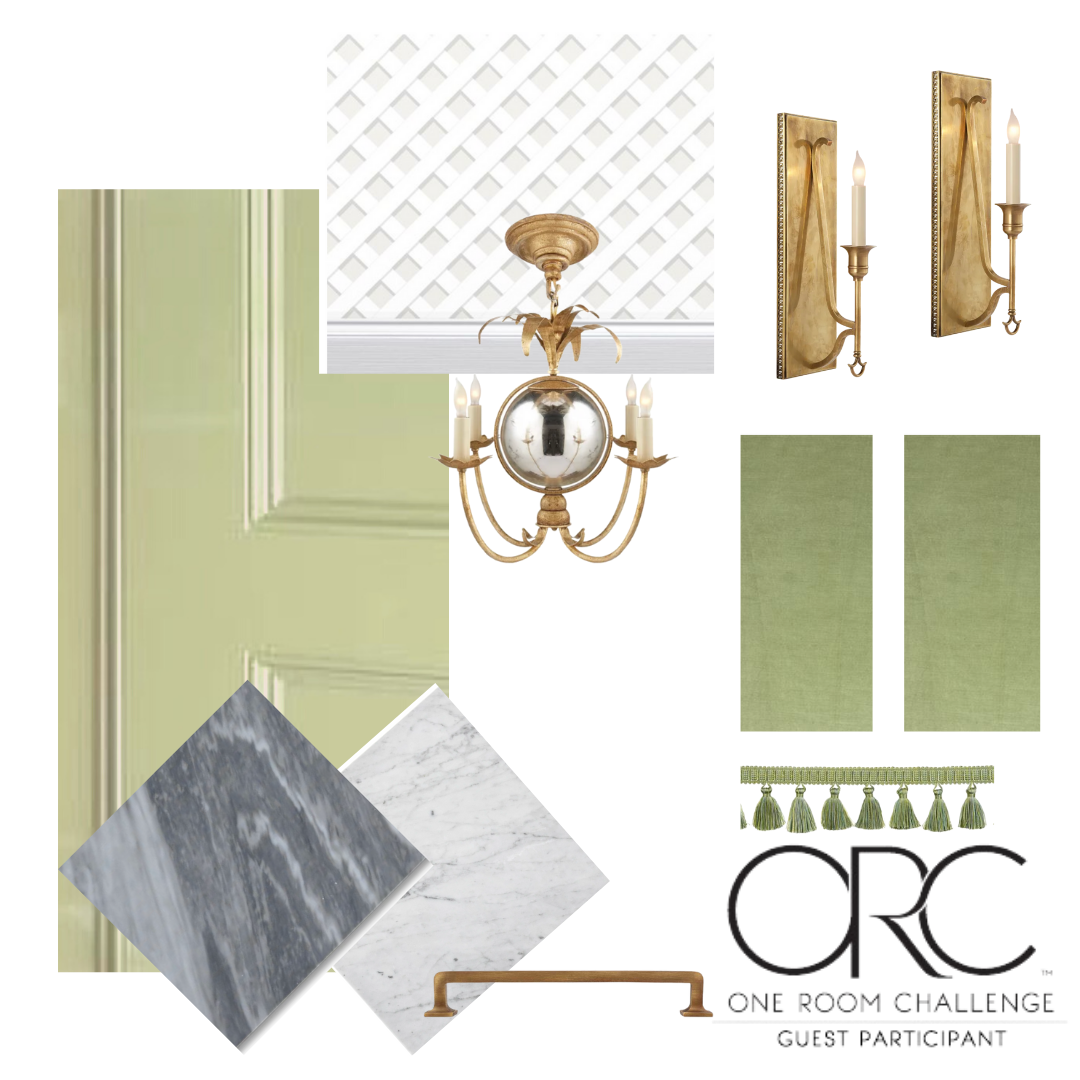
VIA C. MANTOOTH HOME
What exactly is a mood board, and why is it helpful?
A mood board is a digital (or physical) compilation of elements that together communicate your intention for your interior design project.
They’re a wonderful tool for helping you narrow down and compile all your ideas into one vision. A mood board can also help you ensure that all your ideas contribute to a cohesive look and feel.
The creative part
Digging for inspiration is the first step to making your mood board. Collect a range of visuals that resonate with you. Don't limit yourself to one source—Pinterest, Instagram, TikTok, blogs, magazines, online articles, paint swatches, fabric samples, and wallpaper samples are all great places to look.
If you’re stuck, here are some suggestions for elements to include:
Color palette (main paint color as well as accent colors)
A few pieces of furniture or decor items that represent style
Elements like flooring, tile, or countertops
Elements you already have and plan to use in your space
A few patterns or textures you love
Any images that communicate vibe or mood
Since one of the purposes of a mood board is to see which of your ideas work next to each other and look harmonious together, you shouldn’t spend a lot of time shopping for specifics yet. For example, the couch you put in your mood board doesn’t need to be the actual couch you end up using; it just needs to represent the general style you’re looking for. We’ll get into specifics later on.
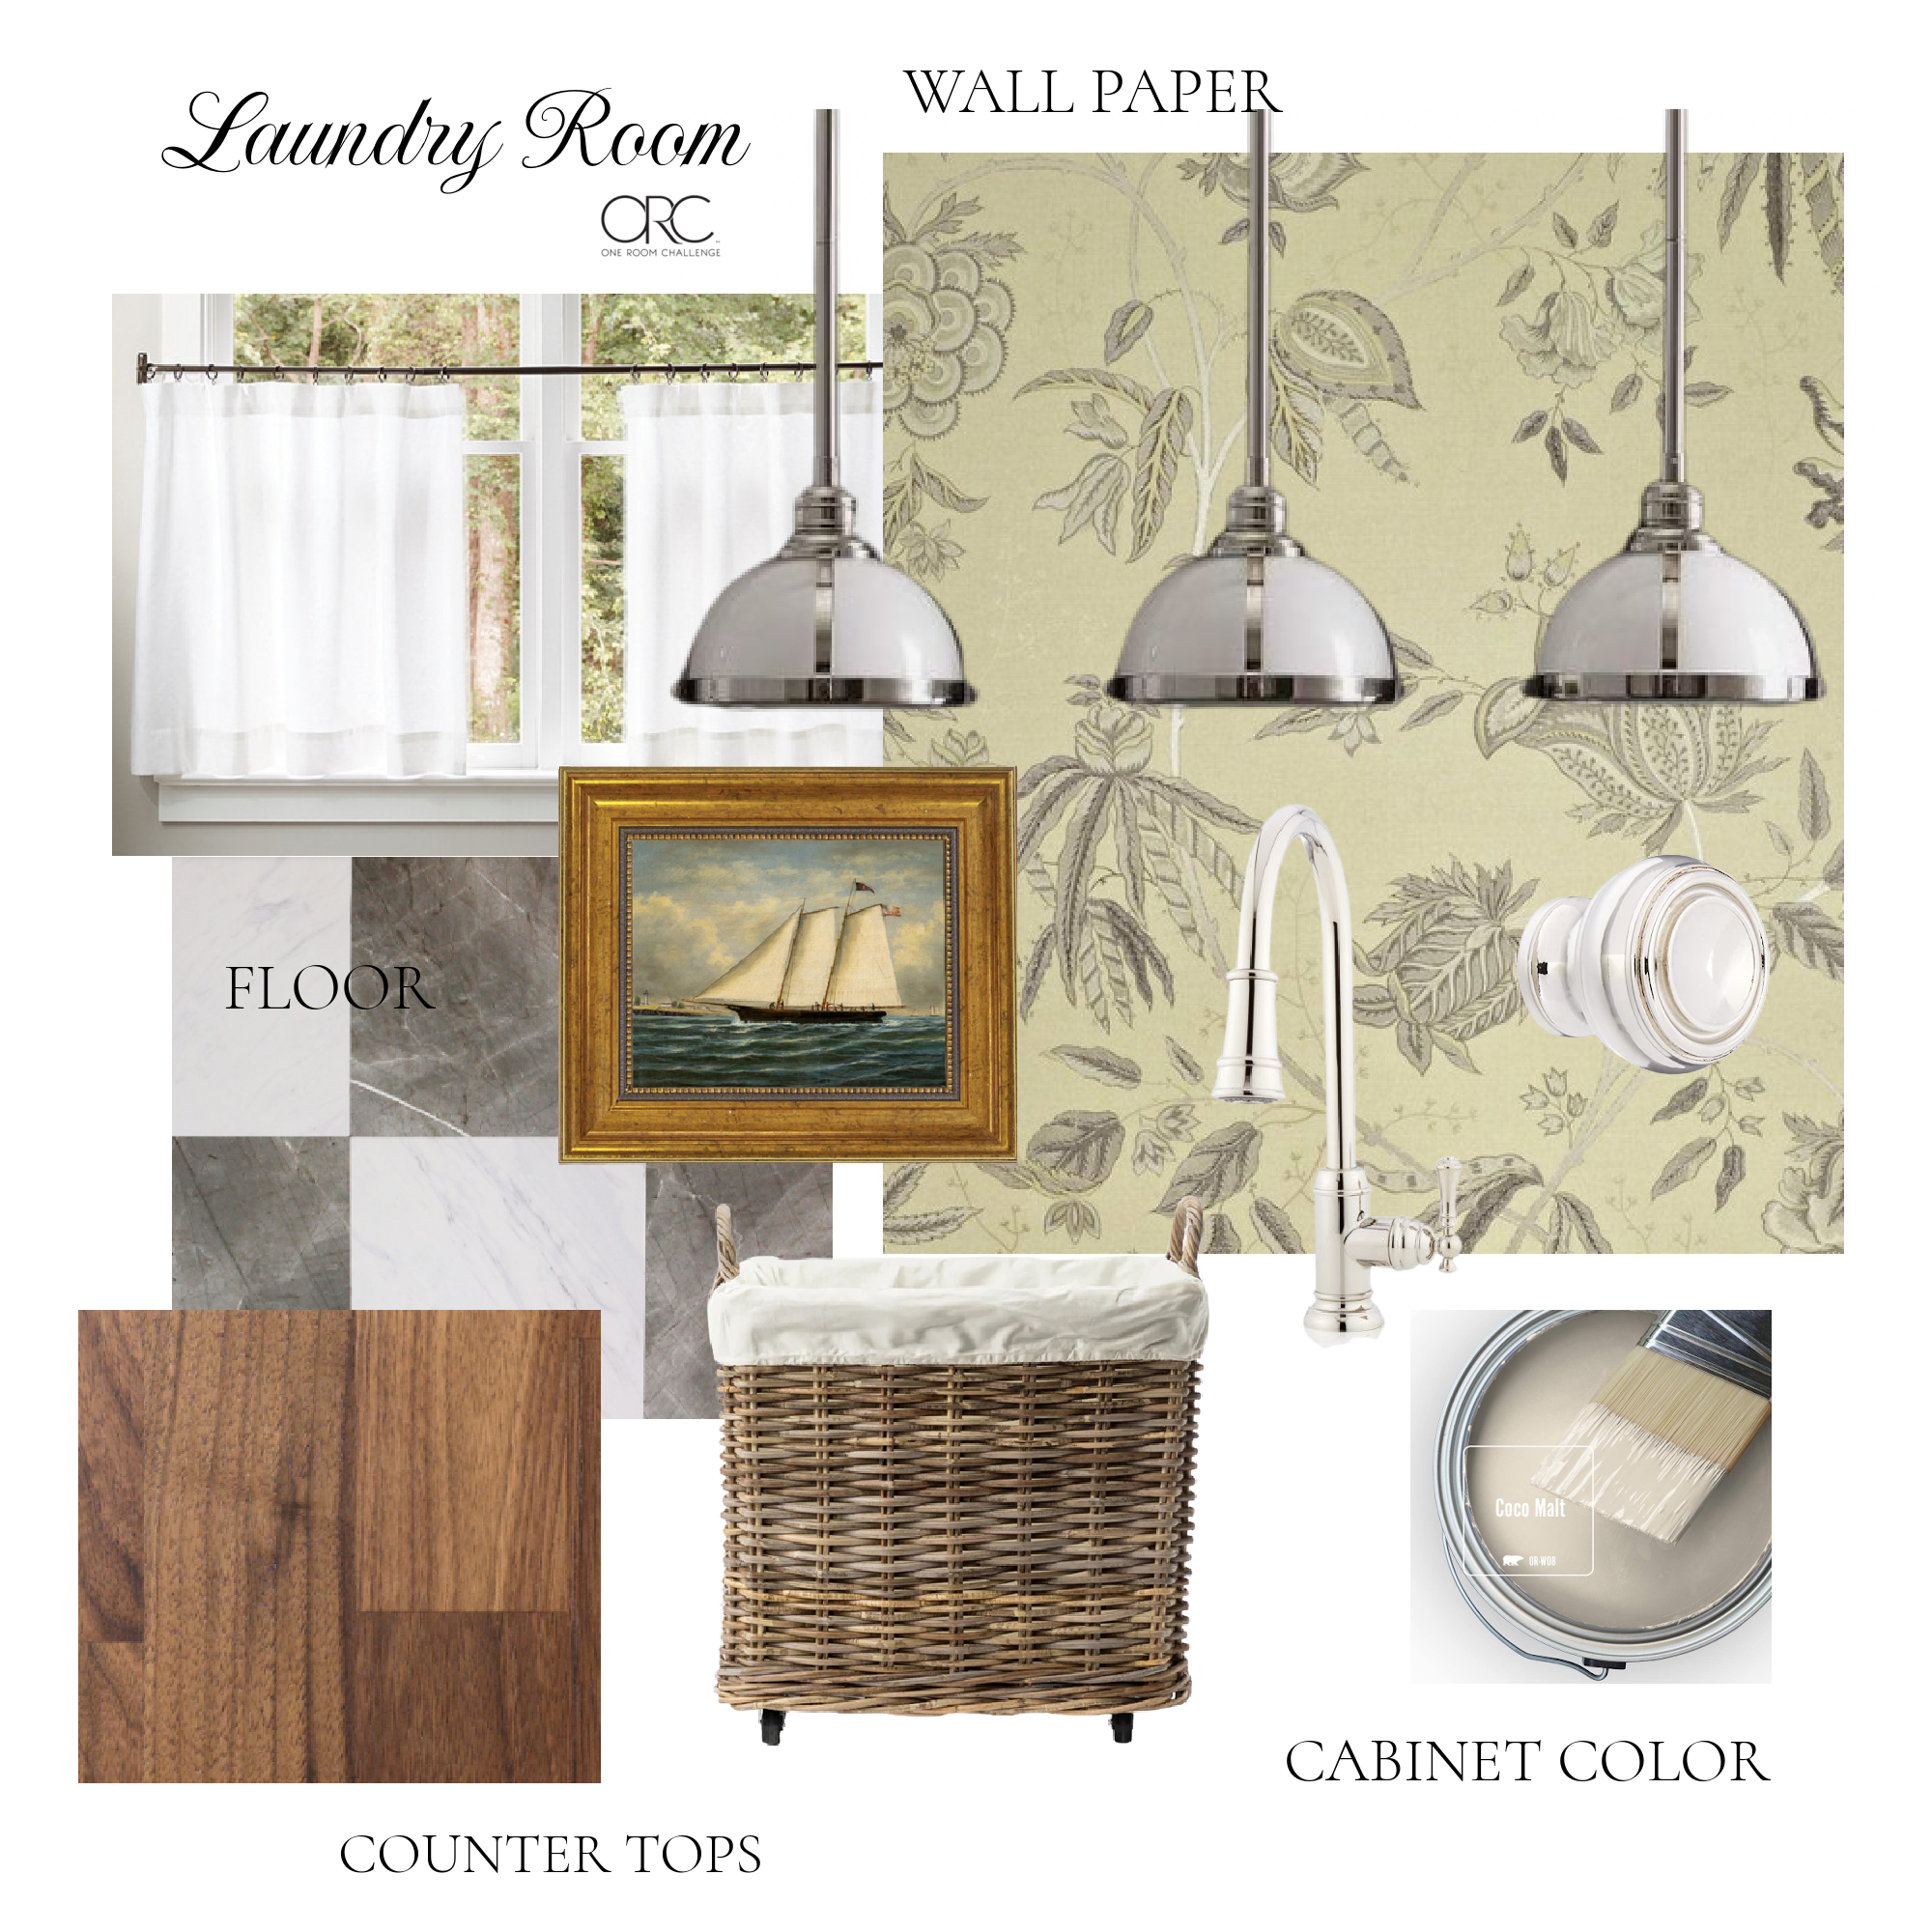
Physical mood boards like this one are great because of how they communicate in such a tactile, concrete way, but most people in the mood board stage won’t have access to this many physical elements.
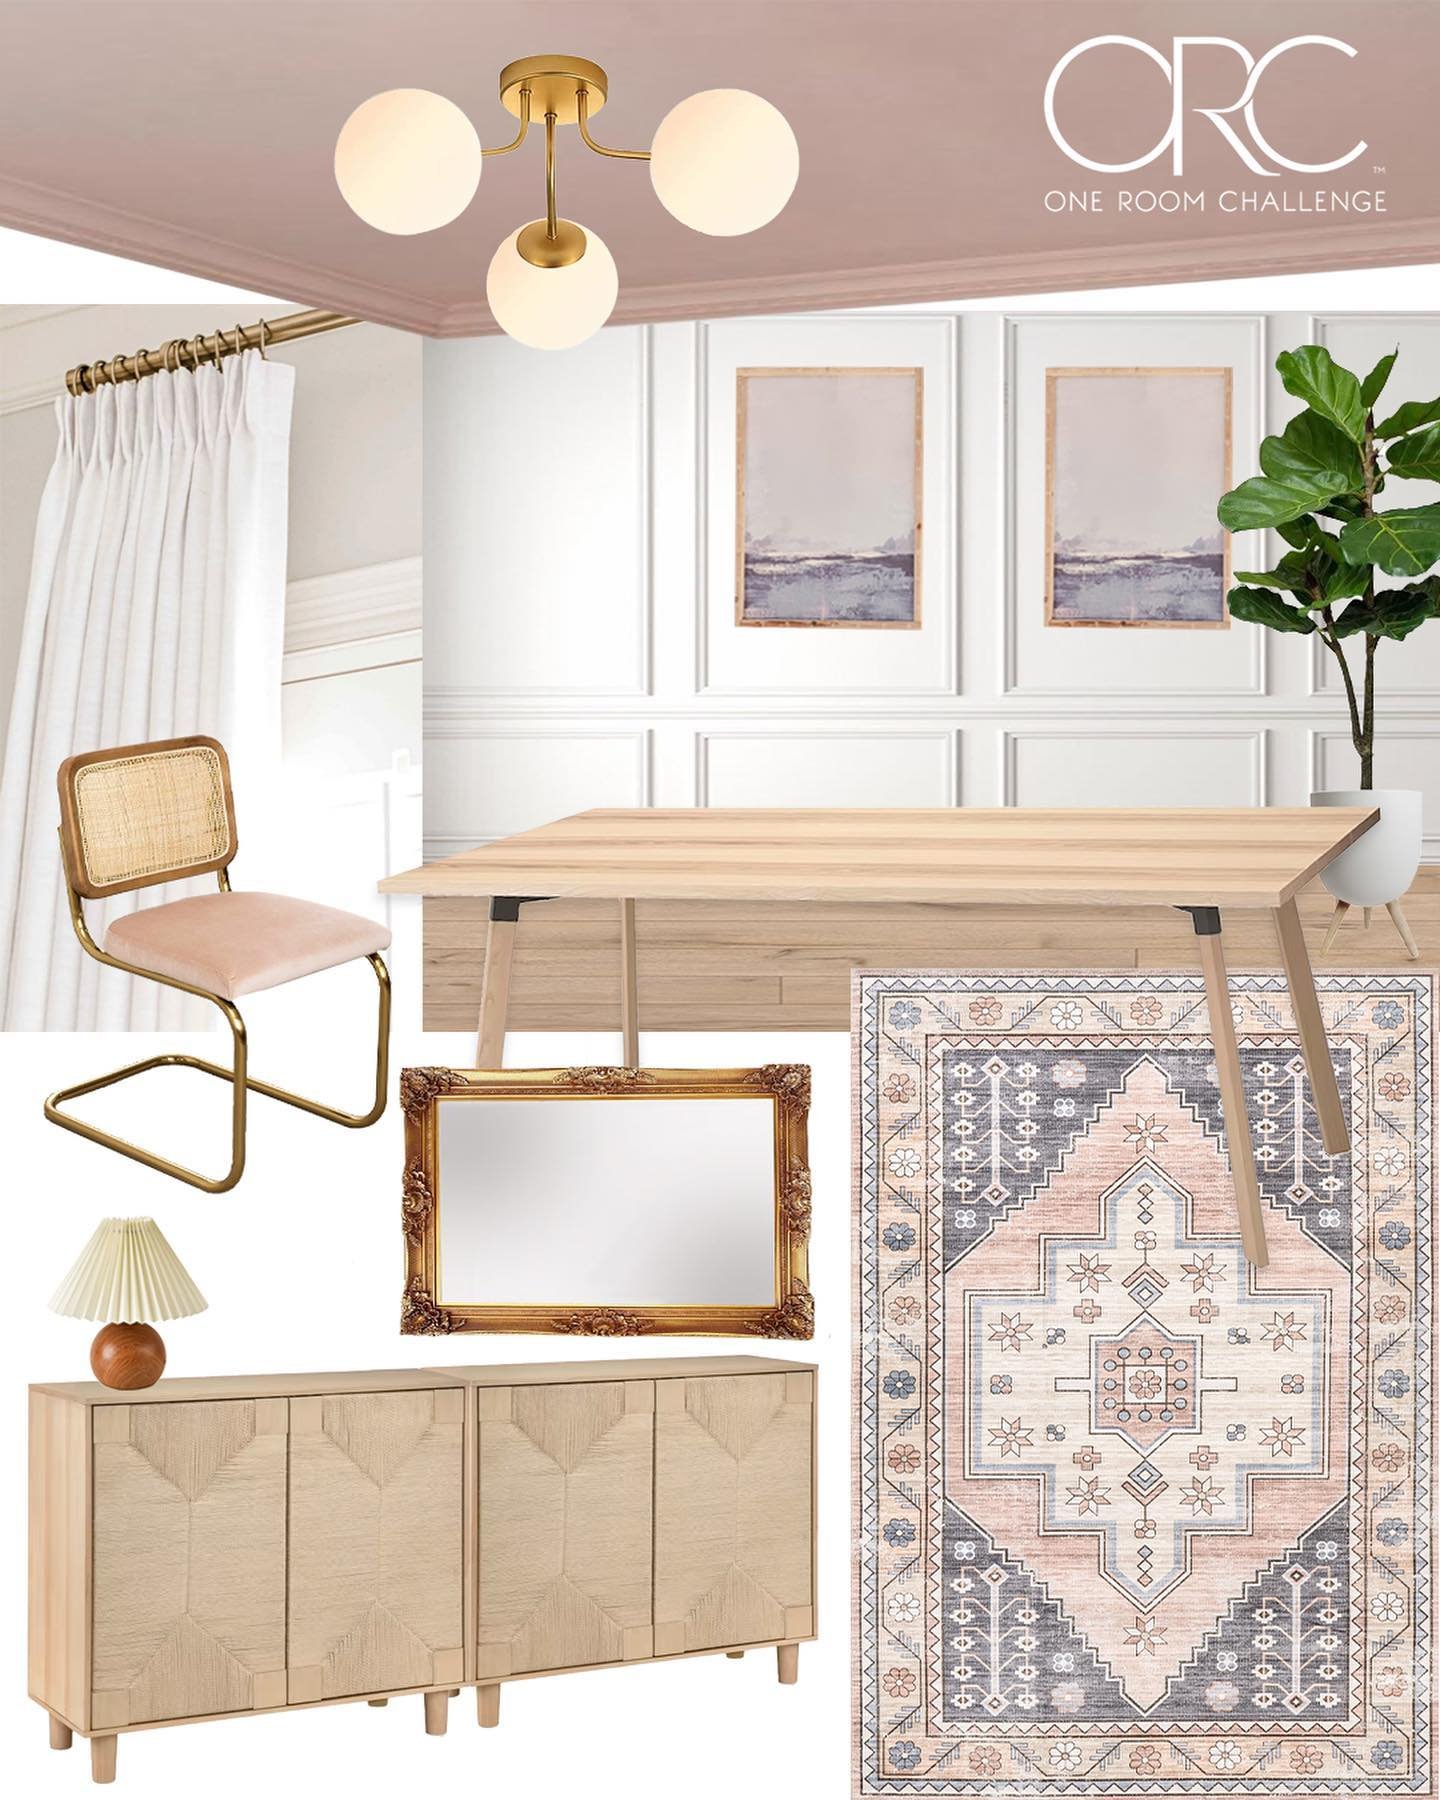
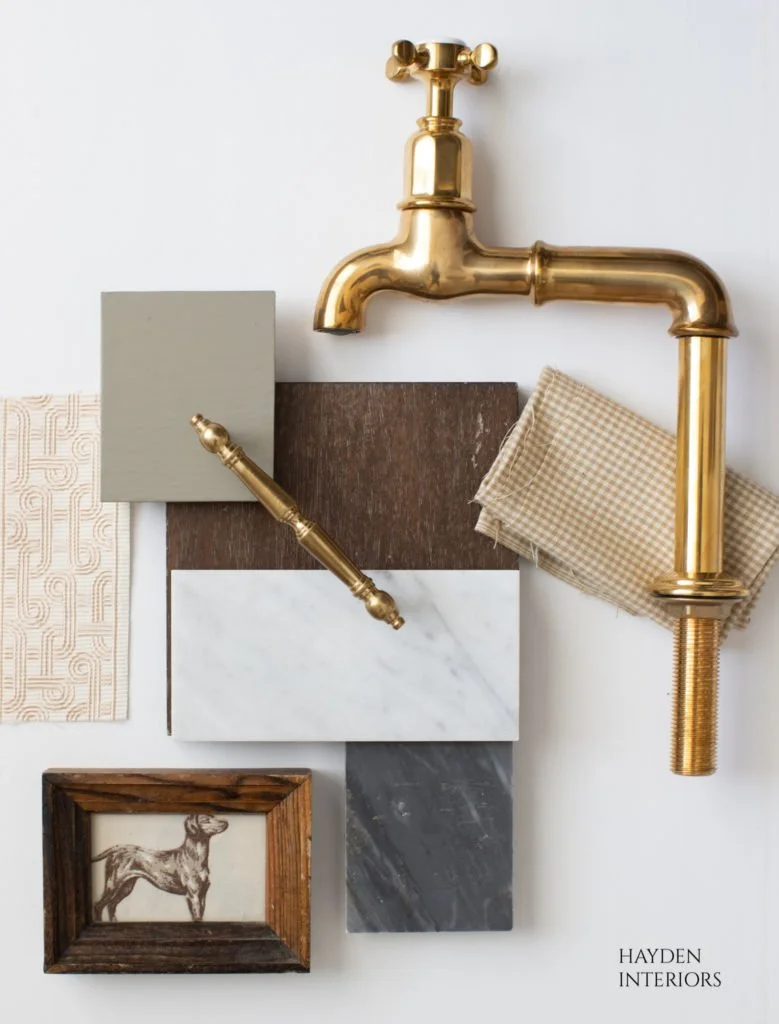
VIA HAYDEN INTERIORS
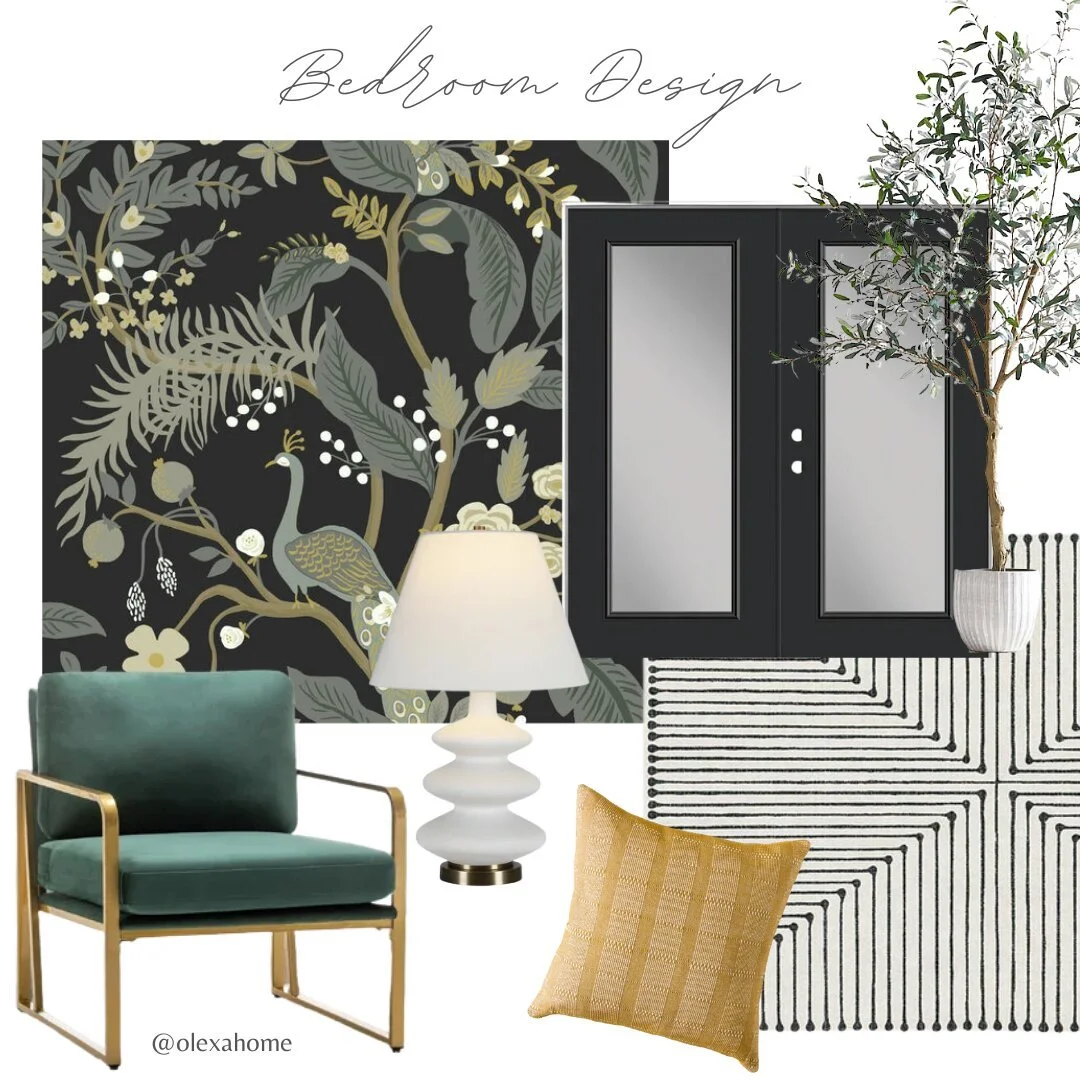
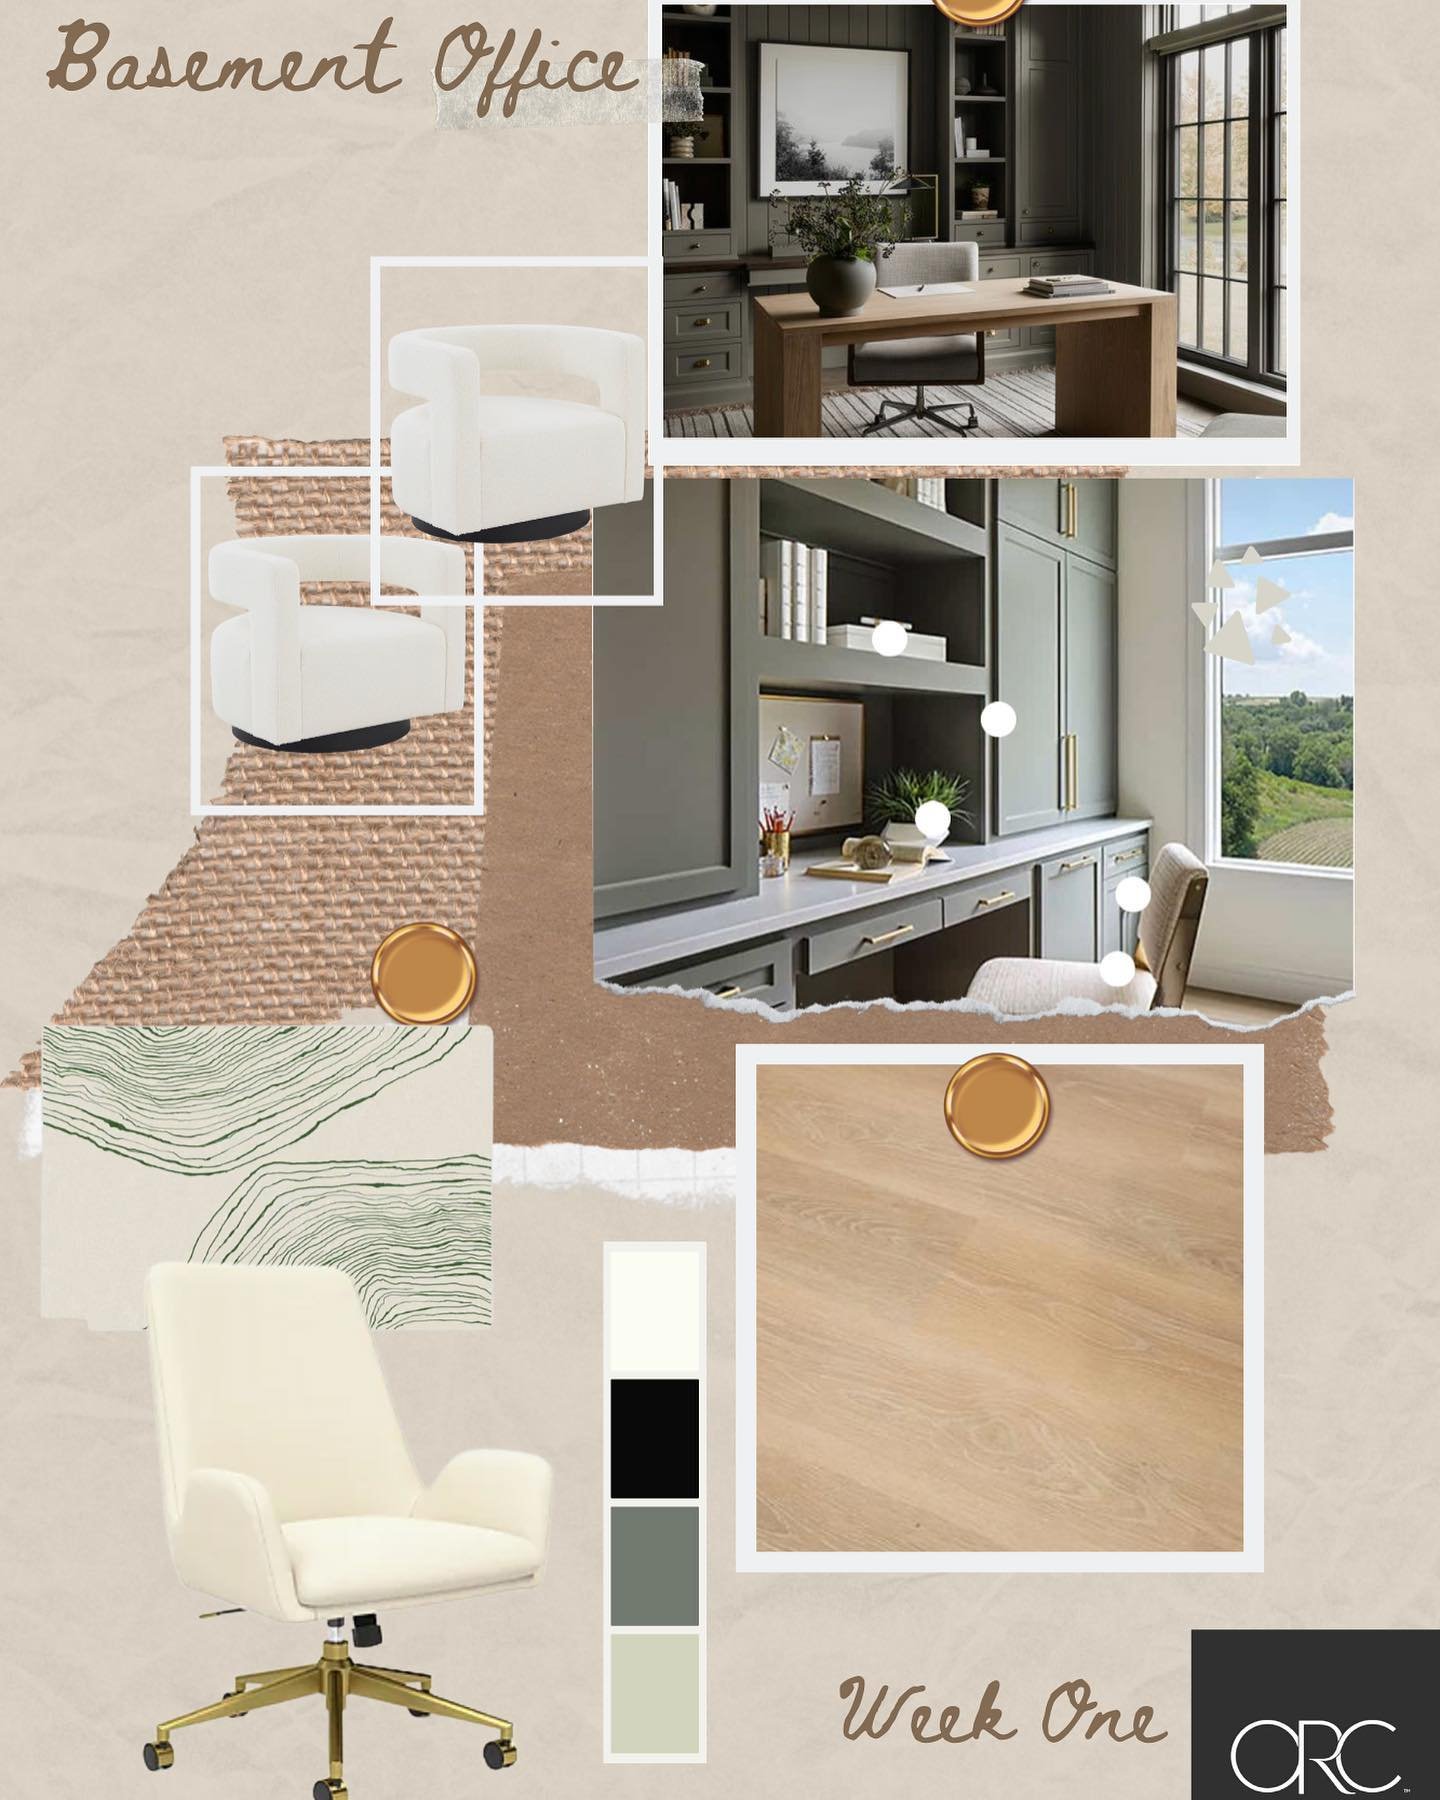
VIA OLEXA HOME
The technical part
Start by saving all your images in a folder either on your computer or your phone, depending on where you’ll be working on your mood board.
Snap photos of any physical items to add to the folder. For items you already have, you can either take a photo yourself, or find one online.
Our recs for software
Remove.bg is an MVP of mood board creation. We highly recommend removing the background from every image you can, so you can layer elements and minimize visual clutter. Remove.bg automatically removes solid backgrounds, and also has a manual option so you can isolate what you want from an image with more than one element.
Canva is, unsurprisingly, our top rec for making mood boards. It’s extremely easy to use, and you can even use one of their pre-made mood board templates. It’s free to use, and there’s an app for anyone planning to make their mood board on their phone. The free version doesn’t include the remove background feature, so you’ll need to use remove.bg and import your transparent .png files.
If you want to go completely back to basics, Google Slides (or Powerpoint, if you have/prefer it) is probably the simplest, no-frills way to make a mood board. Here is a great video tutorial on making a mood board in Google Slides.
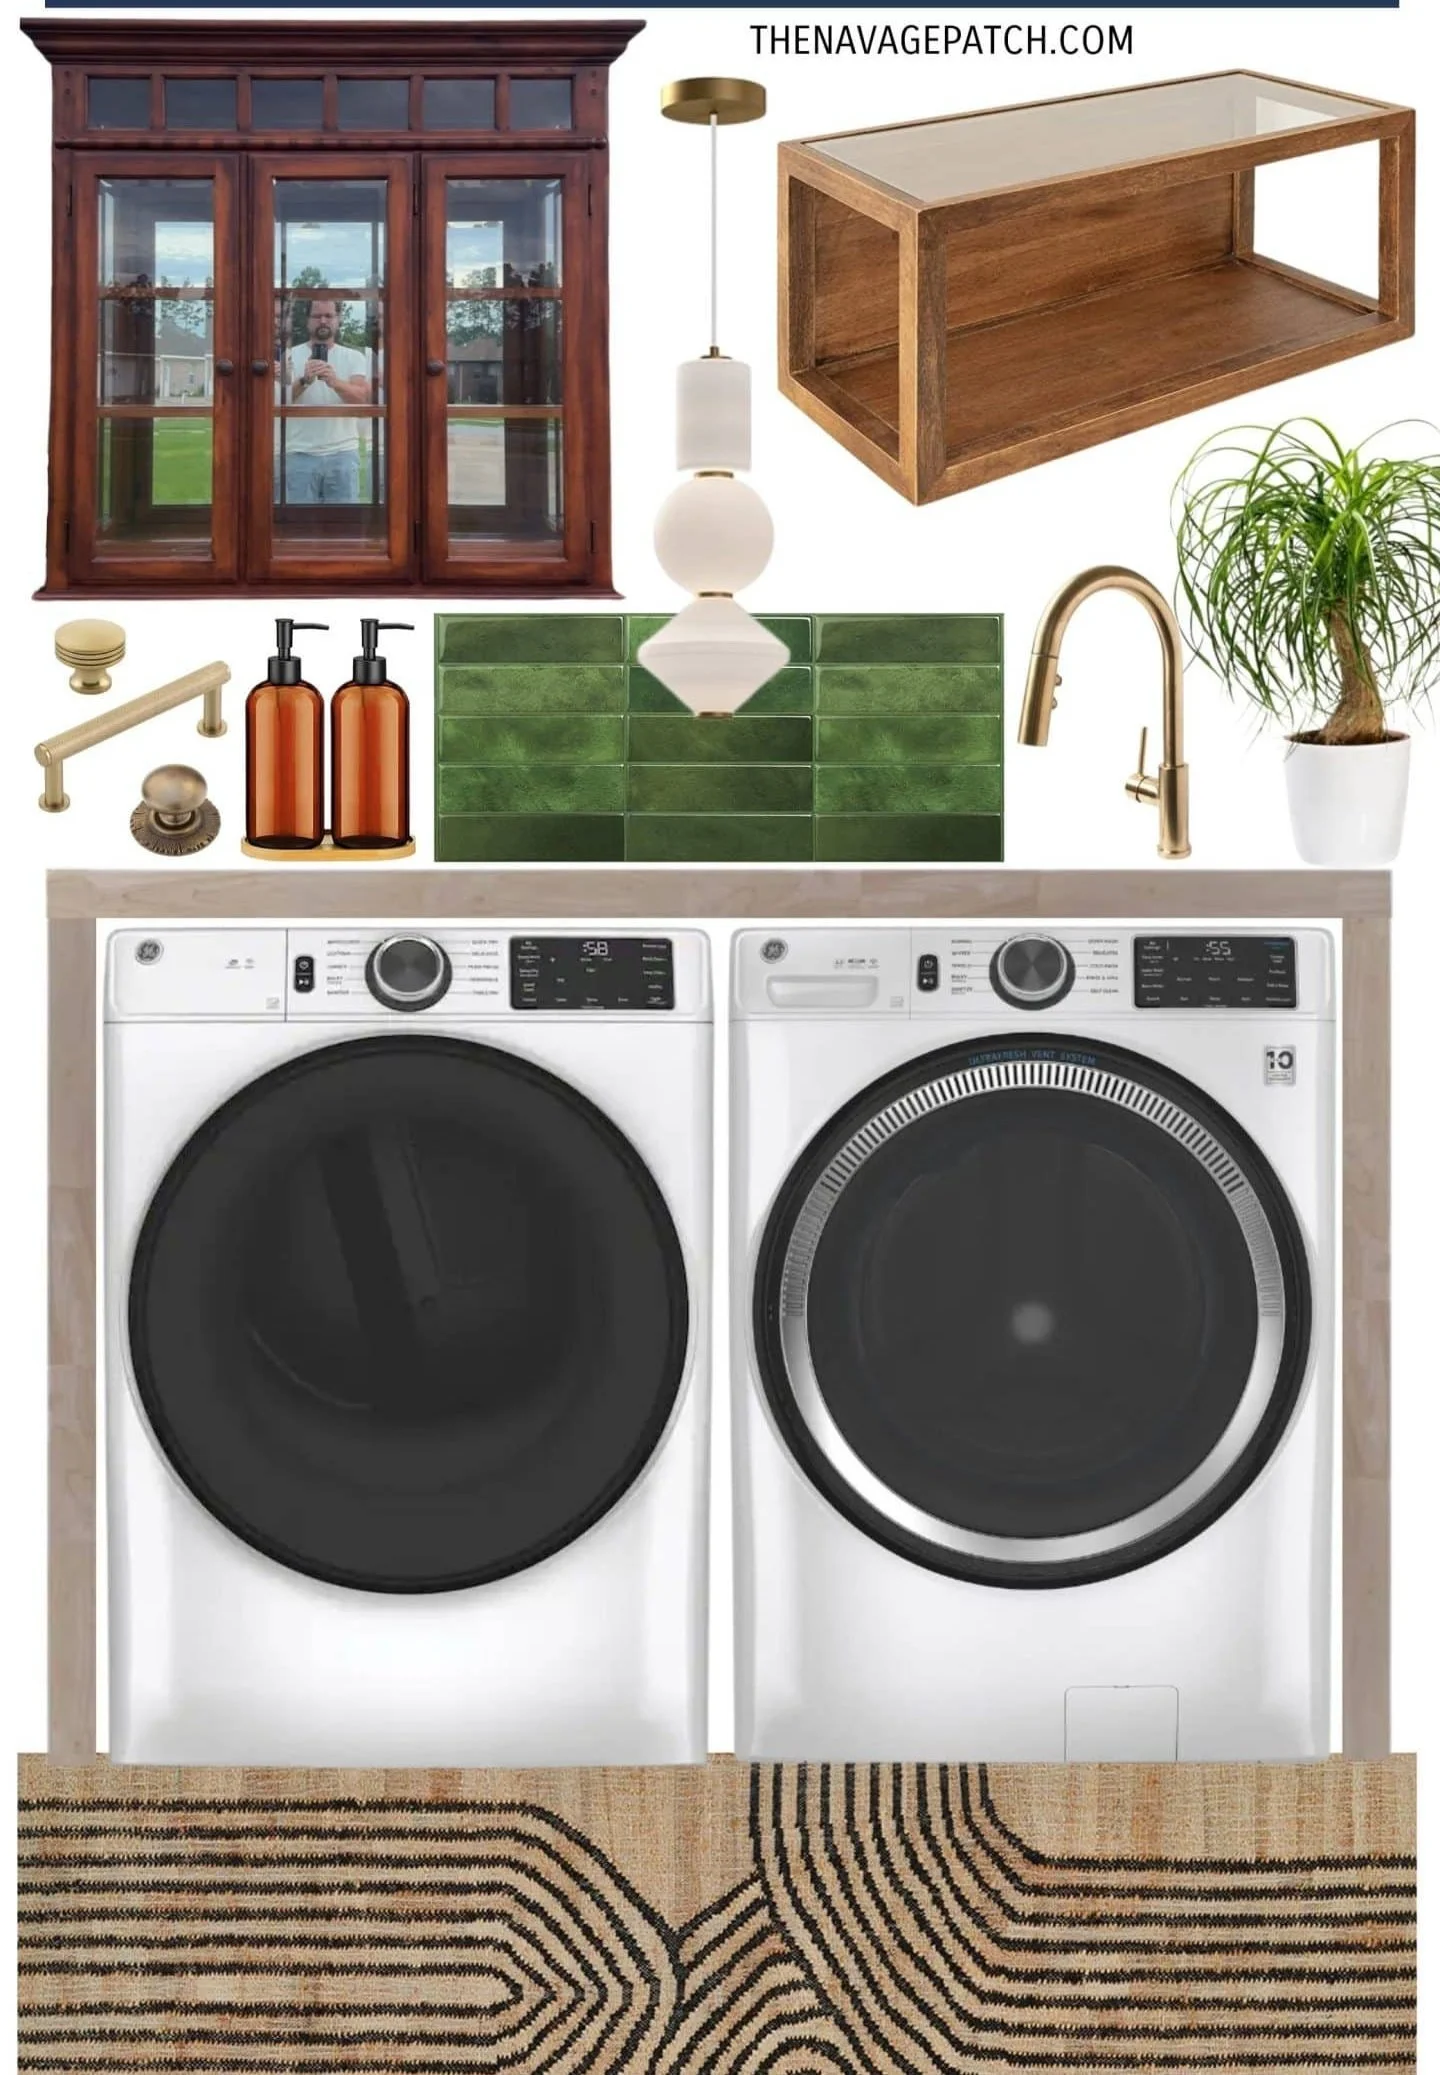
VIA THE NAVAGE PATCH
Mood board design tips
It can be helpful to select a central image or element that encapsulates the essence of your mood board. This focal point will serve as a reference and anchor for your overall design.
It might take a few tries for you to find the best layout. Organize your collected elements in a clear and logical manner. Group similar items together to create visual harmony and make it easier for others to understand your concept.
Less can often be more. Once you've assembled your mood board, review it critically. Remove any elements that don't contribute to your narrative or theme. A cluttered board can dilute your message.
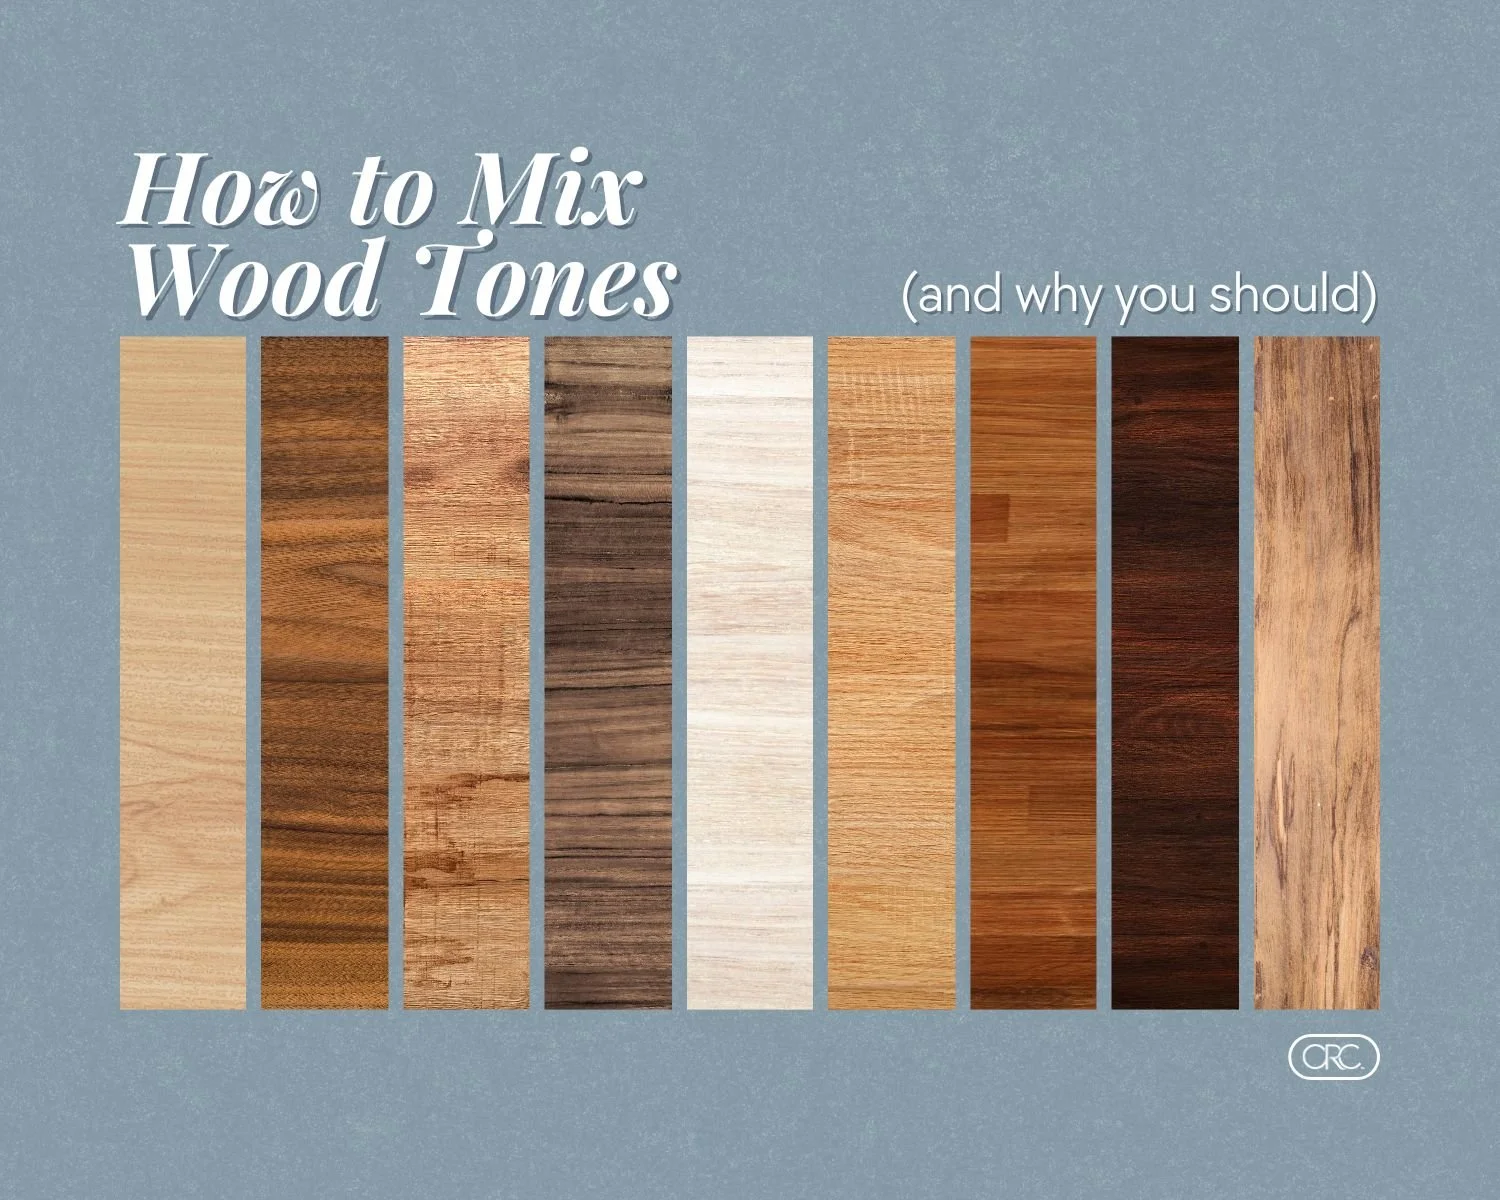
Don't be afraid to experiment with different combinations of colors, materials, and styles. You can swap elements out as many times as you need to. Mood boards are a great way to explore various design options before finalizing your concept.

Next steps
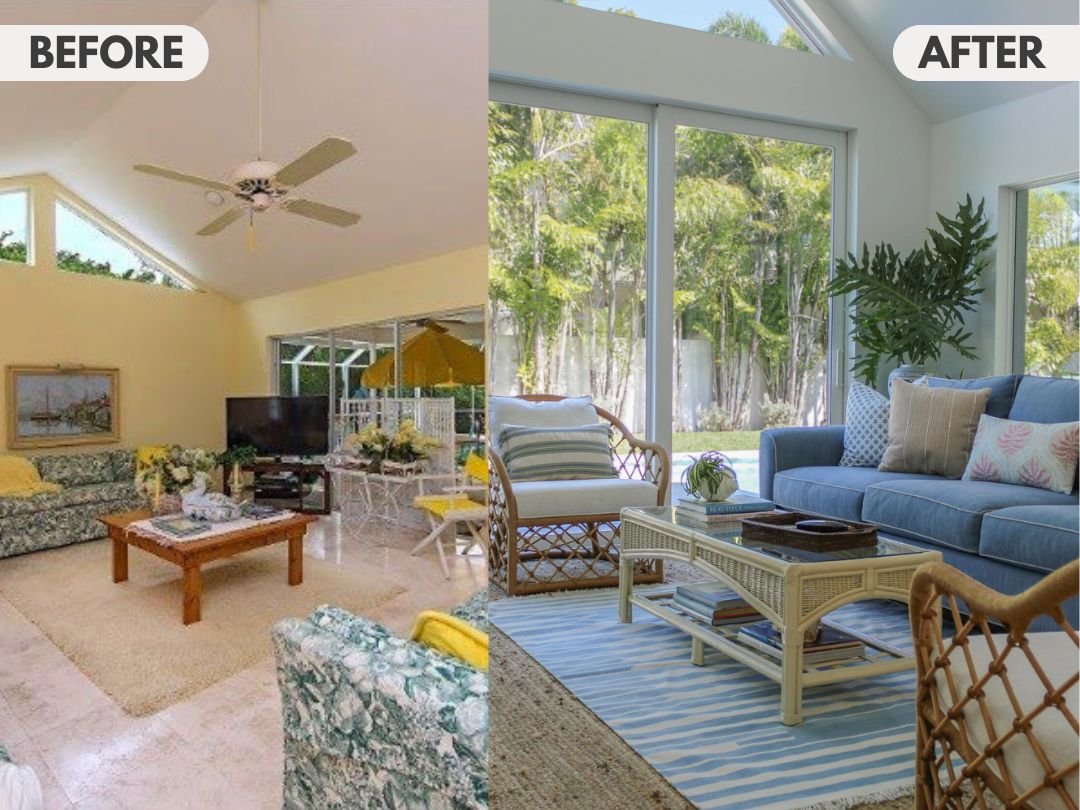
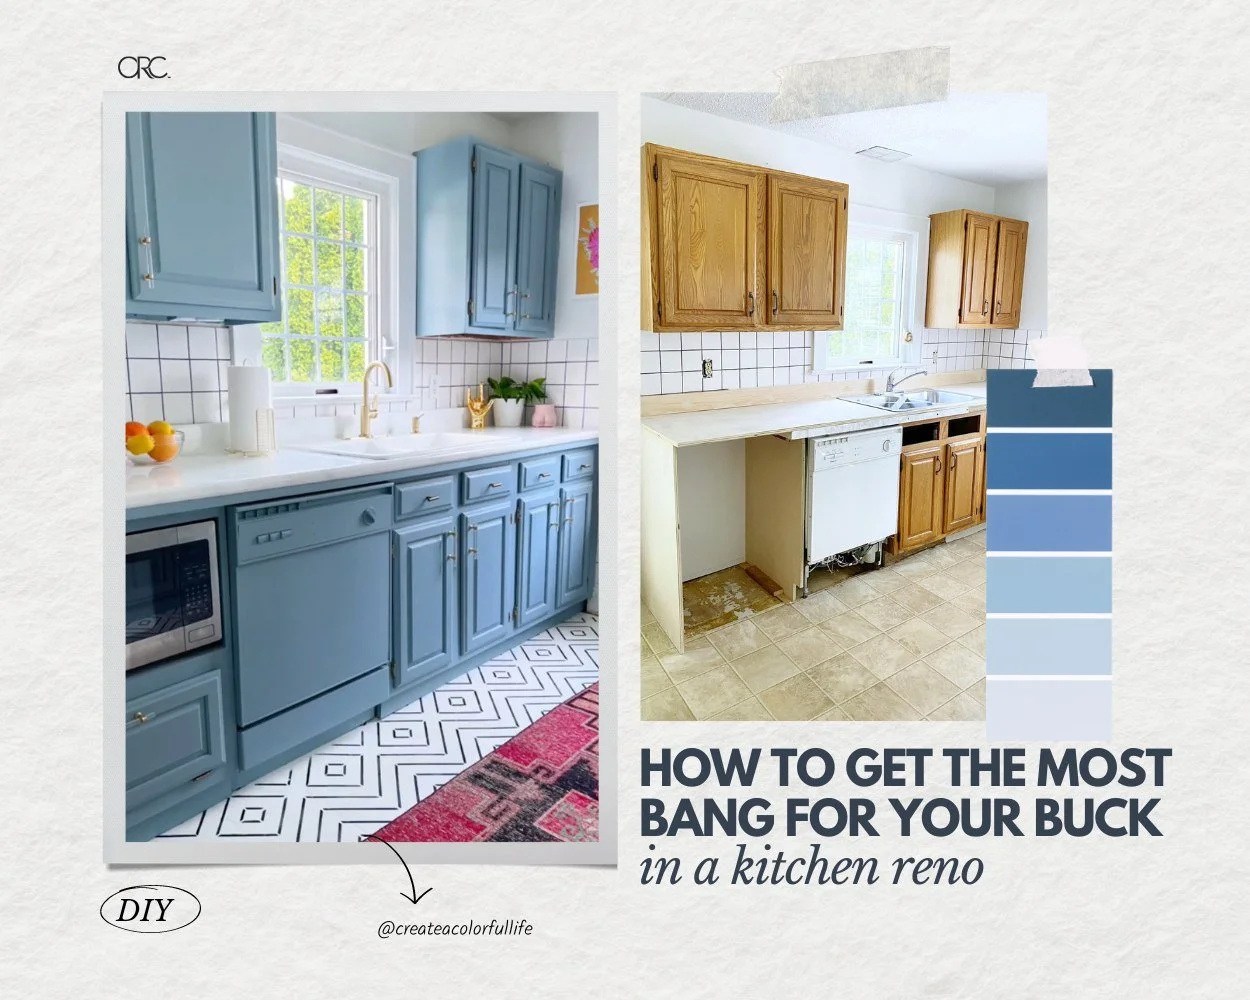
Next, it’s time to bring your vision to life! Above, you can see an amazing example from the Southern Gail of a mood board and the final product.
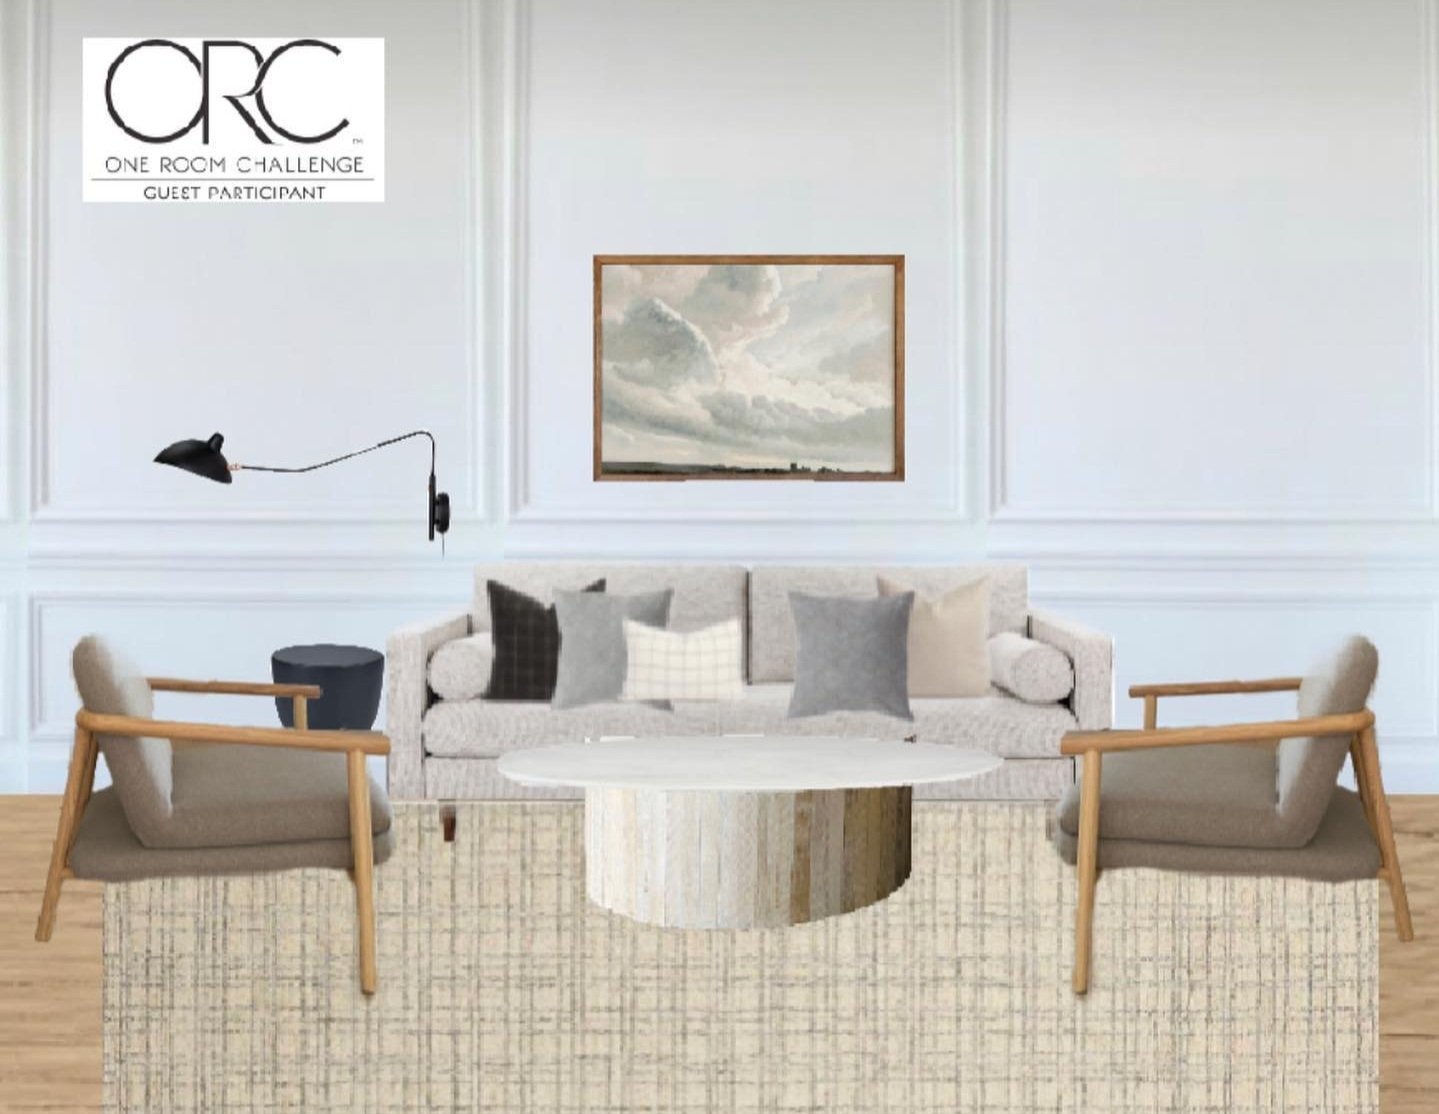
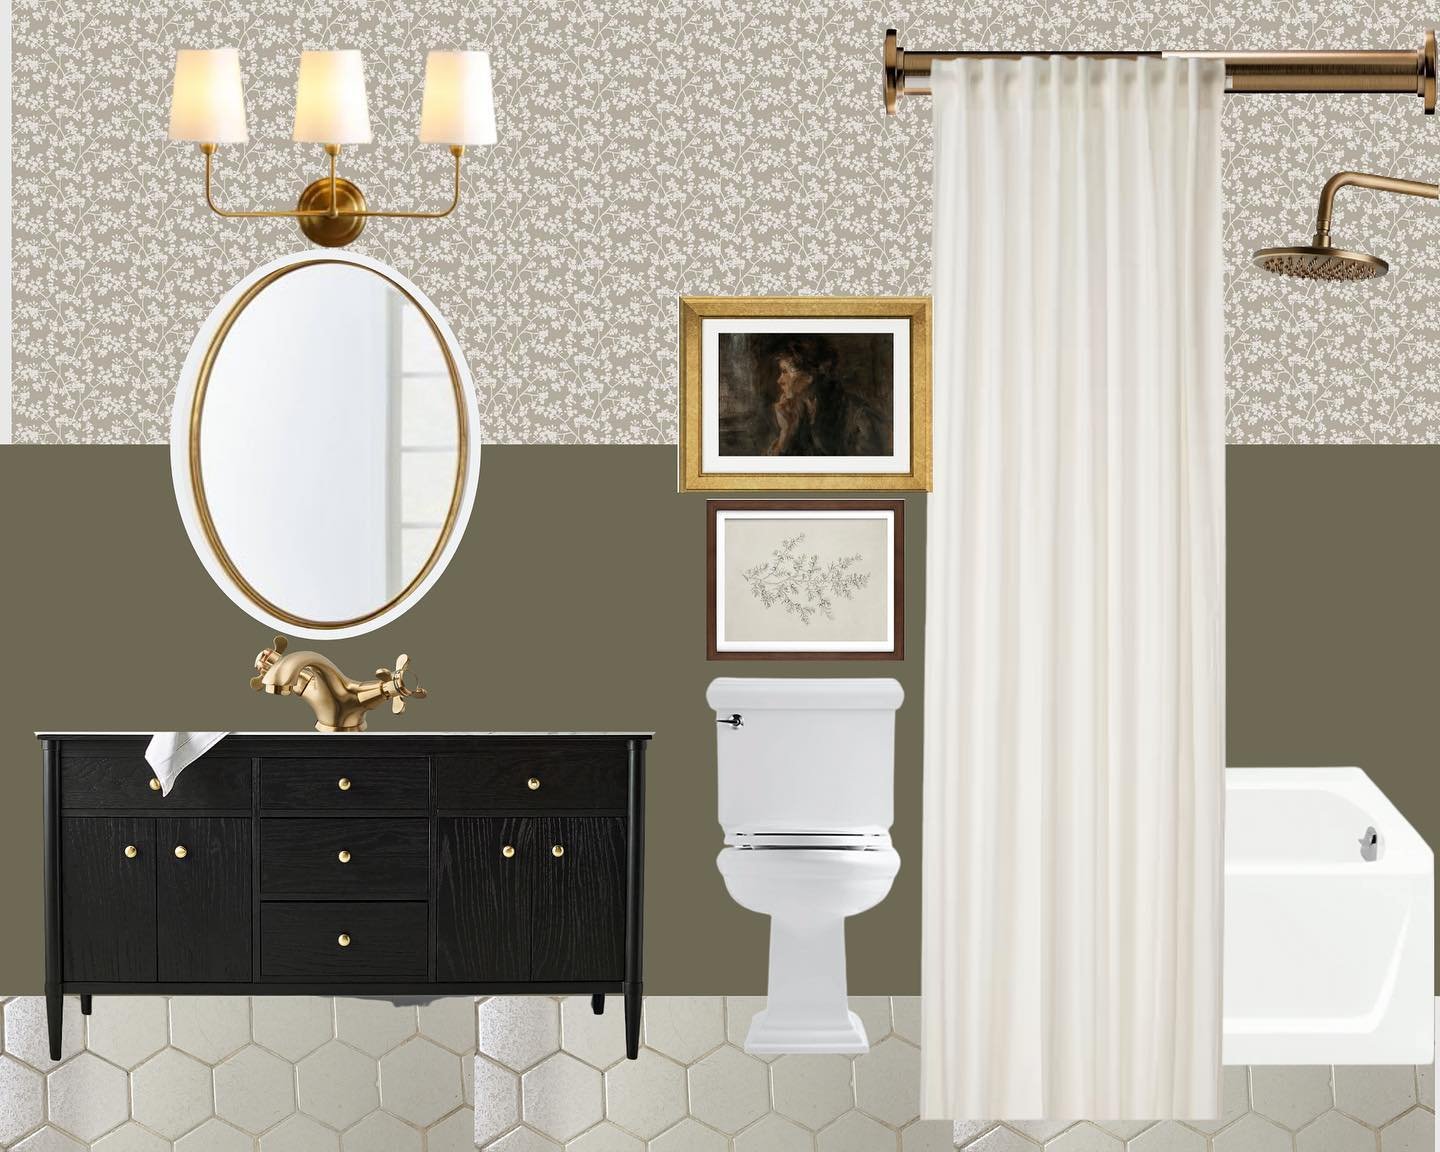
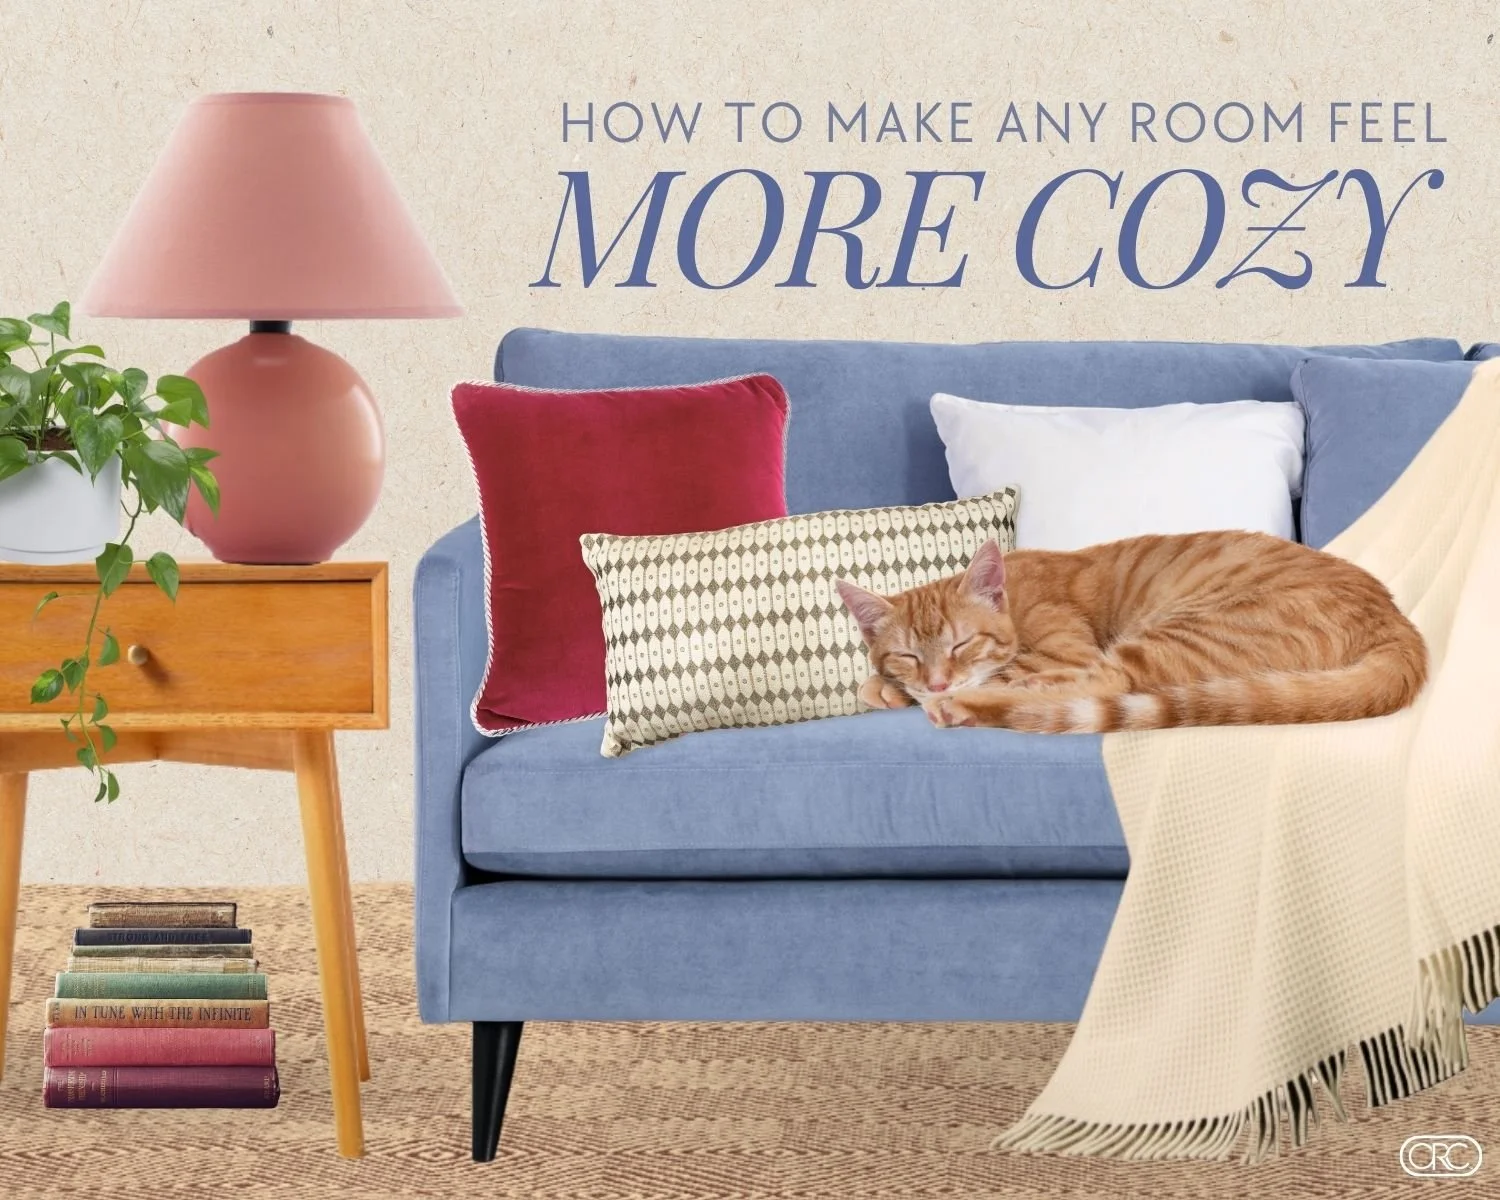
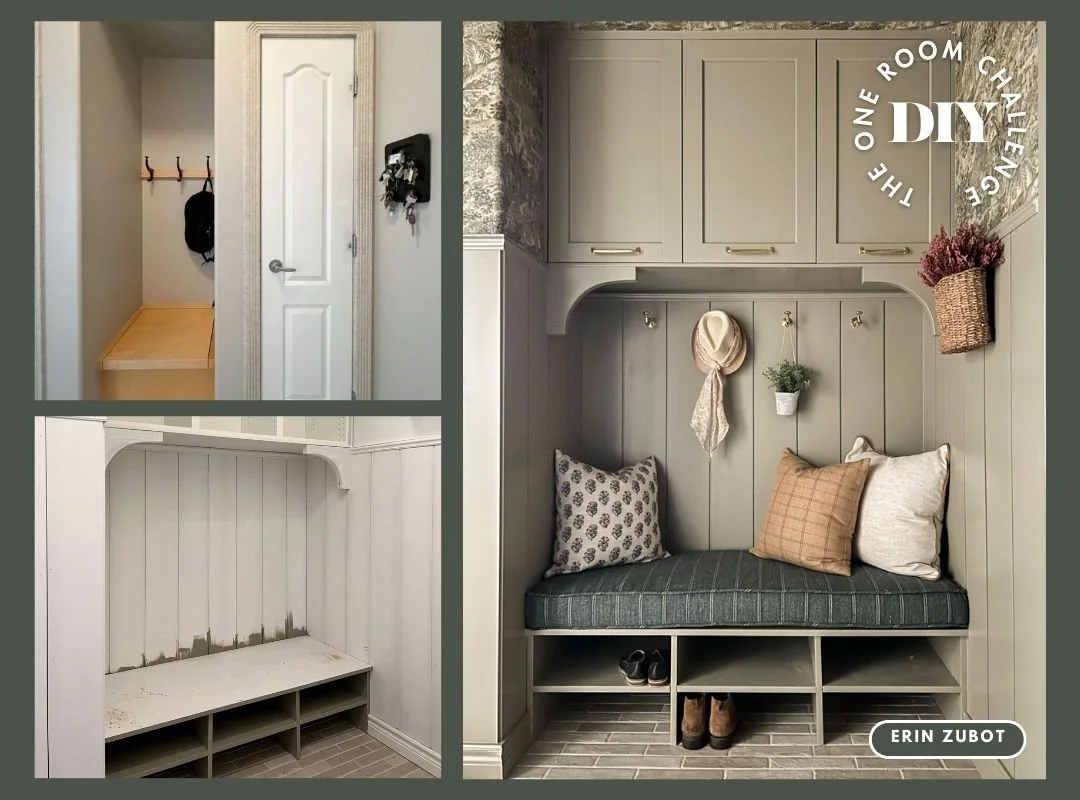
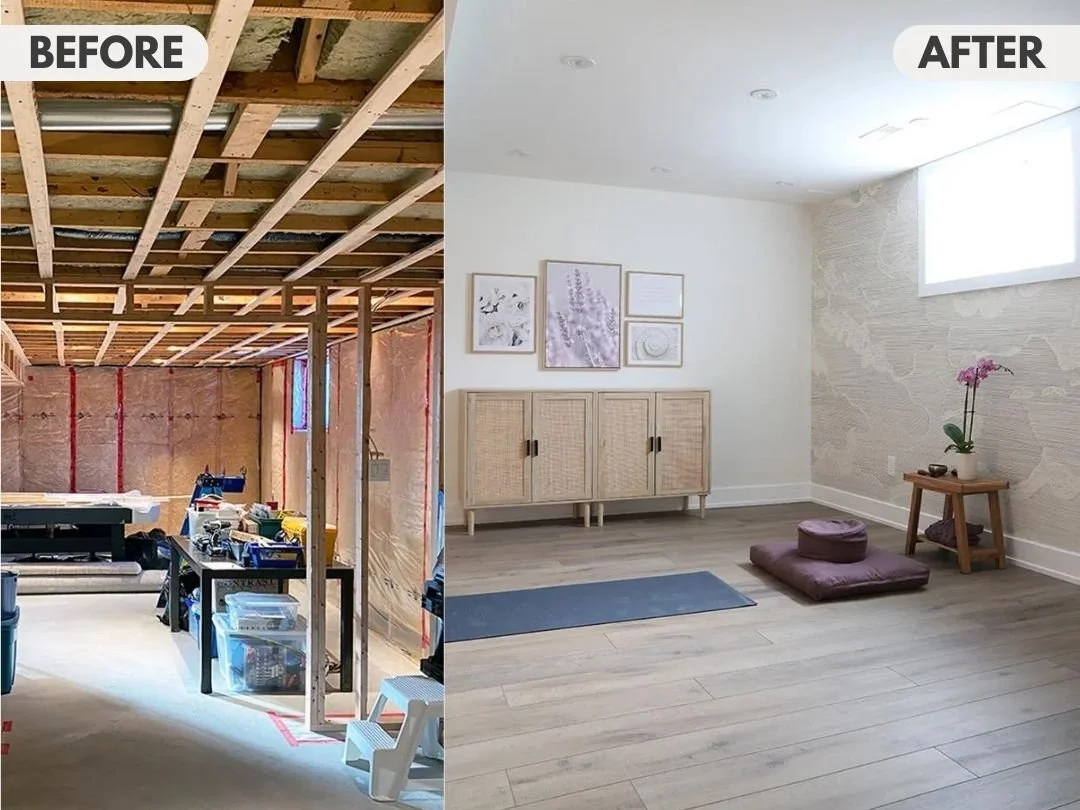
One last note— these same software recs can be used to make a mockup of your space when you’re ready. A mockup is similar to a mood board, but usually mockups show your final selections for furniture, etc., in the arrangement they’ll be in the room. You can see some examples of mockups below. Mockups can range from being more creative interpretations to being exact 3D renderings.