The Order of Operations for Room Refreshes, Makeovers, and Total Renovations
DESIGN

STORY BY VIRGINIA BESHEARS
Just like PEMDAS from algebra class, there’s an order of operations for transforming any room. Whether you're just refreshing a space or undertaking a total renovation, doing things in a certain order can save you a lot of time, money, and headache.
This guide offers a general framework that can be applied to almost any project, so you can bring your vision to life and minimize stress and unexpected hiccups along the way.
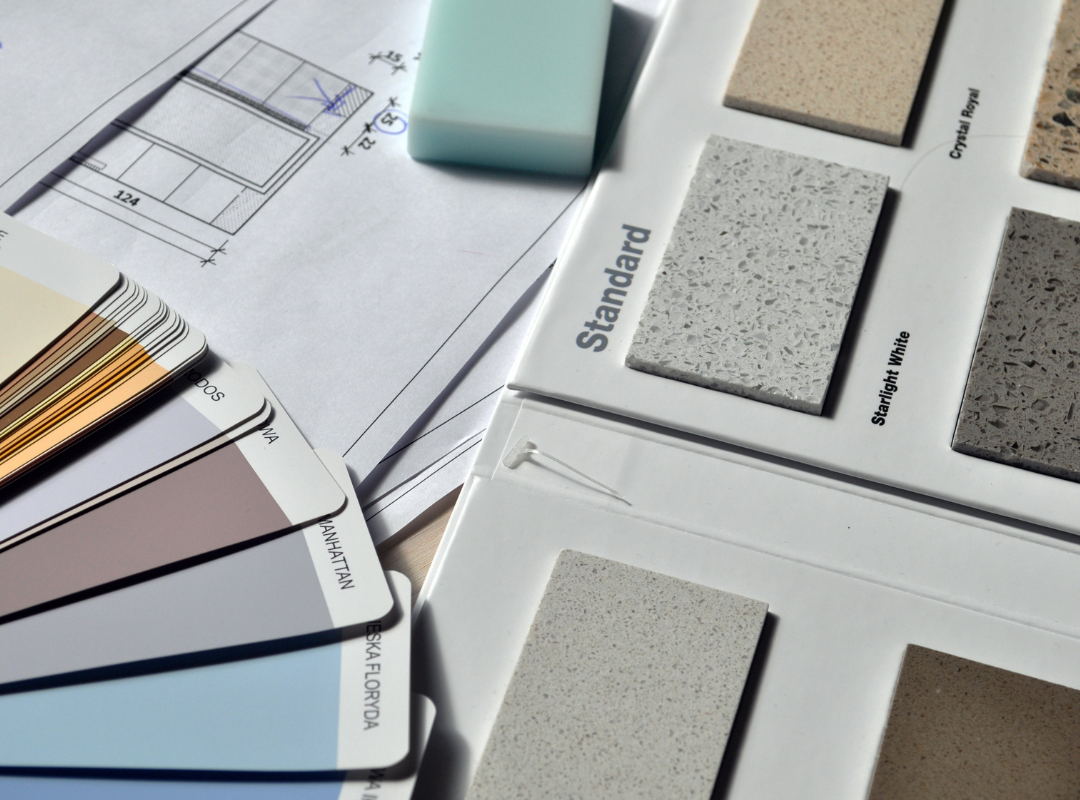
The planning stage
If you haven’t already, the first thing you should do is spend a few minutes writing down your goals for your project. There are generally three degrees of room transformation.
Superficial - a coat of paint or new wallpaper, new furniture or upholstery, maybe swapping out fixtures
Pull-and-replace - swapping major elements but the layout remains unchanged; examples include re-tiling, or replacing a toilet and vanity
Total overhaul - The layout of the room is being changed, you need pipes moved, maybe you have water damage so you need the room gutted down to the studs
The next step is your design plan/mood board, comprehensive task list, and budget. Mark down which tasks you want to take on yourself and which will be hired out to a contractor.
Also, if your home was built before 1980, you need to take the time to get your walls, ceiling, and certain kinds of flooring like vinyl tested for asbestos and lead. If any of these tests come back positive, you can have a remediation company come remove it safely, or sometimes it’s possible to adjust your renovation plan to account for the hazardous substance. For example, instead of scraping the popcorn ceiling that contains asbestos, you can just put ¼” drywall over it. Either way, don’t mess around with this stuff. You can read more about the dangers of asbestos here on the OSHA site.

Demo phase
If you’re planning to do demolition yourself, before you start going at anything with a sledgehammer, consider renting a haul away dumpster depending on how much you’ll be ripping out.
You should also figure out where your studs are, which walls are load-bearing, where your pipes, wiring, and ductwork is, and shut off your utilities before doing anything.
The first thing to tear out is carpentry and millwork like cabinets, built-in bookshelves, trim, crown molding, and baseboards. This also includes uninstalling doors.
If you’re removing any drywall, that comes next.
If you have ceiling texture you want to scrape, consider doing that before tearing out flooring-- removing ceiling texture gets MESSY and hauling that debris out with the old floor can save you a lot of clean-up. If not, go ahead and remove the floor.
Before you move on, regardless of how much demolition you do, this is the best time to check for things like water damage, structural issues, mold, etc..

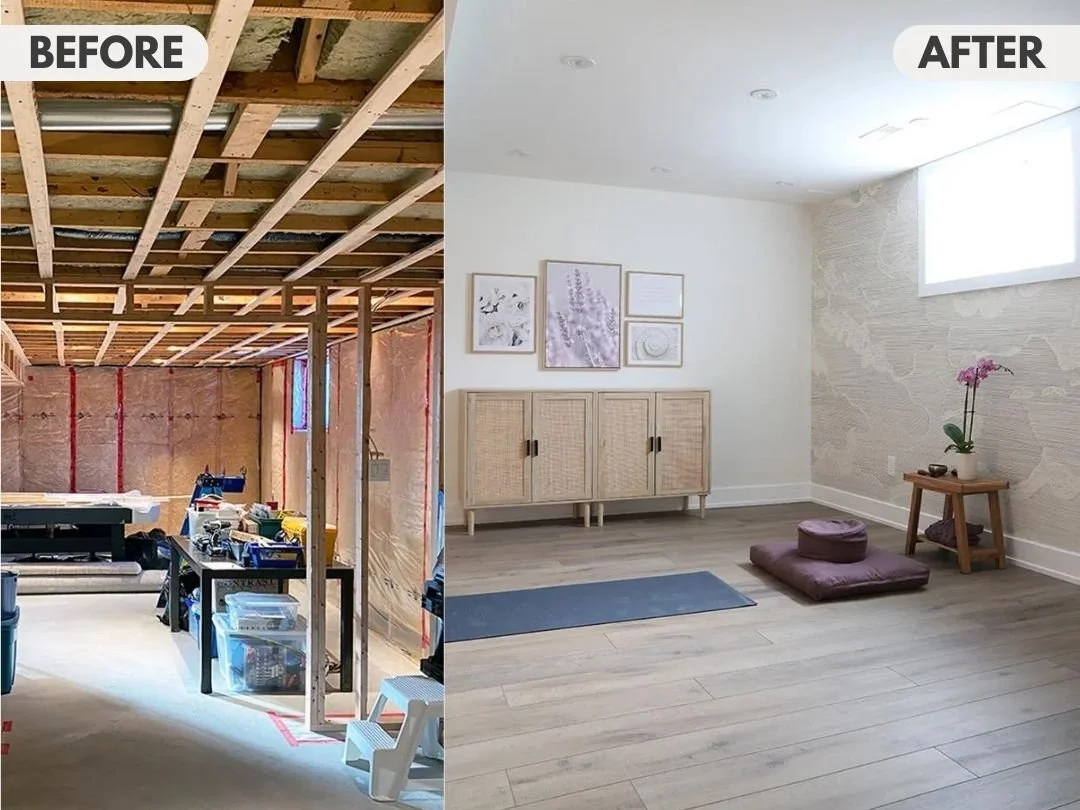
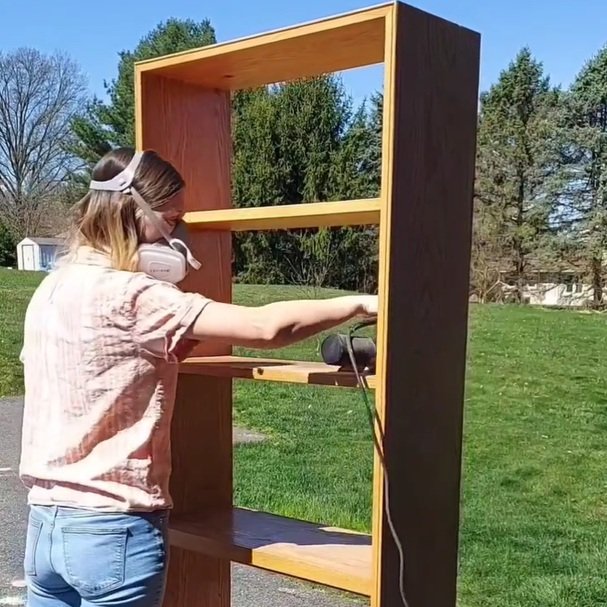
VIA THE FARA FIX
Rough-In phase
If your project involves any rough-in, you’ll more than likely hire that out to contractors. Ideally, you’ll be able to schedule the contractors in the right order so that this stage goes as smoothly as possible.
Any HVAC work comes first, because elements like ducts are the biggest and bulkiest. Plumbing comes second, and electrical comes third. It isn’t the end of the world if, for whatever reason, these have to happen out of this order, but routing a wire around a pipe is always easier than routing a pipe around a wire.
The last step before it starts to look like a room again is putting in insulation and drywall.

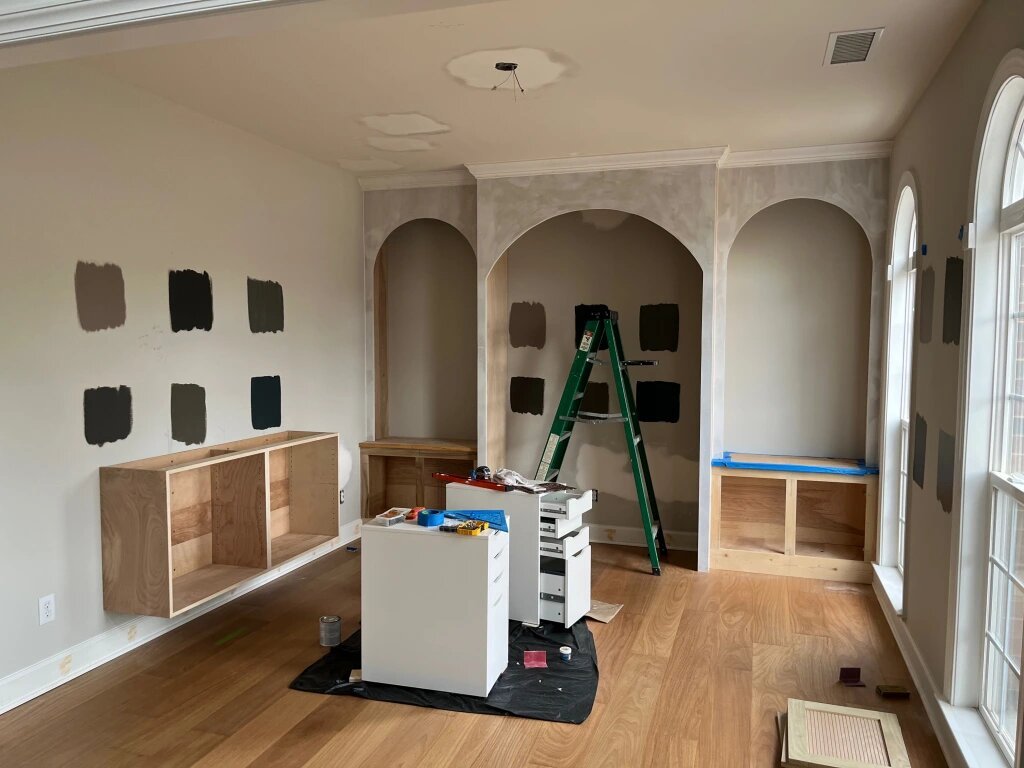
The last of the hard part
This is the phase of paint, carpentry, and flooring, and it’s a puzzle. How you plan this phase will depend a lot on how in-depth your project is. If you’re starting with a blank slate, the ideal sequence of events is:
Paint
Install carpentry
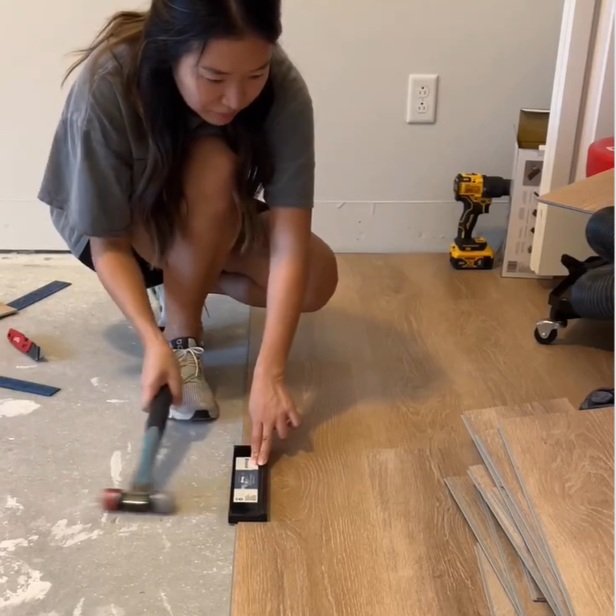
Paint carpentry
Install flooring
This way, you never have to worry about getting paint or scratches on your beautiful new flooring.
This phase is such a puzzle, though, because it rarely works out like that.
If your project is more of a facelift, when it comes time to paint you’ll just need to put down protective plastic or a drop cloth to protect your floors. In this case, you might want to install carpentry before painting anything so you can paint everything all at once. Also, sometimes new flooring needs to be installed before carpentry elements like baseboards. Those elements can sometimes be painted outside in your yard, so only touch-ups have to happen once they’re in place.
Wallpaper can be installed before or after crown molding and baseboards go in, but either way has its pitfalls—wallpapering after trim makes it harder to hide uneven places, and wallpapering before trim will be incredibly hard to remove in future renovations. It’s a pick your poison situation.

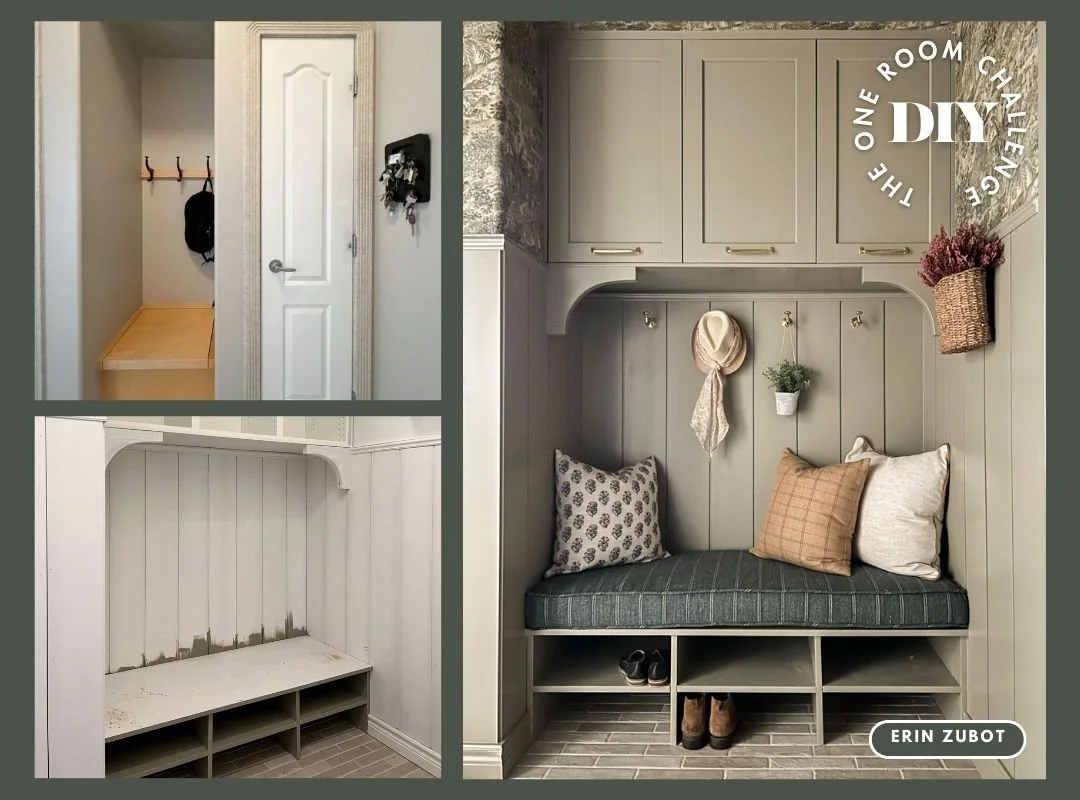
The fun part
At this point, your room should be ready to start bringing in the decor. Light fixtures like chandeliers and sconces should be installed before anything else comes into the room, since that usually involves a ladder and a drill. This also applies to window coverings like curtains and shades.
If you’re using contractors, hold off on putting rugs down until they’re completely done. Once the rug is down, it’s all up to you and your creative process (and shipping delays and the supply chain, but what can you do).
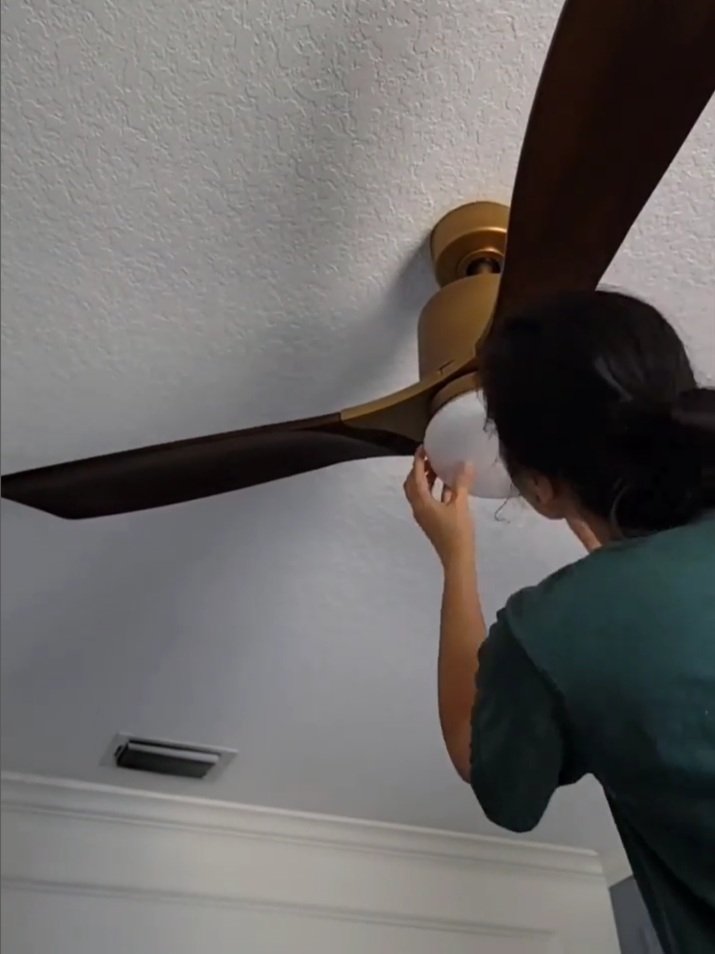

VIA FIND MAGGIE MAY
Specific considerations
Bathrooms and kitchens both have a few extra elements to fit into the order of events.
In a bathroom renovation, if you’ve stripped the room back to the studs, your new shower or tub needs to go in first, even before sheetrock. Any painting should also be done before tile if possible. The toilet and vanity should both be brought in after tile.
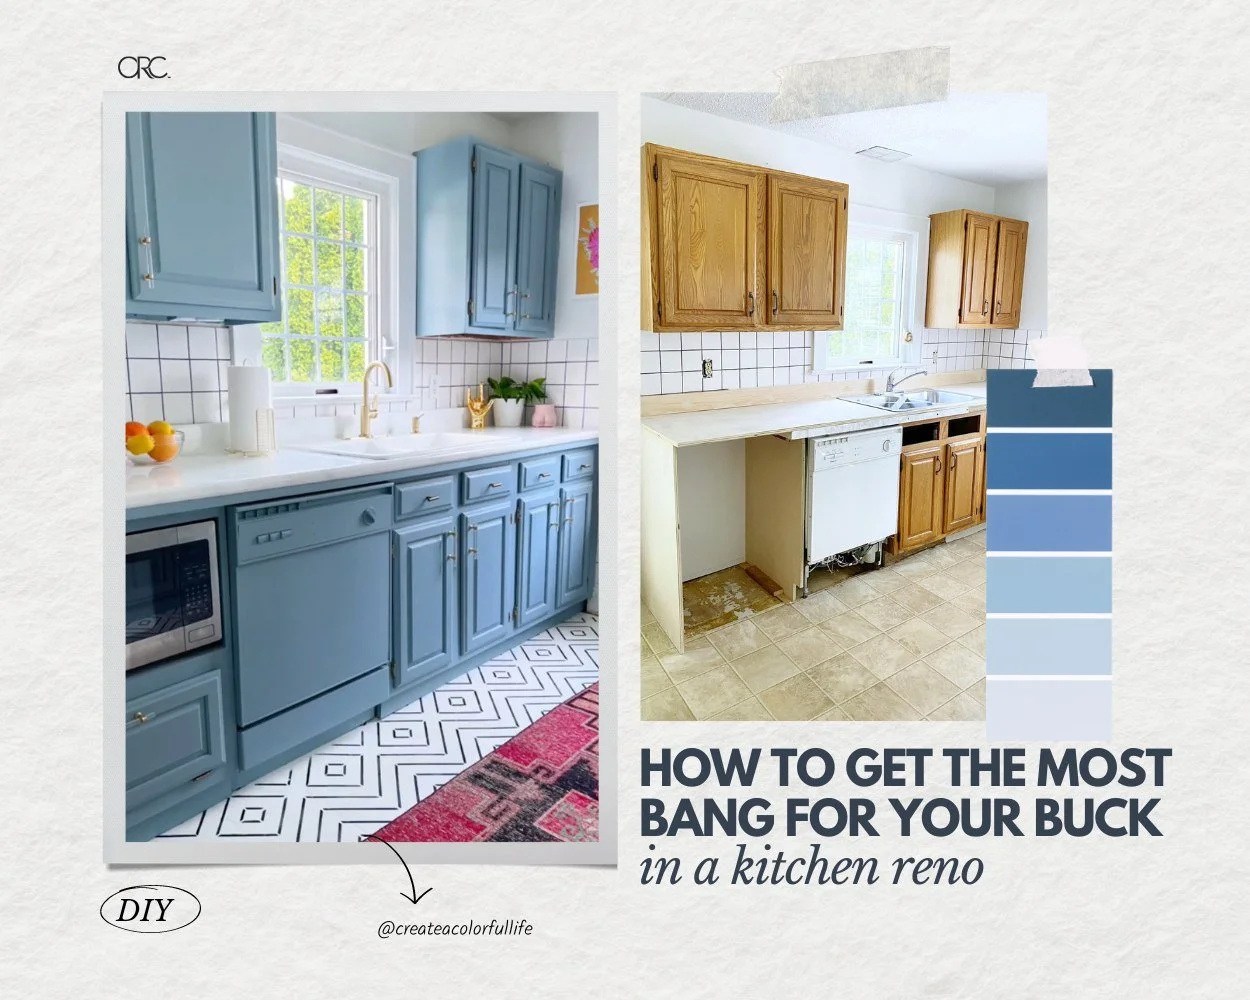
For kitchens, countertops should be removed before you try to pull the cabinets out. Flooring has to go in before the cabinets can be installed. Also, the backsplash should be added after the countertops are installed so it can be perfectly flush. Appliances come in last.
Obviously every project is different, and you’ll more than likely run into a situation where things need to be done out of order, or overlap, or be undone and redone, etc.. Knowing the typical order renovations follow and the reasoning behind it will help you to easily adjust your plan no matter what obstacles pop up along the way. Happy renovating!
Taking on any of the work yourself? Check out the ORC editor’s DIY favorites guide, where they’ve curated all the tools and products they love and use the most.