How to Make Your DIY Paint Job Look Professional
DESIGN
STORY BY VIRGINIA BESHEARS
When it comes to interior paint, even your very favorite shade won’t live up to expectations without a well-executed paint job.
While painting is definitely one of the most approachable, beginner-friendly DIY projects, achieving professional-quality results requires more than just a can of paint and a brush.
Below is everything you need to know before you crack open the paint can, for both walls and cabinets.

VIA SHARP AND GREY
Prep your surface
Spending a little extra time prepping will save you much irritation down the road.
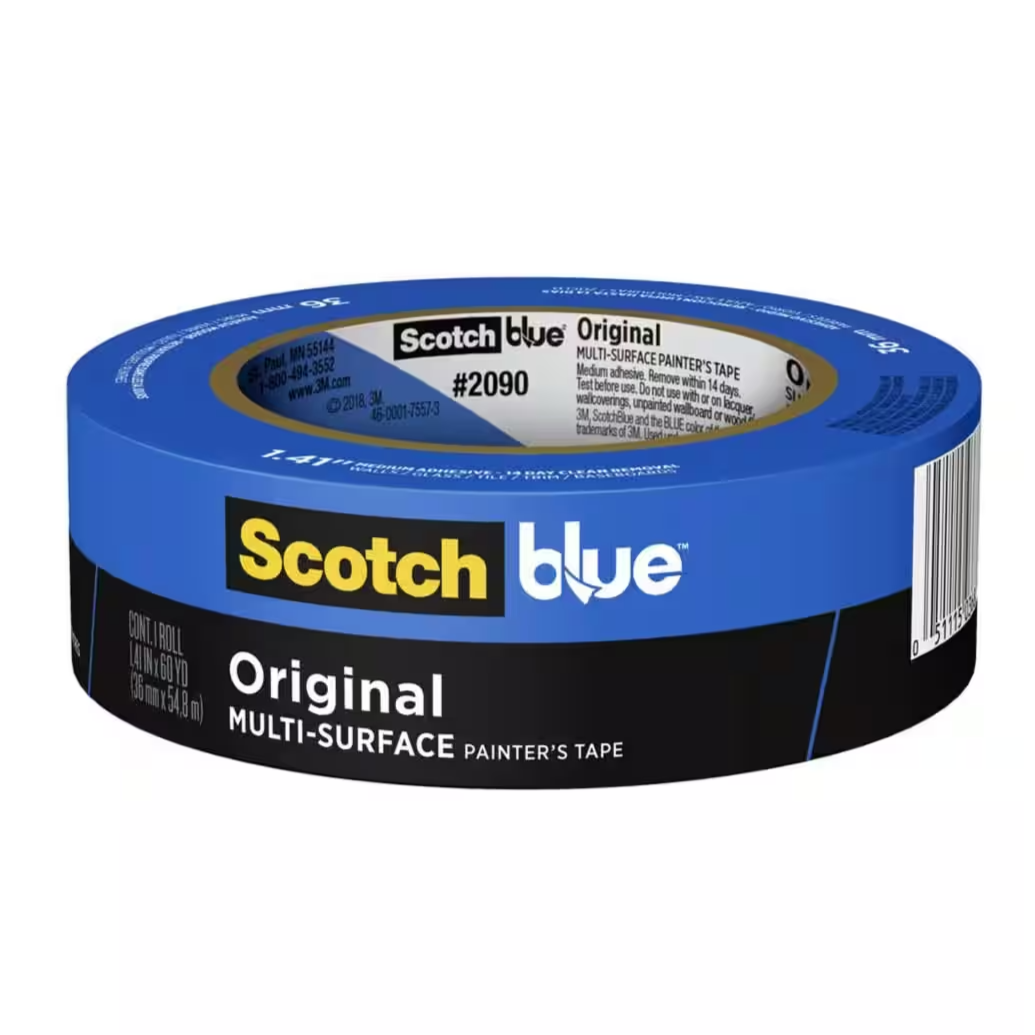
First, repair any cracks, holes, or imperfections with compound or wood filler, give it plenty of time to dry, and sand it smooth. Unscrew and remove light switch and outlet covers, and cover the light switches and outlets with painters tape.
Also, thoroughly cleaning whatever you’re about to paint is extremely important because even tiny flecks of dust or grease spots can show through your paint. You can use a wet sponge on grease and dirt, and a tack cloth on dust.
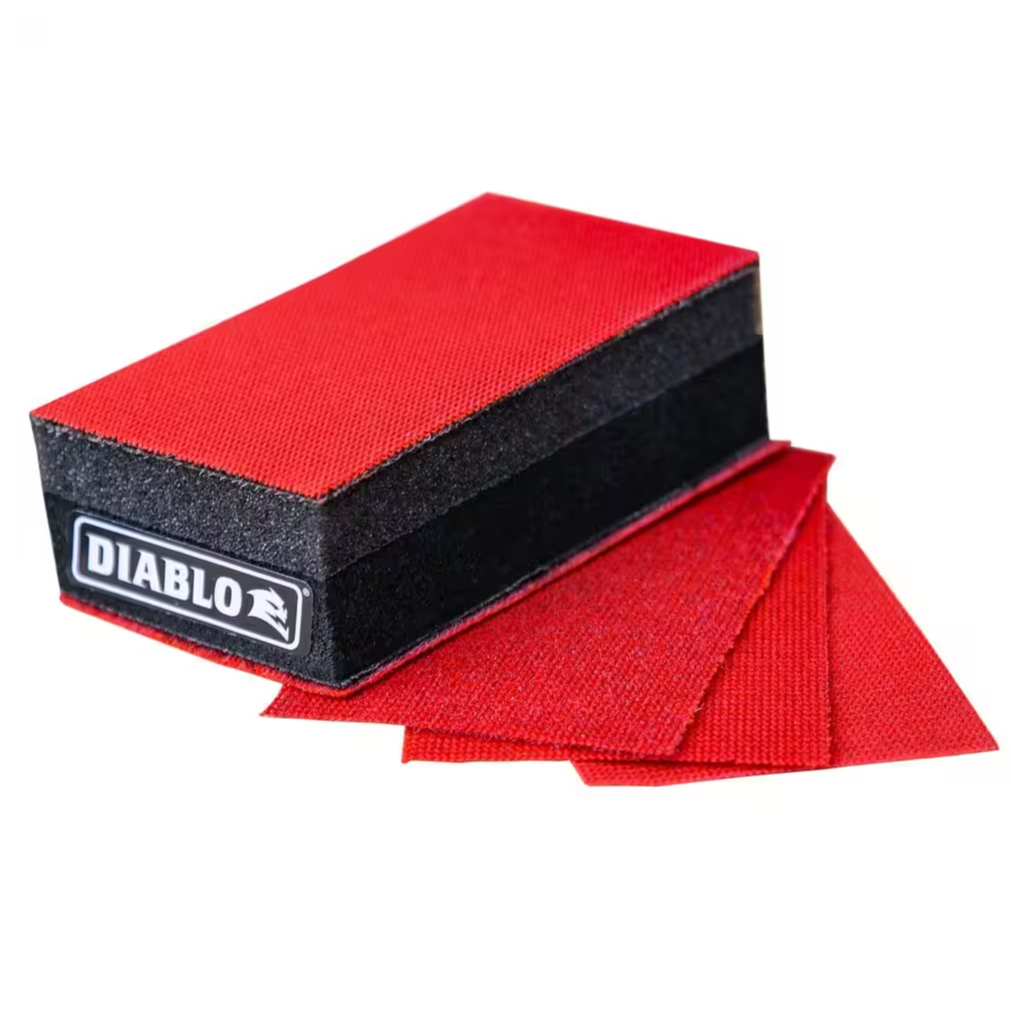
If you’re working on cabinets, you should keep a few tack cloths on hand to wipe the surface down after every time you sand. If you’re painting a smooth material like wood or melamine, you may need to lightly scuff the surface for better paint adhesion.
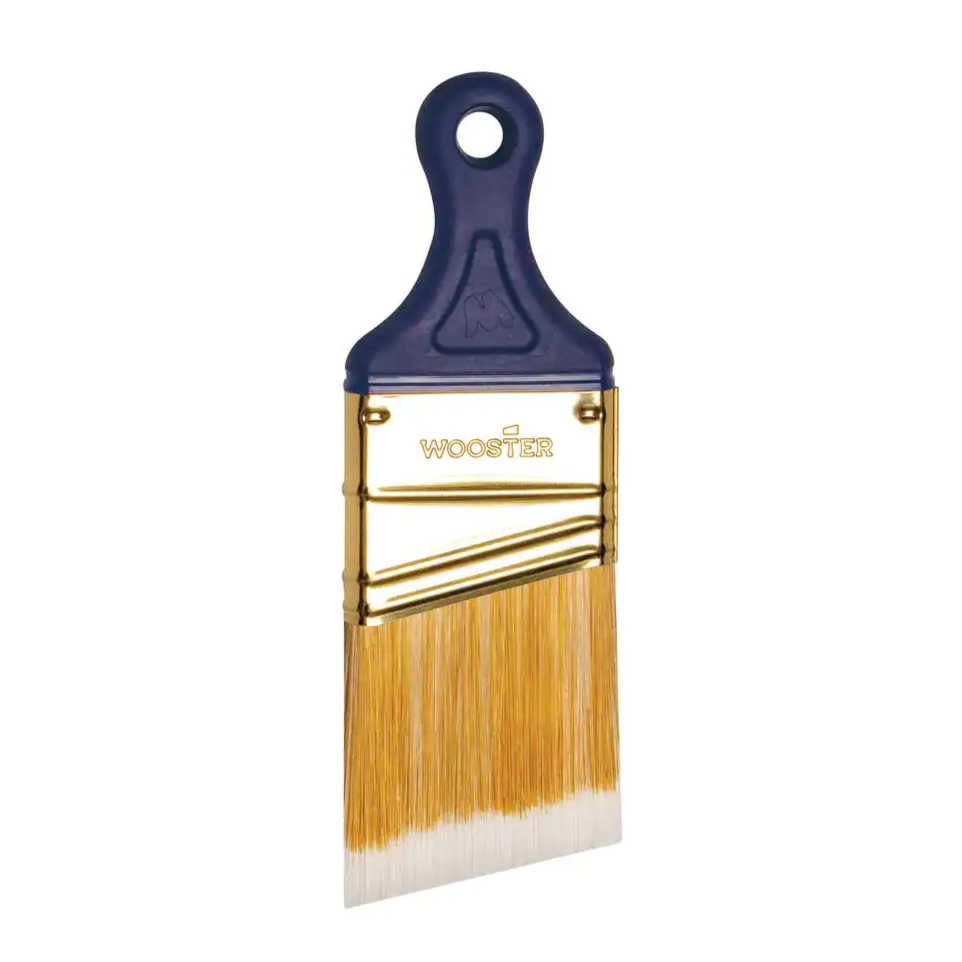
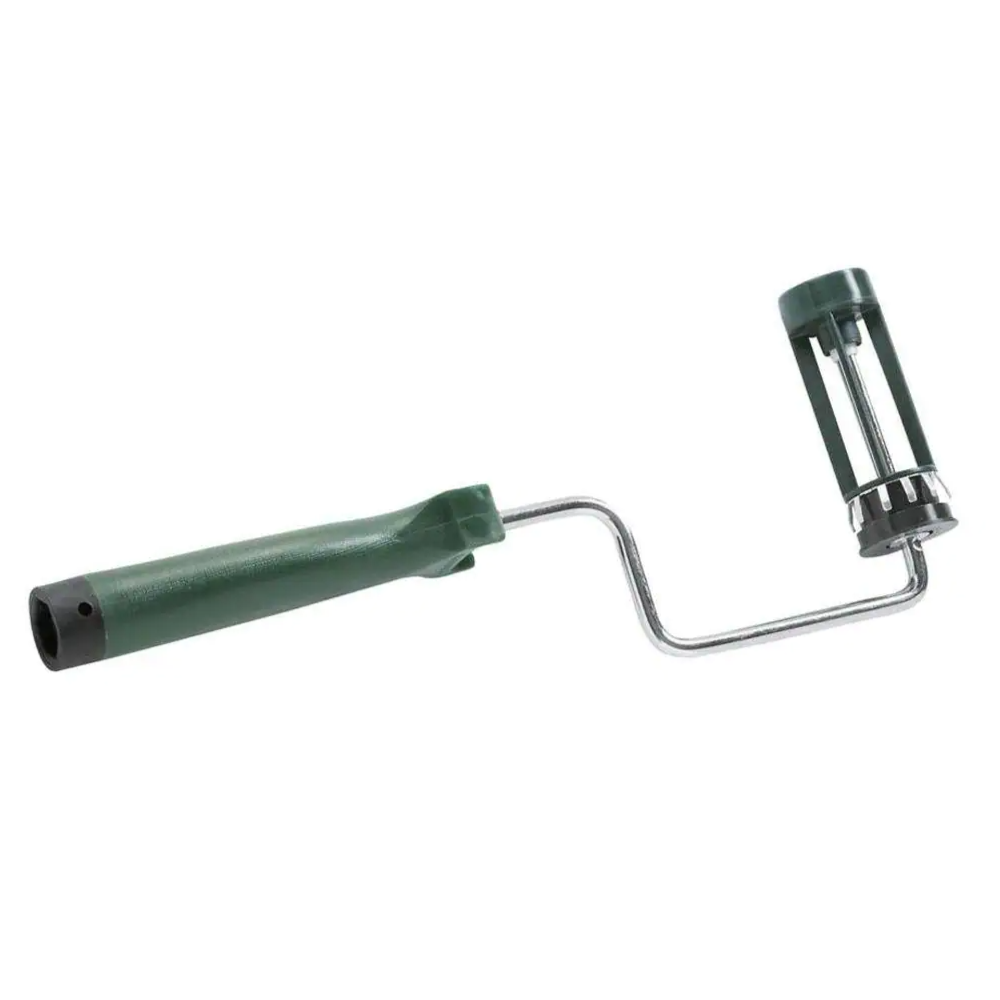
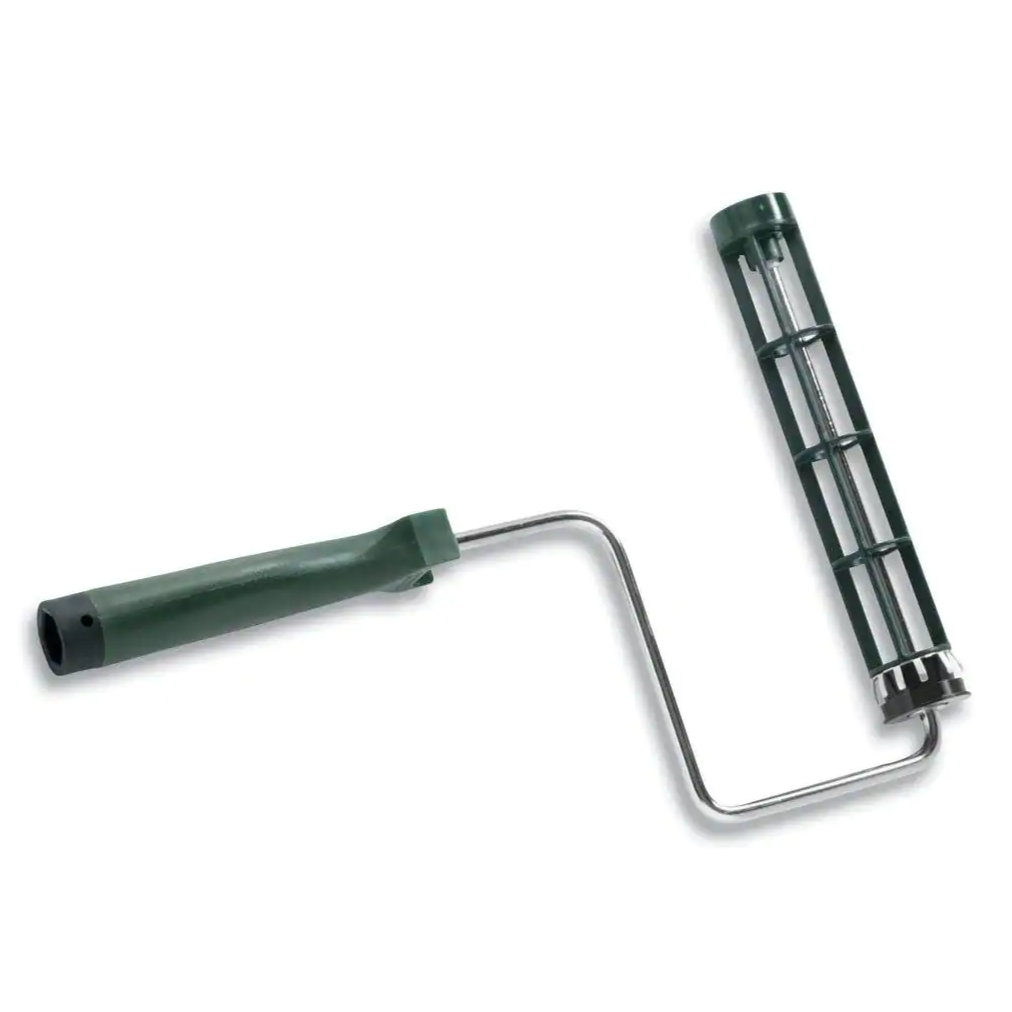
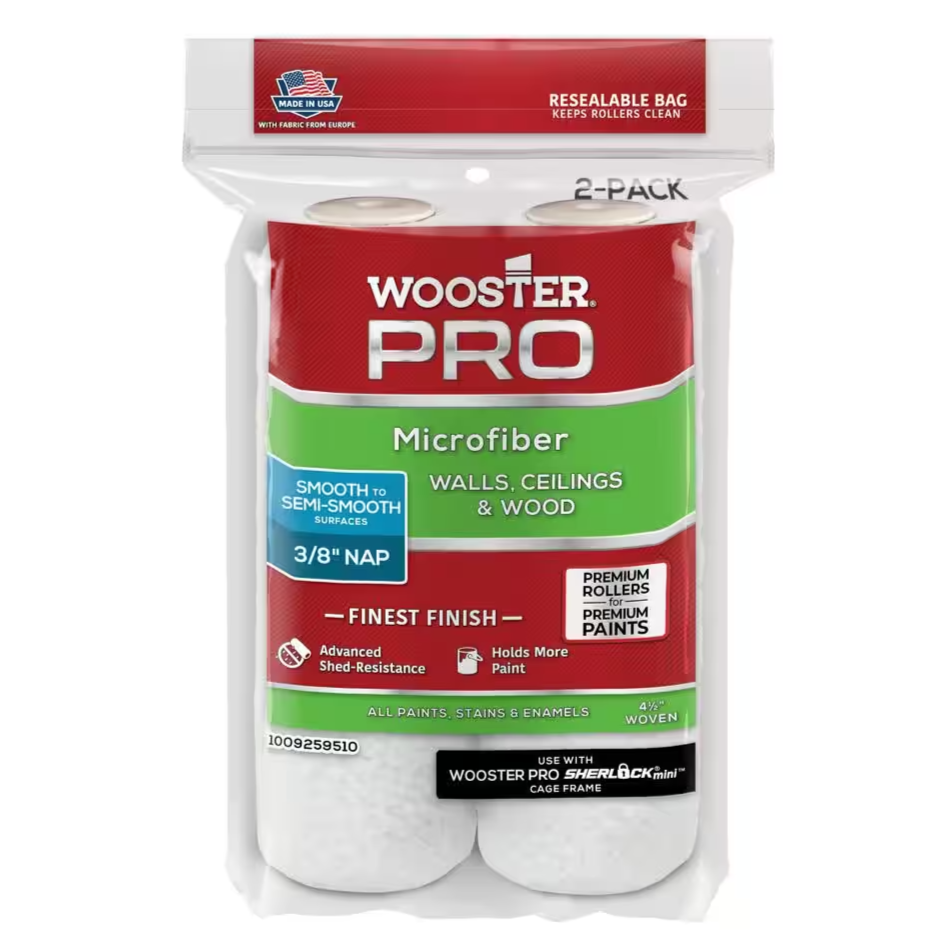
How to choose the right roller
For the vast majority of paint projects, you’ll only ever need two sizes of paint roller frames (the plastic handles): a 9 inch roller frame for walls, and a mini 4 inch roller frame for cabinets or furniture. A super basic plastic roller frame costs around $5 and will last you years and years.
The paint roller covers are where things get complicated. The important variables on roller covers are material and nap.
Material:
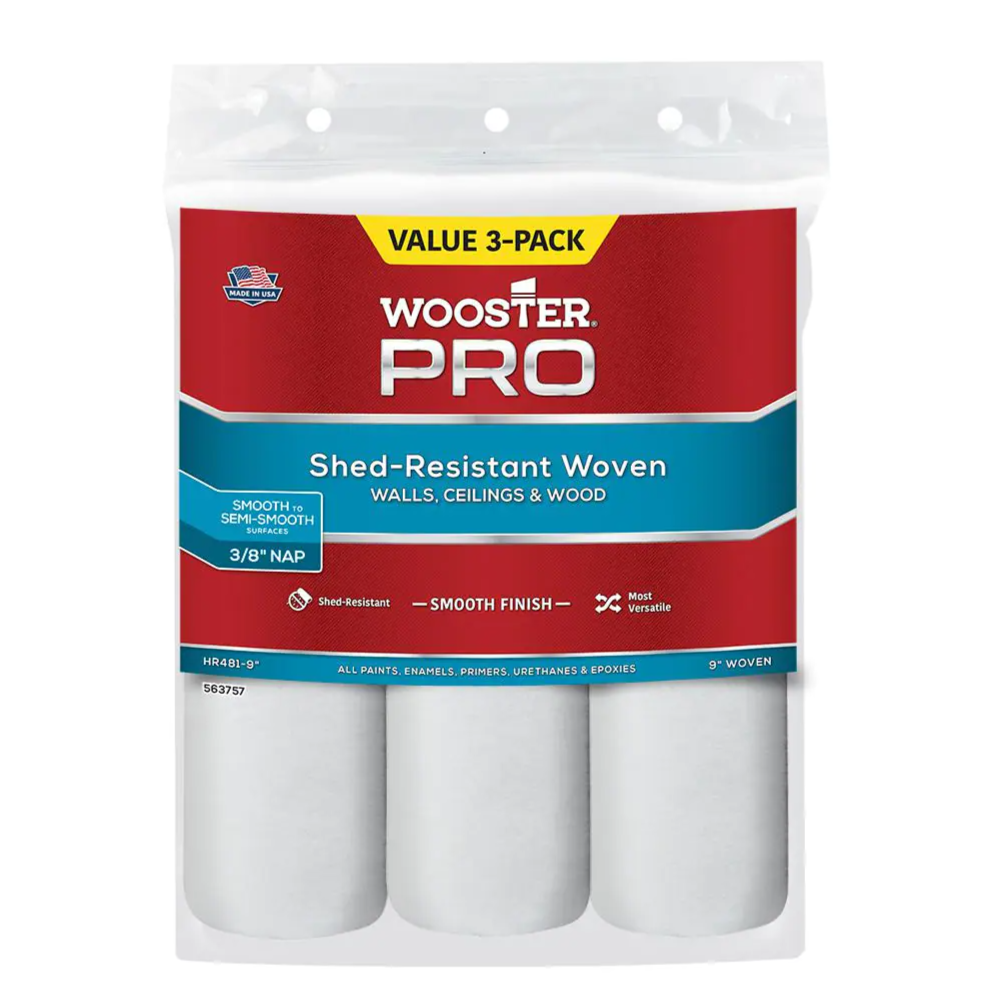
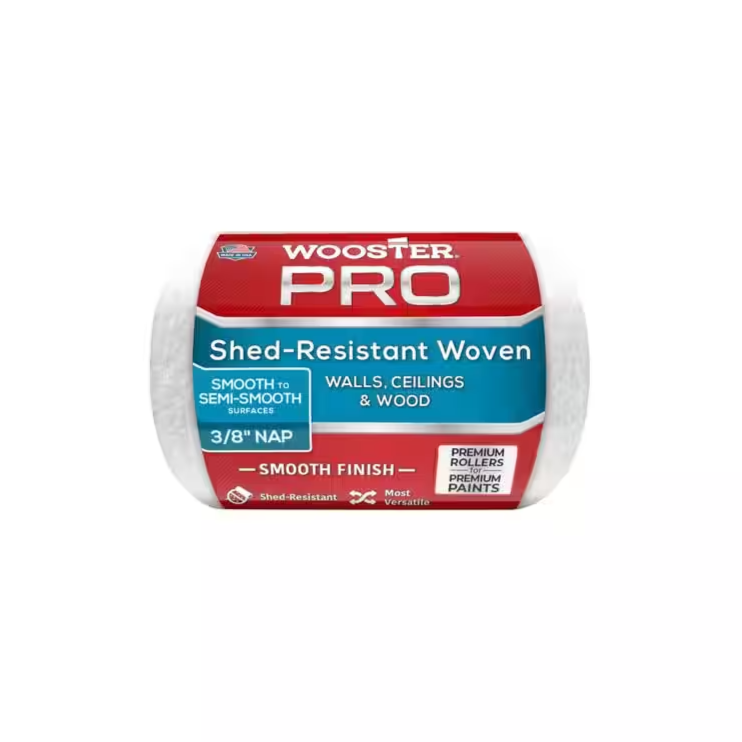
Woven roller covers are the most versatile roller material. They’re low shed and high capacity, so they get a smooth finish and work for most surfaces and sheens. Microfiber is one kind of woven roller.
Knit roller covers can hold a ton of paint and cover a large surface quickly, but they’re prone to shedding and leave some stipple. Polyester knit rollers should only be used on flat and eggshell finishes where imperfections won’t show as much, and lambswool knit rollers should be used with oil-based paint.
Foam roller covers can get a very smooth finish and are great with high gloss paint since they don’t shed, but they wear out quickly.
Nap (thickness/pile of the roller):
A higher nap can hold more paint, but will leave more stipple. The nap you choose generally depends on how rough or smooth your surface is, but your paint sheen should be a factor as well. You can get away with a higher nap with flat and eggshell paints, but be careful with higher gloss paints.
Wall finishes like matte and eggshell are best applied with a 3/8" nap.
Semi gloss finishes on doors and trim are best applied with a 1/4" nap.
1/4 inch nap is for smooth surfaces like plaster, metal, trim, or cabinets, and for semi-gloss or gloss paint.
3/8 to 1/2 inch nap is for semi-smooth surfaces, particularly drywall and paneling, and any level of sheen.
3/4 inch nap and higher is for rough surfaces like brick, stucco, or concrete.
We recommend spending a few extra dollars and opting for mid to high quality roller covers. Low quality rollers will shed and leave imperfections you’ll have to sand and re-paint.


Primer
Doing at least one coat of primer (preferably more), as well as choosing the right kind of primer, is extremely important for your paint job to not only look nice but also to properly adhere and last long-term. For cabinets and other furniture, you should also sand between coats of primer and then wipe the surface with a tack cloth.
If you’re painting something extremely smooth or glossy, especially something like IKEA furniture, Zinsser BIN Shellac primer is the most widely recommended product for both proper adherence and great finished look. It can also be good for projects like unfinished wood cabinets because it won’t raise the grain of the wood the way water-based primer does. It does have extremely strong fumes, though, so be sure to wear a mask and ventilate the room.


Technique + drying time
Generally, you should start at the edges with a brush (also called cutting in), and then switch to your roller to cover the larger areas.
Gloss and semi-gloss paints require more careful technique than flat, matte, and eggshell finishes. Gloss and semi-gloss paints are prone to drying with visible overlapping strokes and roller streaks if they aren’t rolled on correctly. You can avoid this by maintaining a wet edge. To do this, work in small sections, and always paint from wet areas into dry ones, blending the edges as you go. Avoid letting painted sections dry completely before moving on.
You should always err on the side of caution with drying time and check the manufacturer’s instructions for drying time. Also, be aware that humidity and temperature can affect drying time, and if it’s too rainy or too cold it could prevent the paint from drying properly.
Lastly, don’t leave the painters tape on too long—you should peel it away about an hour after you’ve finished your last coat of paint. If you leave it on too long, flakes of dry paint are likely to come with it.

Research and patience are the most important part of any DIY project. Spending a little extra time on prep and getting the right materials are two ways to ensure that whatever shade you choose looks beautiful for years to come.
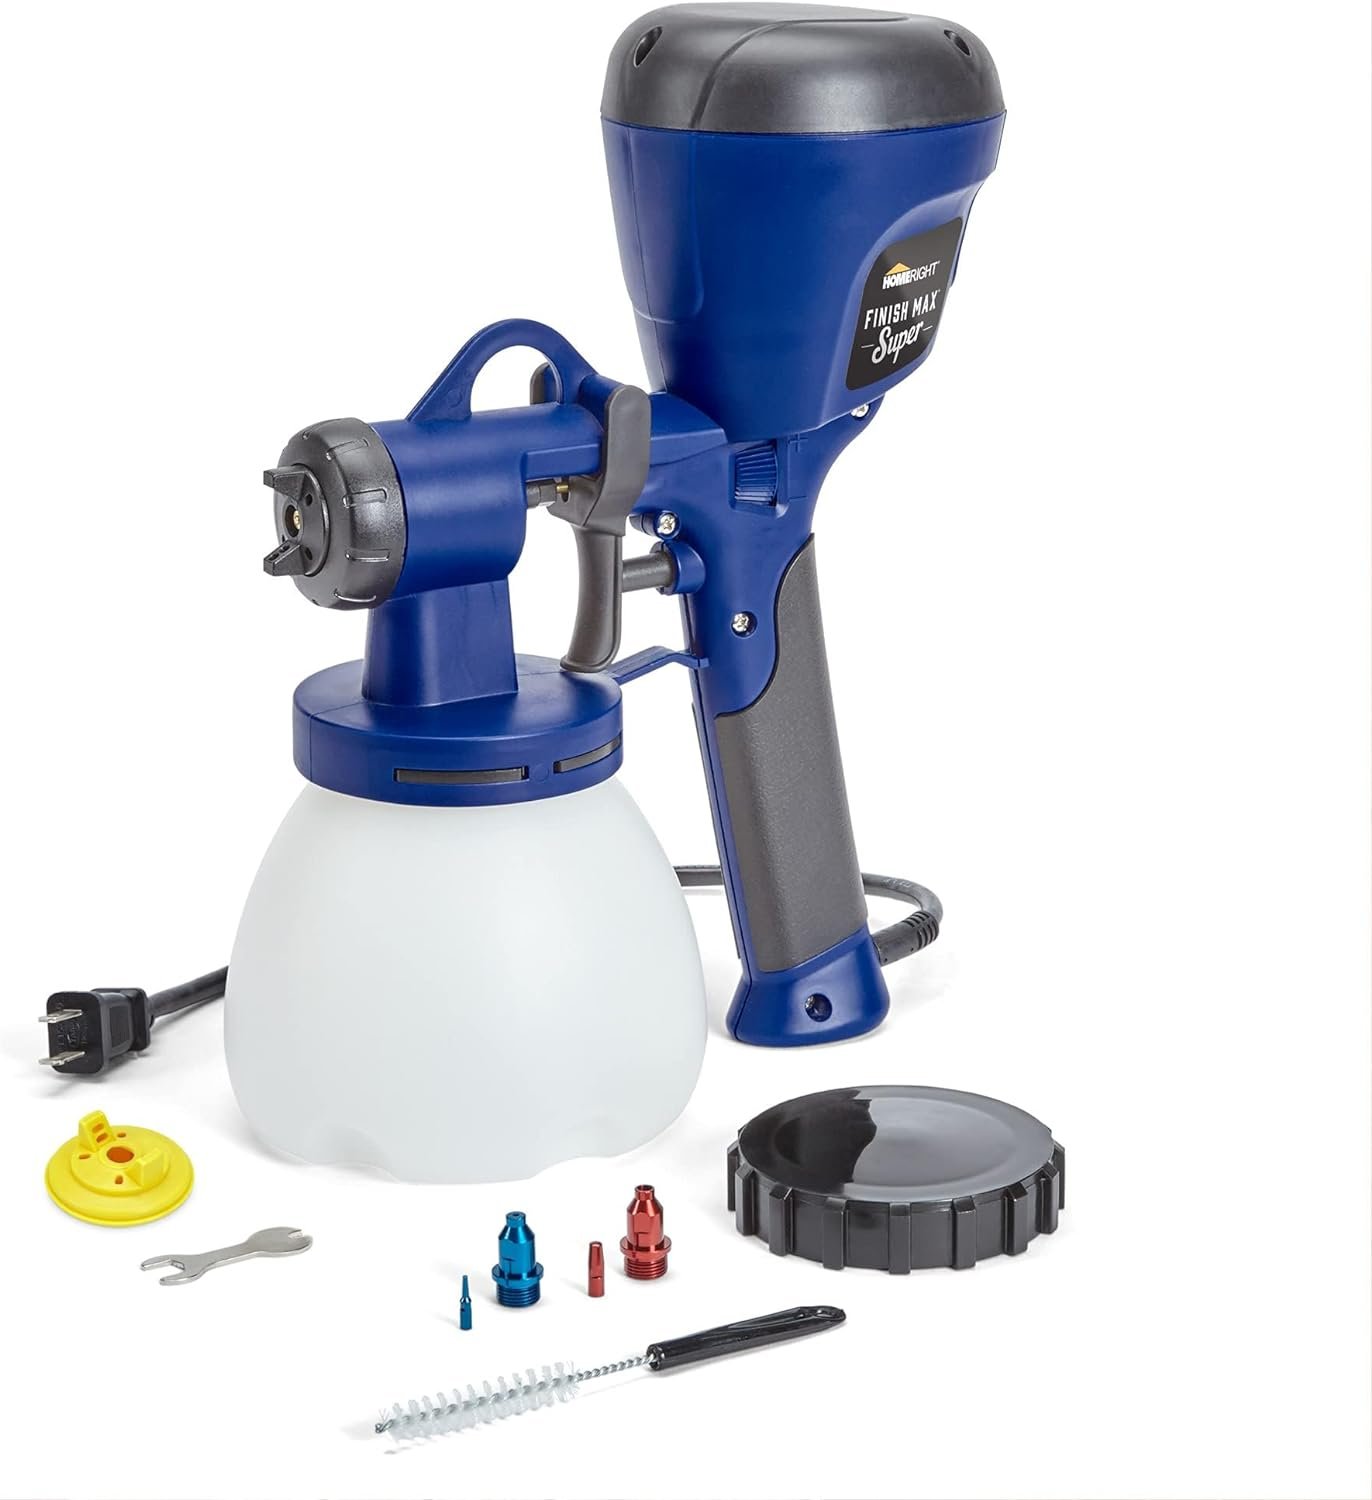
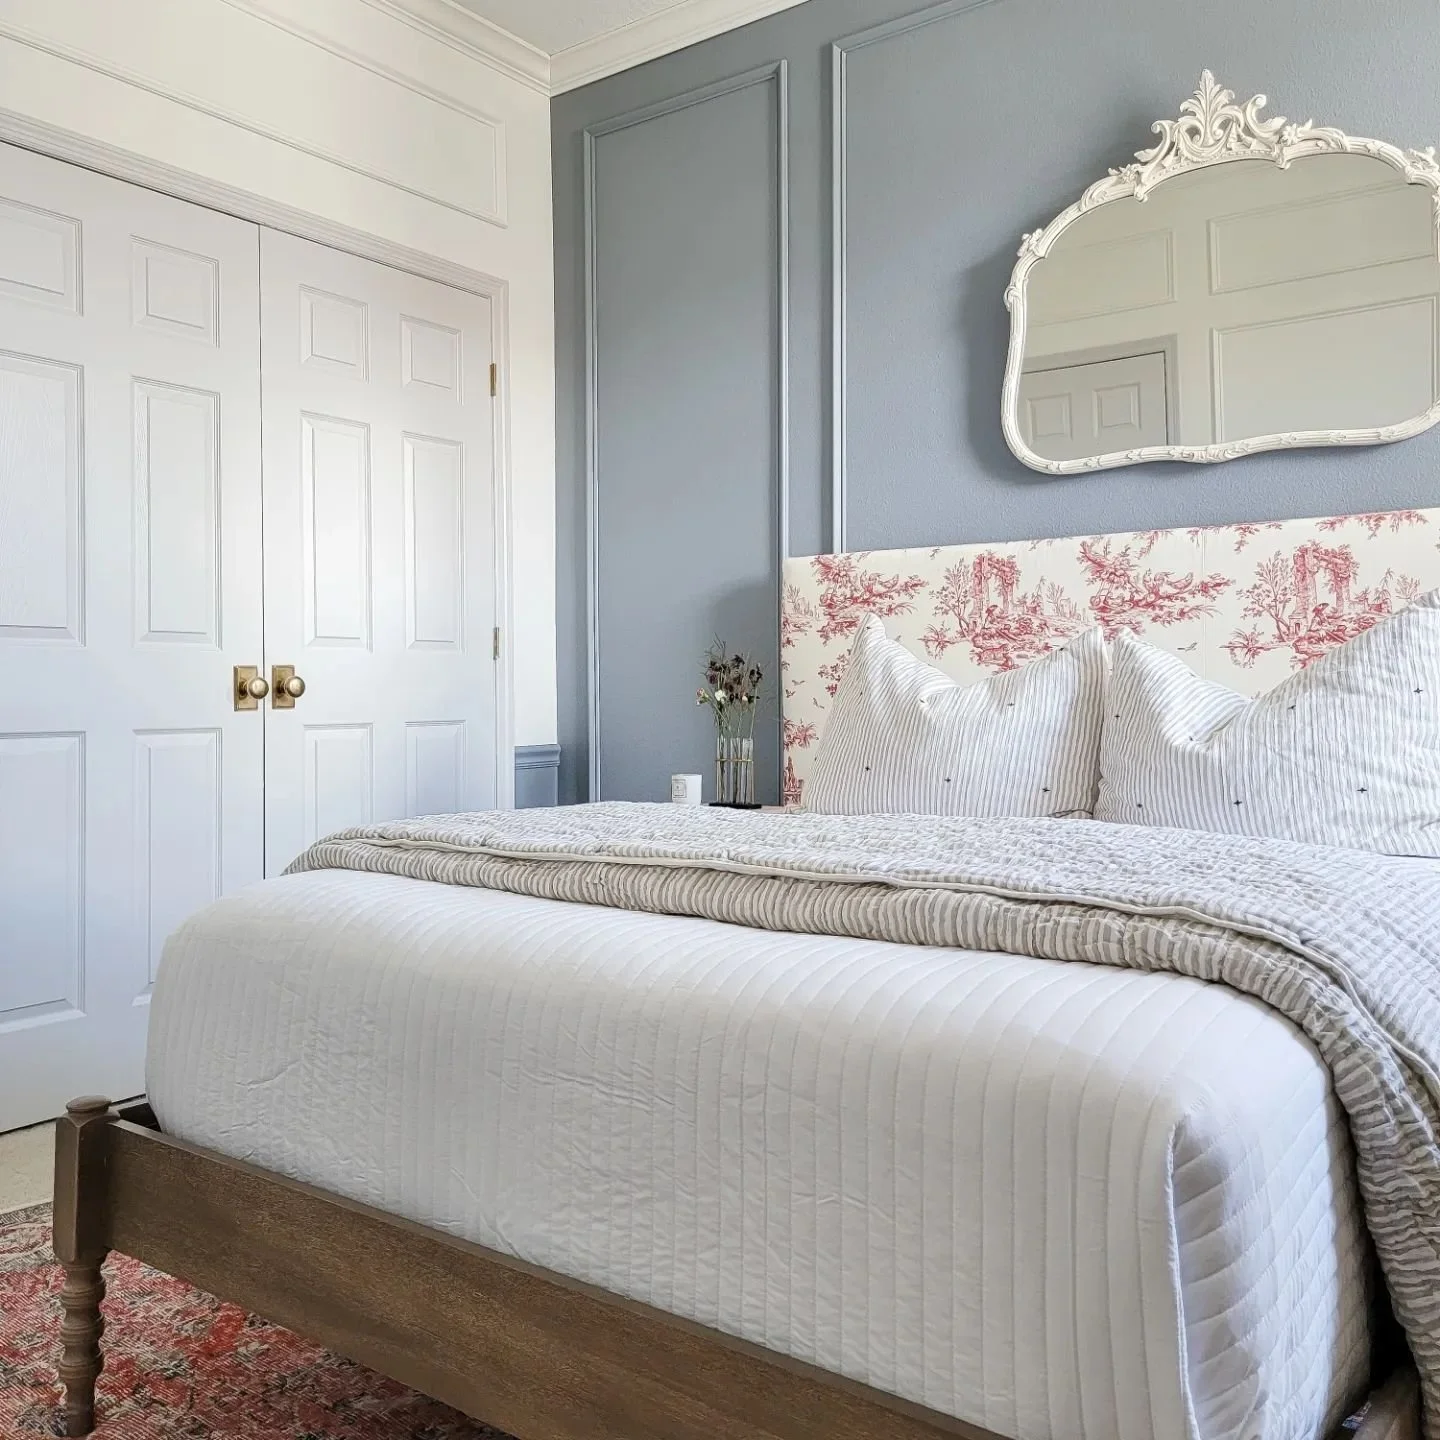
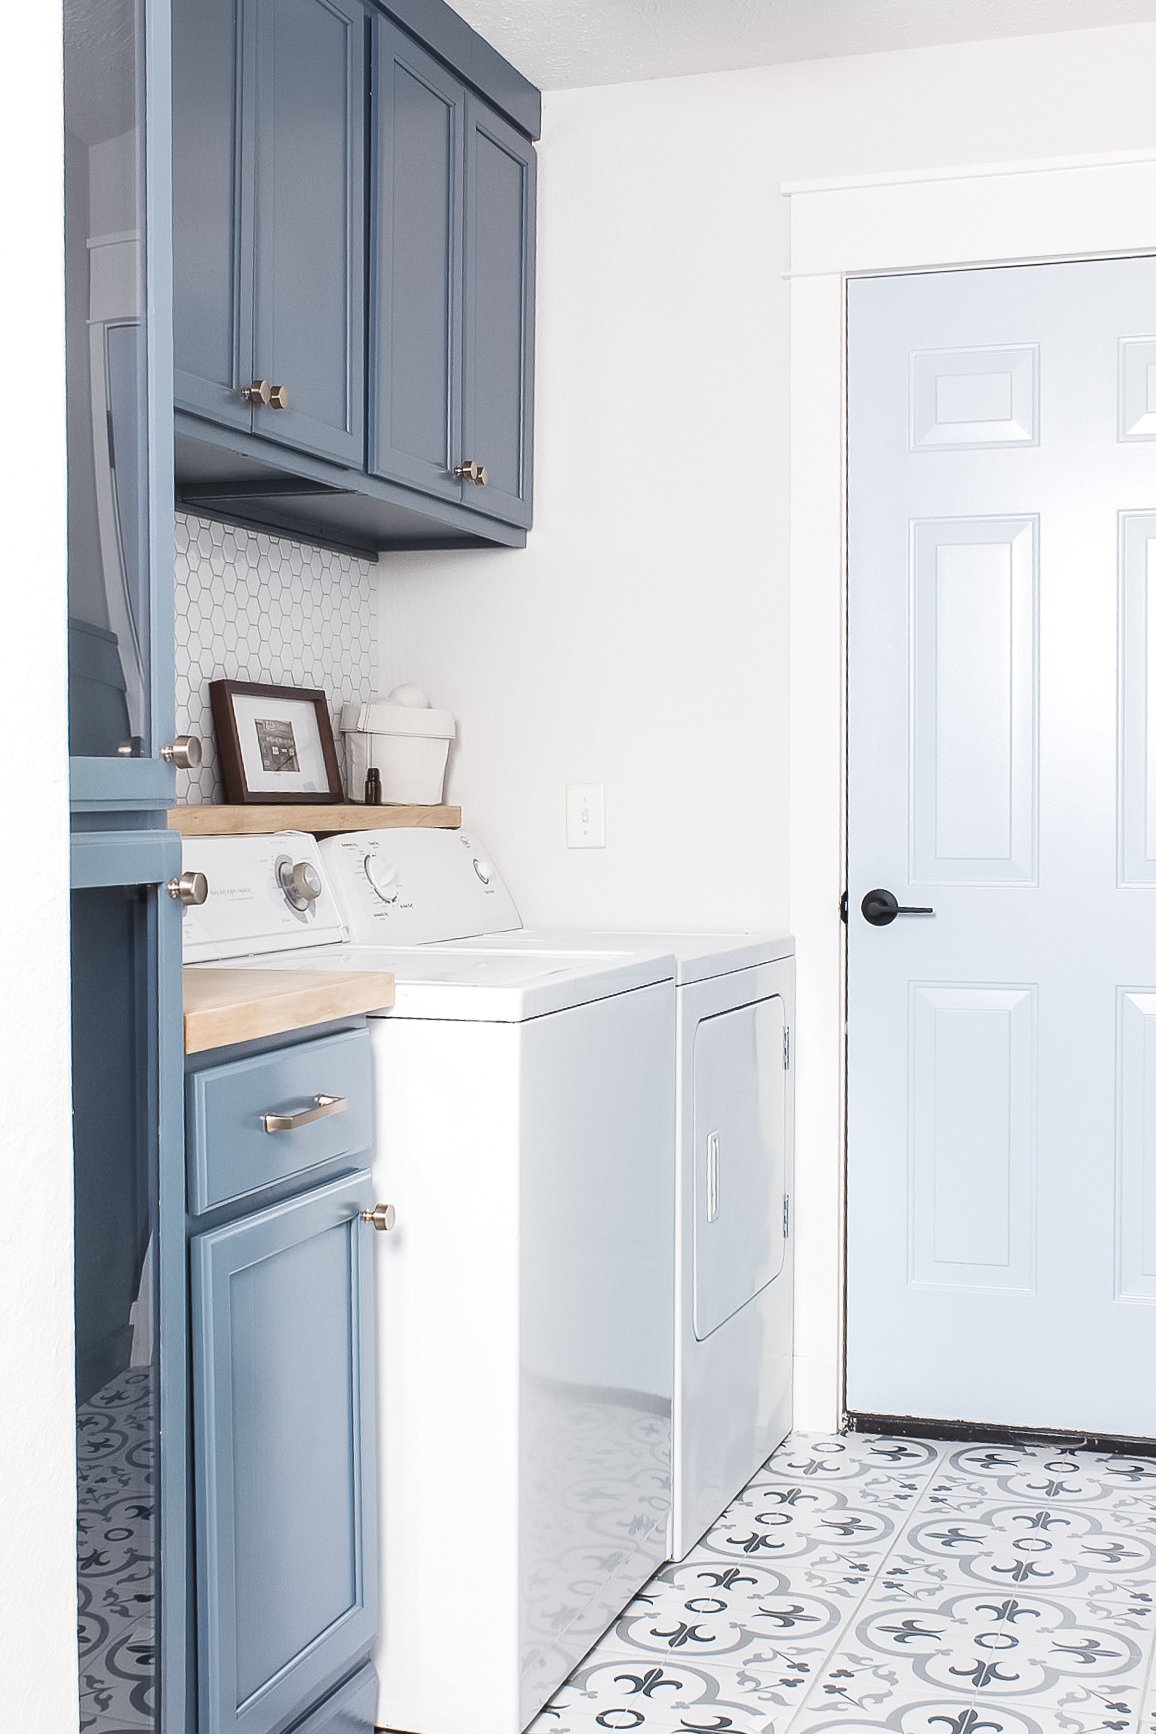
Below are a few more tools and materials we recommend. The paint sprayer we included has been recommended by multiple ORCers over the years, including Mercedes whose laundry room is pictured above. Paint sprayers cover surfaces faster that rollers and cause zero stippling. The price is typically between $80 and $100, so it’s something to consider investing in if you plan to paint a lot of furniture or cabinets.